 Part of what I love about baking is that there’s still a lot of new things for me to learn — new techniques, new ingredients to play with, new ways of using old ingredients. And once I learn something new, I have lots of ways of learning how to use it. This week, I decided to try making crackers, which looked a lot like making pie crust, which I enjoy and am getting pretty good at. Plus, I needed something to make for my team meeting at work and I’d brought brownies the week before for a potluck. I decided to go with something more savory-snack-like. Specifically, something that sounded sort of like homemade Cheez-Its.
I used a slightly modified version of the cheddar cracker recipe from The Homemade Pantry. I love this book not only because of the types of recipes but because Alana is fantastic at adding in little bits of information that you might need. I especially love the ‘tense moments’ notations. I usually have a lot of tense moments with a new recipe, so that’s beyond helpful for me.
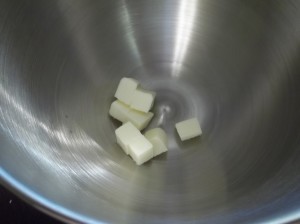
This recipe, like I said above, starts out like a pie crust recipe. you start with cold butter, cut into chunks.
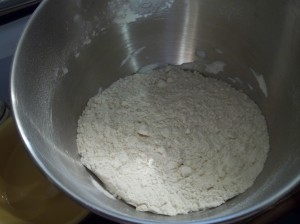
This is actually about half the butter I used. I looked over the recipe, thought about how many people I’d be feeding with it, and doubled it. Like with pie dough or biscuits, the next step is cutting the fat/shortening into the flour. I used the KitchenAid for this, but I have used both a pastry cutter and my fingers. You want a texture sort of like coarse meal with a few lumps in it. For pie crust, you just add flour at this point. For this recipe, it’s flour, salt, and mustard powder. Being me, I added a teaspoon of garlic powder as well.
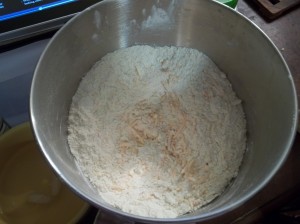
It usually only takes a few minutes to get this consistency, but you want to make sure the fat is cold when you’re doing it. For this recipe, after you get the fat cut in, you add shredded cheese and mix for a few seconds to get it distributed at least semi-evenly. I used a mild cheddar here, but might try a sharper cheese next time.
The next thing in is cold water and vinegar. Cold water helps keep you from melting your fat. Vinegar keeps gluten from over-developing, making quick-breads and crusts tender and flaky. It serves the same sort of function as the acid in buttermilk for biscuits. Better baking through chemistry!
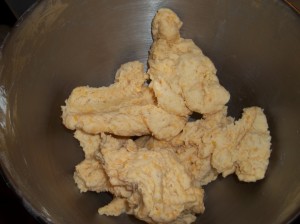
There is surprisingly little water needed to make a dough like this. It’s supposed to be dense, and there’s no leavening, so you just need enough to make it cling together in a ball. Once it’s clinging together well, you press it into a ball and stick it in the fridge to chill. You want to keep everything as cold as possible for this.
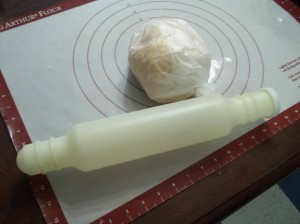
Keeping things cold is why I decided to use this nifty little rolling pin. It’s probably as old as I am. My maternal grandmother had one for making biscuits and I remember being fascinated by it as a kid. Basically, it’s a plastic water bottle shaped like a rolling pin. You fill it with ice water to work with doughs that should be kept cold. Another thing you can do is stick a marble rolling pin in the fridge for a few hours.That’s my normal M.O., but I wanted to play with my new toy. I stuck the second half of the dough back in the fridge while I fiddled with this half.
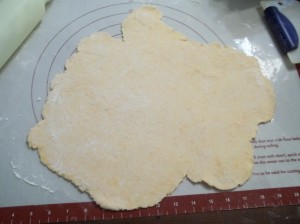
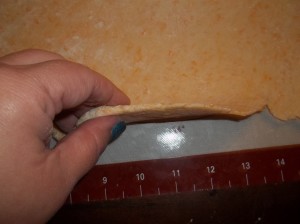
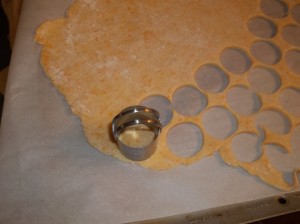
I divided the dough in half and rolled one half out to as close to 1/4″-1/8″ as I could manage. As you can tell, I am still pretty bad at making my dough come out in neat circles or rectangles. I was just happy that I managed to get it a pretty even thickness all the way across.
The recipe gave options for round or square crackers. Since I am beyond horrible at cutting one straight line, much less several dozen, I opted to use my smallest biscuit cutter and make round crackers. I forgot one thing when making them, though: I should have used a fork to dock them.
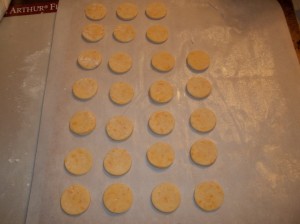
The recipe calls for laying them out on a greased cookie sheet. I split the difference between my love of parchment paper and the greased cookie sheet by lining the cooking sheet with greased parchment paper, since I wasn’t sure if the butter was there for flavor or lubrication.
I also put them on there considerably closer than the 1-1/2″ than the recipe called for. It was a little later at night than I liked and I had a double batch to bake. The recipe calls for baking them two pans at a time, rotating halfway through the 30-minute baking time and then leaving them in a cooling oven for at least an hour. I tried this with the first batch and they got very dark. The second batch, I cooked for half the time. They came out golden brown, but not crunchy.
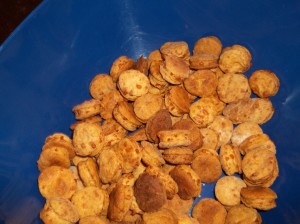
Results were mixed. They got compared a lot to the Cheddar Bay biscuits from Red Lobster, only crunchy. Half the people that tried them preferred the crunchy ones, half preferred the softer ones. The texture also changed as they were let sit after coming out of the oven. This seems to be one of those recipes you really want to let cool down for the flavor and texture to develop. Because I forgot to dock them (it wasn’t actually called for in the recipe), they puffed up considerably. As you can see in the picture at top, they turned out pretty thick for crackers.
Next time (and there will be a next time) I make these, I think I might actually try running them through the pasta maker to get them thinner than I seem to be able to manage by hand-rolling.
Wait, no fair teasing us with something like “tense moments” — and then not telling us what they actually are! 🙂
Also, what is docking, please? Is it stabbing the dough lump with a fork so all the air leaks out and it doesn’t rise and stalk through the night or something? 🙂
Indeed, docking involves poking holes in the dough. That’s why you see holes in saltines and other crackers… and in the crusts of some frozen pizzas. But the fork has to be silver to keep it from rising again. As for the tense moments… both of them had to do with me doing something wrong this time. They were a little too brown and a little too thick.
Whoops! That explains why I have such trouble with rising again — all this time I’ve been using wooden forks instead of silver! Silly me. 🙂