People seem to love homemade bread. Period. Full stop. I’ve got several theories as to why. Some of them have to do with knowing what’s going into your body. Some of them have to do with the sheer bliss that smelling bread baking seems to bring to people. Still others have to do with people thinking it’s hard and feeling touched that you’d make it for them. I used to be in that latter school of thought myself. Then I started baking and was amazed at how simple most breads are.
Seriously, basic bread takes very few things to make. Flour, water, yeast, salt, and patience are the main things you need for bread. Some of the recipes are so simple that I had them down pat after three or four times making them. And the single most-requested bread that I make only adds one ingredient to the basics: Italian seasoning.

Yes, I know Italian seasoning is actually several things in one bottle. I’ve got all the several things on my spice rack, actually, but I say it’s OK to go a little low-brow, low-tech sometimes.
The thing about this bread that makes me happiest, besides the flavor, is that it’s one of the ABin5 breads that can go in the fridge for days before you use the dough. And the longer it sits, the better it gets. This particular one is the master recipe from Artisan Bread in Five Minutes a Day with the addition of the herbs.
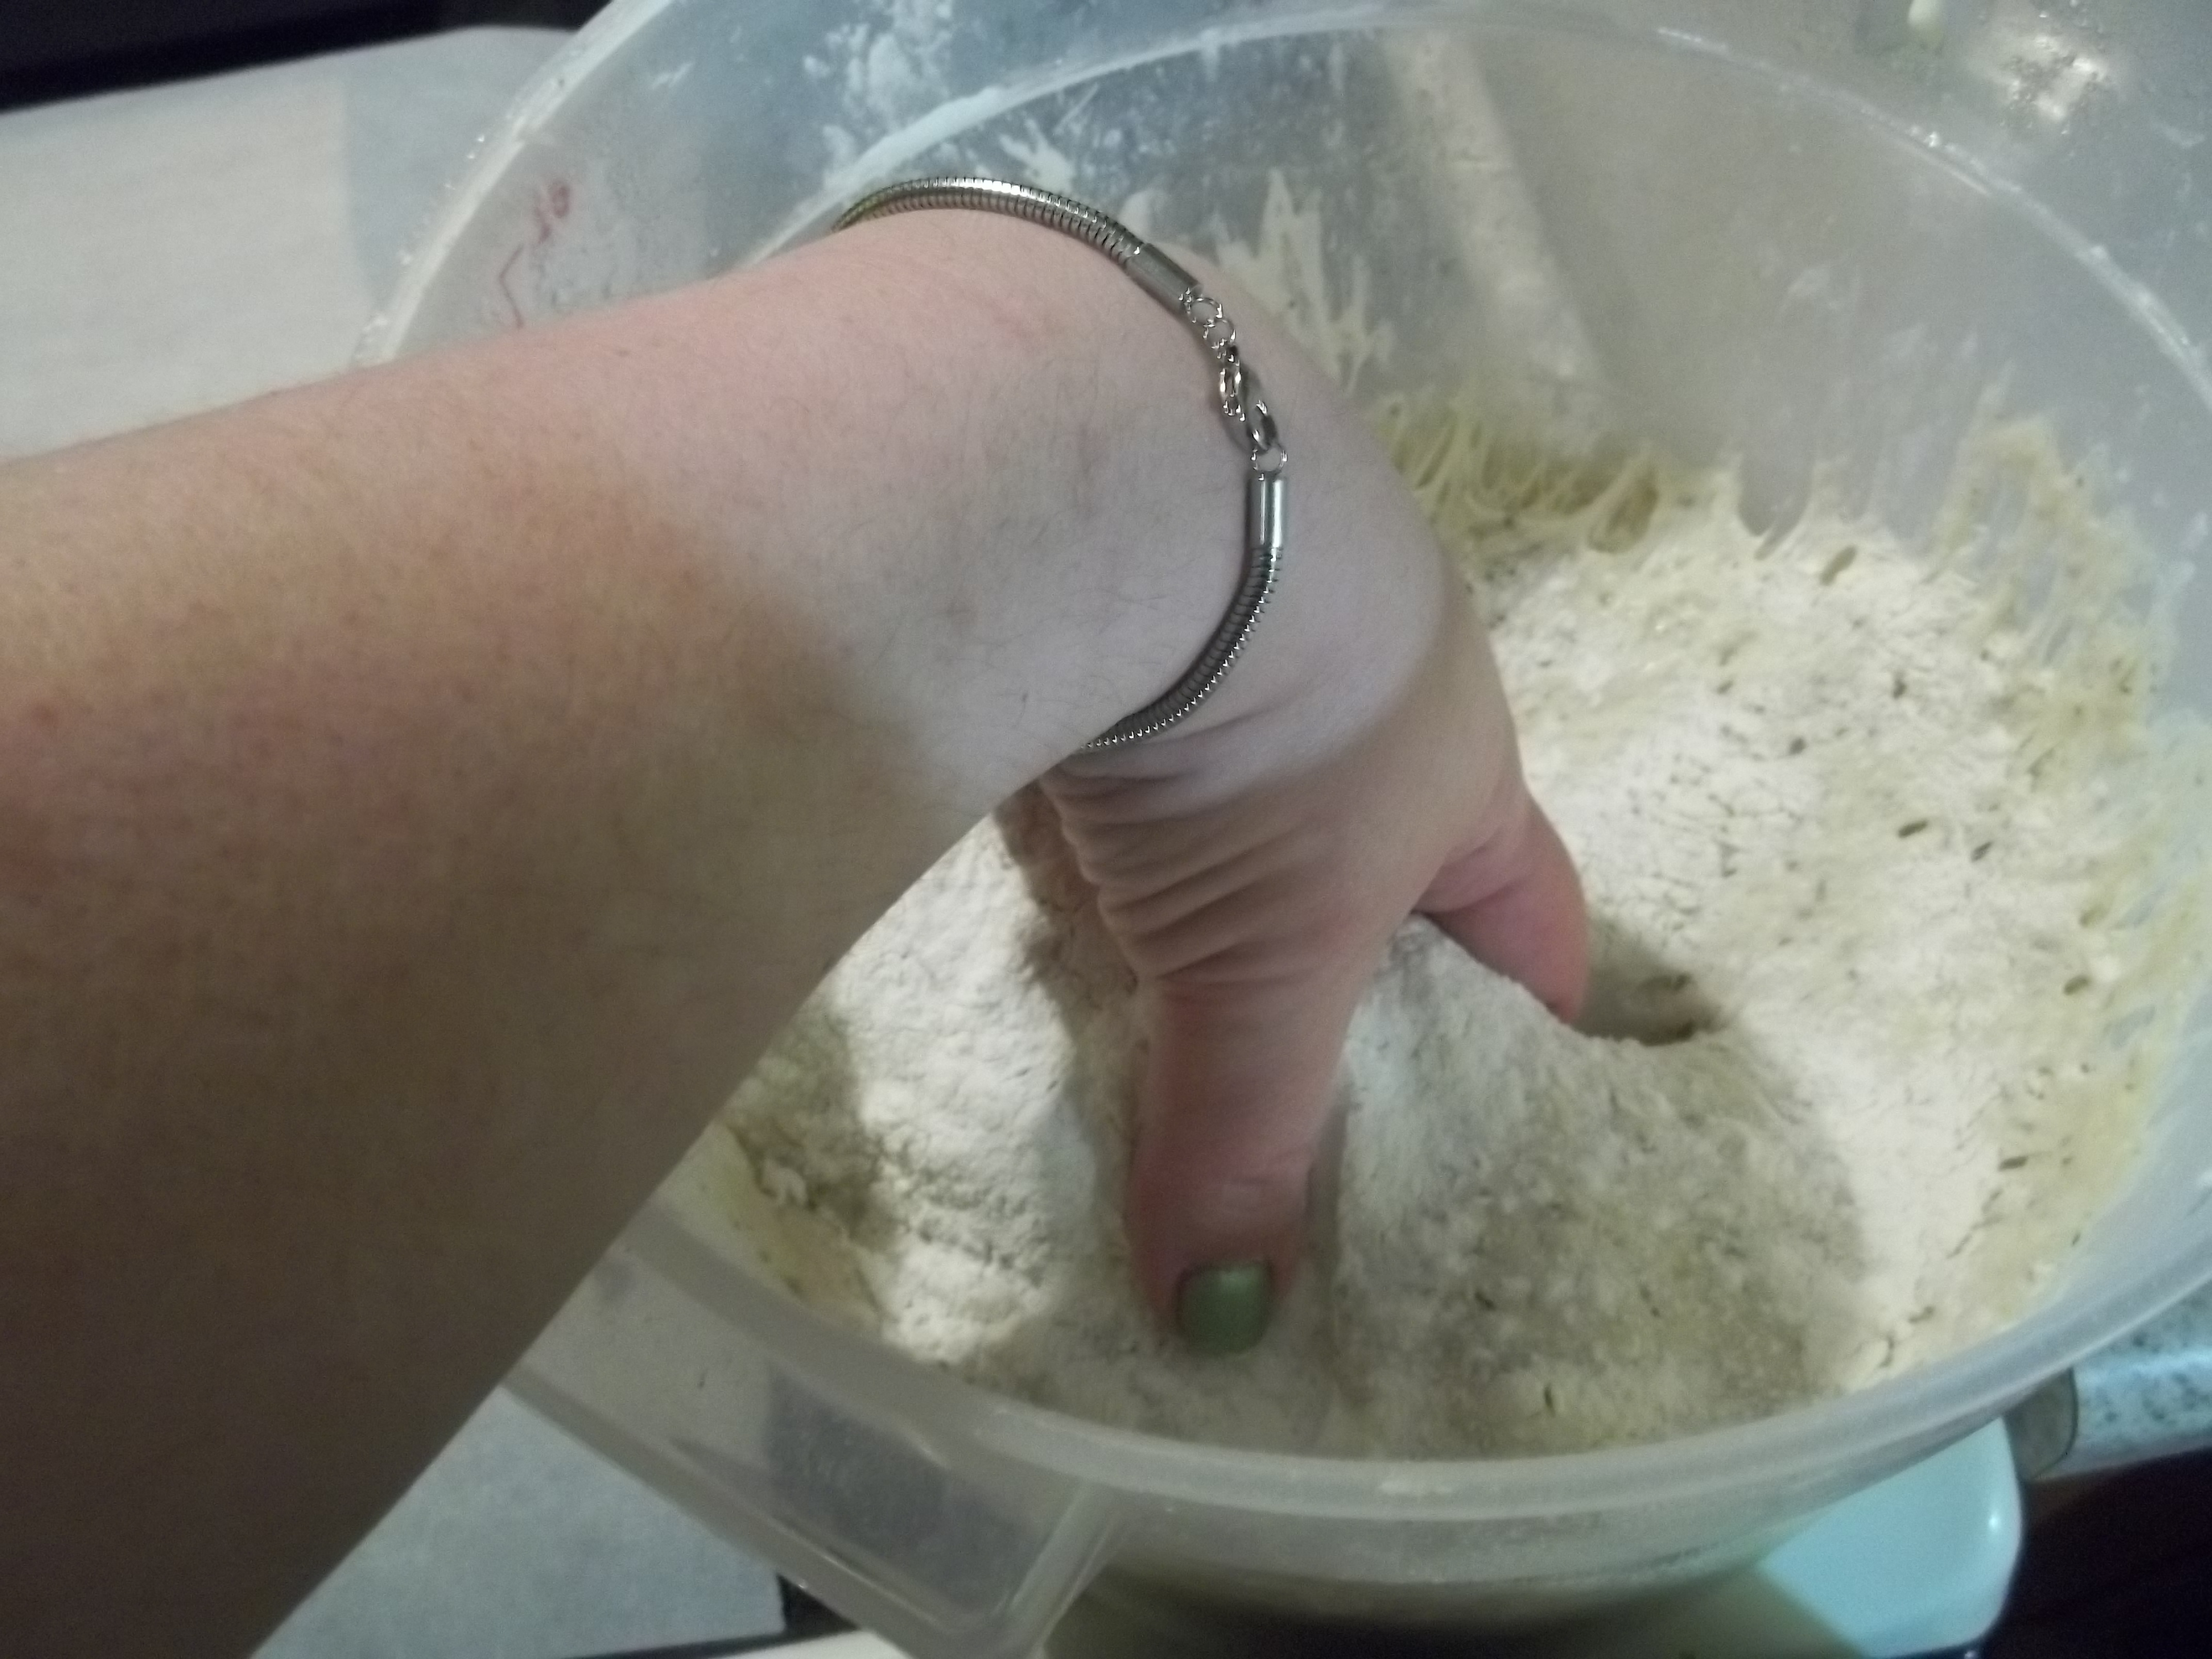
The next few pictures are dough progress photos. I know that dough looks pretty much like dough, so I’m just going to stack them here with a little description.
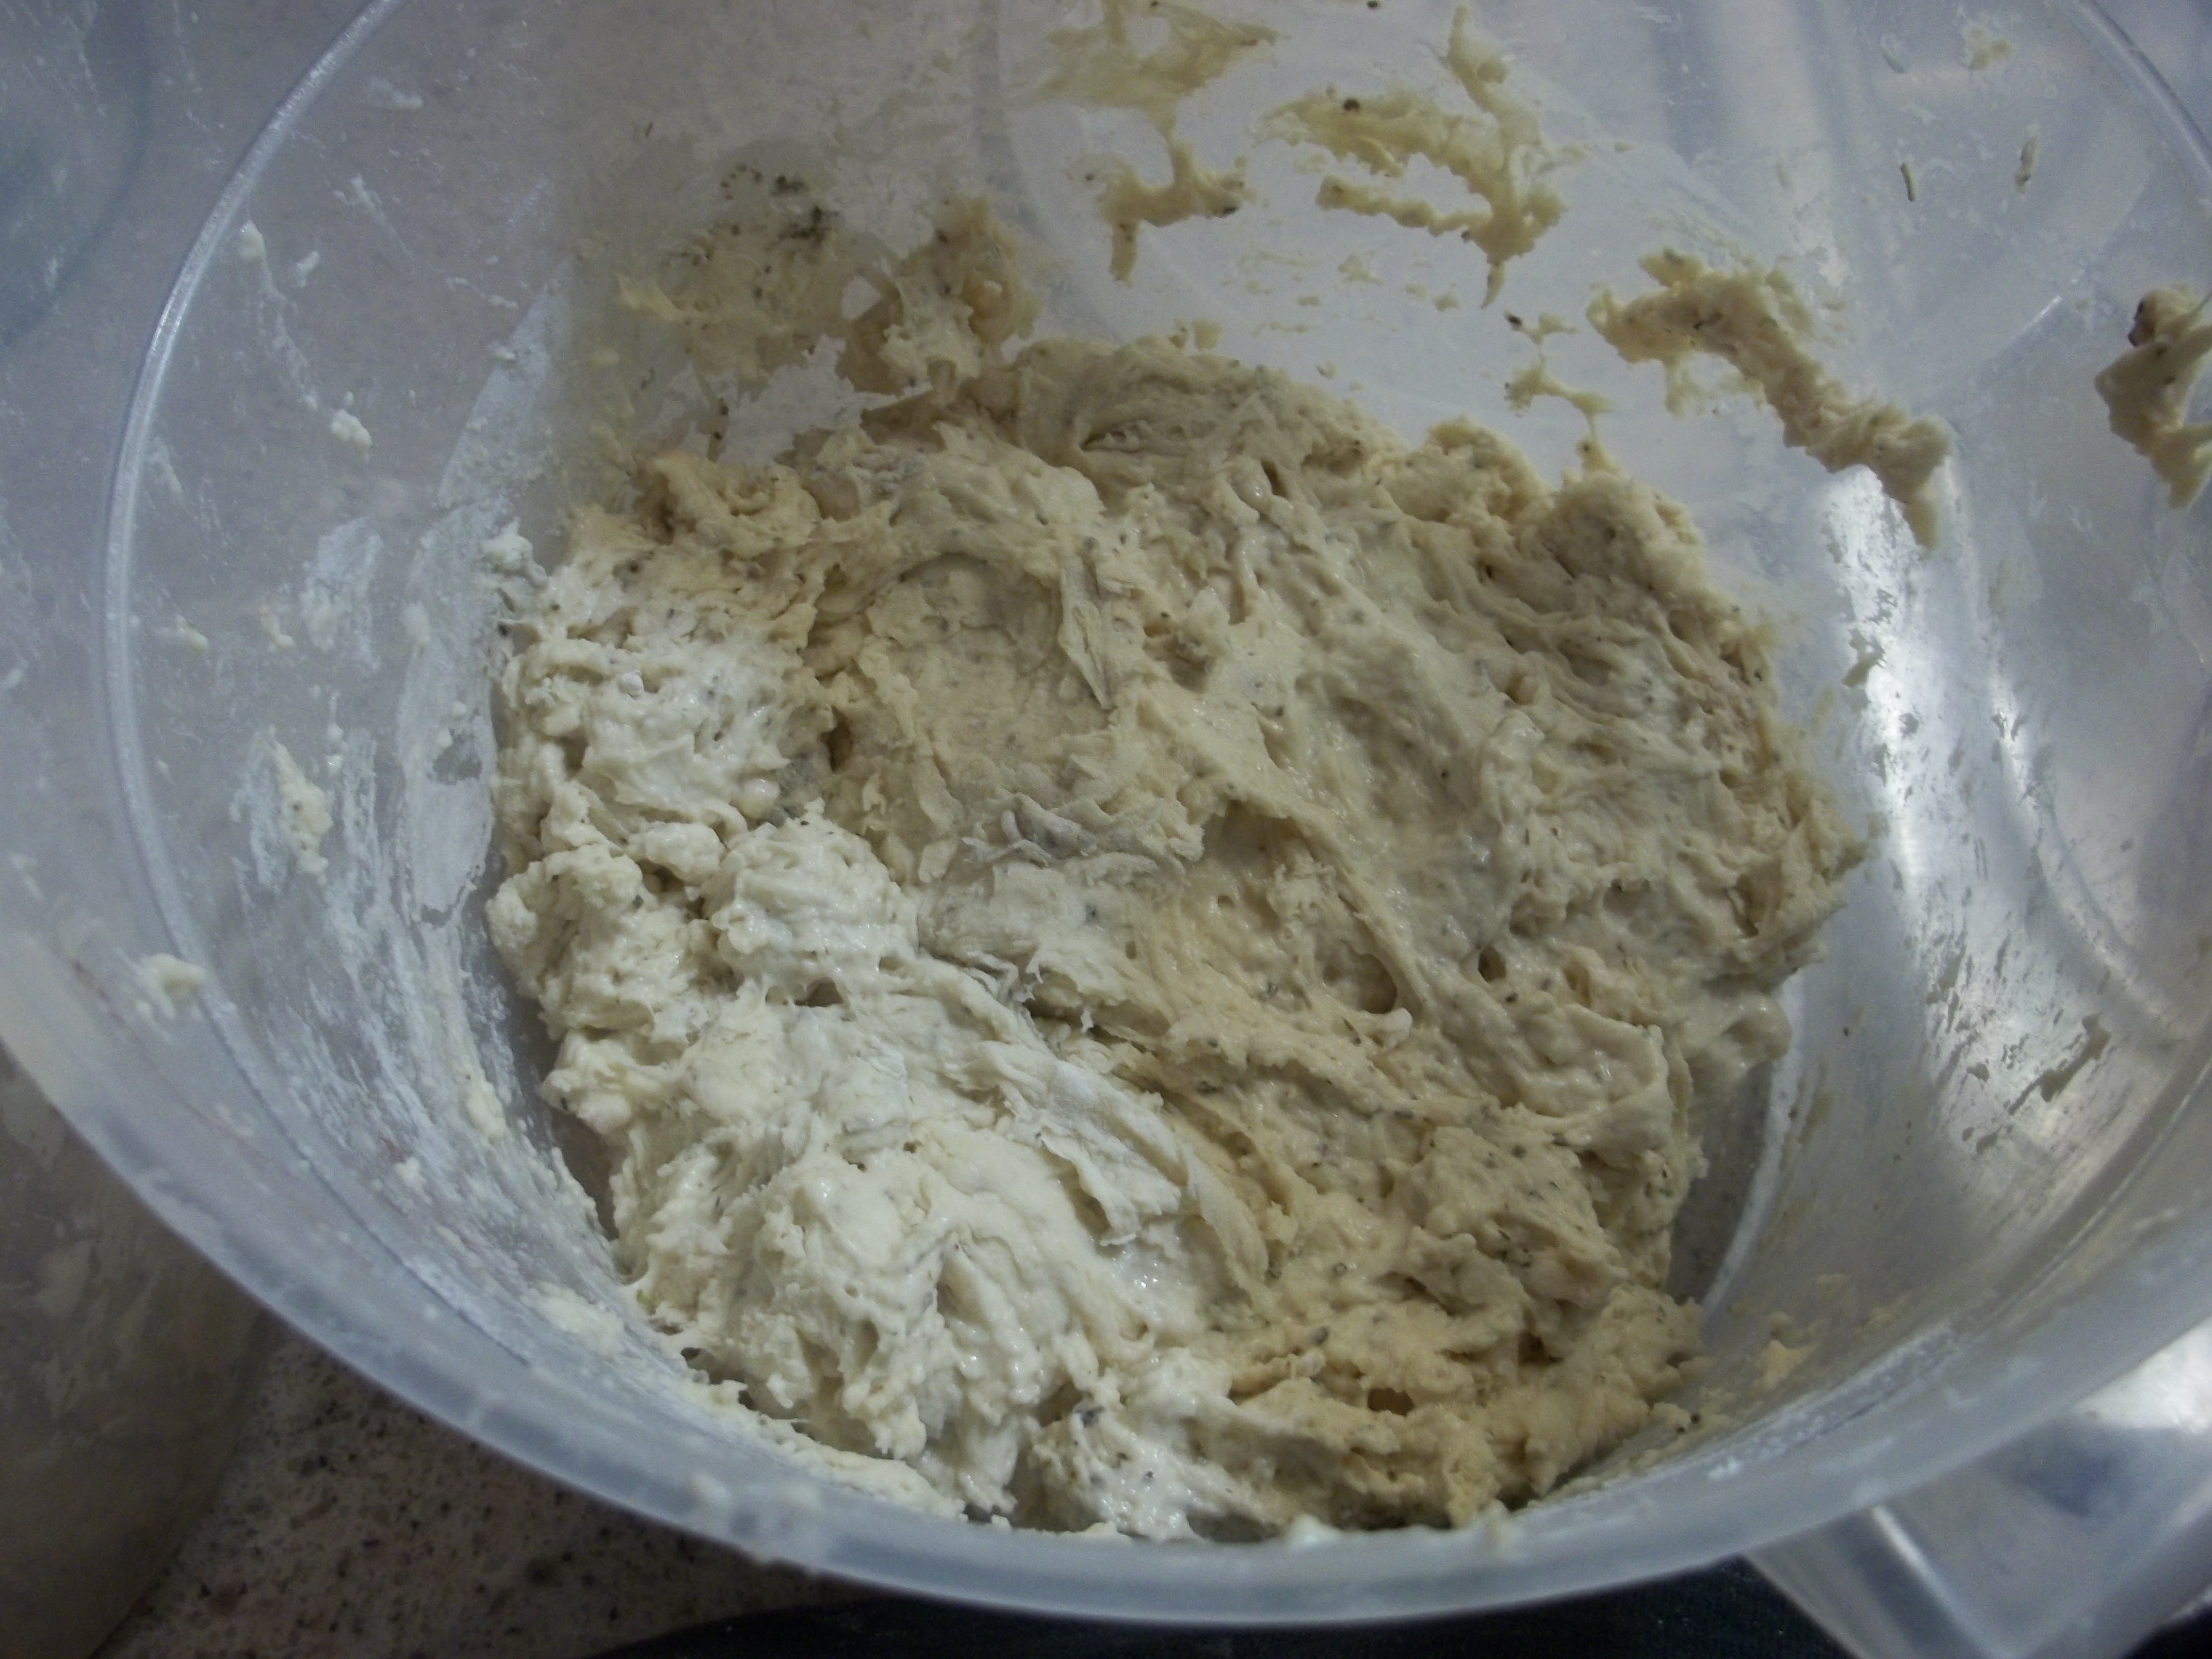
The dough just after mixing is loose and really pretty sticky. I usually do this one straight in the bucket, since it saves some washing up, but I have also used my KitchenAid on it and it can save your wrists a little work if, like me, you occasionally have days where your joints hate you.

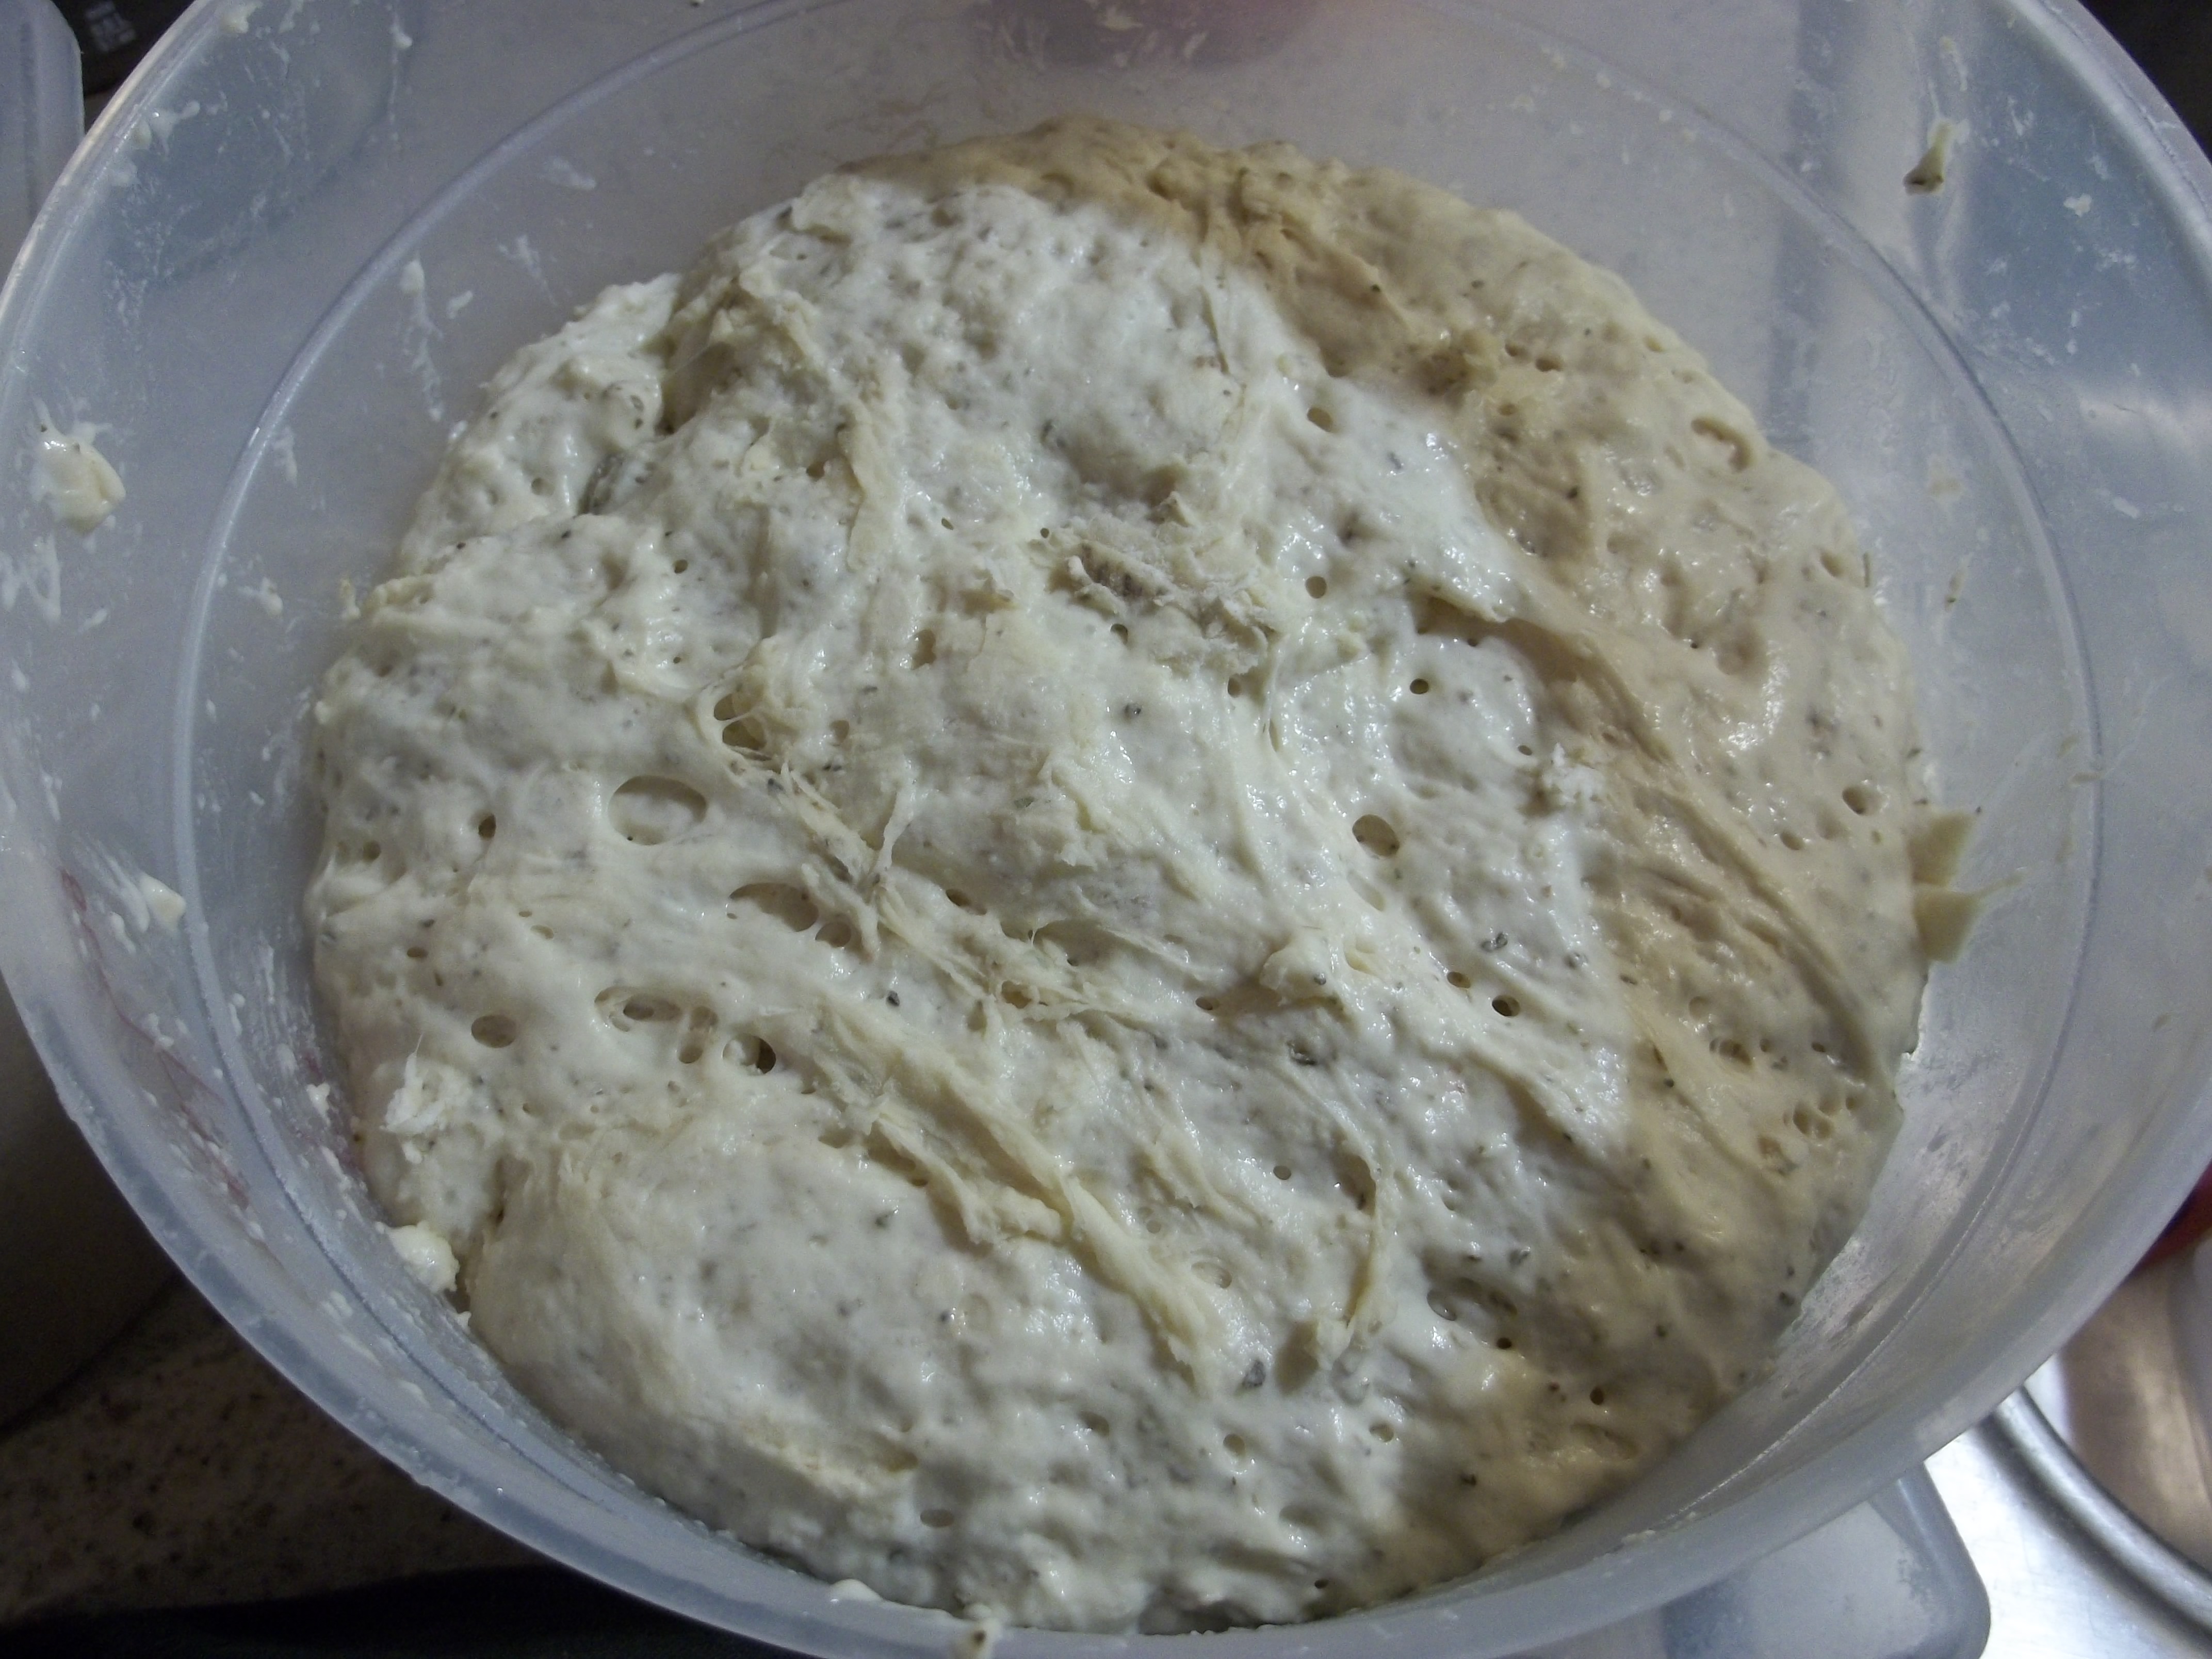
Two-ish hours of rising and it develops this wonderful airy texture and flattens out on top. At this point, I pop the lid on the bucket and stick it in into the fridge. Most of the time, I do, anyway. Sometimes I bake the bread straight after rising, but I prefer how the dough handles after a chill and letting it sit develops the flavors.
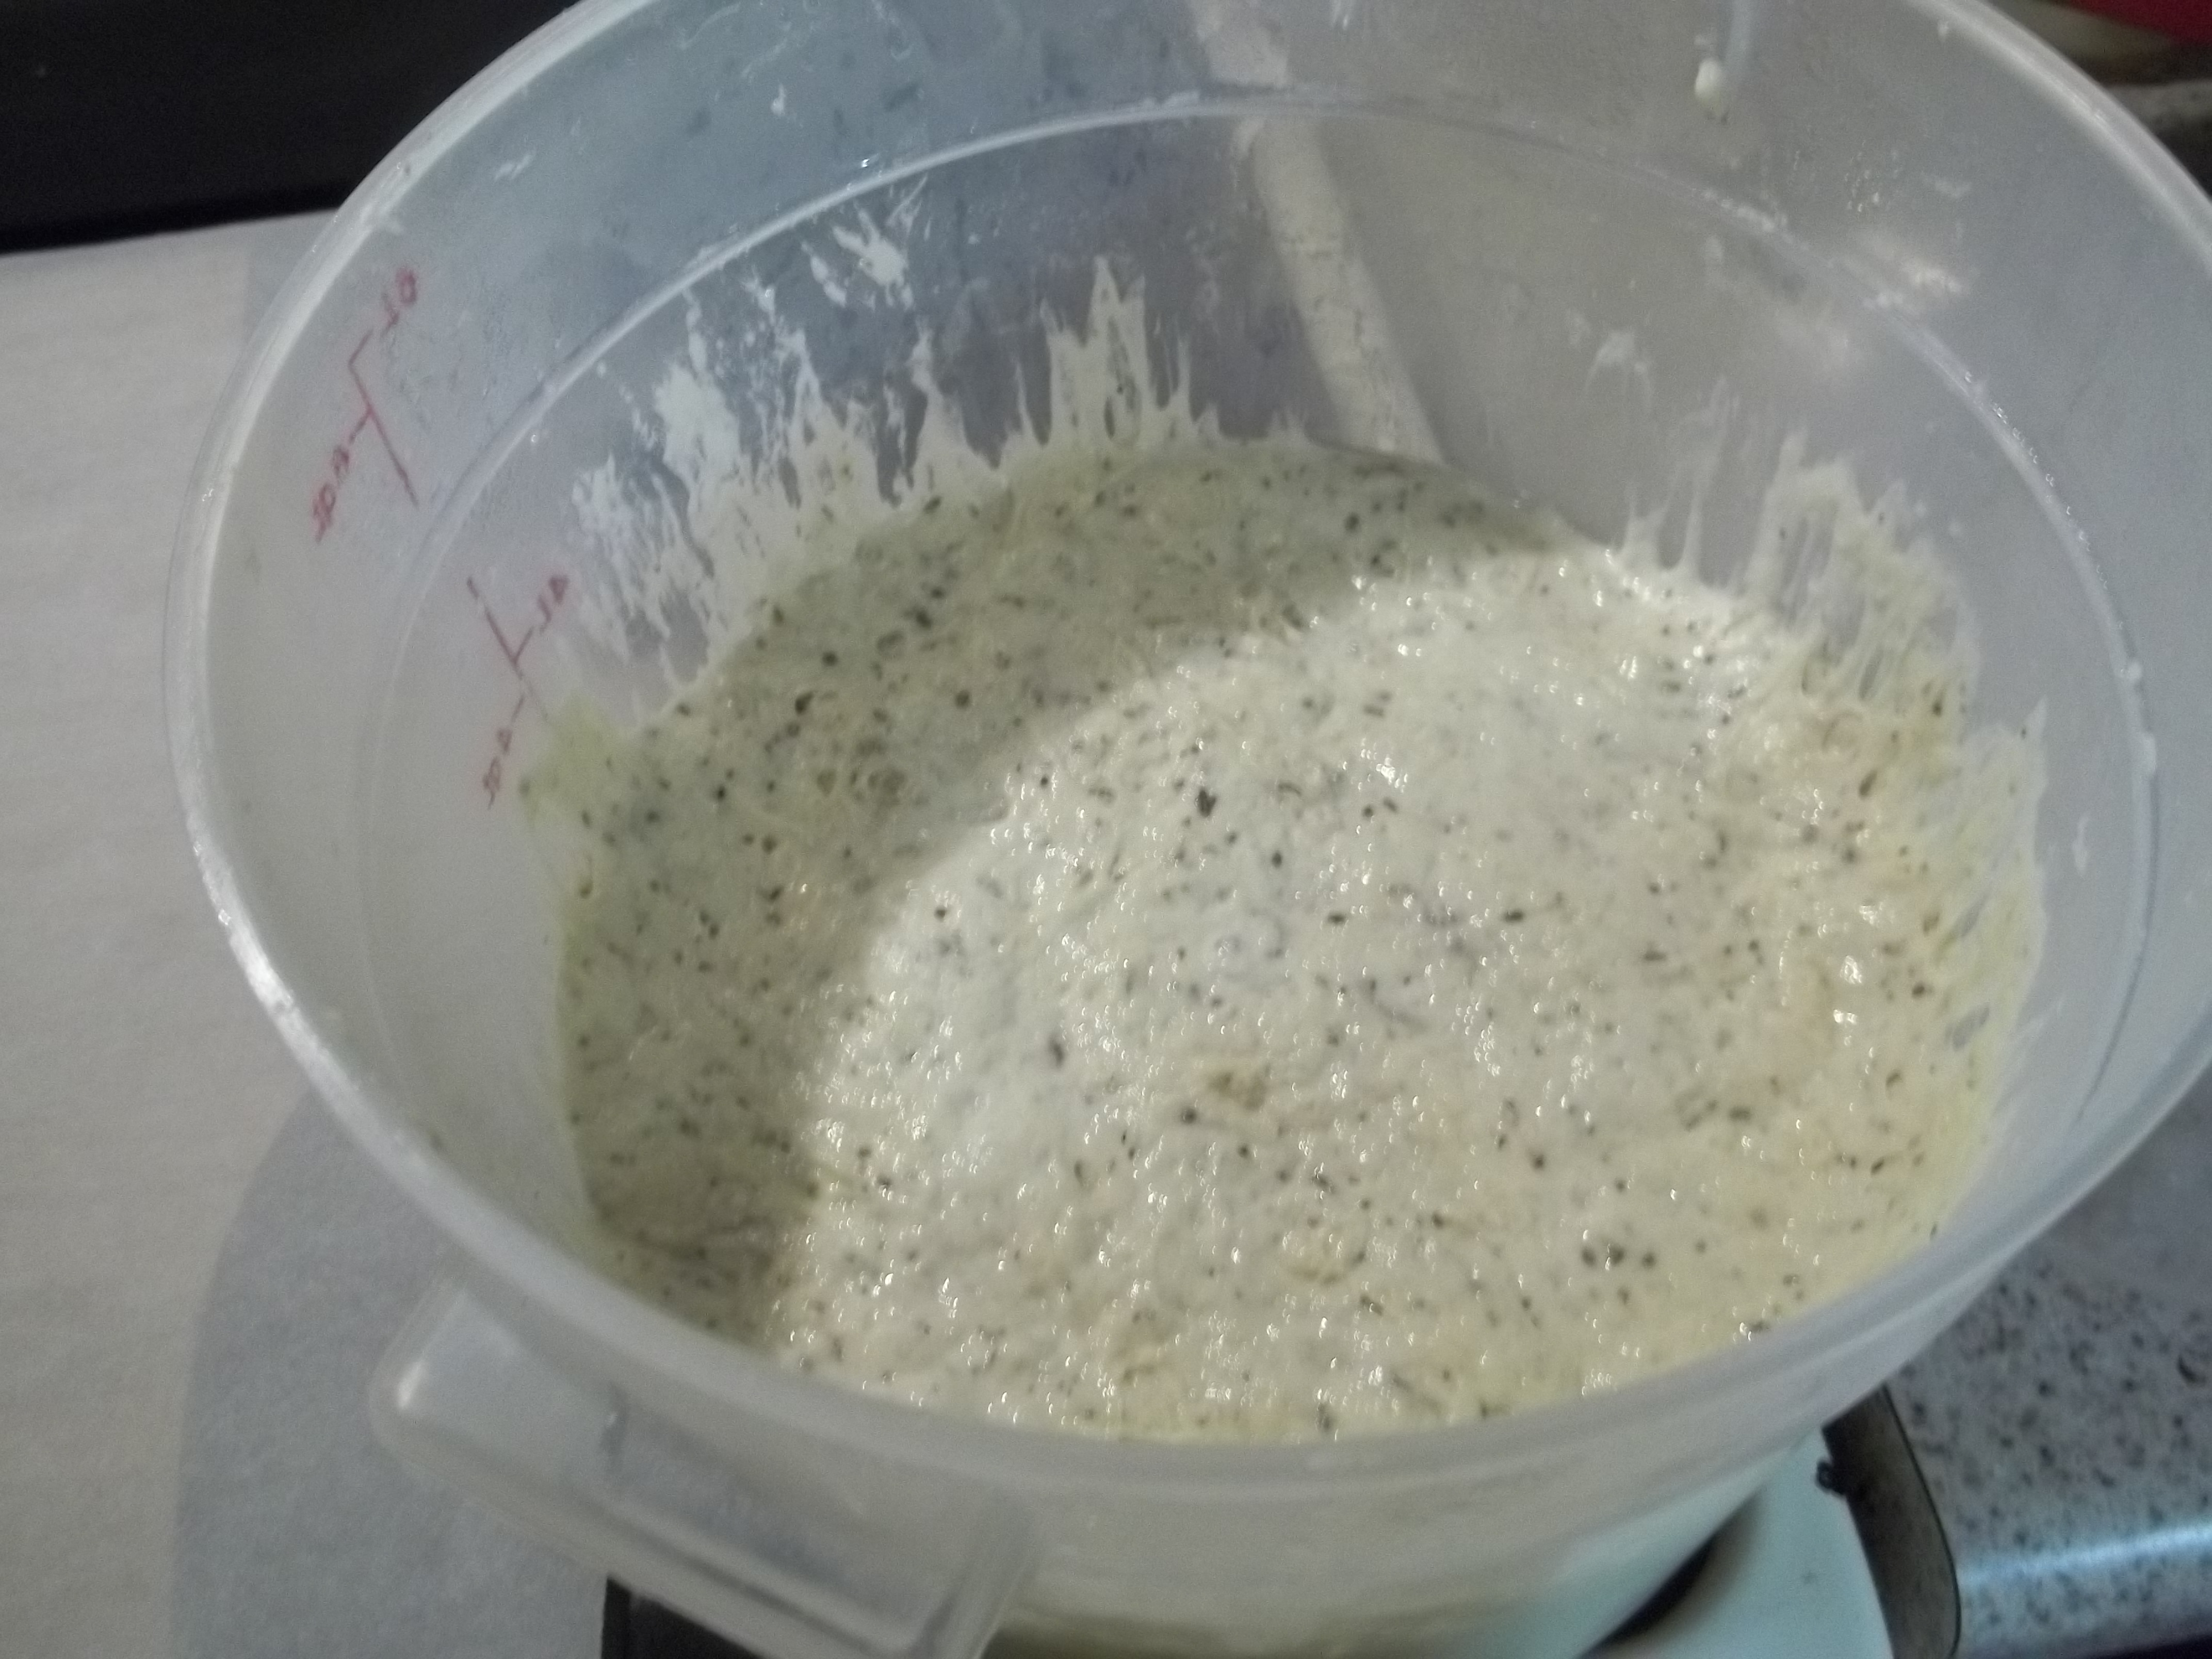 After a few days in the fridge, it will deflate a little and not look quite so bumpy. Don’t worry, it’s going to be just fine. The first few times I made this and let it sit, I got a little freaked at how the dough changed, but I eventually relaxed about it. The only thing I can say is that oven-spring will be a little less dramatic if you’ve stored this for over a week. That happens approximately never at my house.
When you’re ready to bake, the book says to dust the dough with flour and cut off a piece. I normally do more of a grab-and-tear. It leaves a sort of ragged hole in the rest of the dough, but that will relax and fill in if you leave it in the fridge a day or so longer. I haven’t personally noticed that there’s a lot of difference in torn or cut loaves — and it’s weirdly satisfying to rip the dough apart. Maybe I need to talk to someone about my hidden violent tendencies.

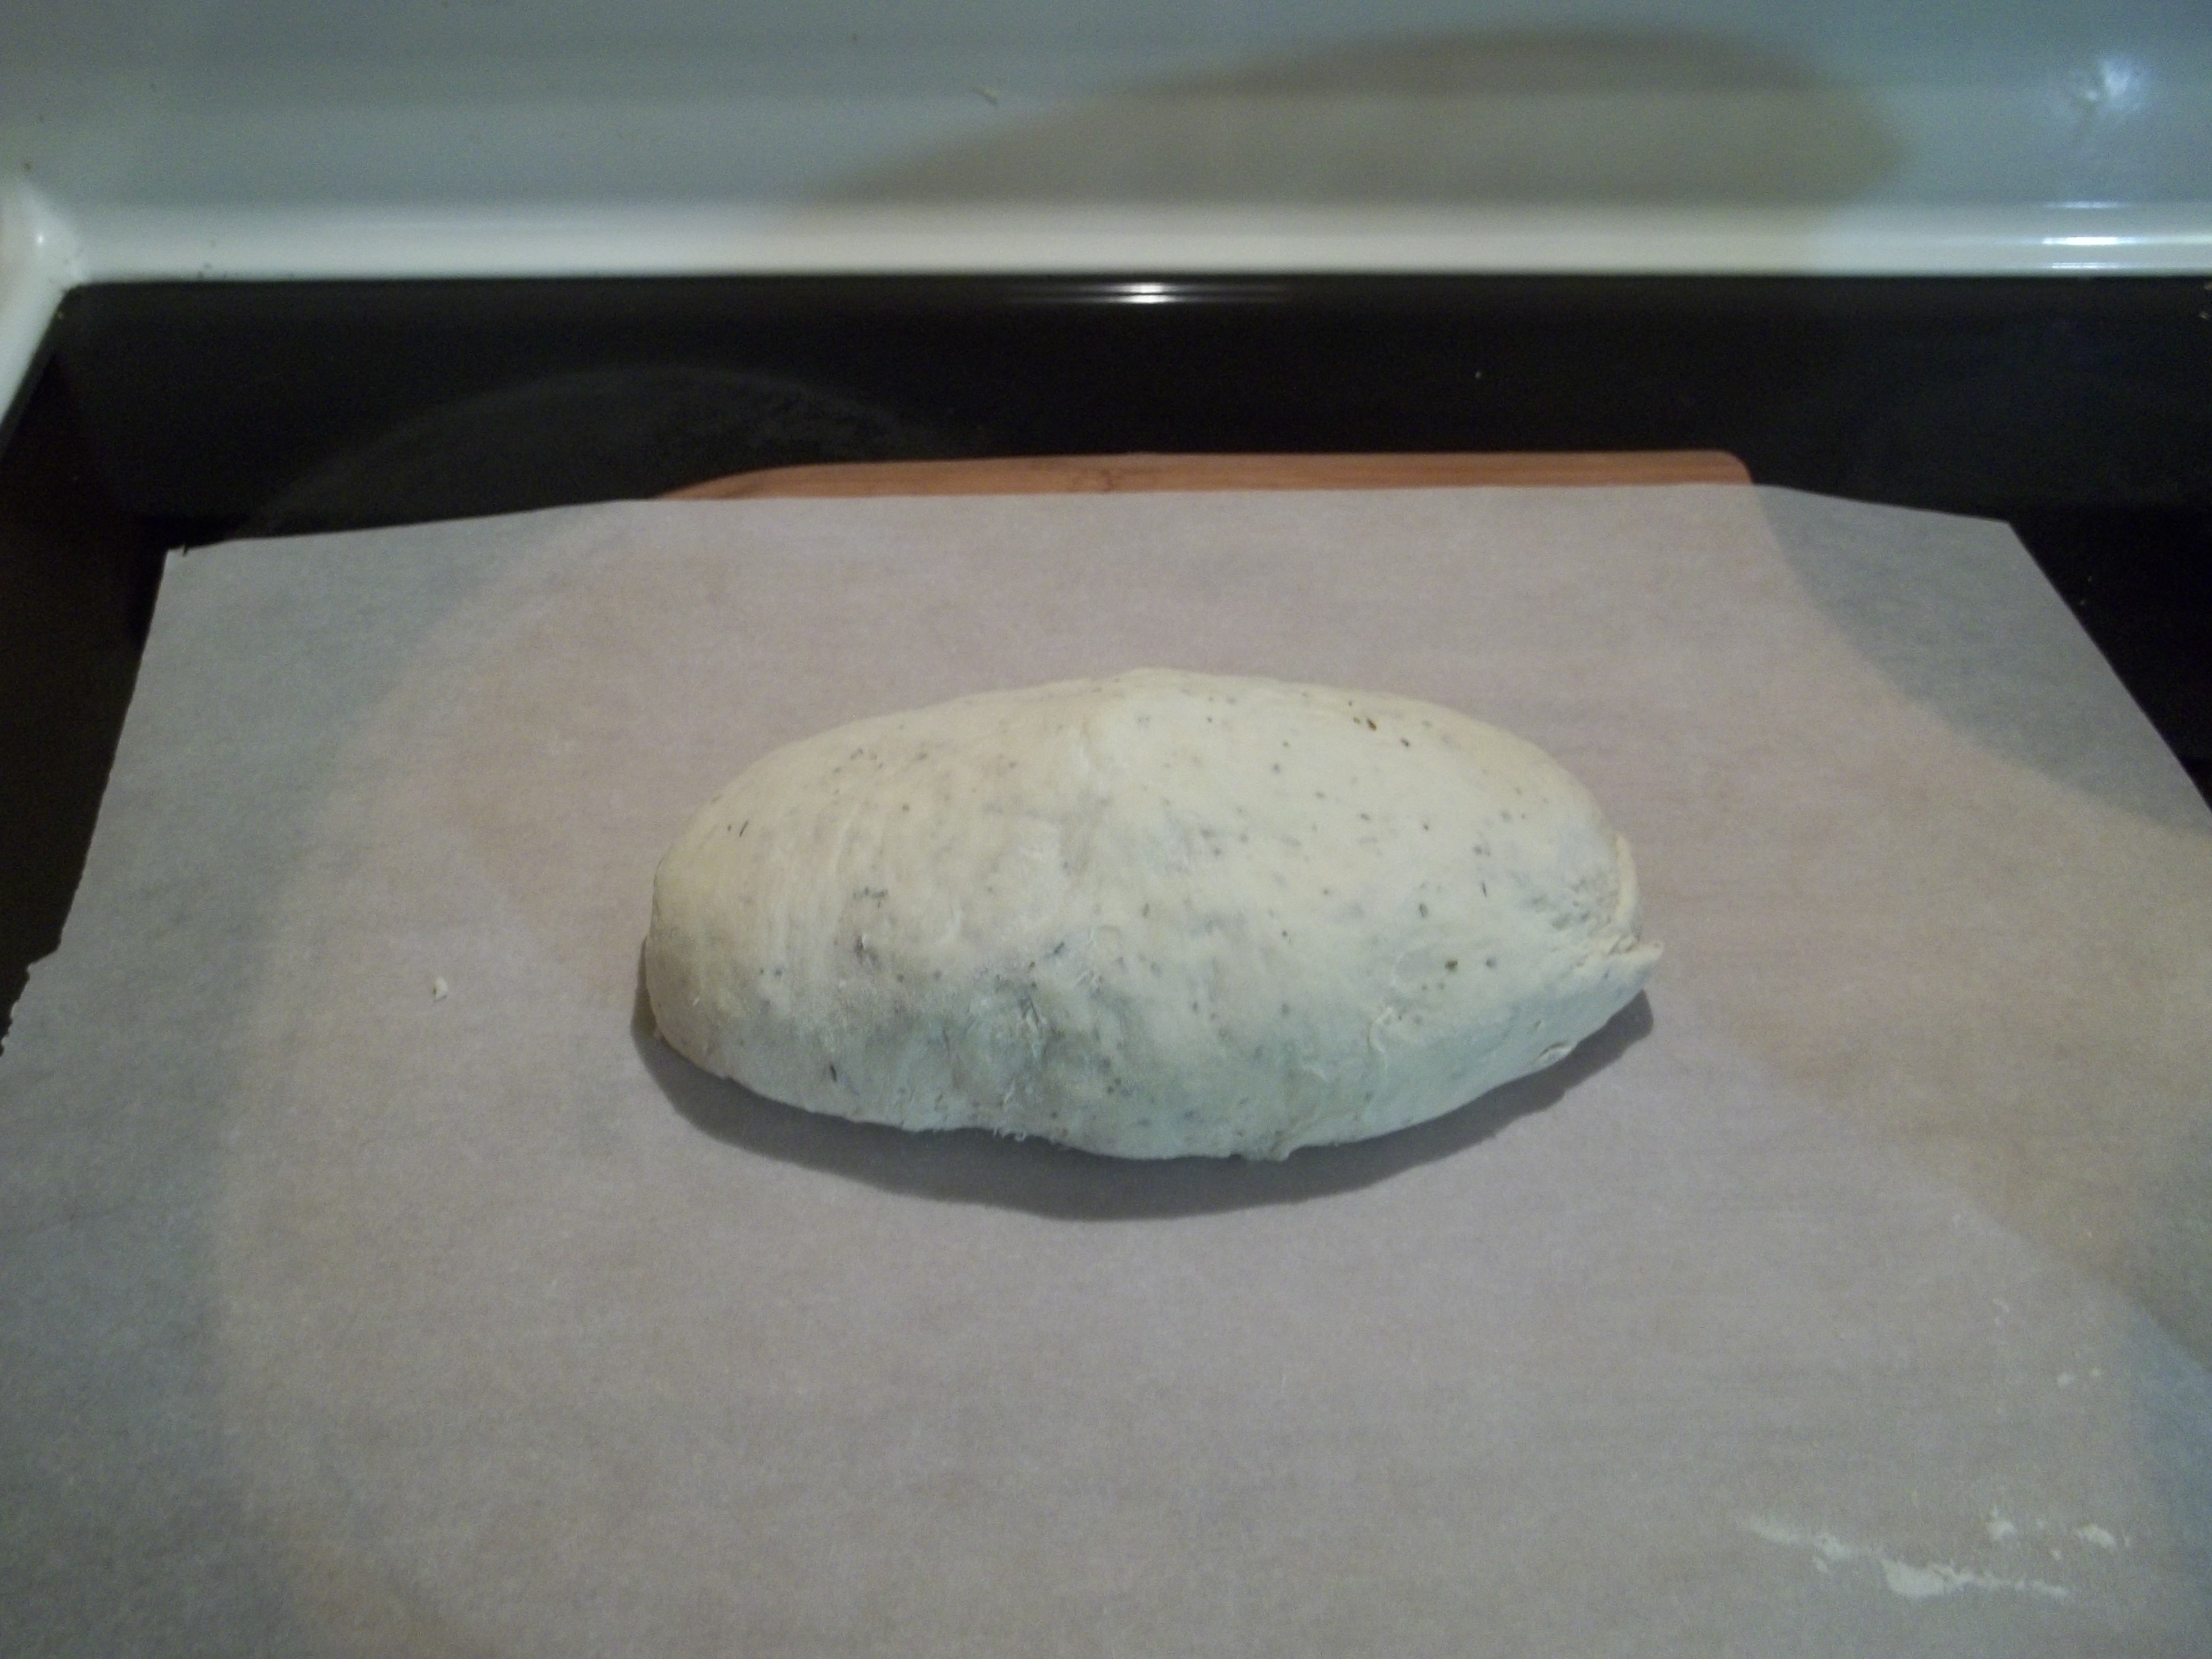
Forming the loaf takes a little practice to get down, but the idea is simple. Dust the dough with a little more flour and carefully stretch it around on all four sides to form a ball. If it tears, dust a little more flour over the tear. The ball does not have to be perfect. It just has to be vaguely round.


One day, I might even actually have someone else around to man the camera while I do this sort of thing to give a little better pictorial representation of how this goes. Once you’ve got your boule, which is French for ball y’all, gently stretch it out into an oval shape. This is called a bâtard which is more French. Guess what for. It’s called that because it’s the less-than-legitimate child of the baguette. Put it on something to rise. I’ve got a nice bamboo pizza peel and the book says to use cornmeal to dust it, but I’m a fan of parchment paper instead. Less mess and actually more slippery.
Again, doesn’t have to be perfect. The beauty of bread is ninety percent in getting to put it in your mouth. Not that I never do very careful things with loaves to make them extra pretty, but it comes with practice. Don’t sweat the small stuff in the beginning. Let it rise. Forty-five minutes or so before time to put it in the oven, start your preheat. If you’re not using stones, you don’t have to preheat long, but I use baking stones for most free-form loaves. You also want a good sturdy pan to go under the stones (or jellyroll pan or cookie sheet) to hold water for steaming. Steaming gives an amazing crust.
My favorite pre-baking-stones trick to get a nice even bake on the bottom of the loaf was to turn one of my jellyroll pans upside down and use it to bake the bread on. If I didn’t inherit a love of speciality tools from my dad, I could still happily be doing that.
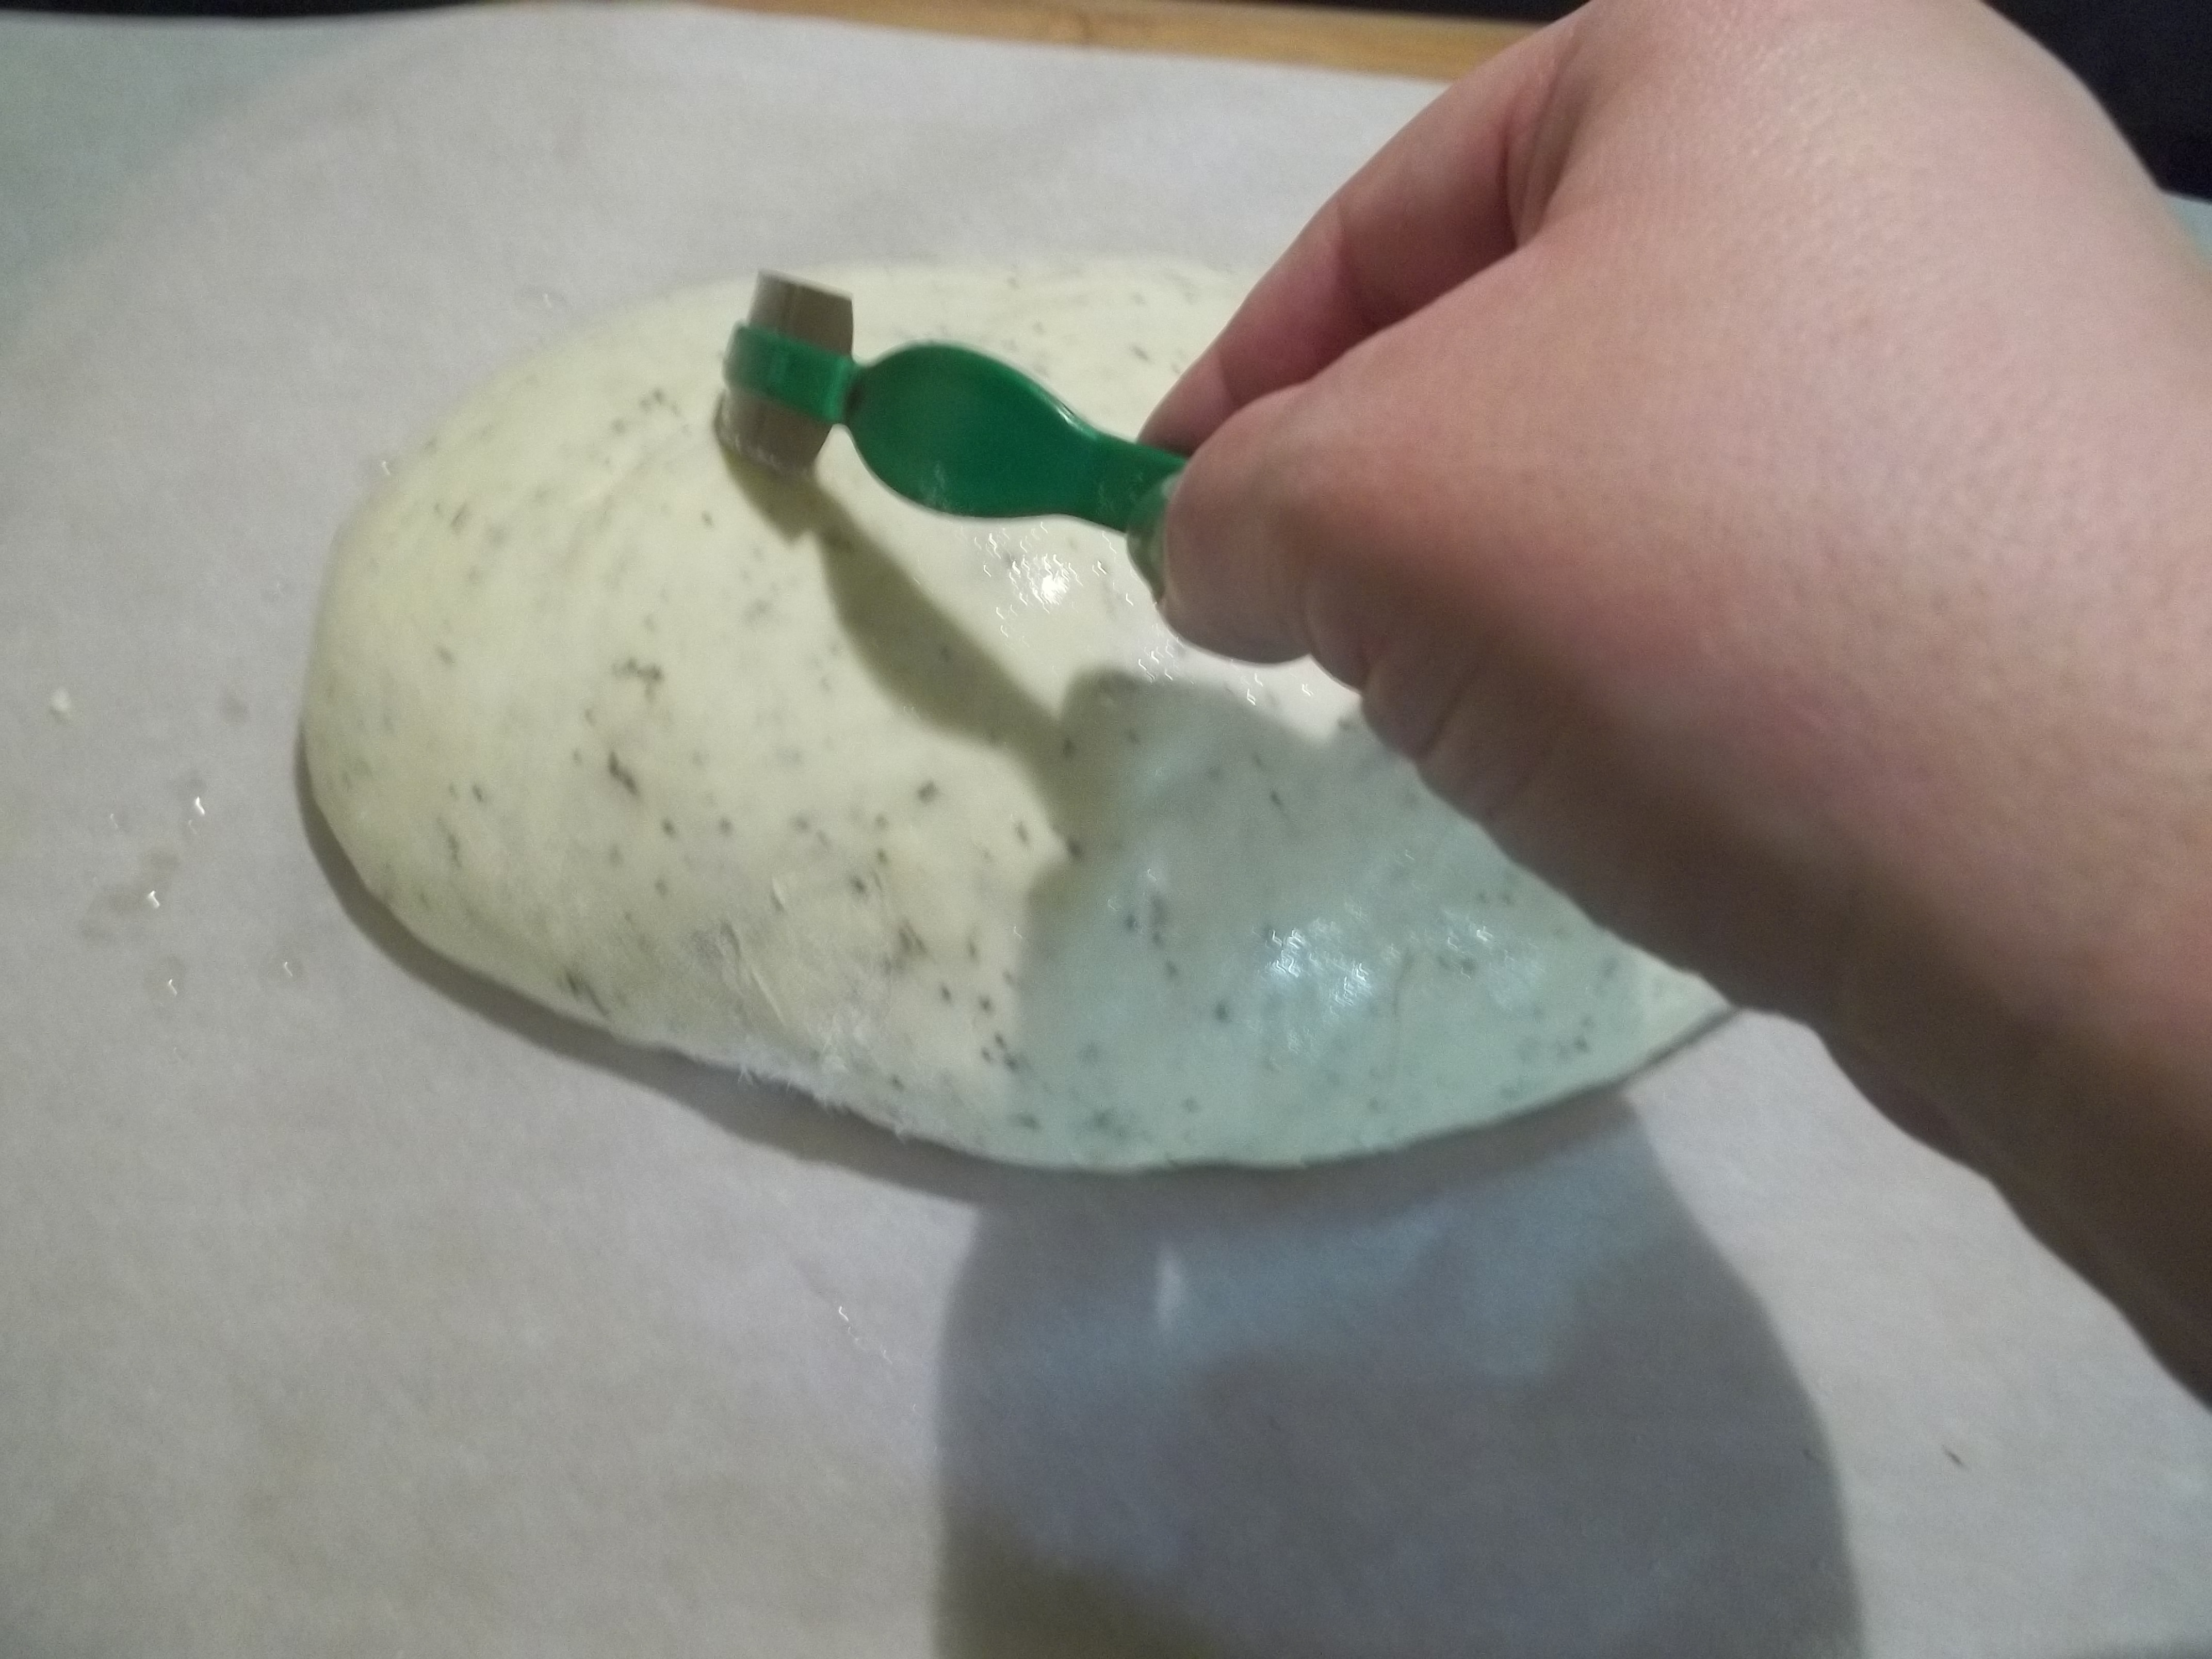
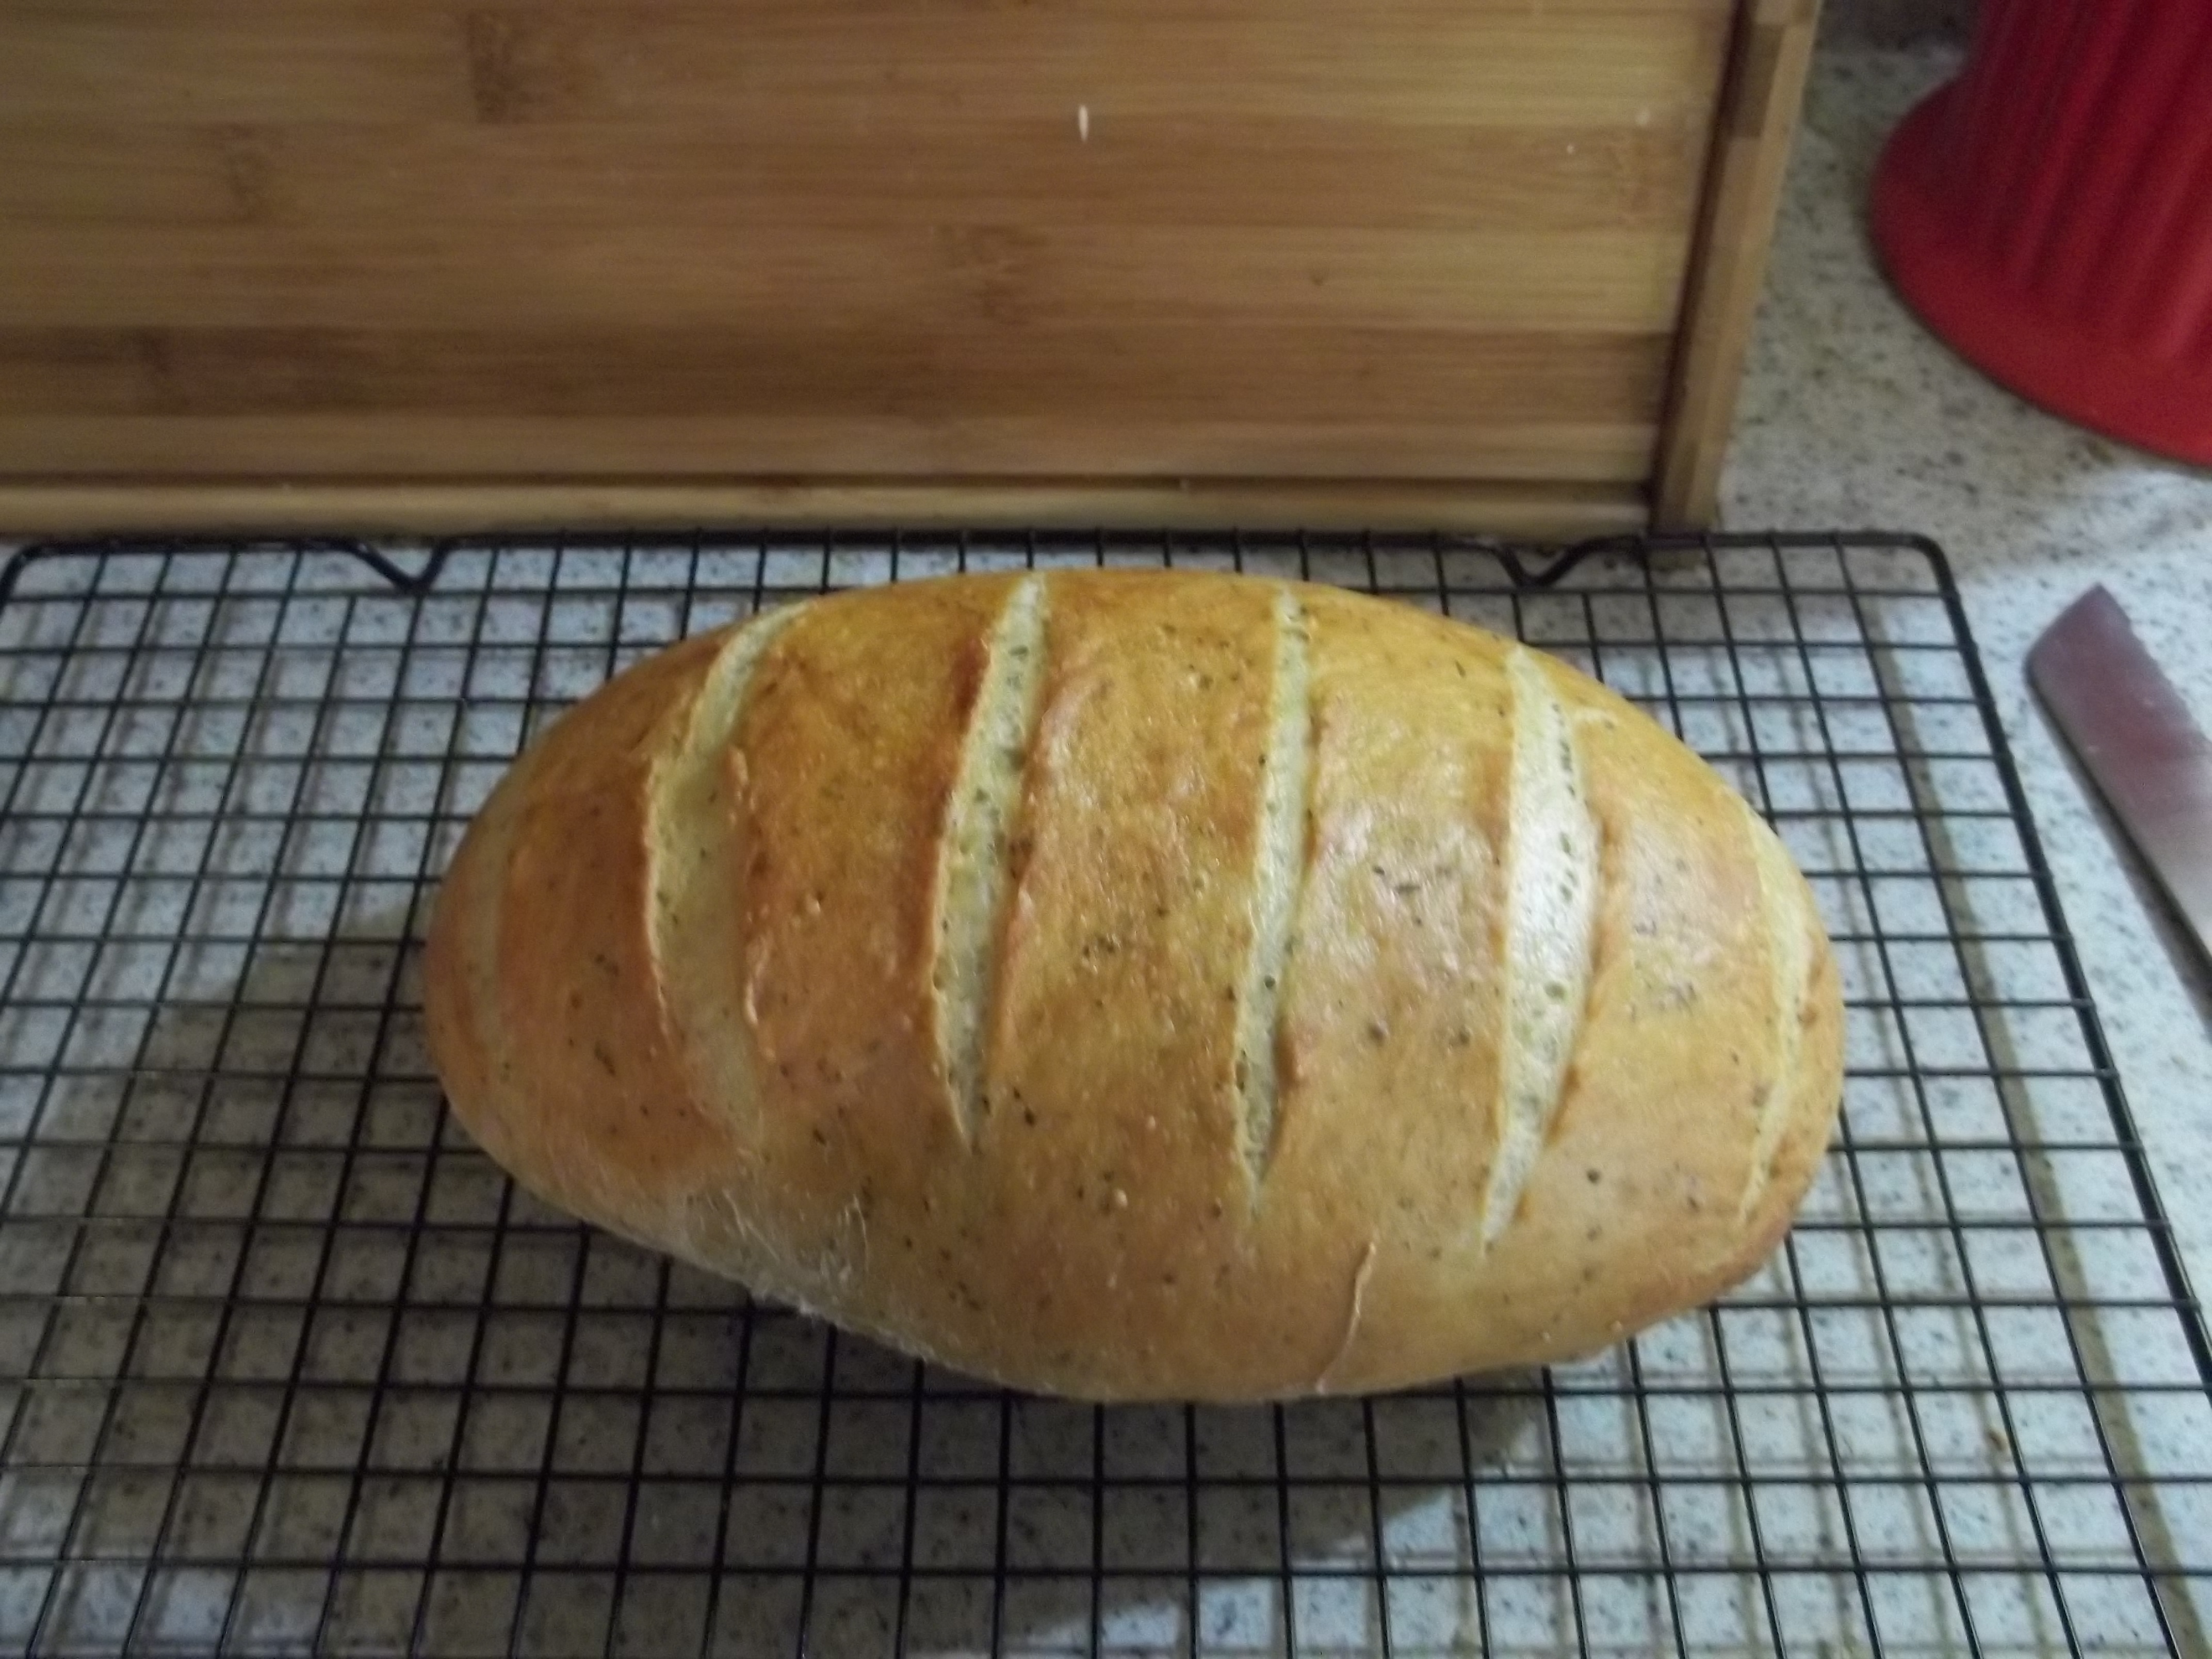
After the loaf has risen under a cloth or some loose plastic wrap for an hour and a half (half that for unrefrigerated dough), slash the loaf. This lets it rise beautifully and keep from looking like the bakery version of an alien chest-burster tried to come out of it. It helps, also, to brush the dough with water before you slash it. I actually tend to dip my hand into warm water and sort of stroke it over the bread.
That little green thing in the picture is one of those specialty tools I talked about. It’s called a lame (lAHm) and is basically a razor on a stick. It gives a good, smooth cut, but a good serrated knife will do the trick.

I tend to do several slashes and do them more-or-less parallel to one another and perpendicular to the long side of the loaf. You can do them diagonally or even down the length of the loaf if you want. As far as I’ve been able to tell, it’s really an aesthetic preference. At this point, you slide the loaf into the oven and pour some hot water into the steaming pan before quickly getting the door shut. You really want the steam to stay in there.
This is a lean dough and it doesn’t take long to bake. This loaf took 35 minutes to get to this golden-brown color. It should sound hollow if you turn it over and thump it on the bottom. If you want to get really technical, you can use a quick-read thermometer to check that the temperature in the center is about 220, but it’s my experience that you’ll figure out pretty quickly when your bread is done.
This is the bread that is most-requested when I ask what kind of bread I should make for pot-lucks, team functions, and other such gatherings. The first runner-up is the Hawaiian bread recipe I ganked from Facebook. That seems to be the hands-down favorite at my mom’s house.
The herbed bread is one of my favorites because it engages so many senses. It’s got a mouth-watering scent, the crust is a fantastic golden color, the crust has a wonderful chew, the flavor is spectacular. All from just adding a tablespoon of seasoning.