It’s more sweets this week. Or at least half sweets and half something that could be turned into sweets. The first half are my dark-chocolate thoroughly sinful brownies. The second 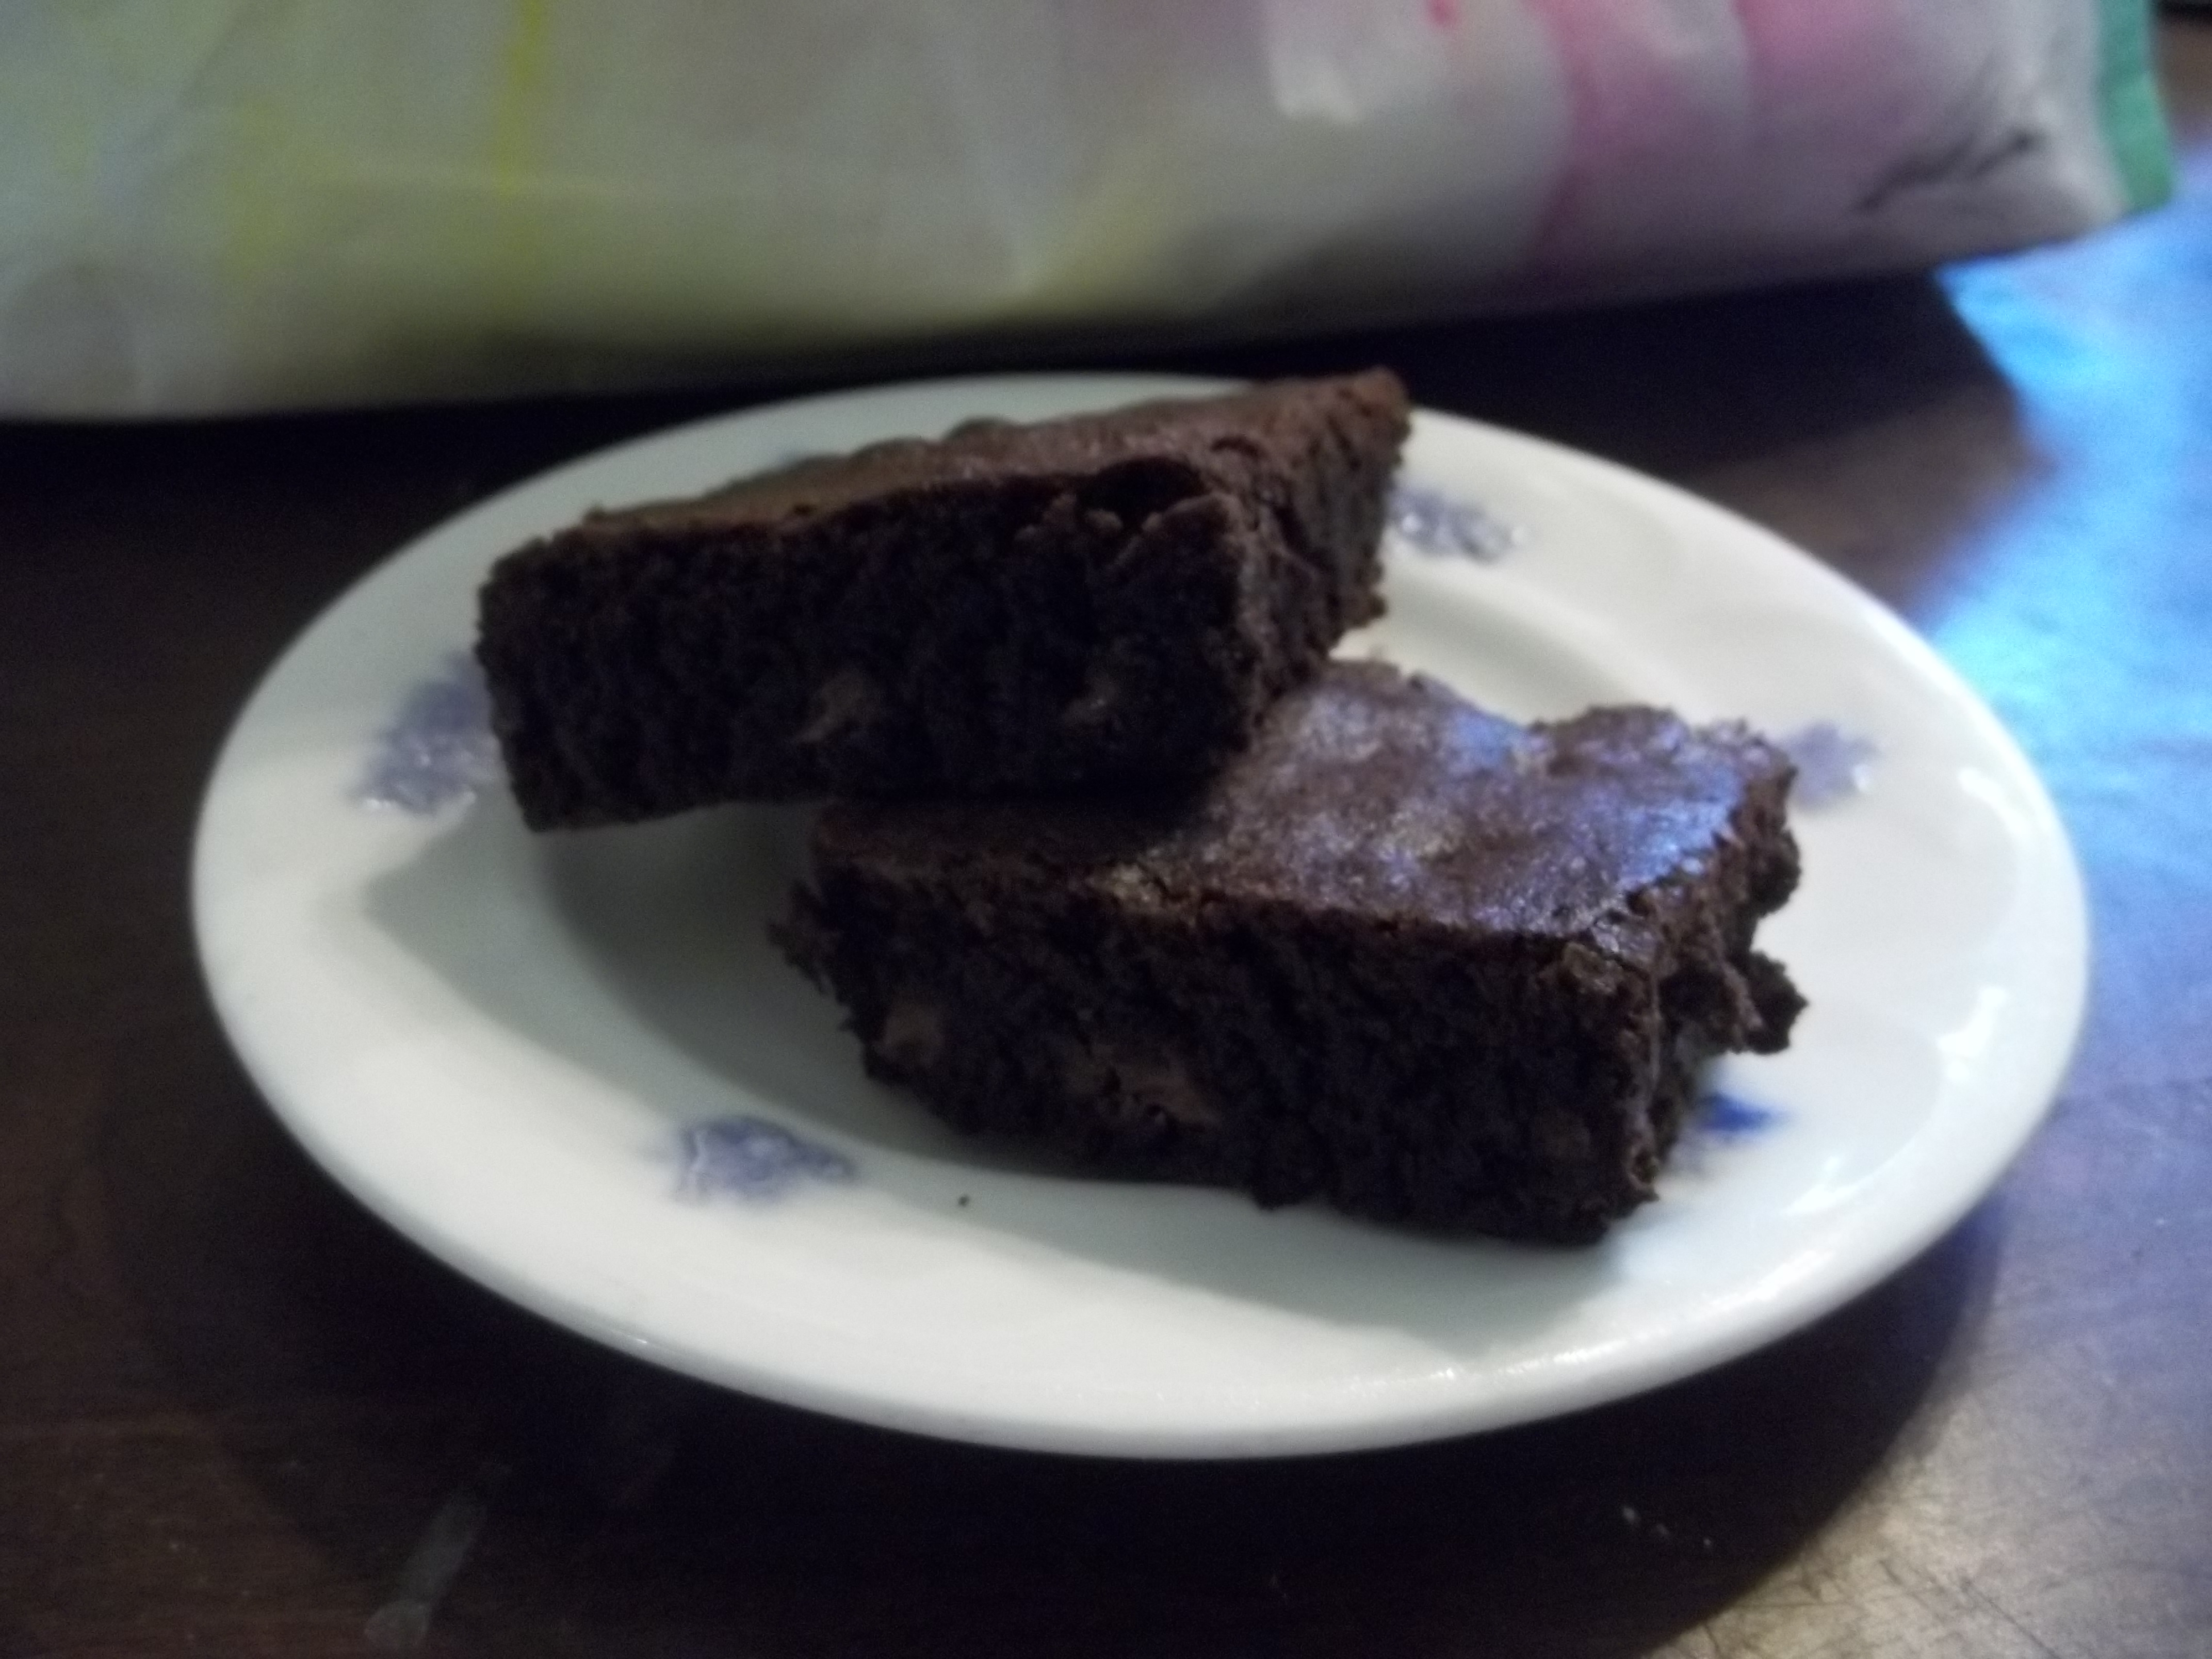 half is pie crust, which I haven’t actually tried to make anything sweet out of yet.
The brownies are my own recipe, something I’ve fiddled with until I’ve come up with something that I’m happy with and that people seem to enjoy. Some recipes were just a little too gooey. Some were far too cake. These seem to come out just perfectly fudgey and dense.
I am a fan of chocolate, in case you hadn’t guessed, but I am much more a fan of dark chocolate than any other sort. My whole household agrees with me on this, which is why my cocoa mix and my brownie recipe are both at least half dark cocoa. I’m sure this could come out fine with regular old cocoa, but I haven’t wanted to try.
This is the range of cocoas I have in my pantry right now. From left to right: black cocoa, Bensdorp dutch process cocoa, Double-Dutch cocoa, and plain old Hershey’s cocoa.
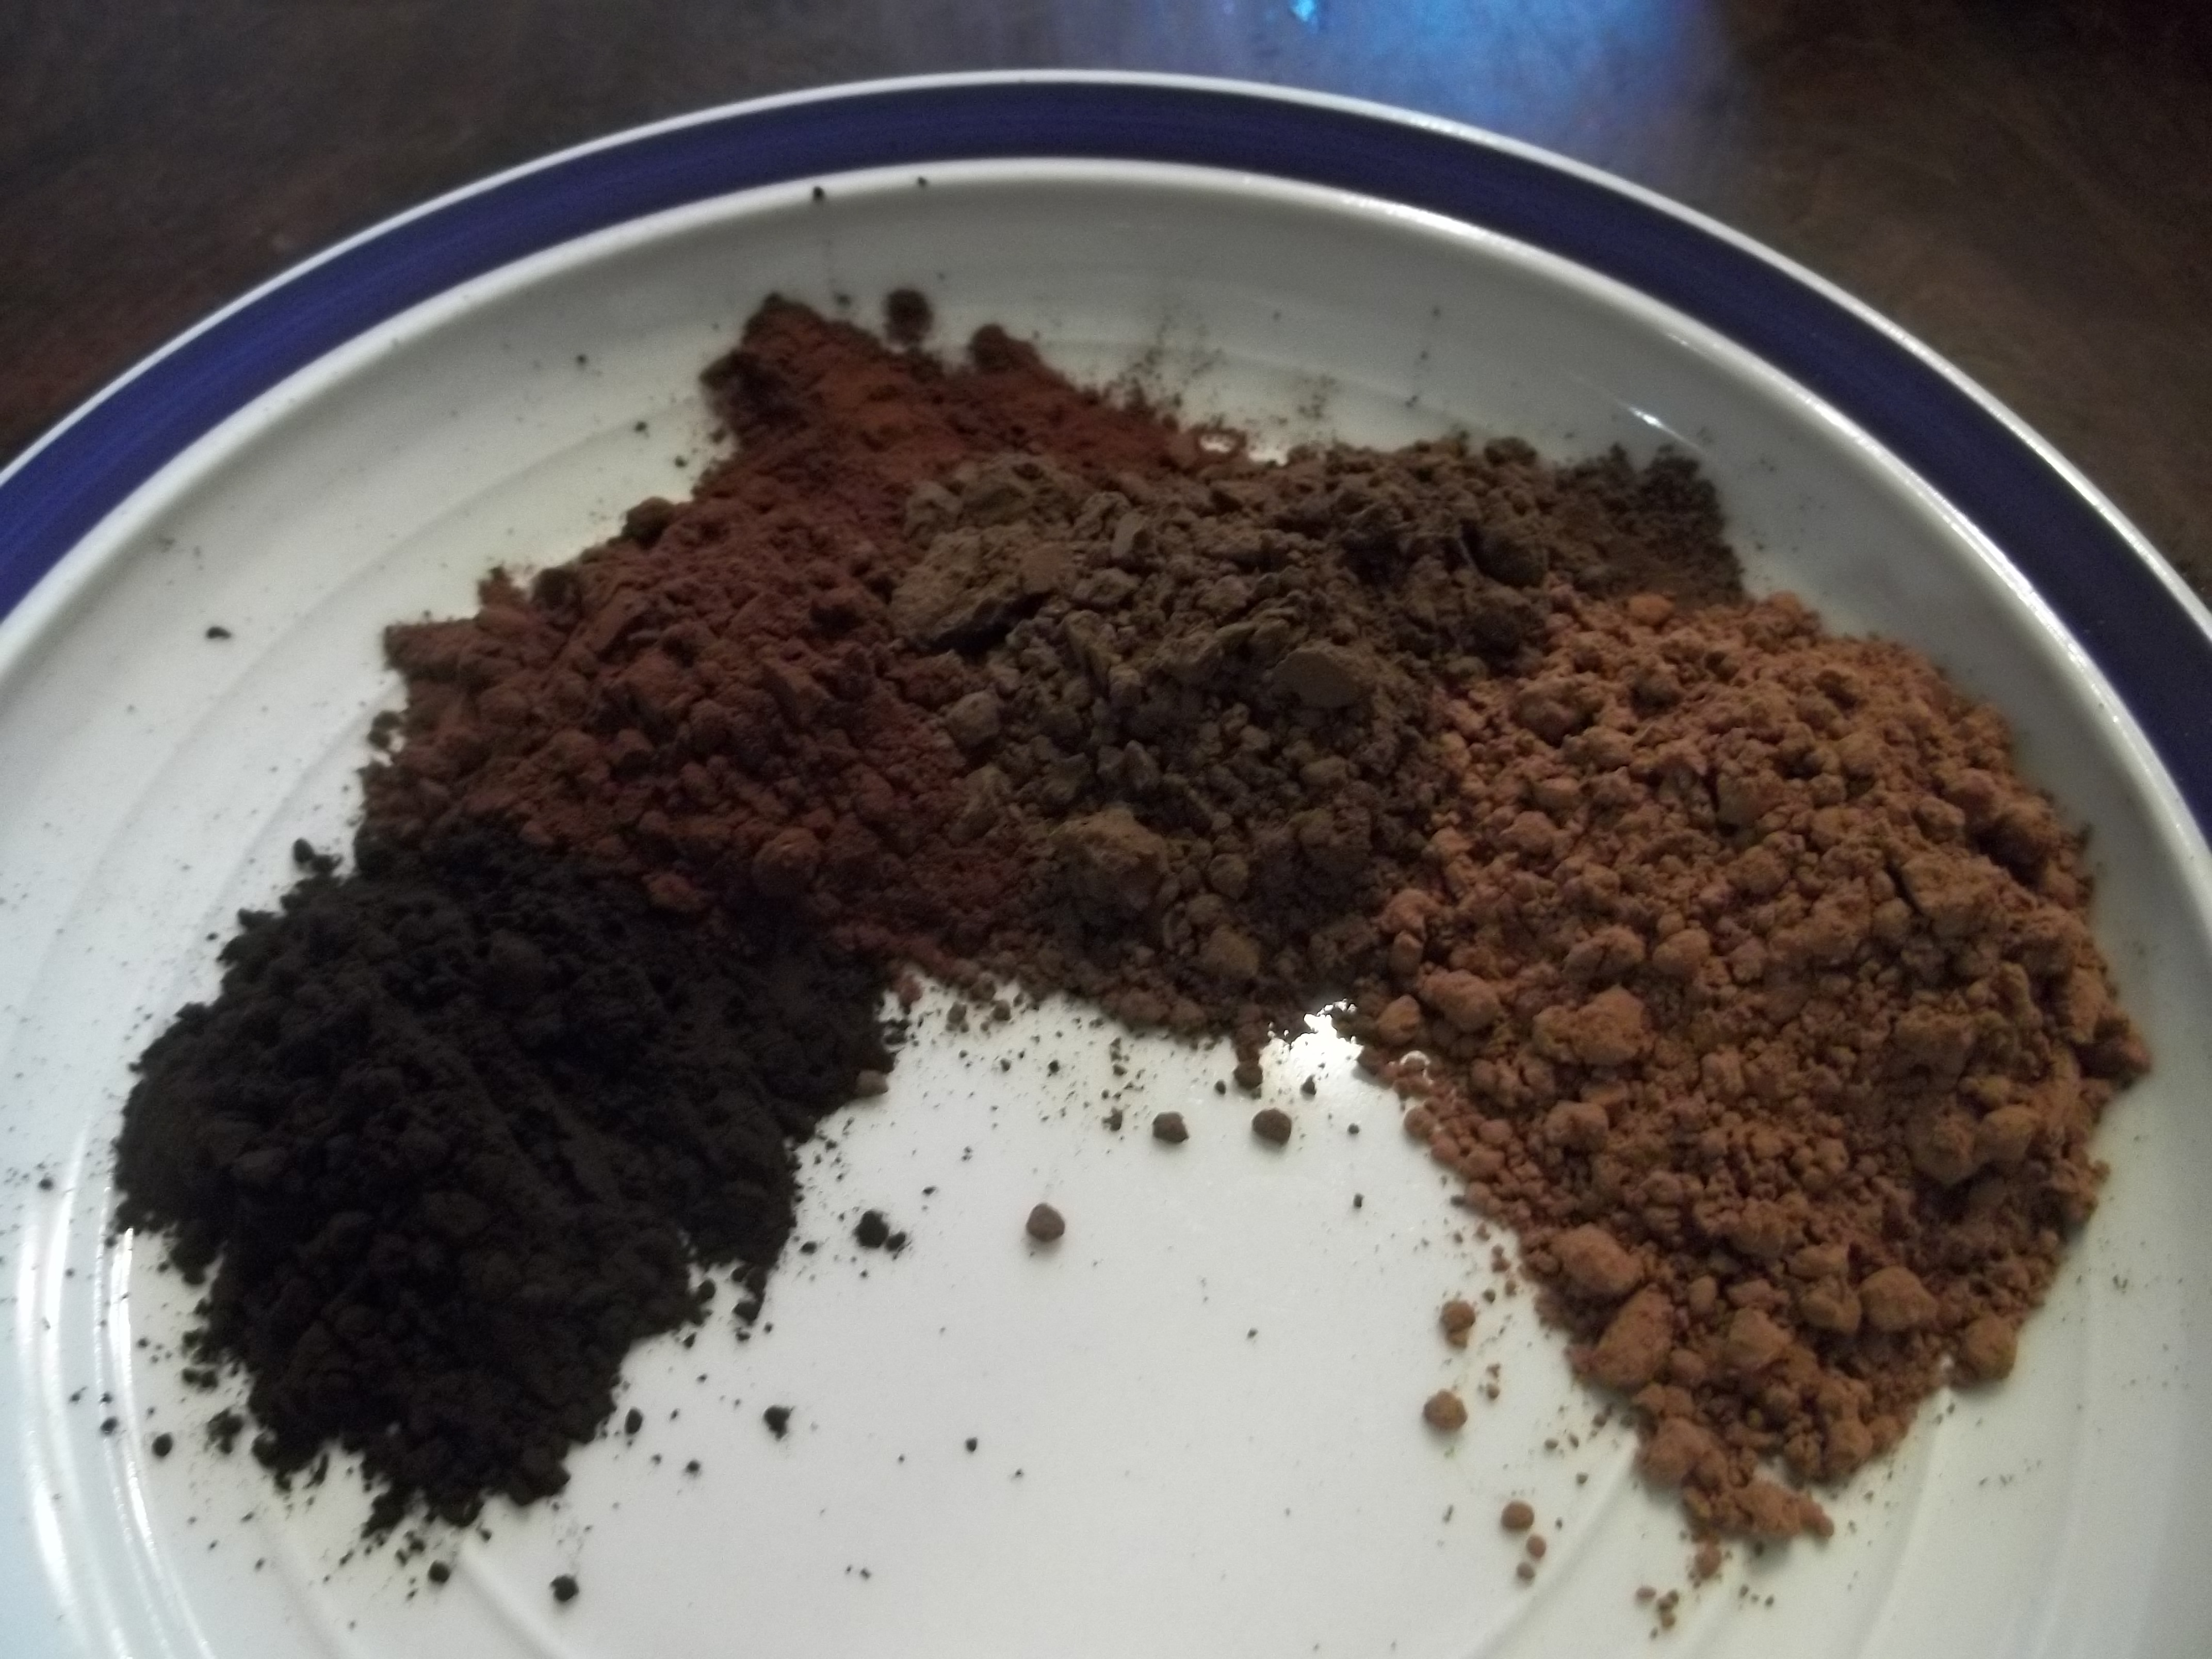
The black cocoa is, obviously, the darkest of the lot and just a little too bitter to use on its own. I’ve got it for adding color to things like brownies and pumpernickel bread. And because it smells absolutely heavenly. The Bensdorp is a wonderful rich cocoa and has been my go-to for a darker, richer cocoa than your standard Hershey’s. It’s a full-fat cocoa and is just as sinful as it sounds. The Double-Dutch is a lower-fat cocoa, but it’s got some of the black cocoa in it to lend it deeper flavor and color. Hershey’s is your standard cocoa, or at least it is for most folks I’ve ever encountered. It’s a perfectly good cocoa, but I’m getting snobby in my old age.
This recipe uses baking powder, so Dutch-process cocoa is fine for it. Recipes with baking soda apparently don’t work as well with Dutch-process cocoa, but I haven’t experimented much yet to find out what the difference might be.
Speaking of the recipe:
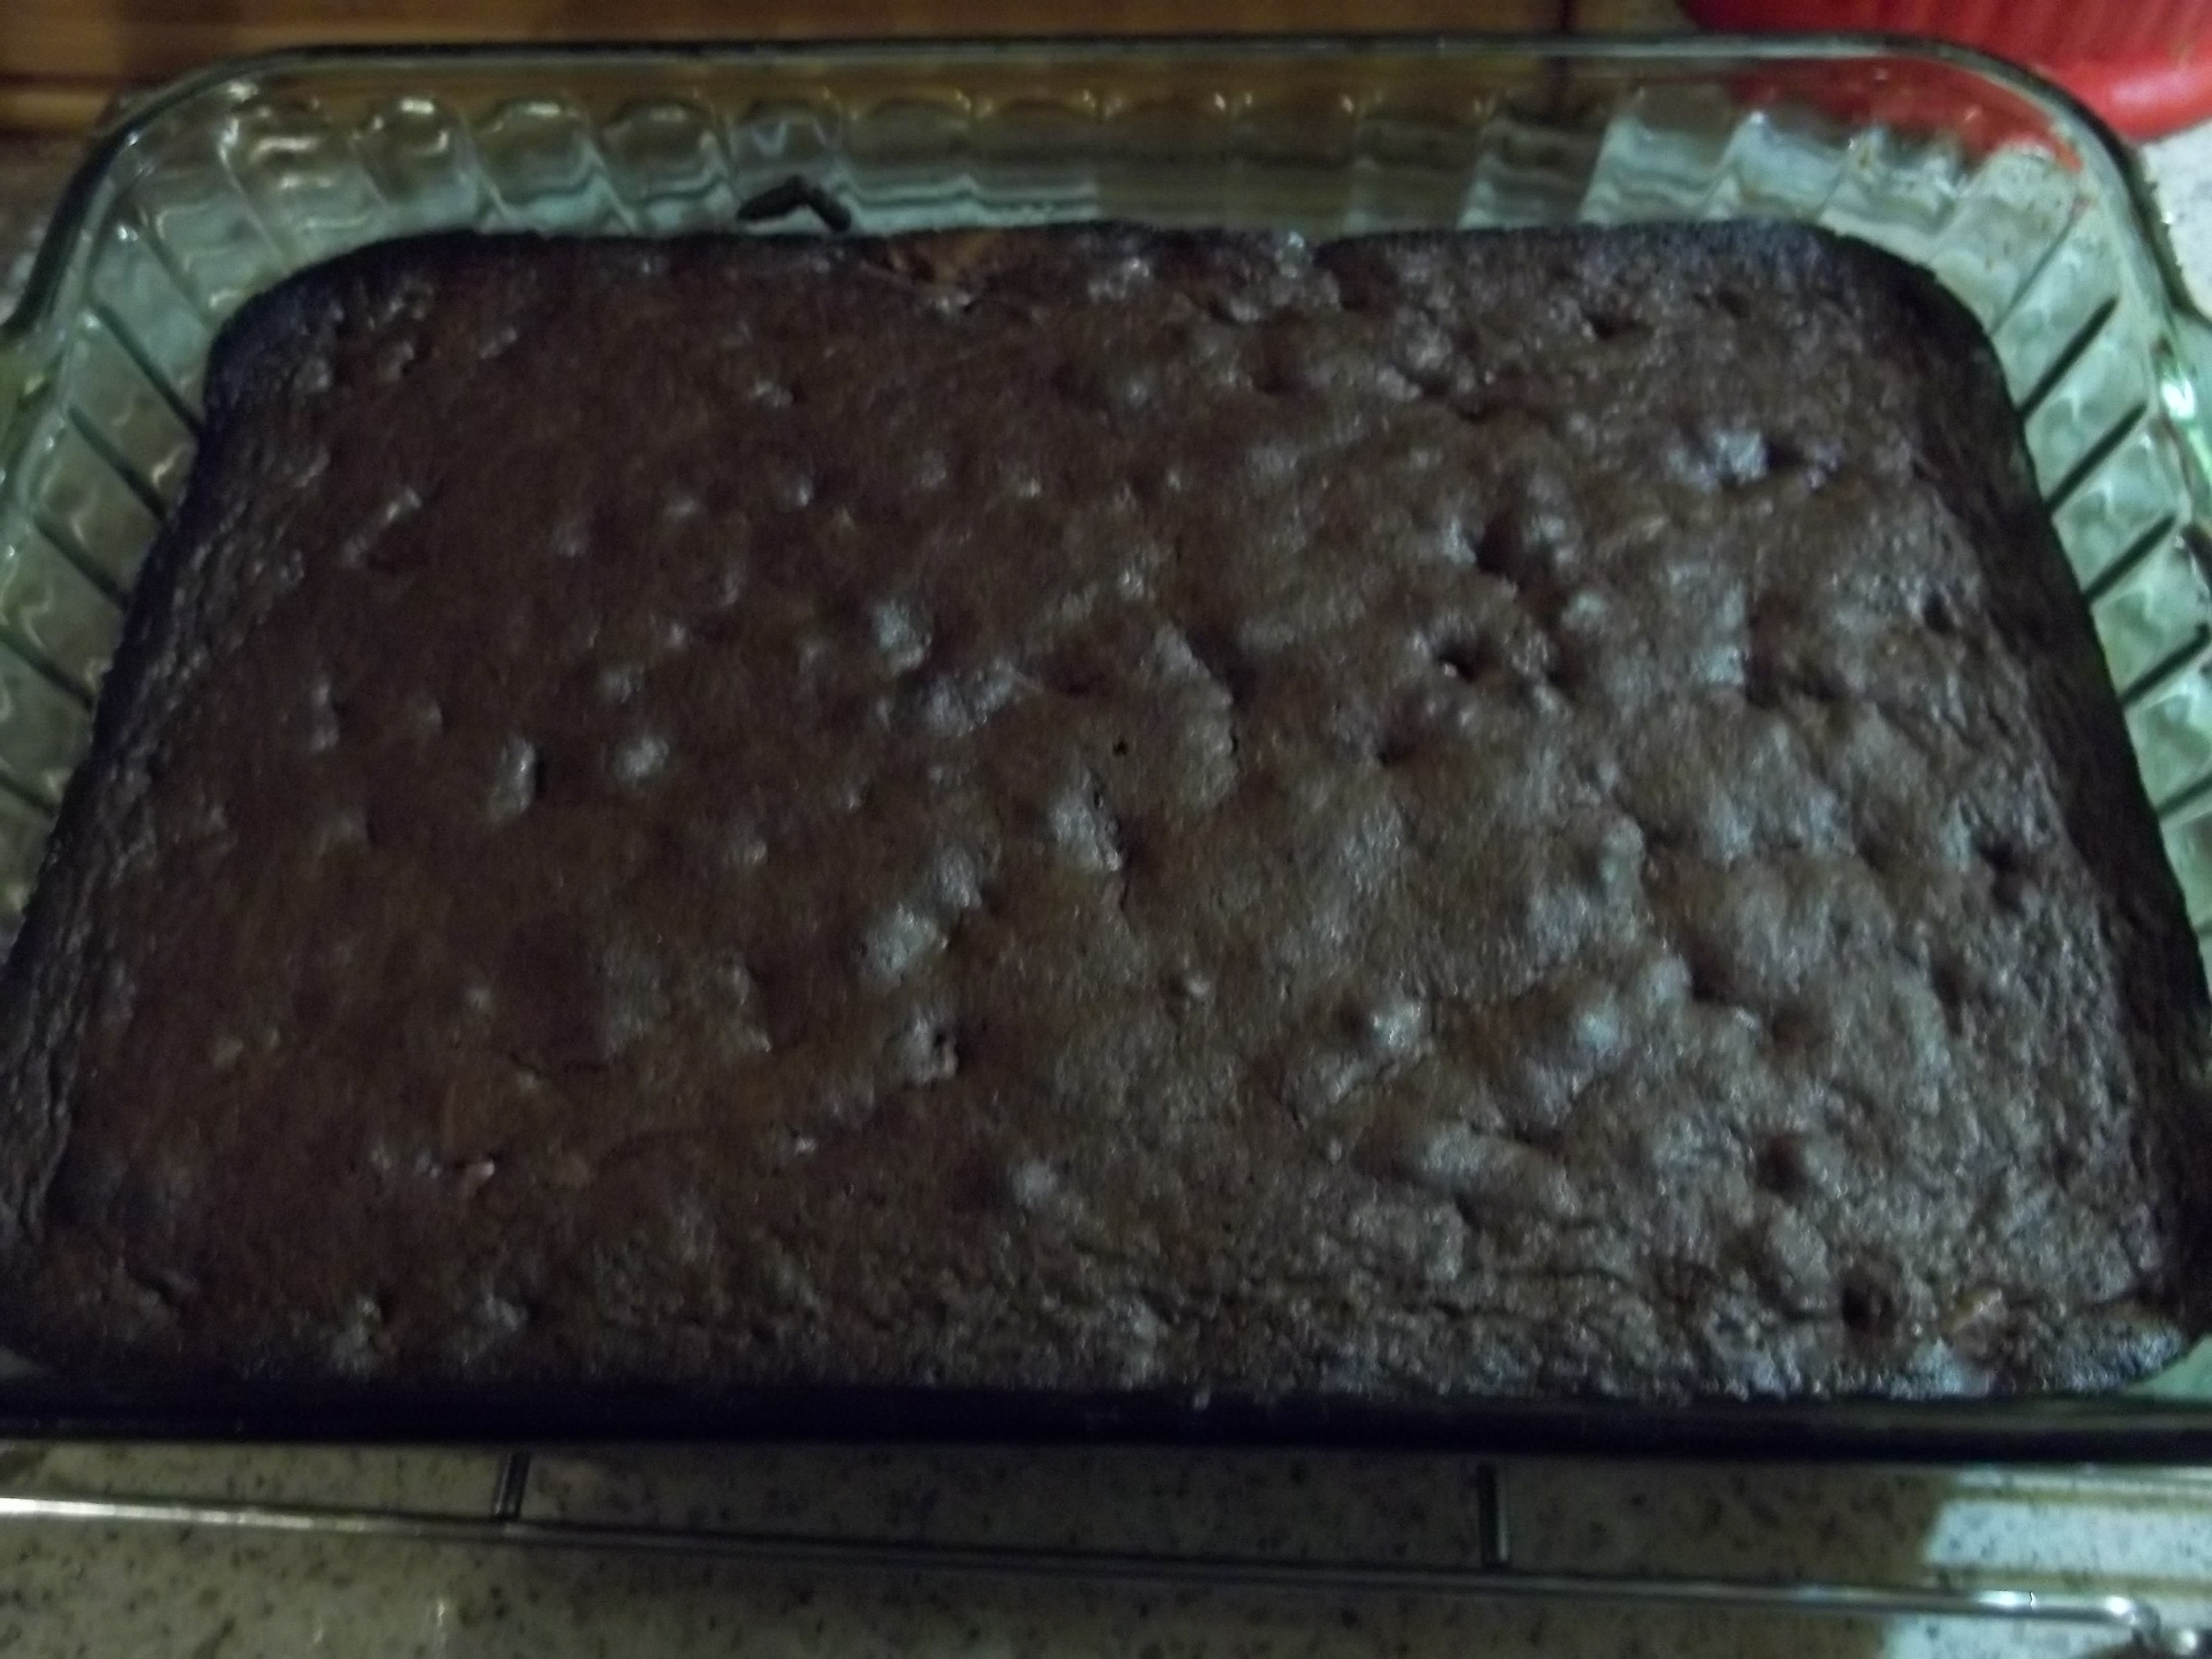
Preheat the oven to 375 degrees and grease a 9X13 pan. I use my Pyrex, but I have used our Edge brownie pan and had this recipe come out wonderfully.
2 cups sugar
1 cup all-purpose flour
1/3 cup unsweetened cocoa
1/3 cup dark cocoa (I used the Double Dutch this time)
1/2 tsp baking powder
1/2 (heaping) salt
2 tsp vanilla extract
4 eggs
1 cup oil
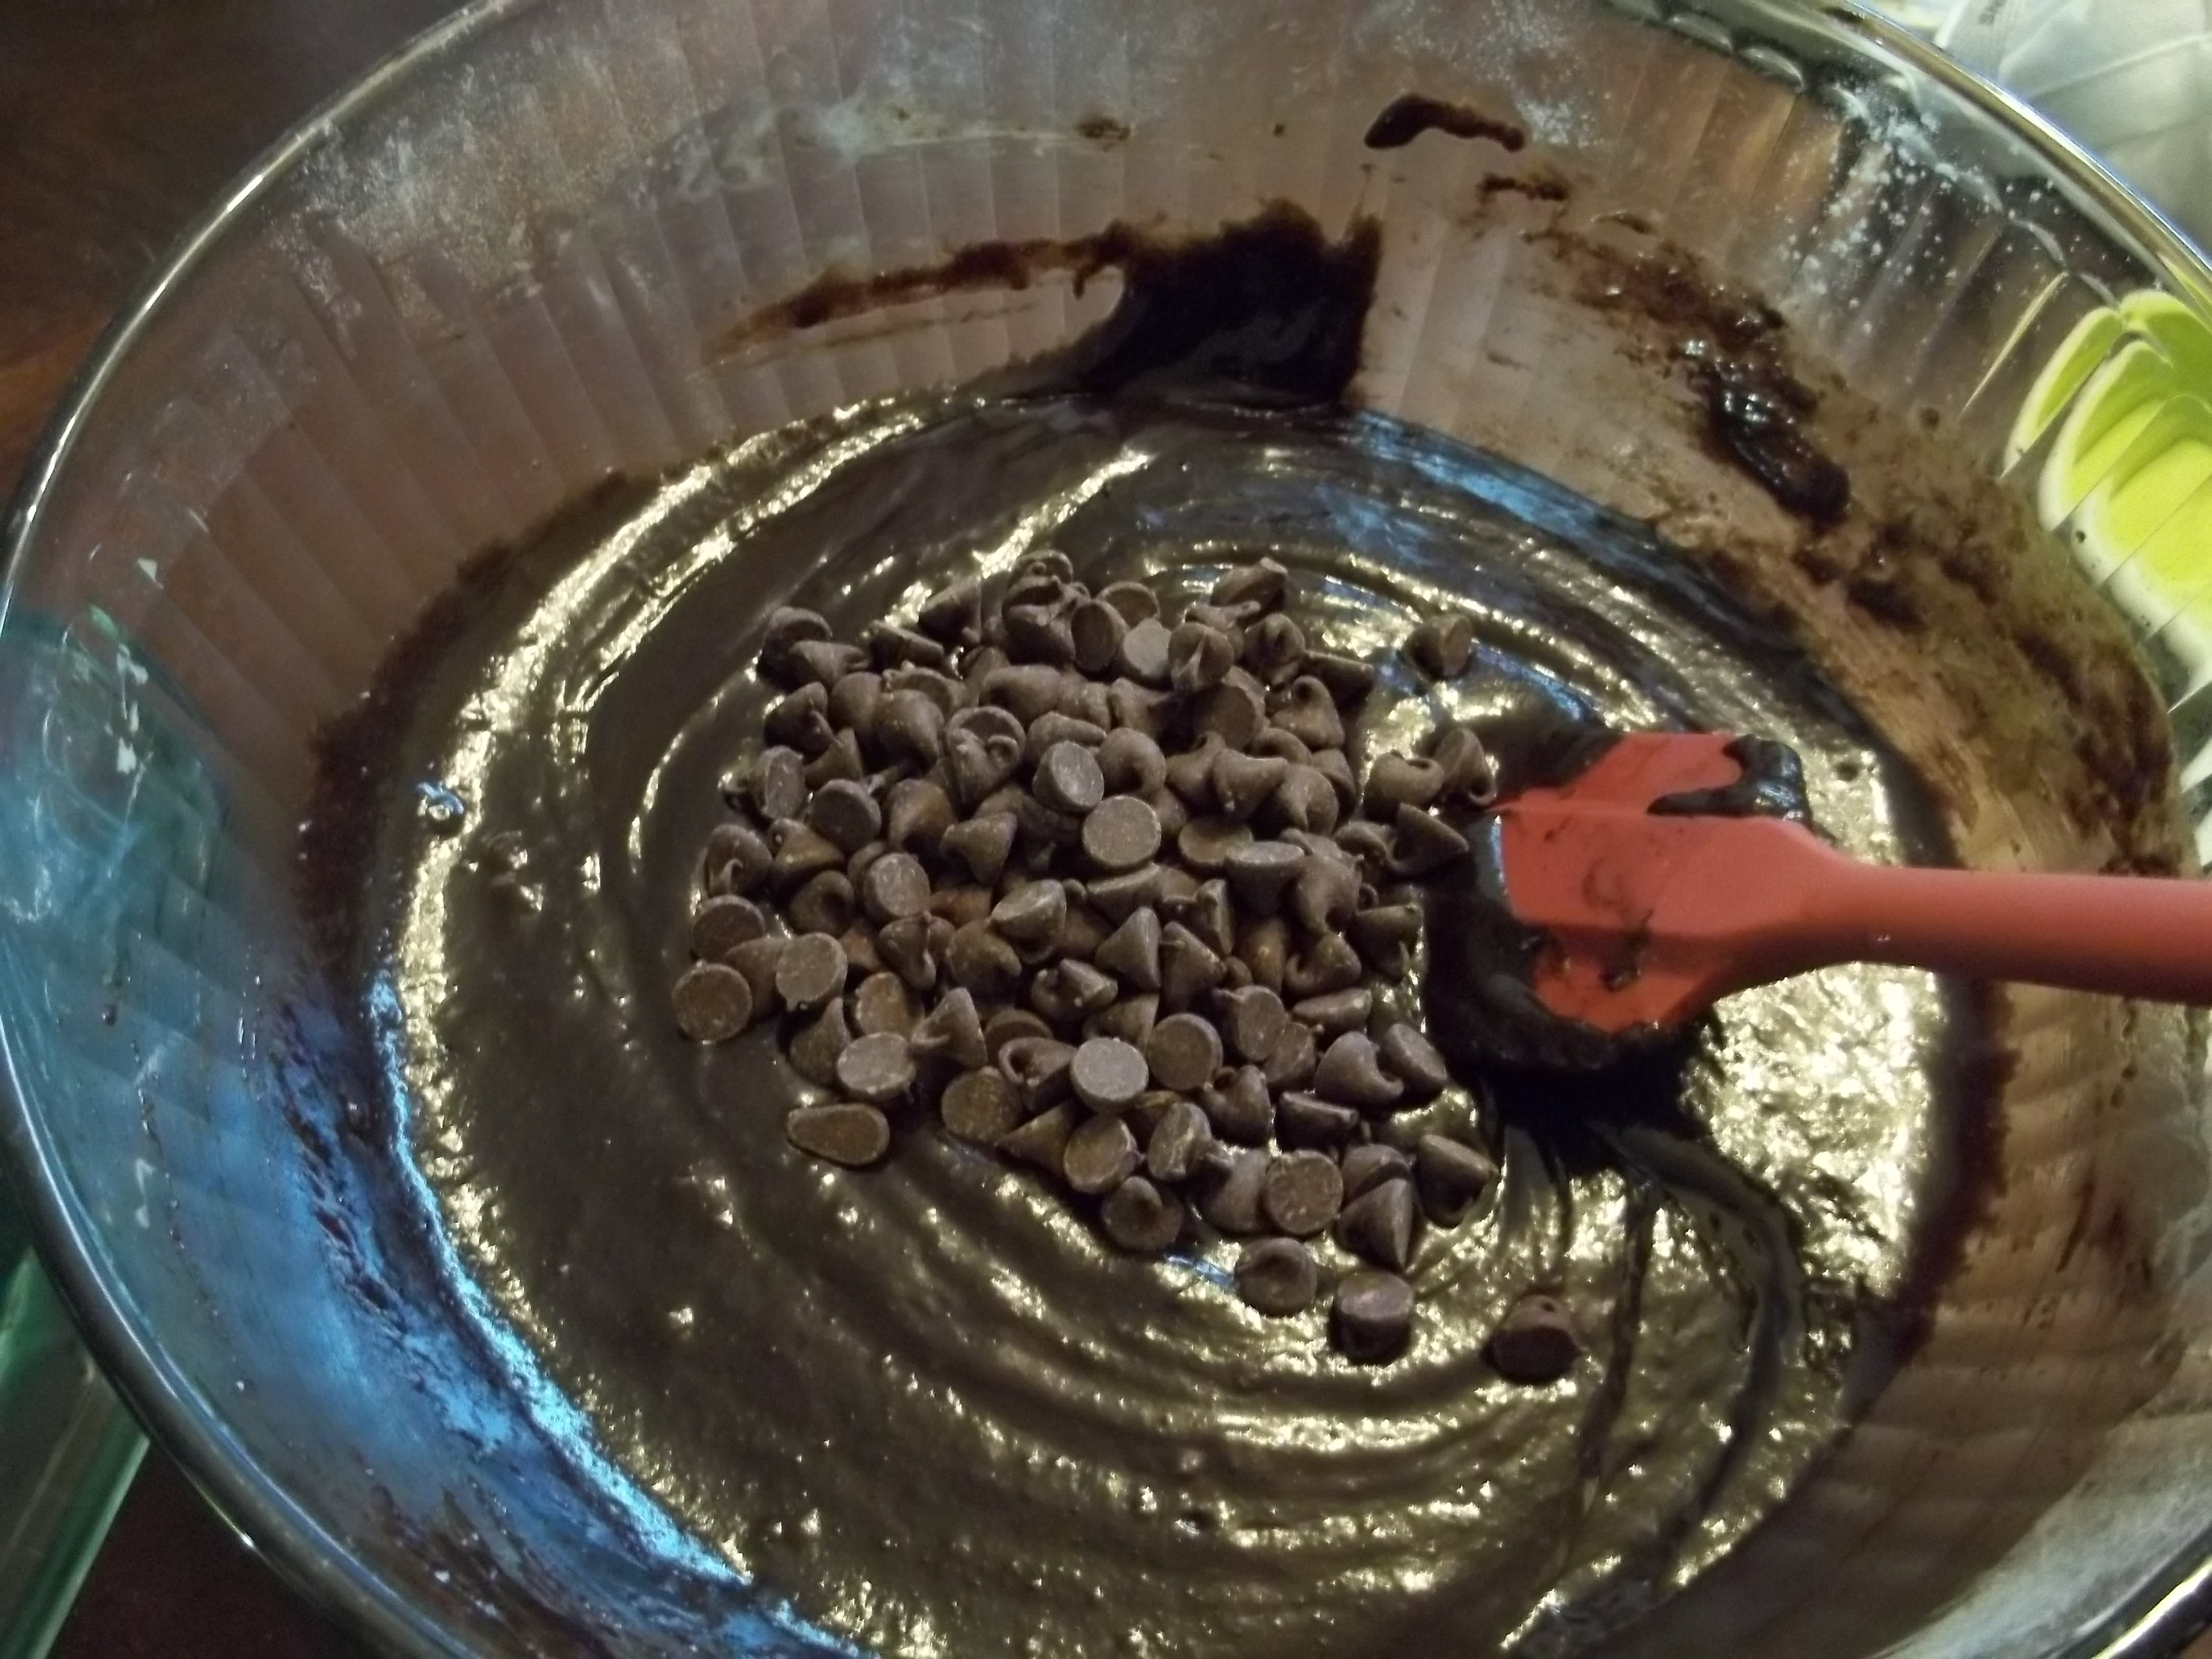
Optional: 1/2 cup chocolate chips or M&M’s or chopped nuts. Or a mixture of your favorites. The chocolate chips add a little extra goo to the middle of the brownies.
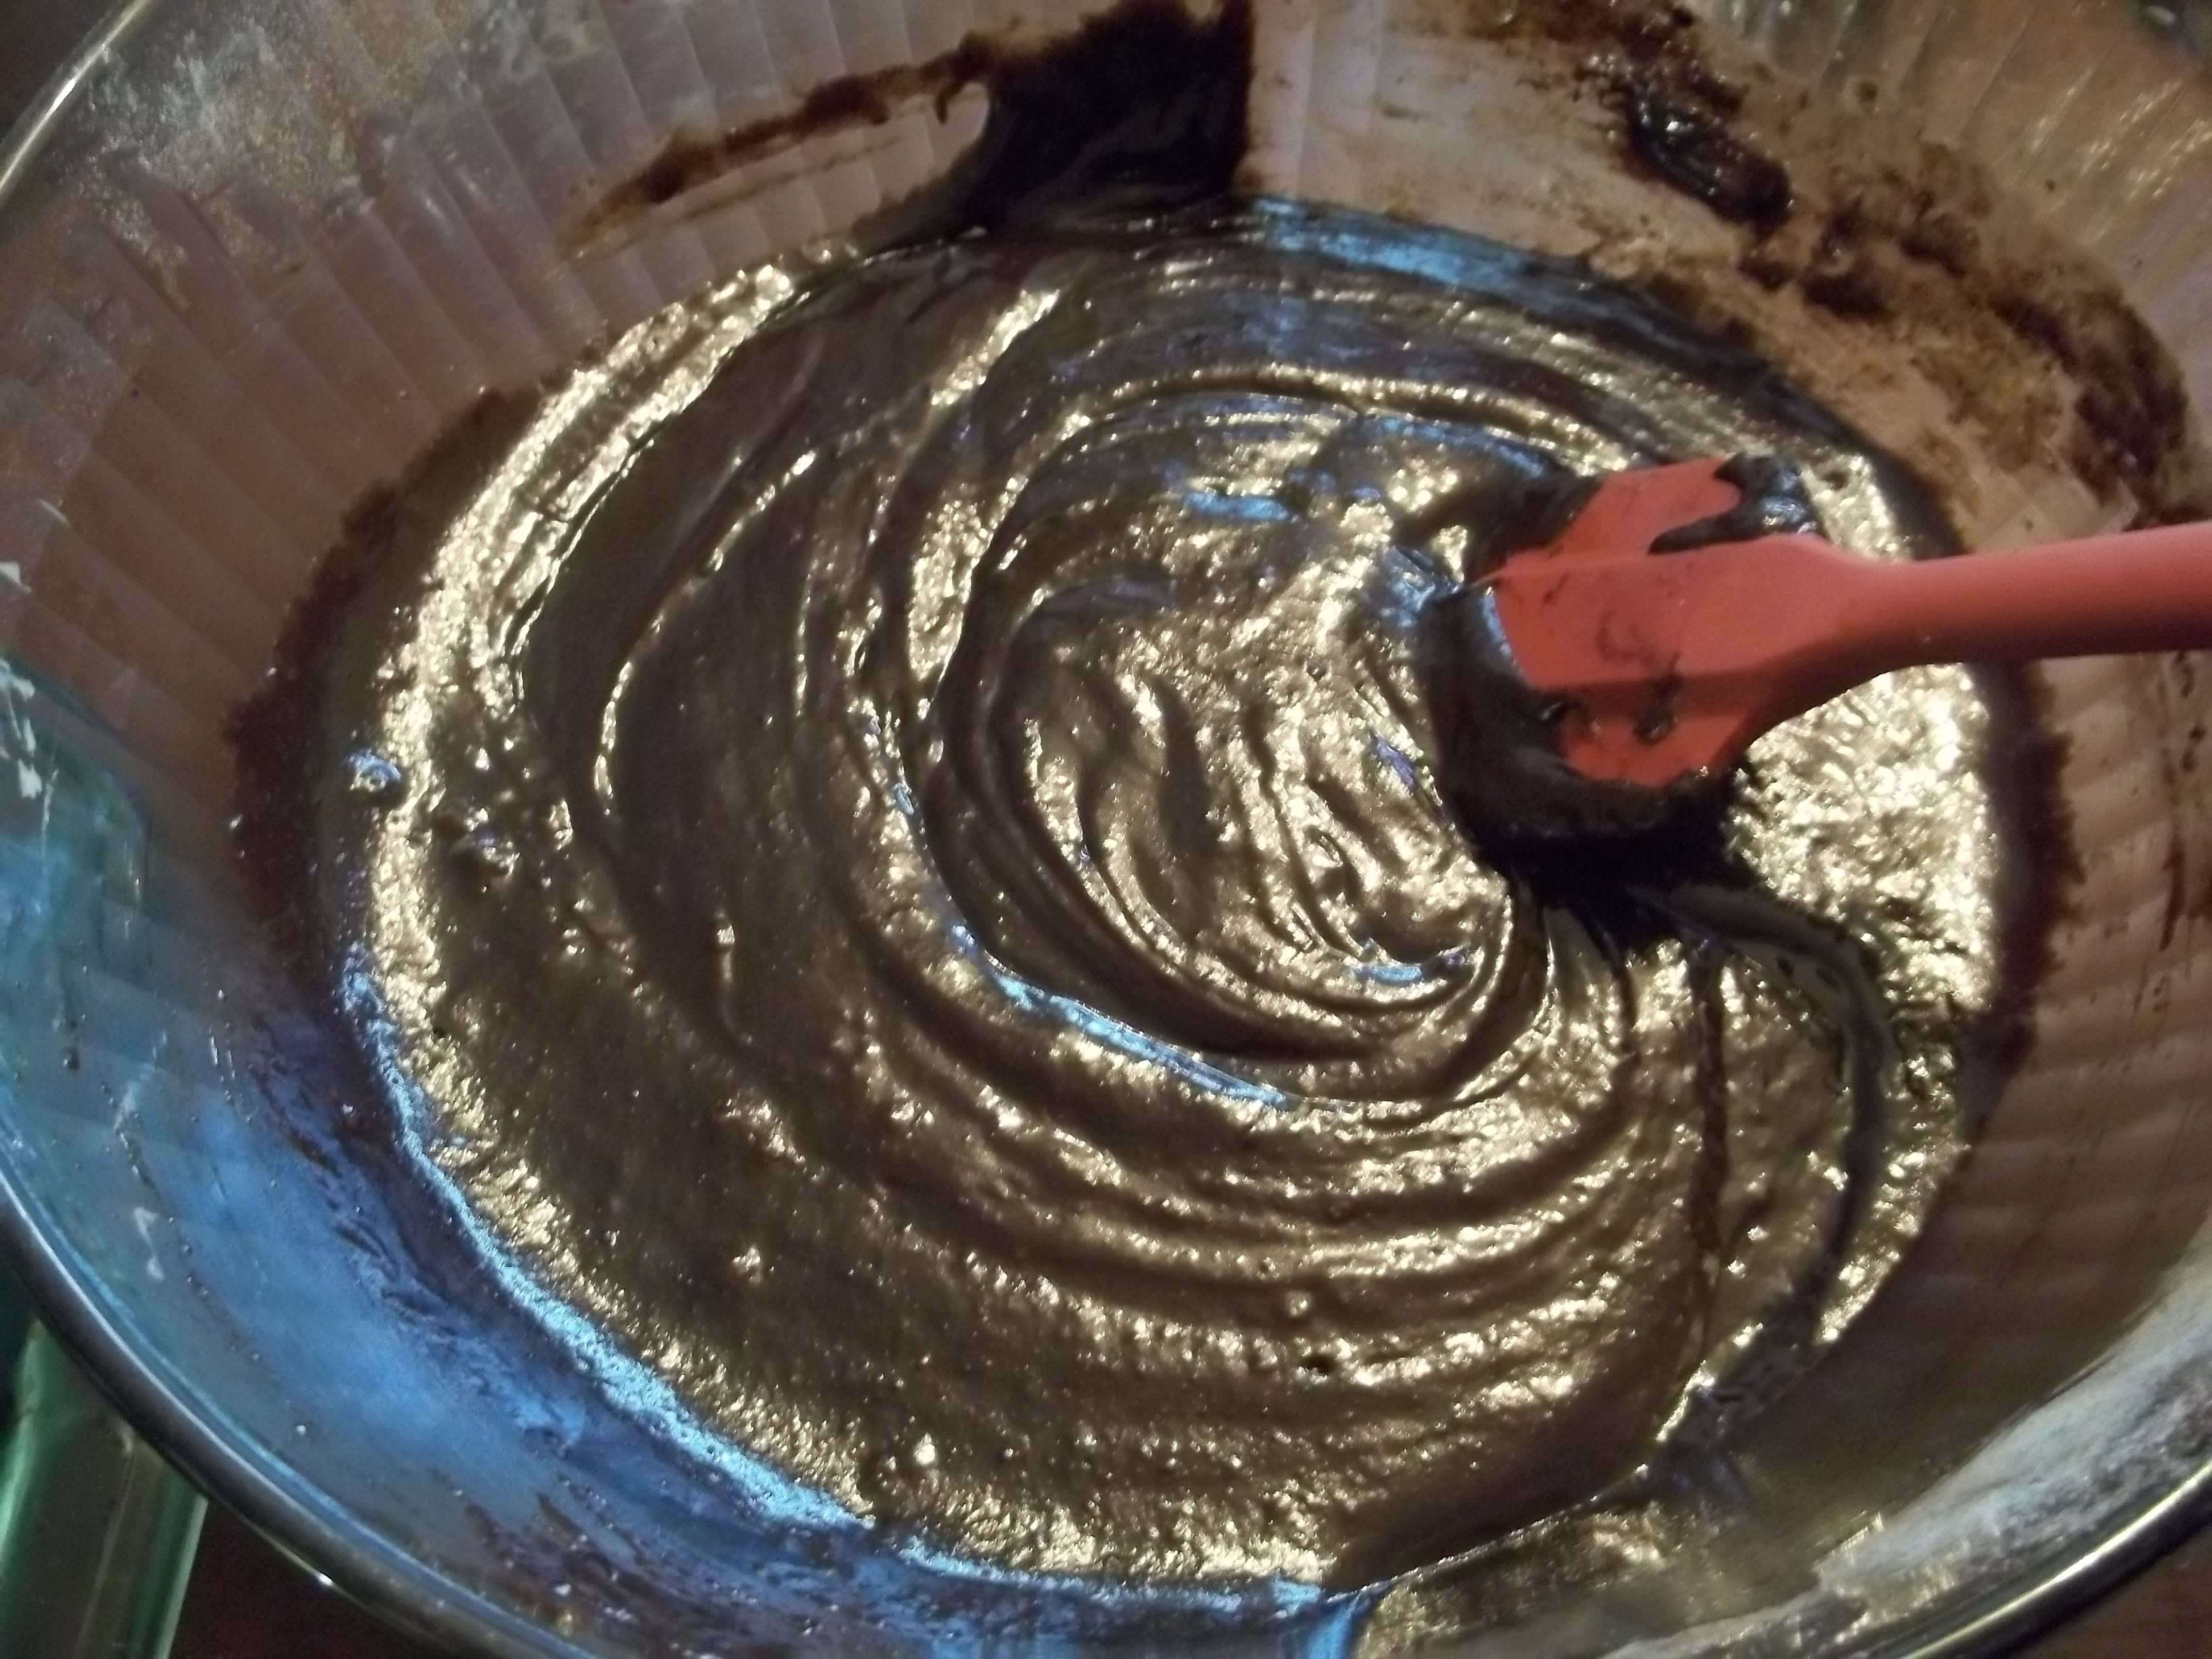
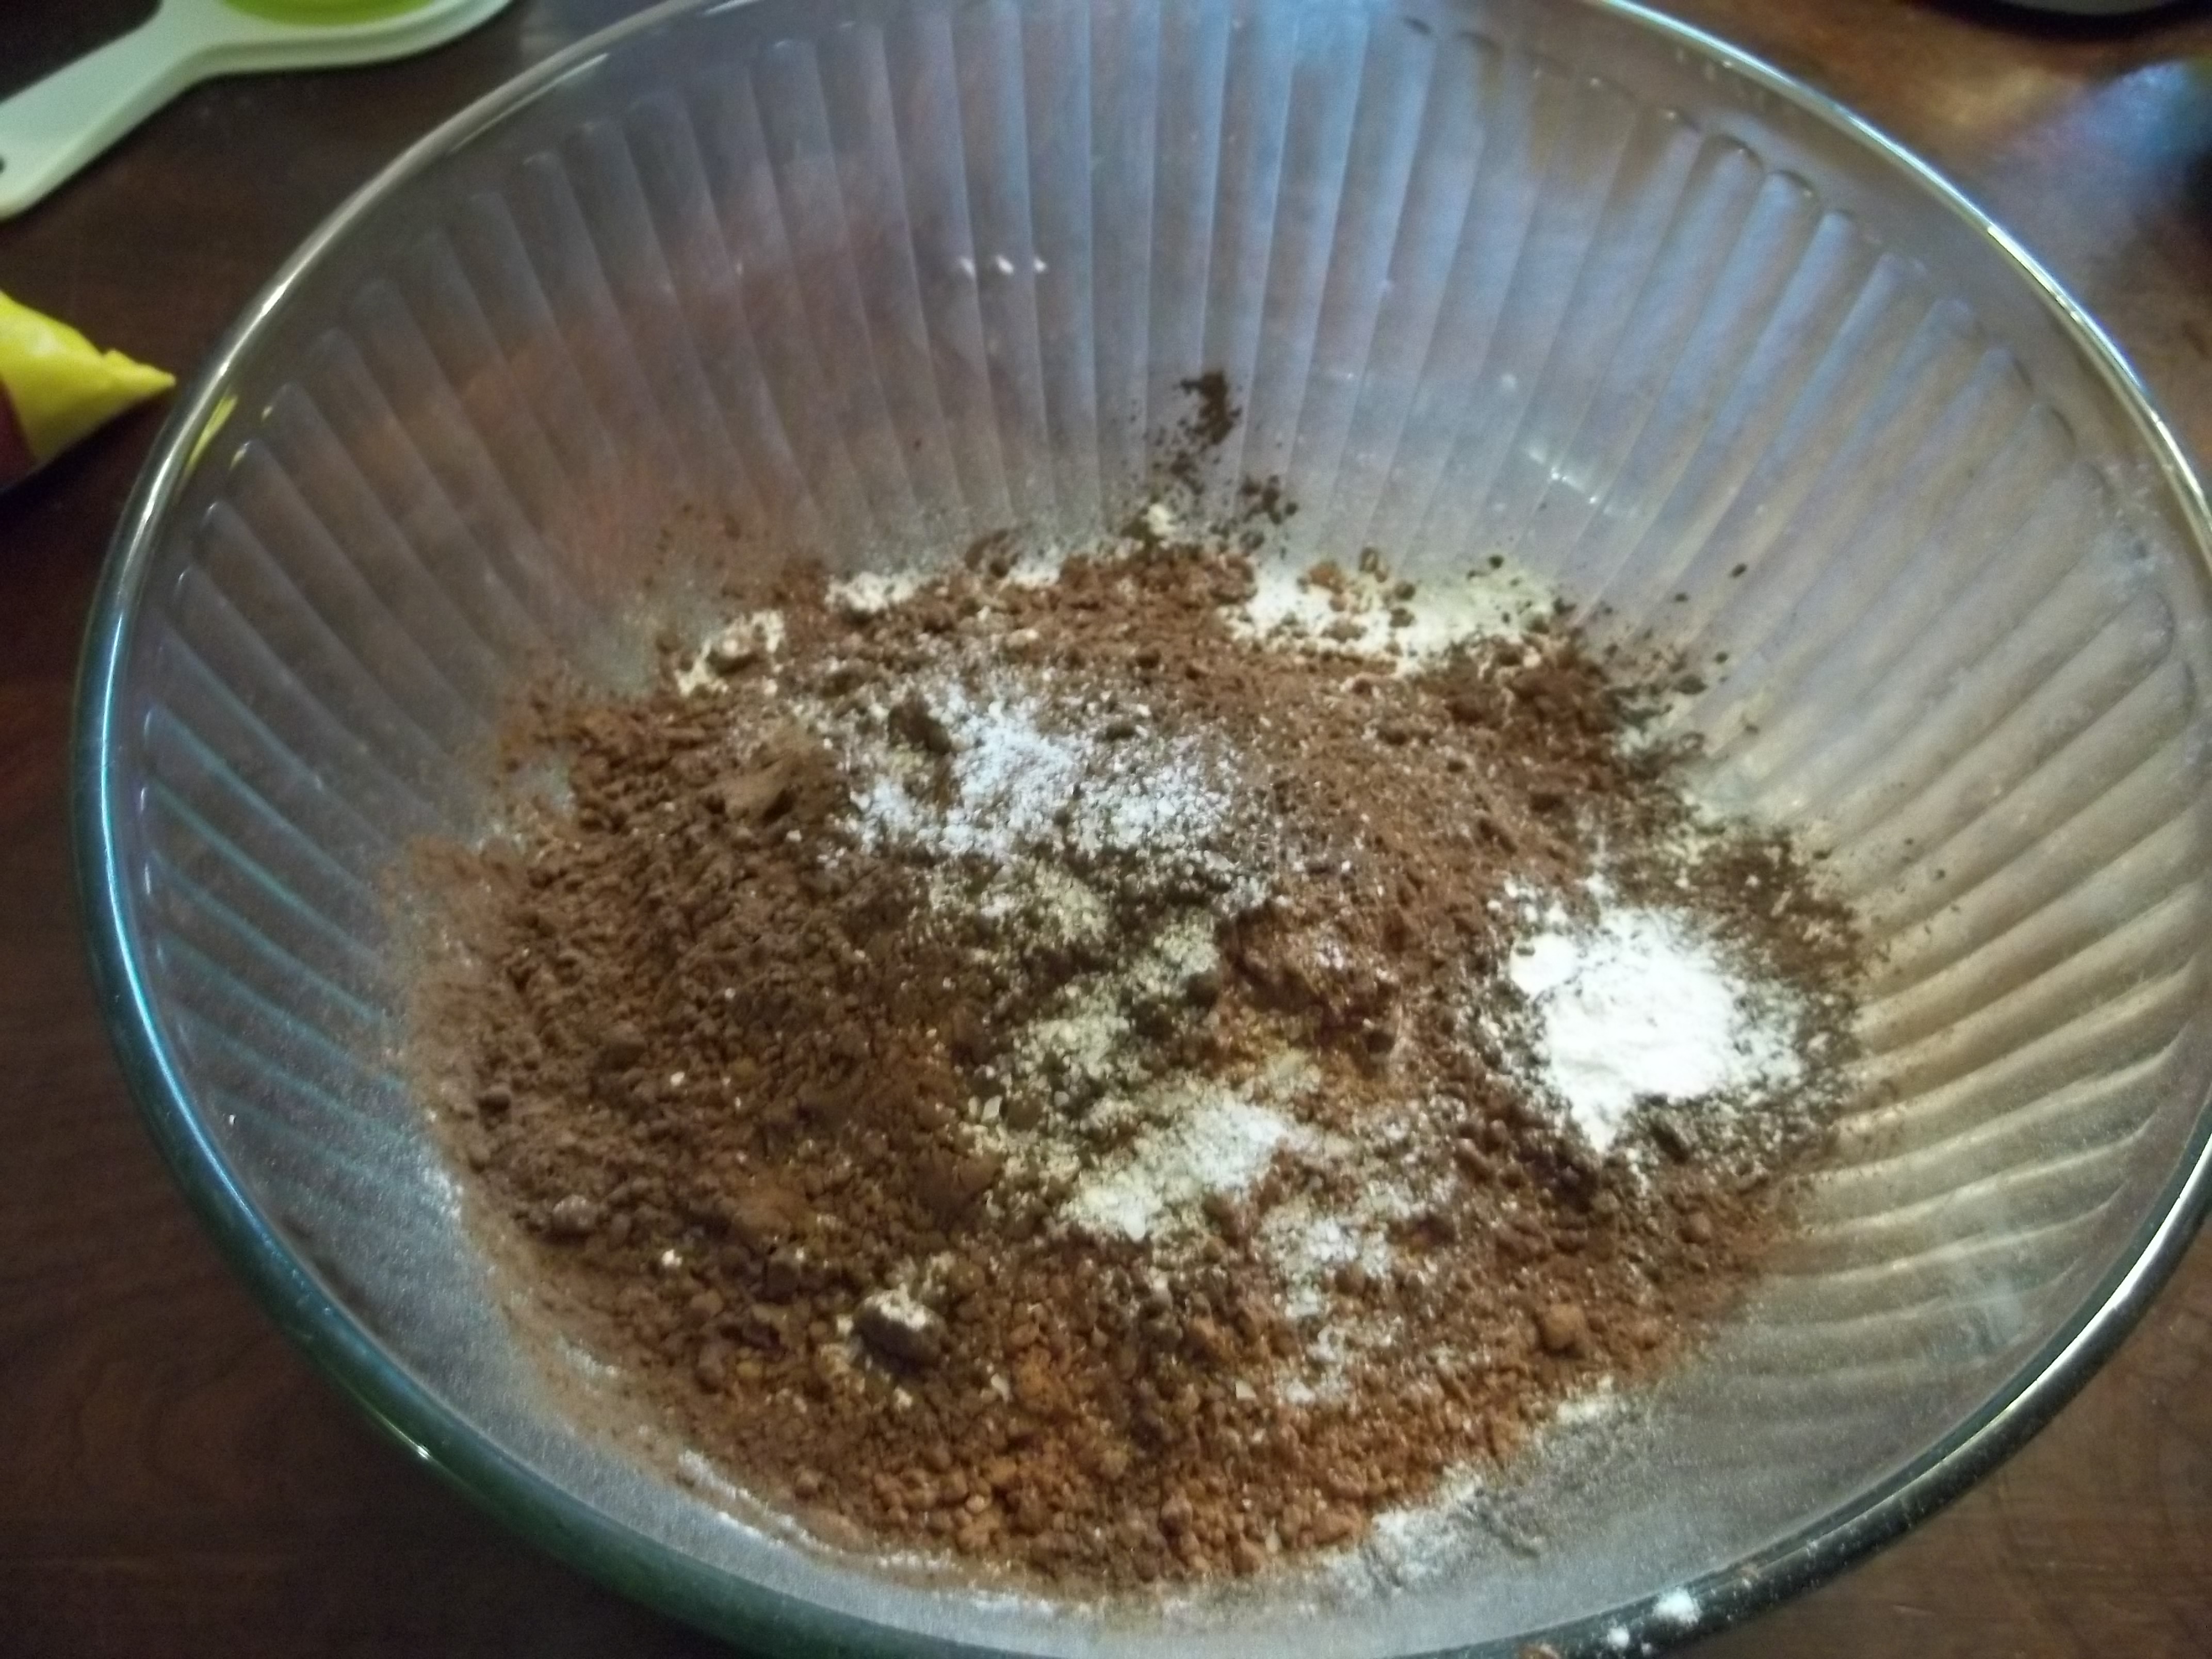
Put the dry ingredients into a large mixing bowl, then add the wet and stir together until you get a smooth, dark batter. Add any mix-ins last and stir again until evenly distributed. Spread the batter evenly in your baking dish and bake on the middle rack for 35-40 minutes, or until the brownies start to pull away from the edge of the pan and a toothpick or cake tester (or a fork or a butter knife or what-have-you) inserted into the center comes out clean.
Let them cool completely before cutting them. I know it’s hard to leave brownies fresh from the oven alone, but I promise that I’m not putting this part in for torture. They hold together better and don’t burn your fingers if you’re a little bit patient.
Another note: If you don’t feel like waiting until the end to add in your chocolate chips, you don’t have to. I tend to leave them to the end if I’m making the recipe from scratch, but I don’t always make it from scratch
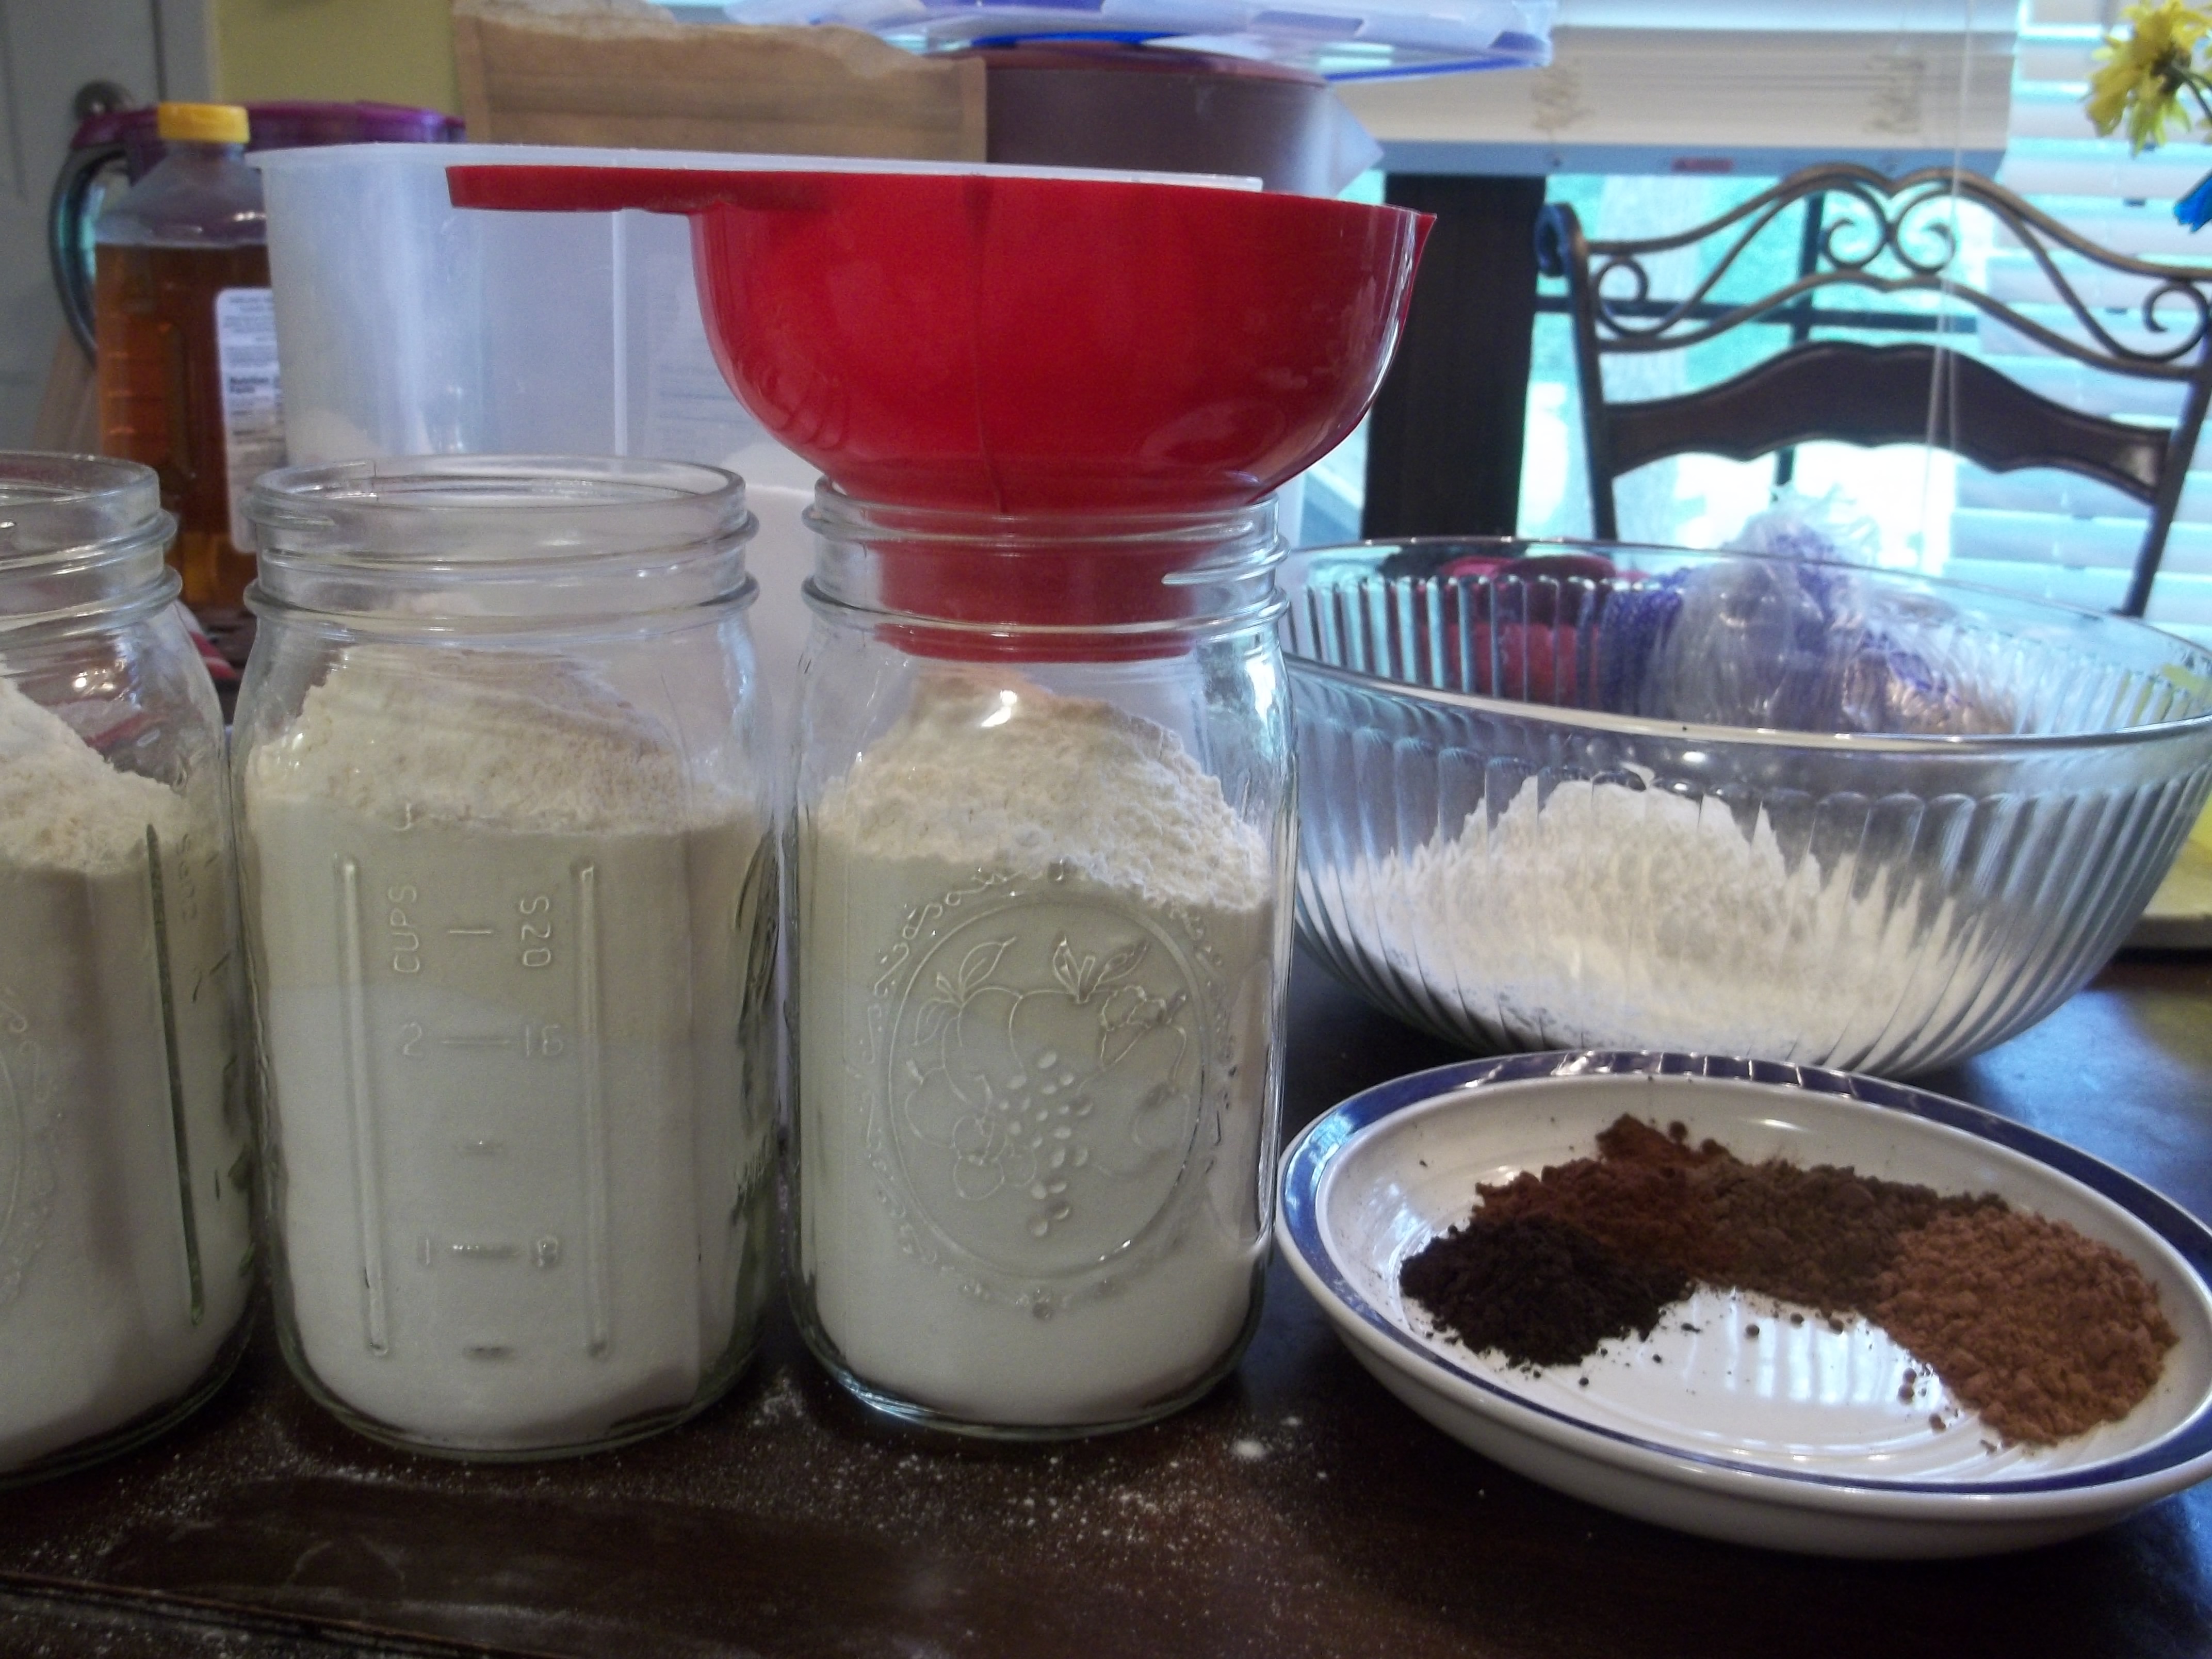
Whenever I make brownies, I tend to grab up some Mason jars and the canning funnel and throw together some pre-made mixes. The simple version of this is to put all the dry ingredients in a jar, pop a lid on and shake until it’s well-combined and an even chocolatey color all the way through.
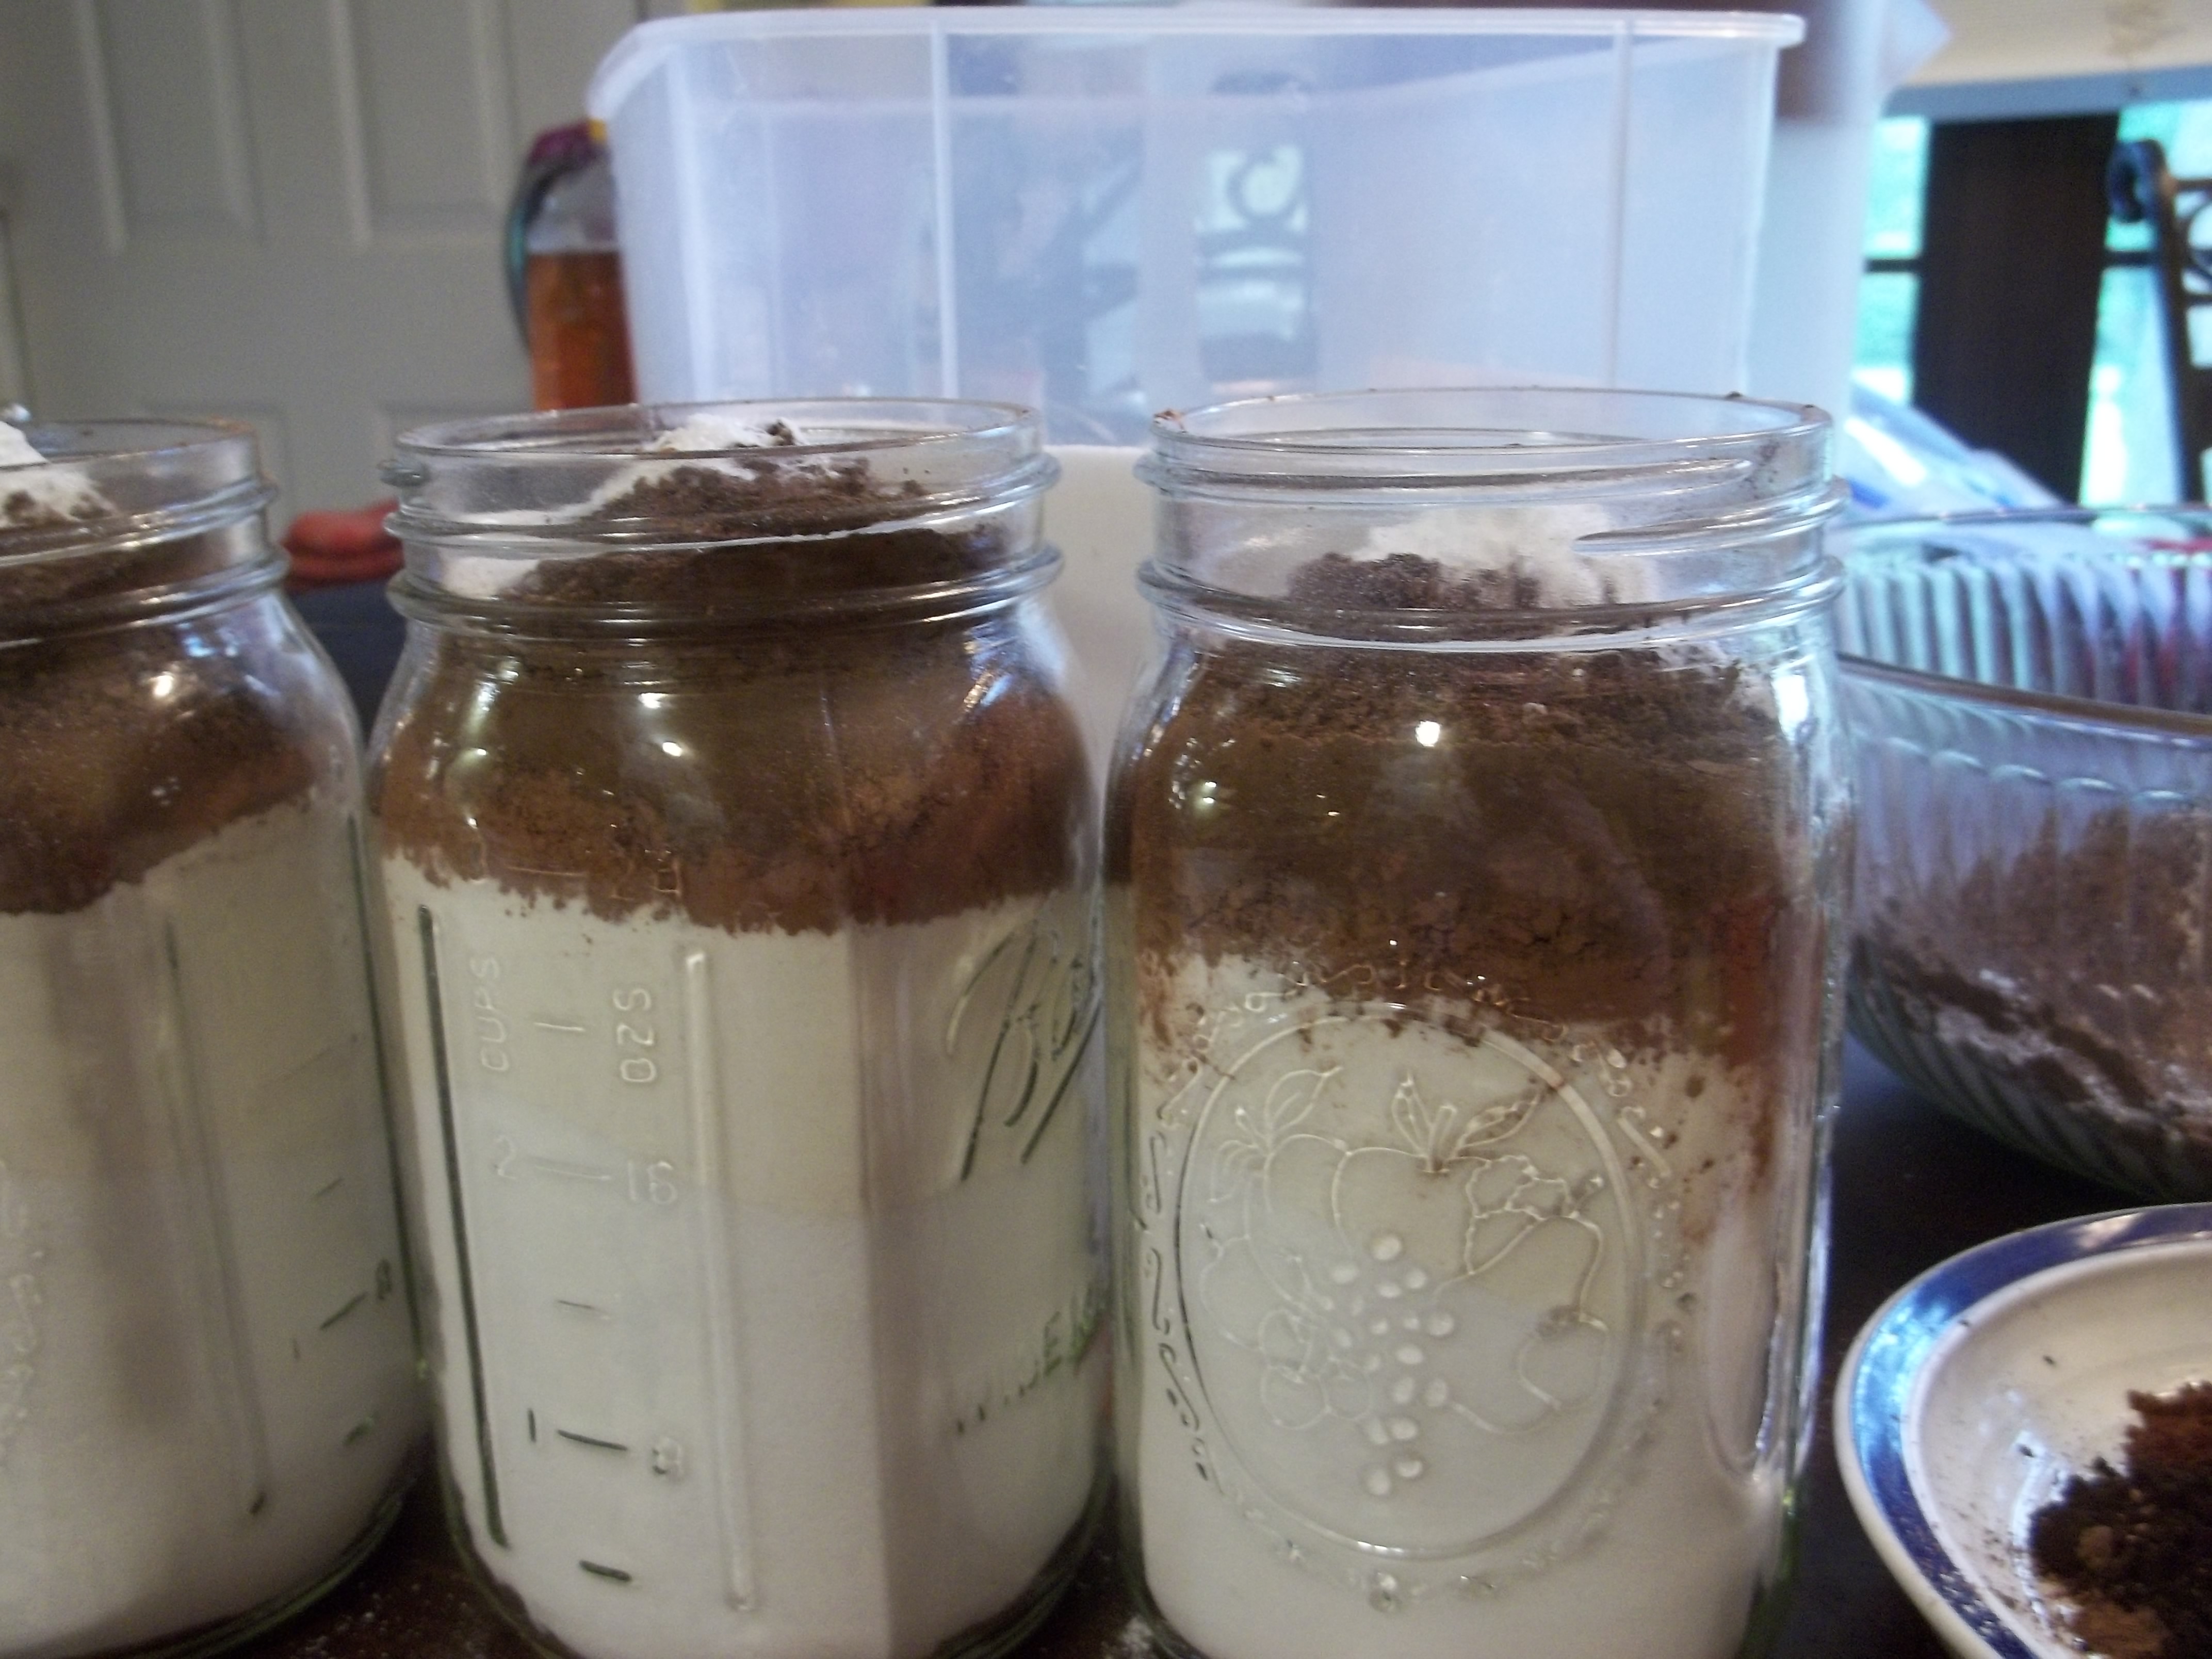
You don’t even actually have to shake if you don’t want to. The layers are kind of pretty. I shake partially because I like the even color and partially because the ingredients settle and give me room to pour a half-cup of chocolate chips or nuts into the top.
The mixes give us a way to have homemade brownies quickly. Not that it’s excessively time consuming to make them from scratch, but sometimes it’s nice not to have to worry with all the measuring. I usually end up giving away half of any given batch of mixes. One day I might even offer them for sale, but mostly only to support my baking habit.
This week’s other project was pie crust. Which is also not exactly good for you. Any recipe that starts out with two whole sticks of butter is not going to be exactly slimming. This is the basic pie crust recipe from The Homemade Pantry, and it has never failed to come out anything less than wonderful.

I’ve tried a couple of ways of getting the butter chopped up, but this seems to be the best. Cut the sticks in half lengthwise, then in half lengthwise again. After that, chunk them up into half-inch or so pieces.
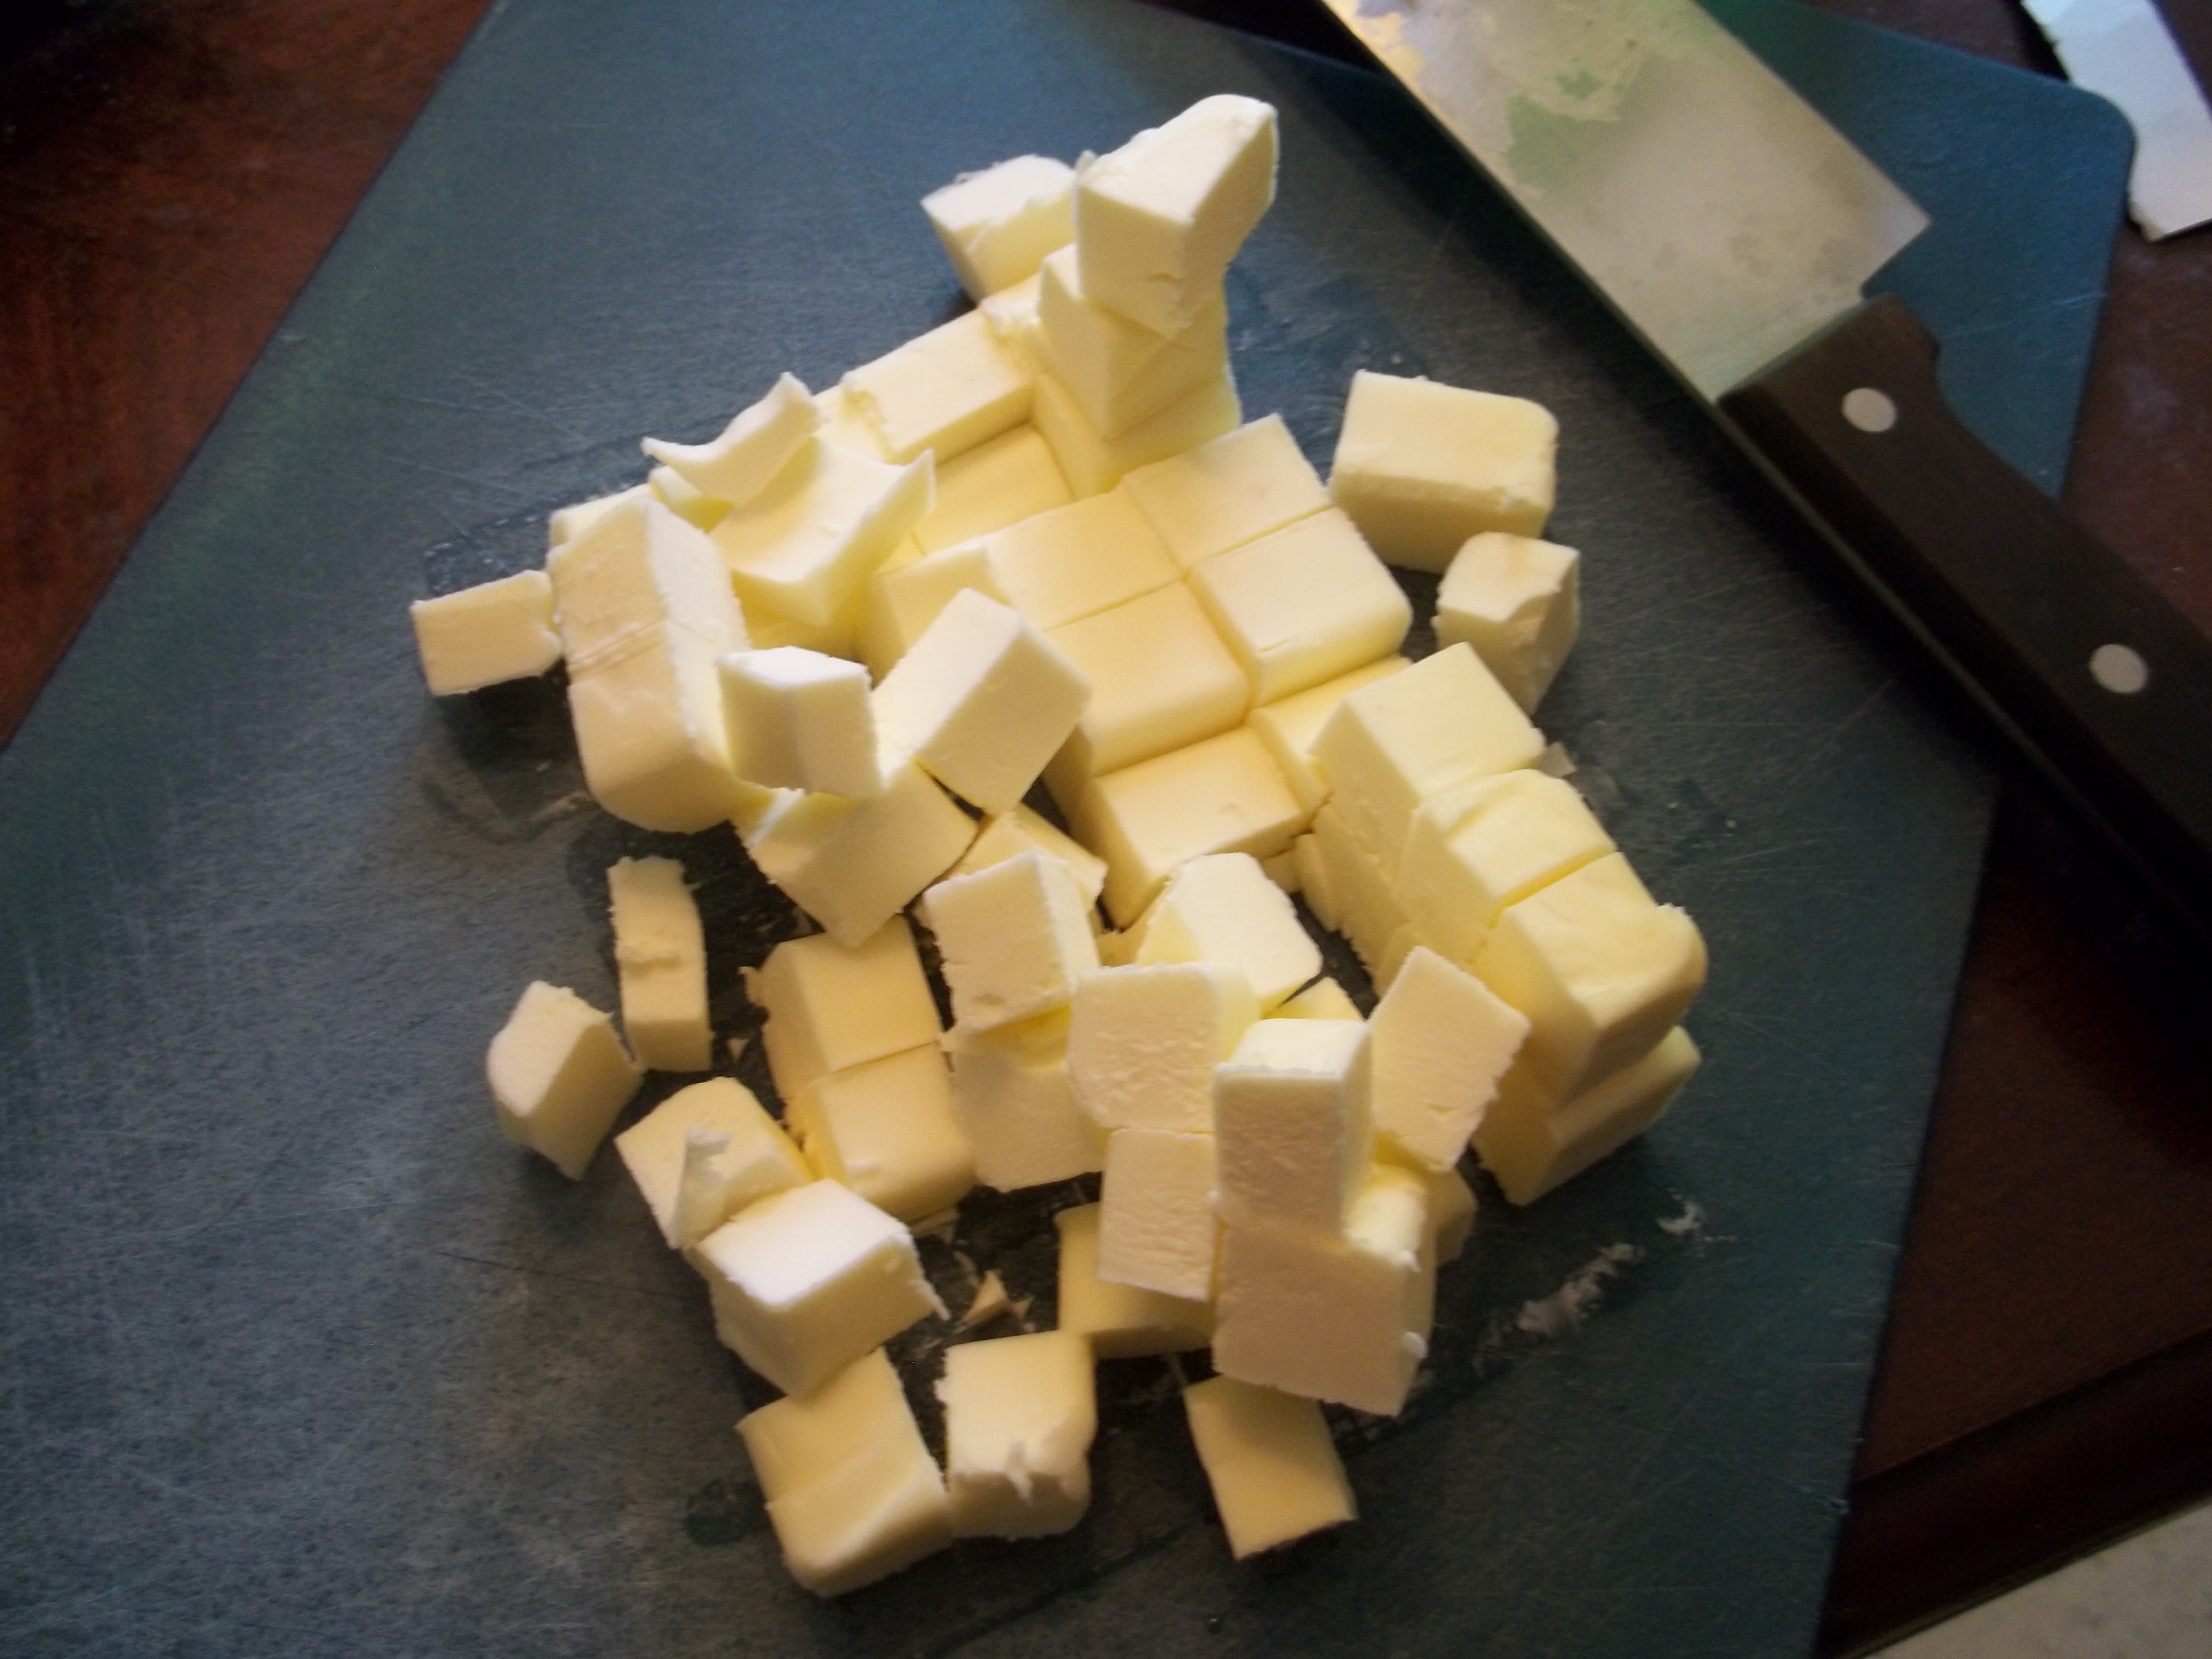
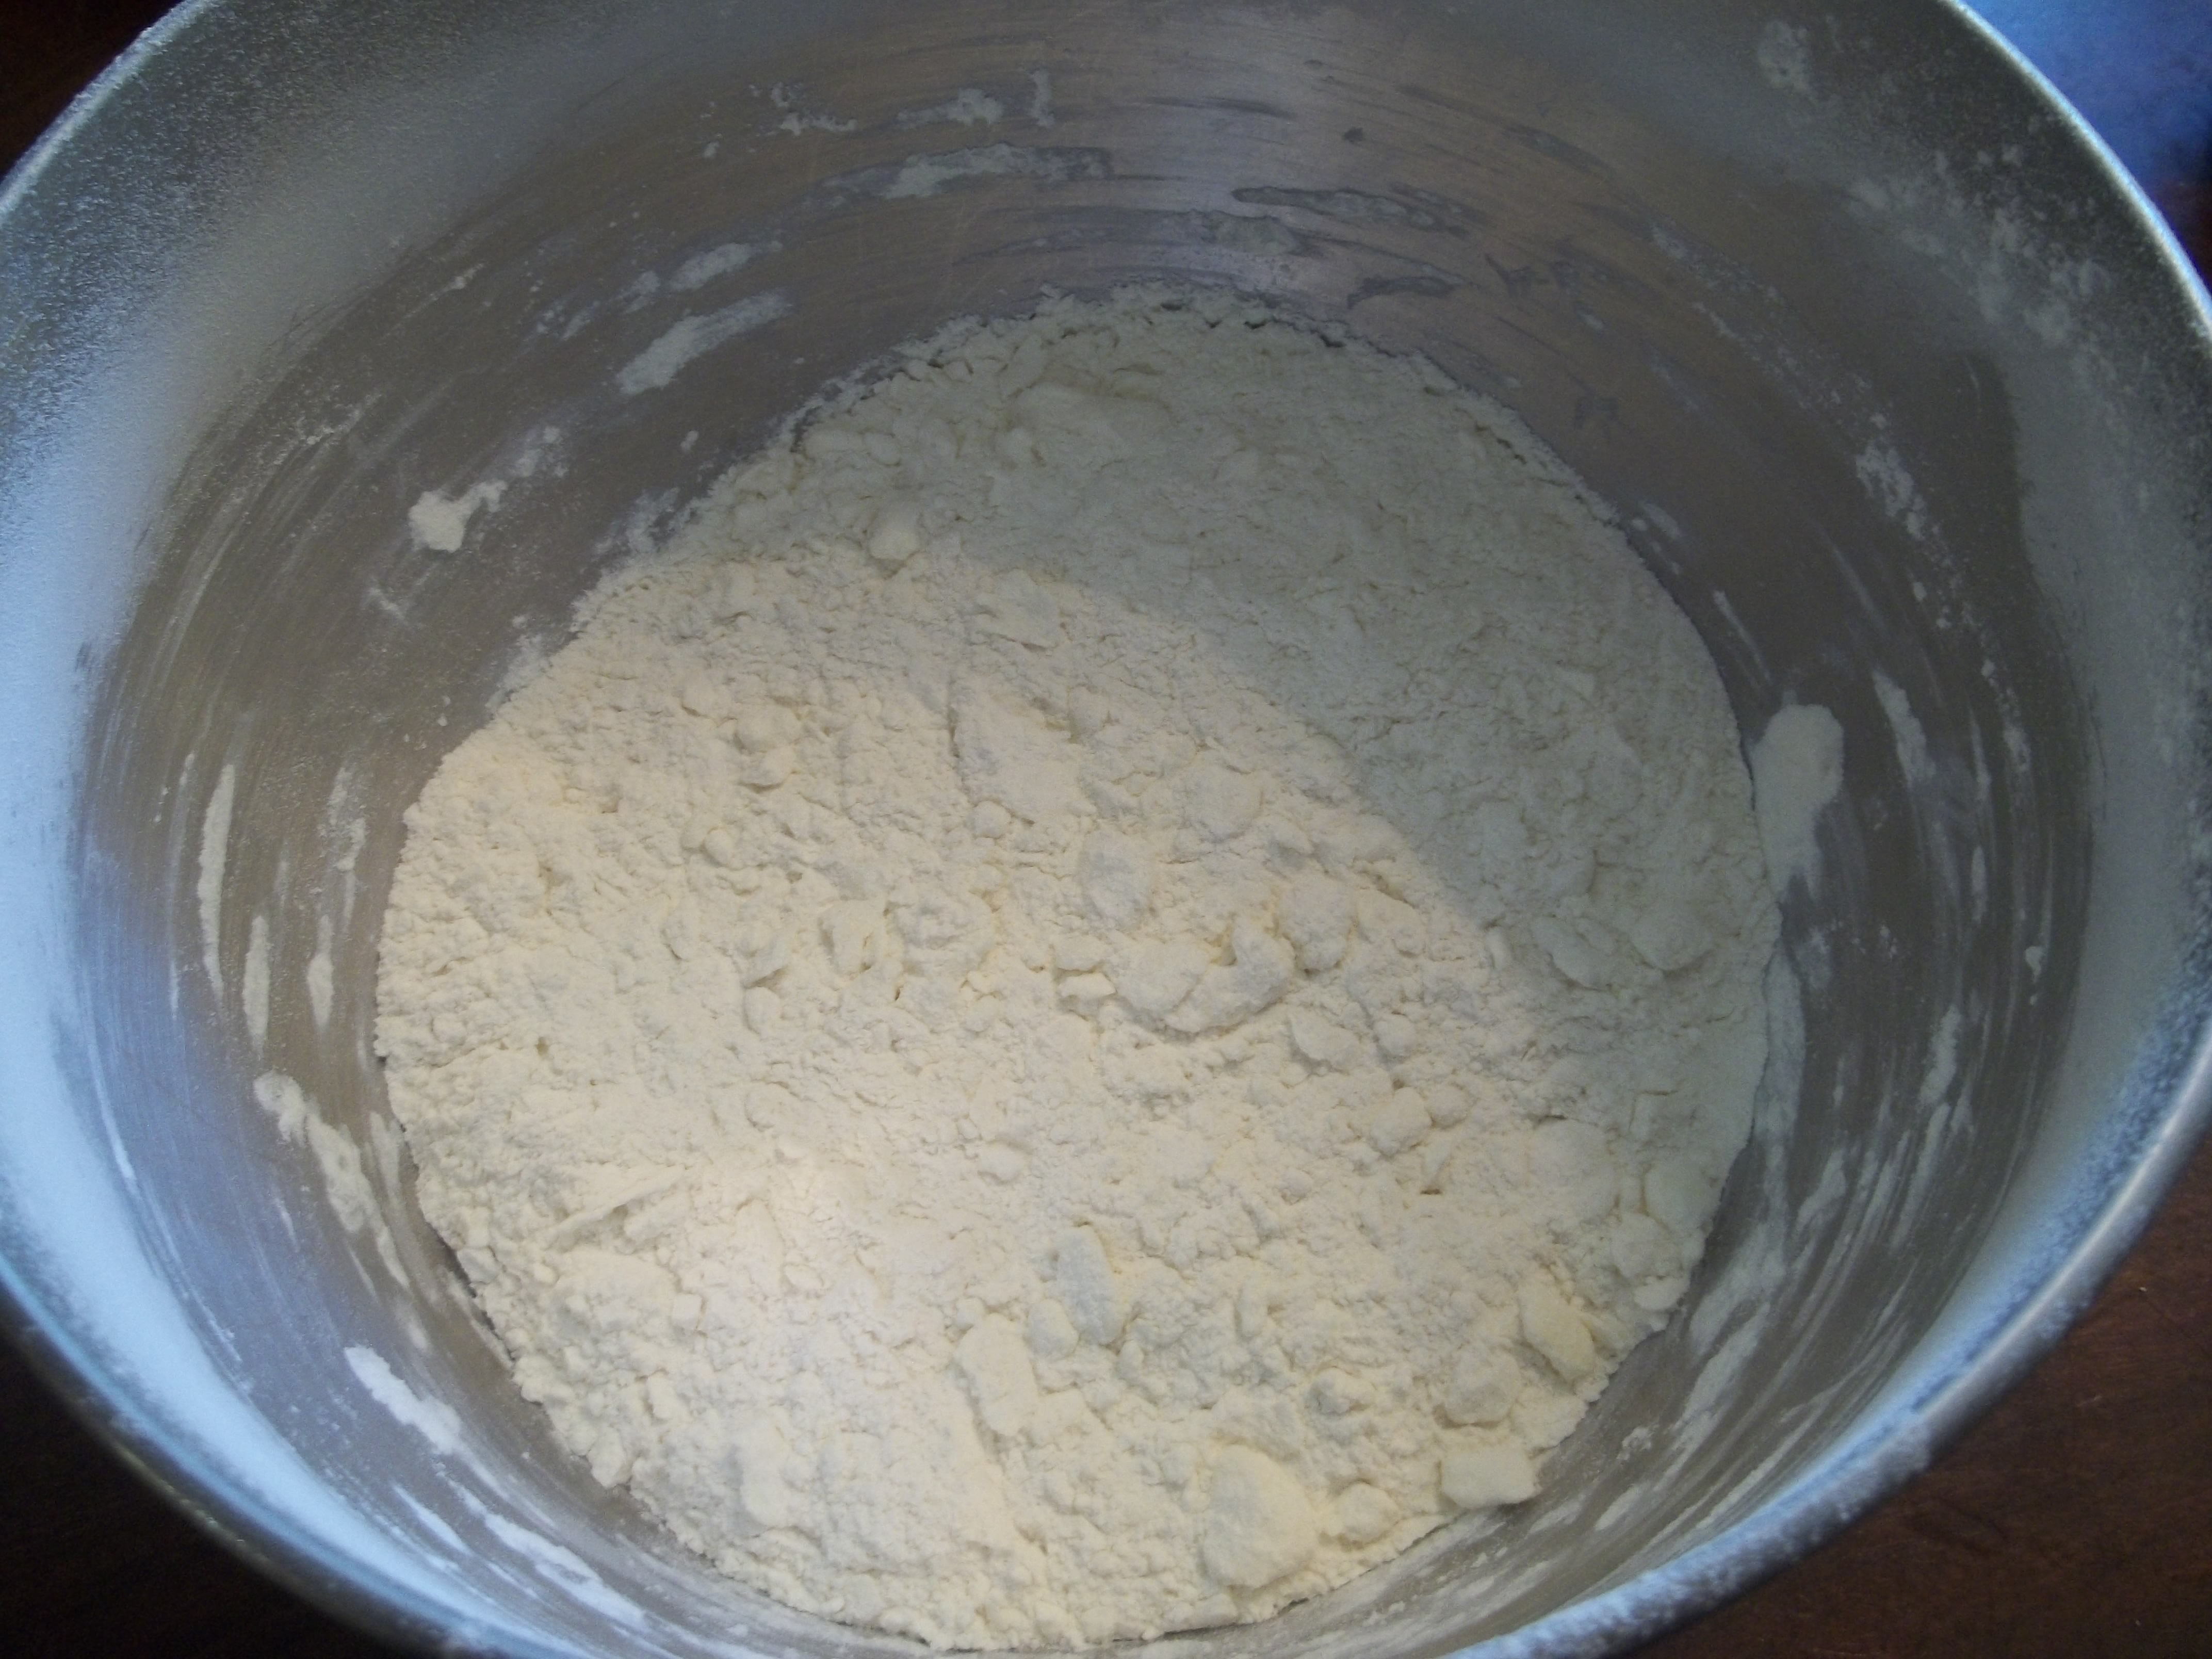
This gets added to the 2 1/4 cups of all-purpose flour in the bowl of the handy-dandy KitchenAid mixer. Toss the butter in the flour to coat it. It took me a while to find out why you toss the butter, and it seems to be partially the same reason you coat the butter with flour when making croissants. It makes the butter not ooze so much.

This goes into the freezer for ten minutes. In another small container, mix 1/3 cup water, 2 tsp apple cider vinegar, and a heaping 1/2 tsp salt until the salt dissolves. This also goes in the freezer for ten minutes. After your ten minutes are up, pull the flour and butter and put the paddle attachment on the mixer. Mix the flour and butter on low until it’s the consistency of coarse meal. It’s OK to have some lumps.
With the mixer still going on low, drizzle your water/salt/vinegar mixture in a little at a time until the dough starts to come together. You might not need to use all the water, so don’t dump it in all at once. That can make the texture of the final dough a little strange. When it’s starting to come together nicely, turn it out onto a cool surface. It won’t yet be a cohesive ball.
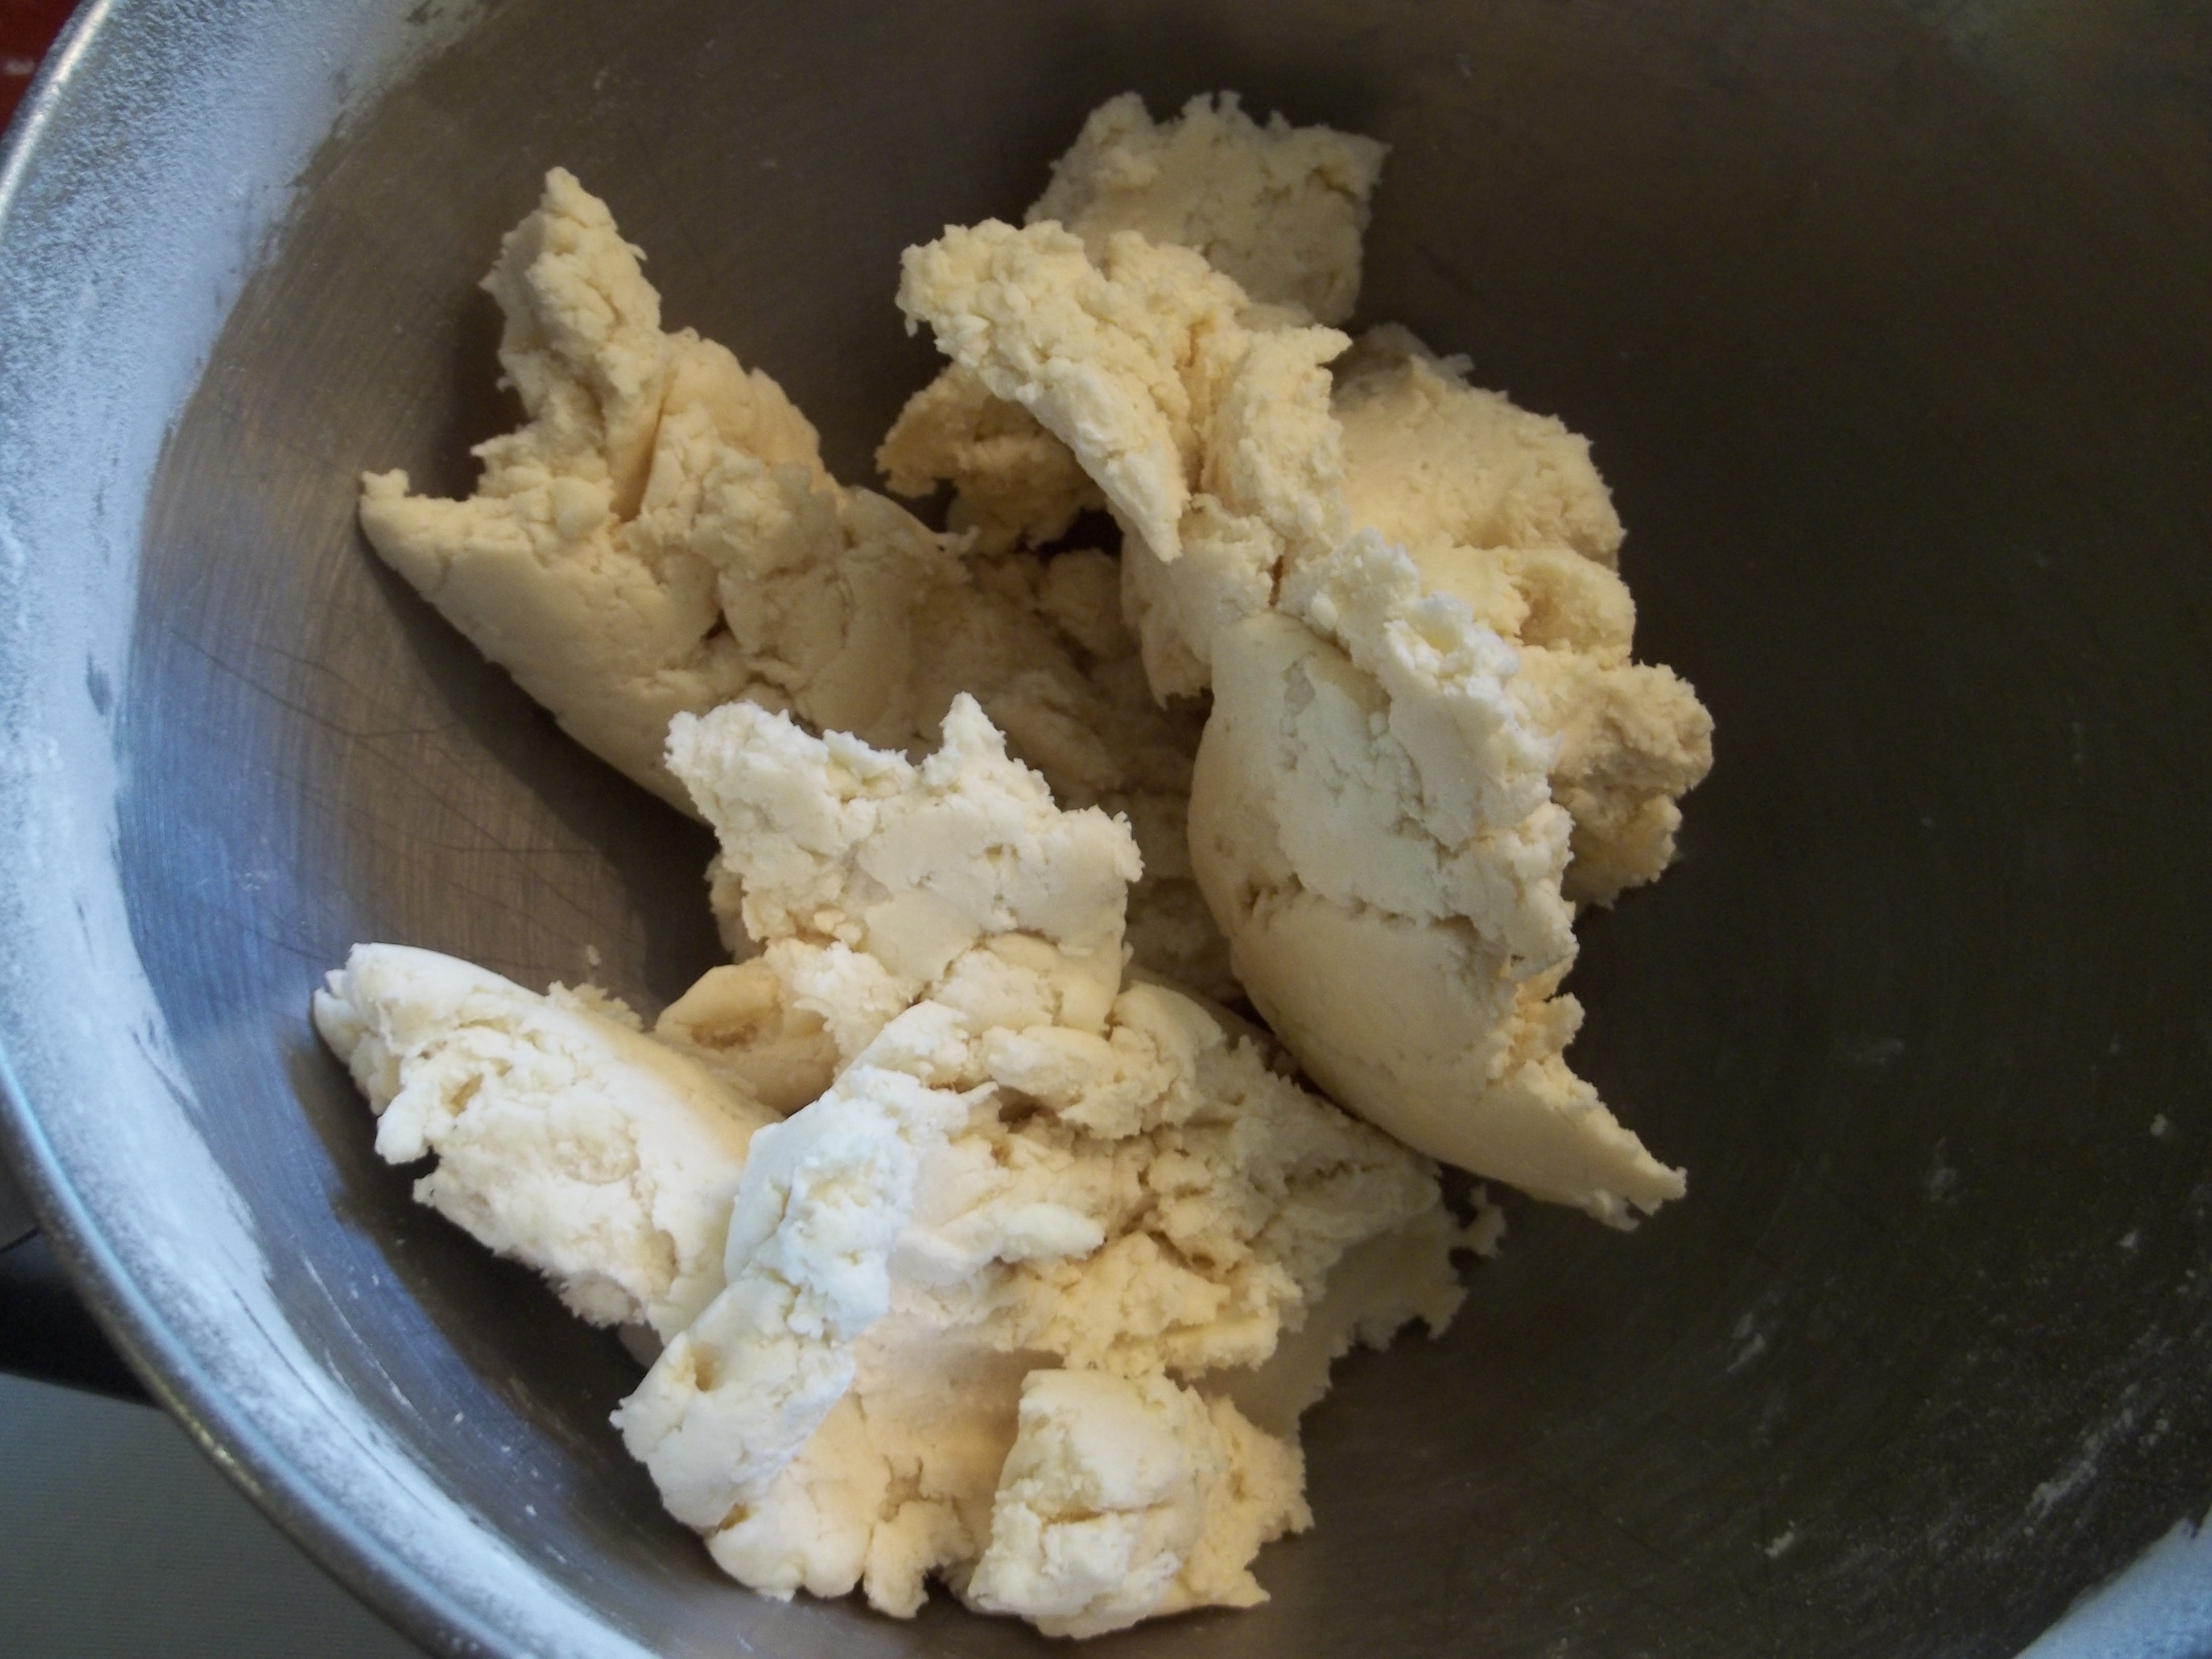
Use your hands to press it together into a nice, solid ball and then flatten it out into a disk.
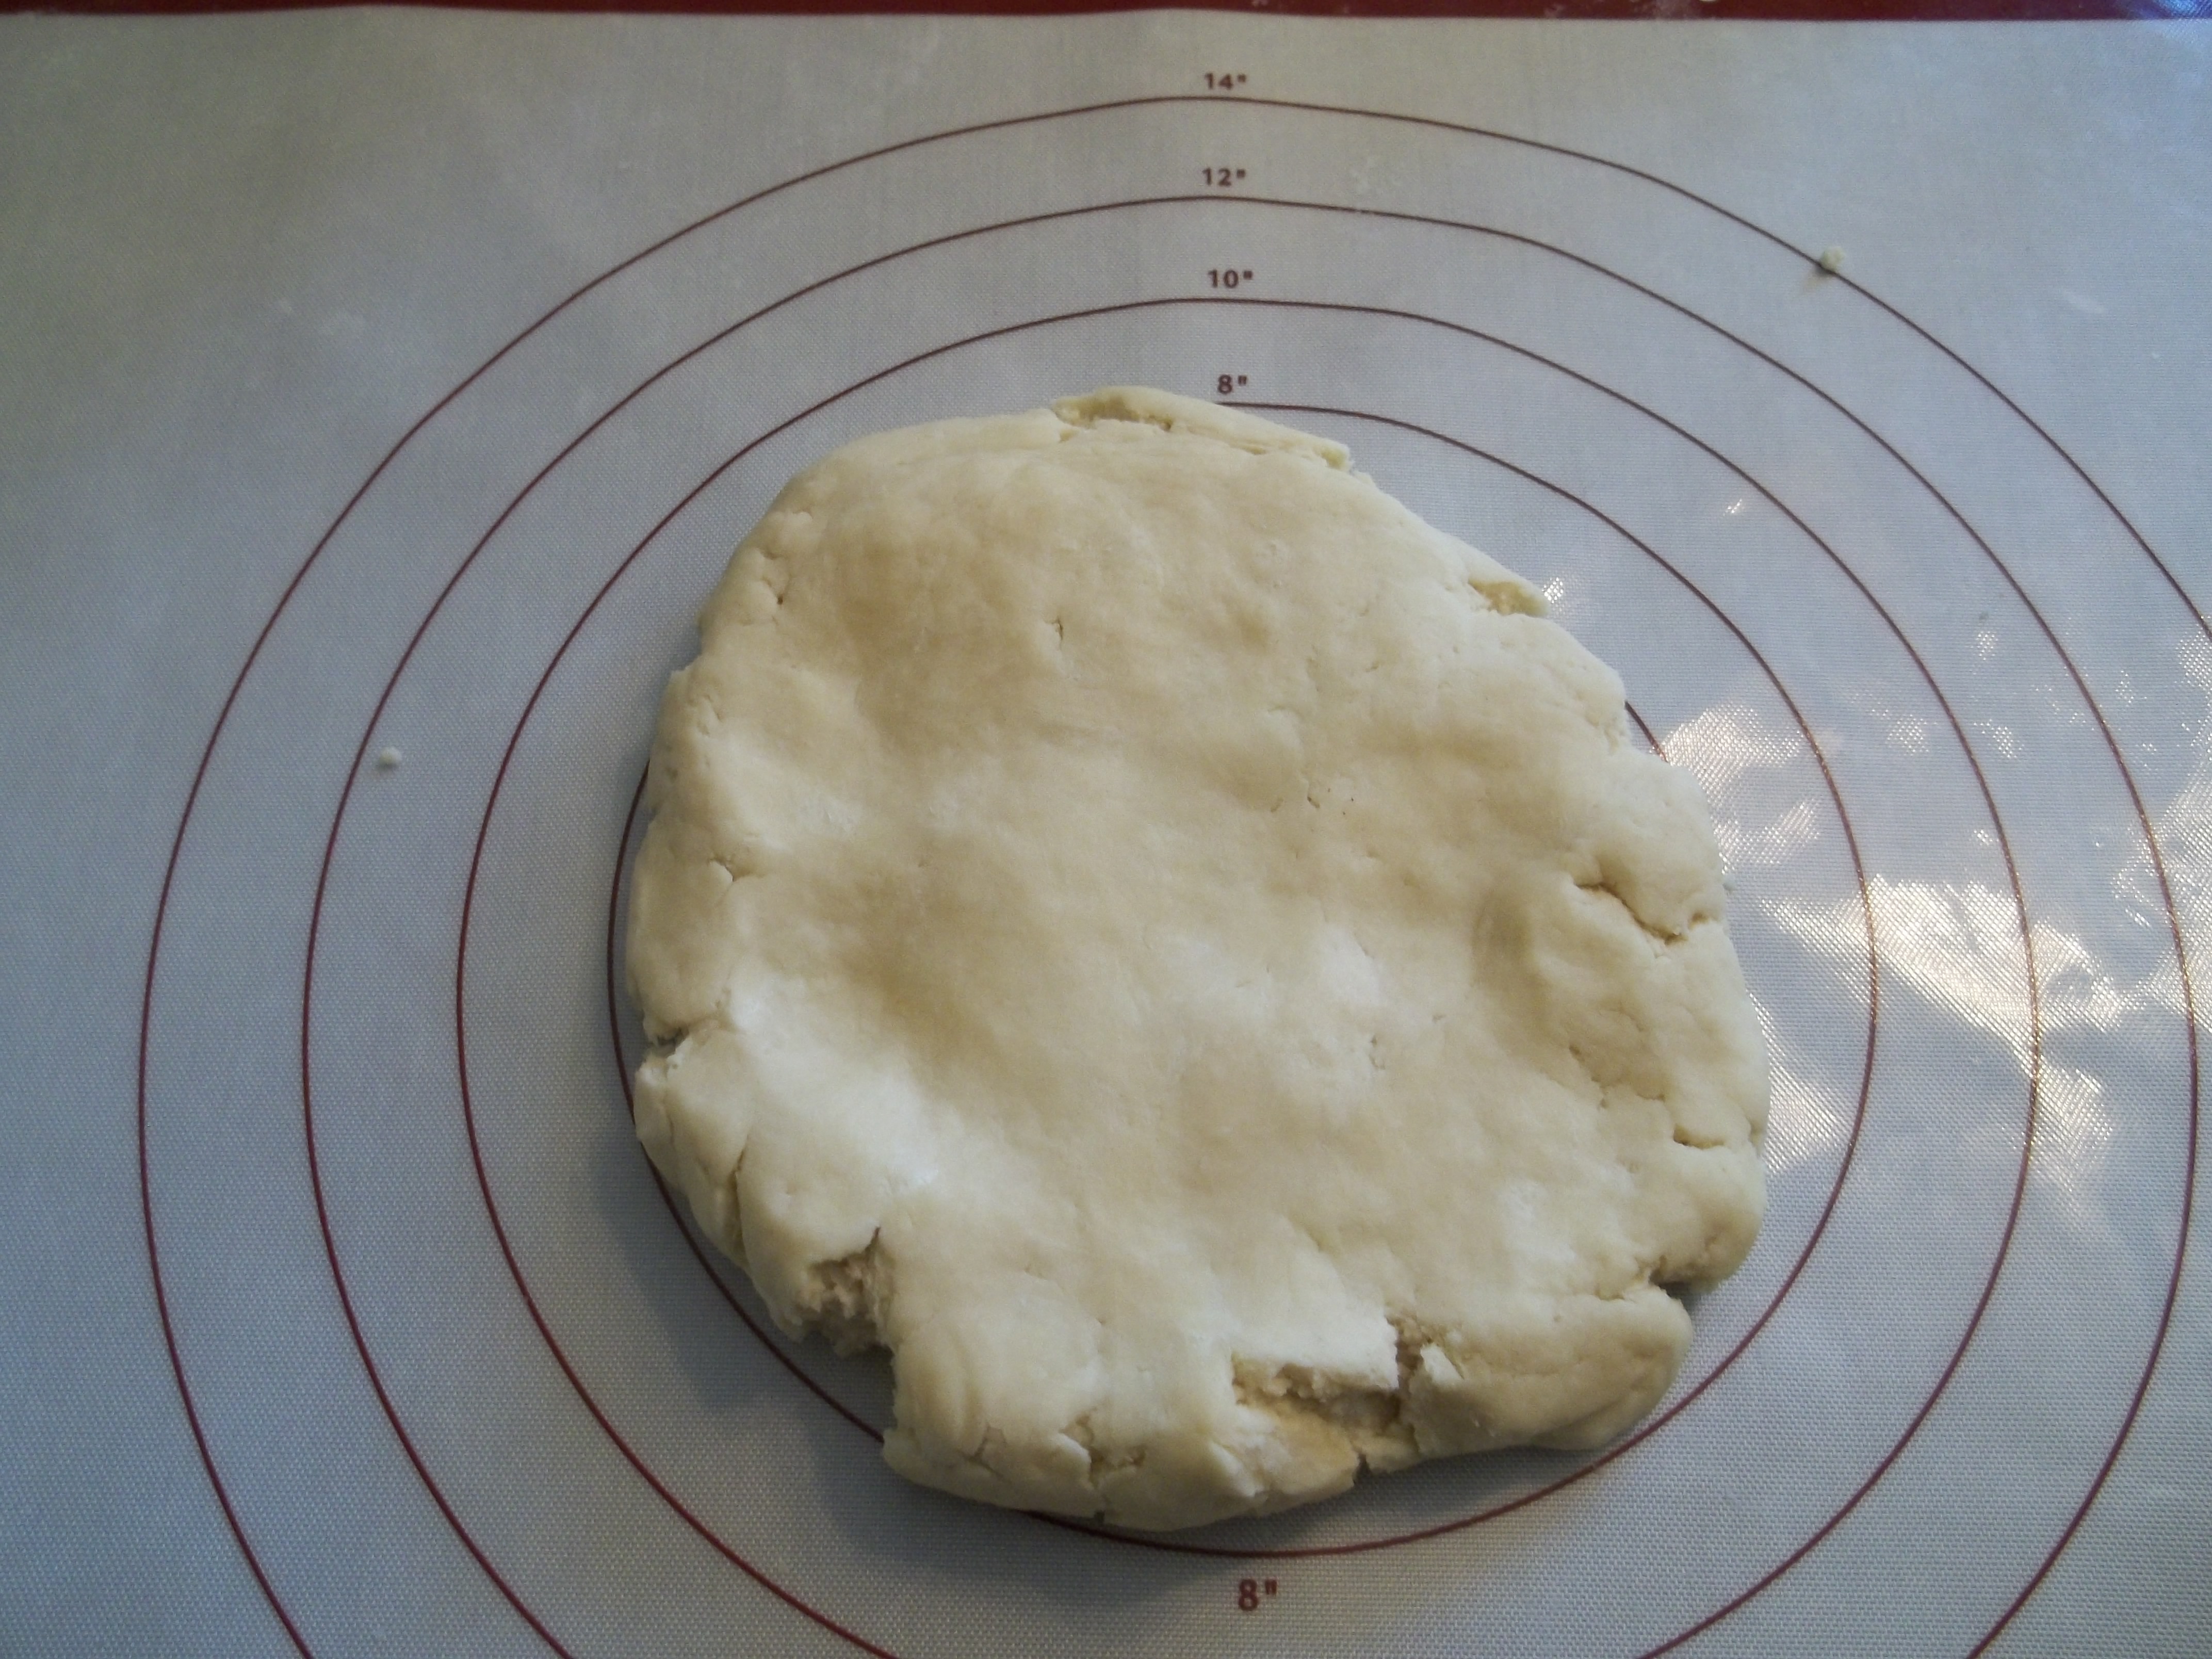
Cut the disc in half and form each half into another ball. I haven’t tried just cutting the first ball in half. It’s easier to measure half when the dough is flattened out and roughly circular.
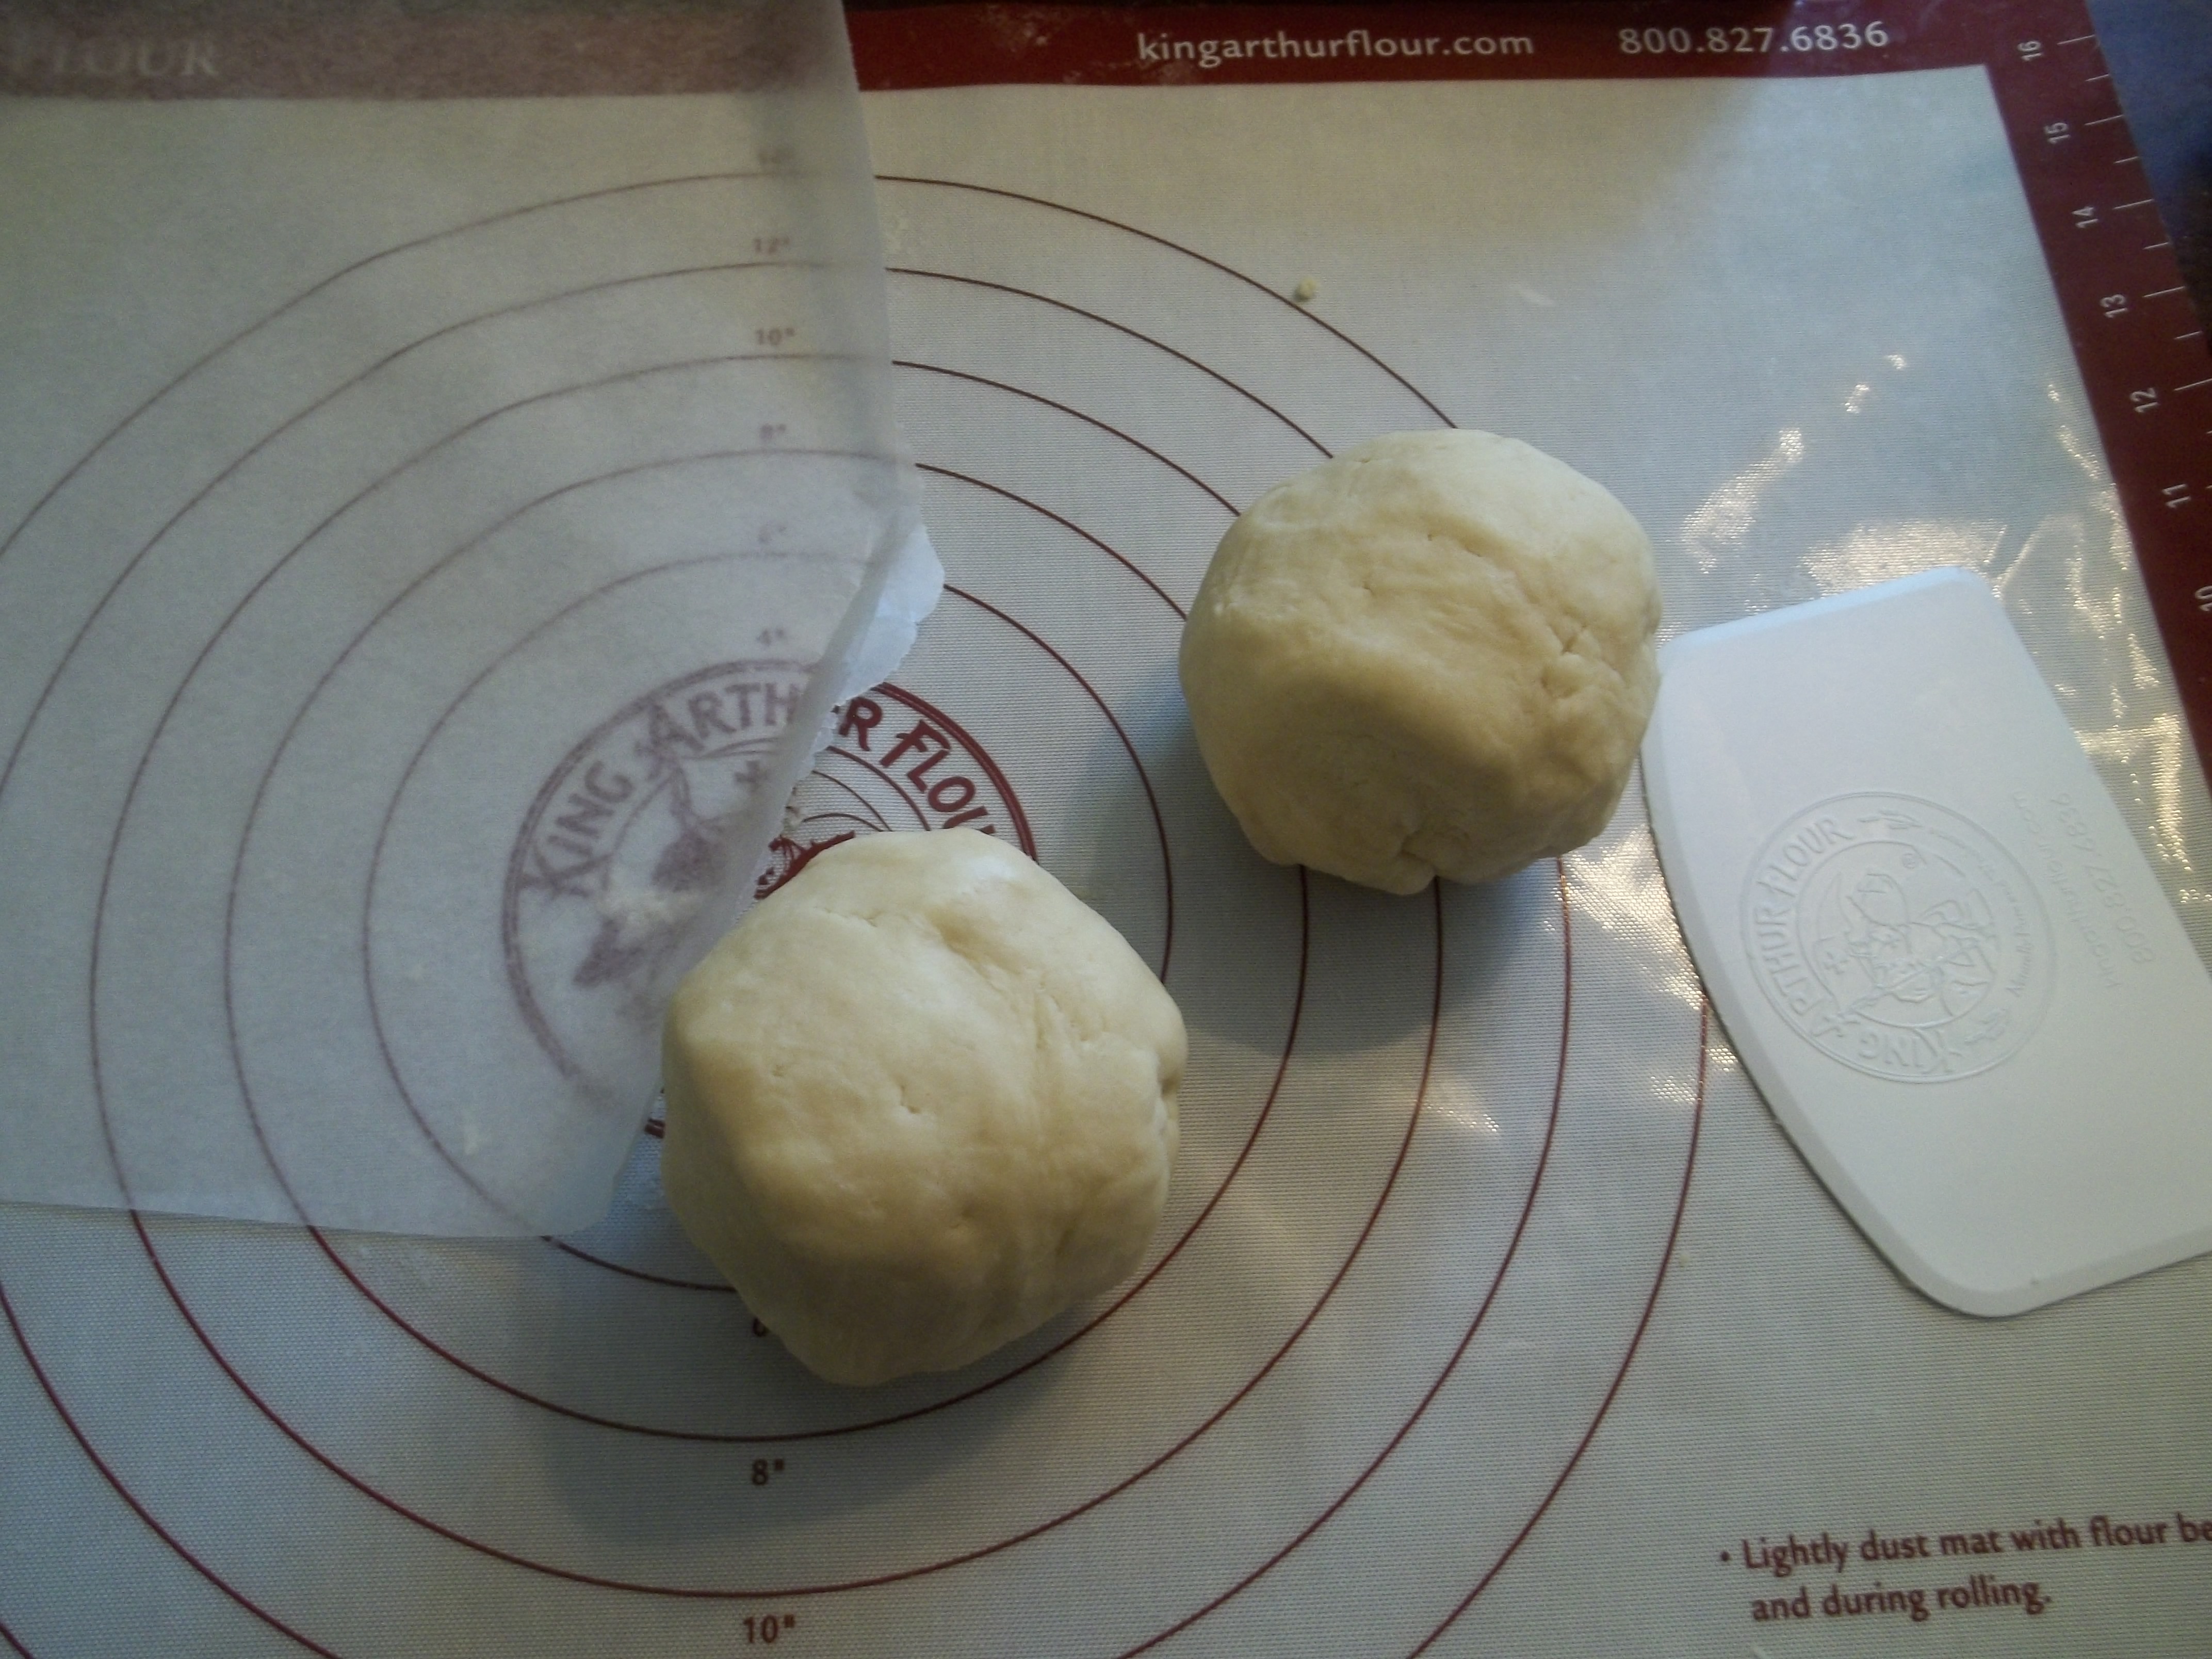
Tear off two fairly large pieces of wax paper and fold them in half. Place each dough ball in one of the folded pieces of wax paper and press gently into a disc about one inch thick. Wax paper really makes this easier, I used cling wrap the first time and it stuck like crazy. Go figure.
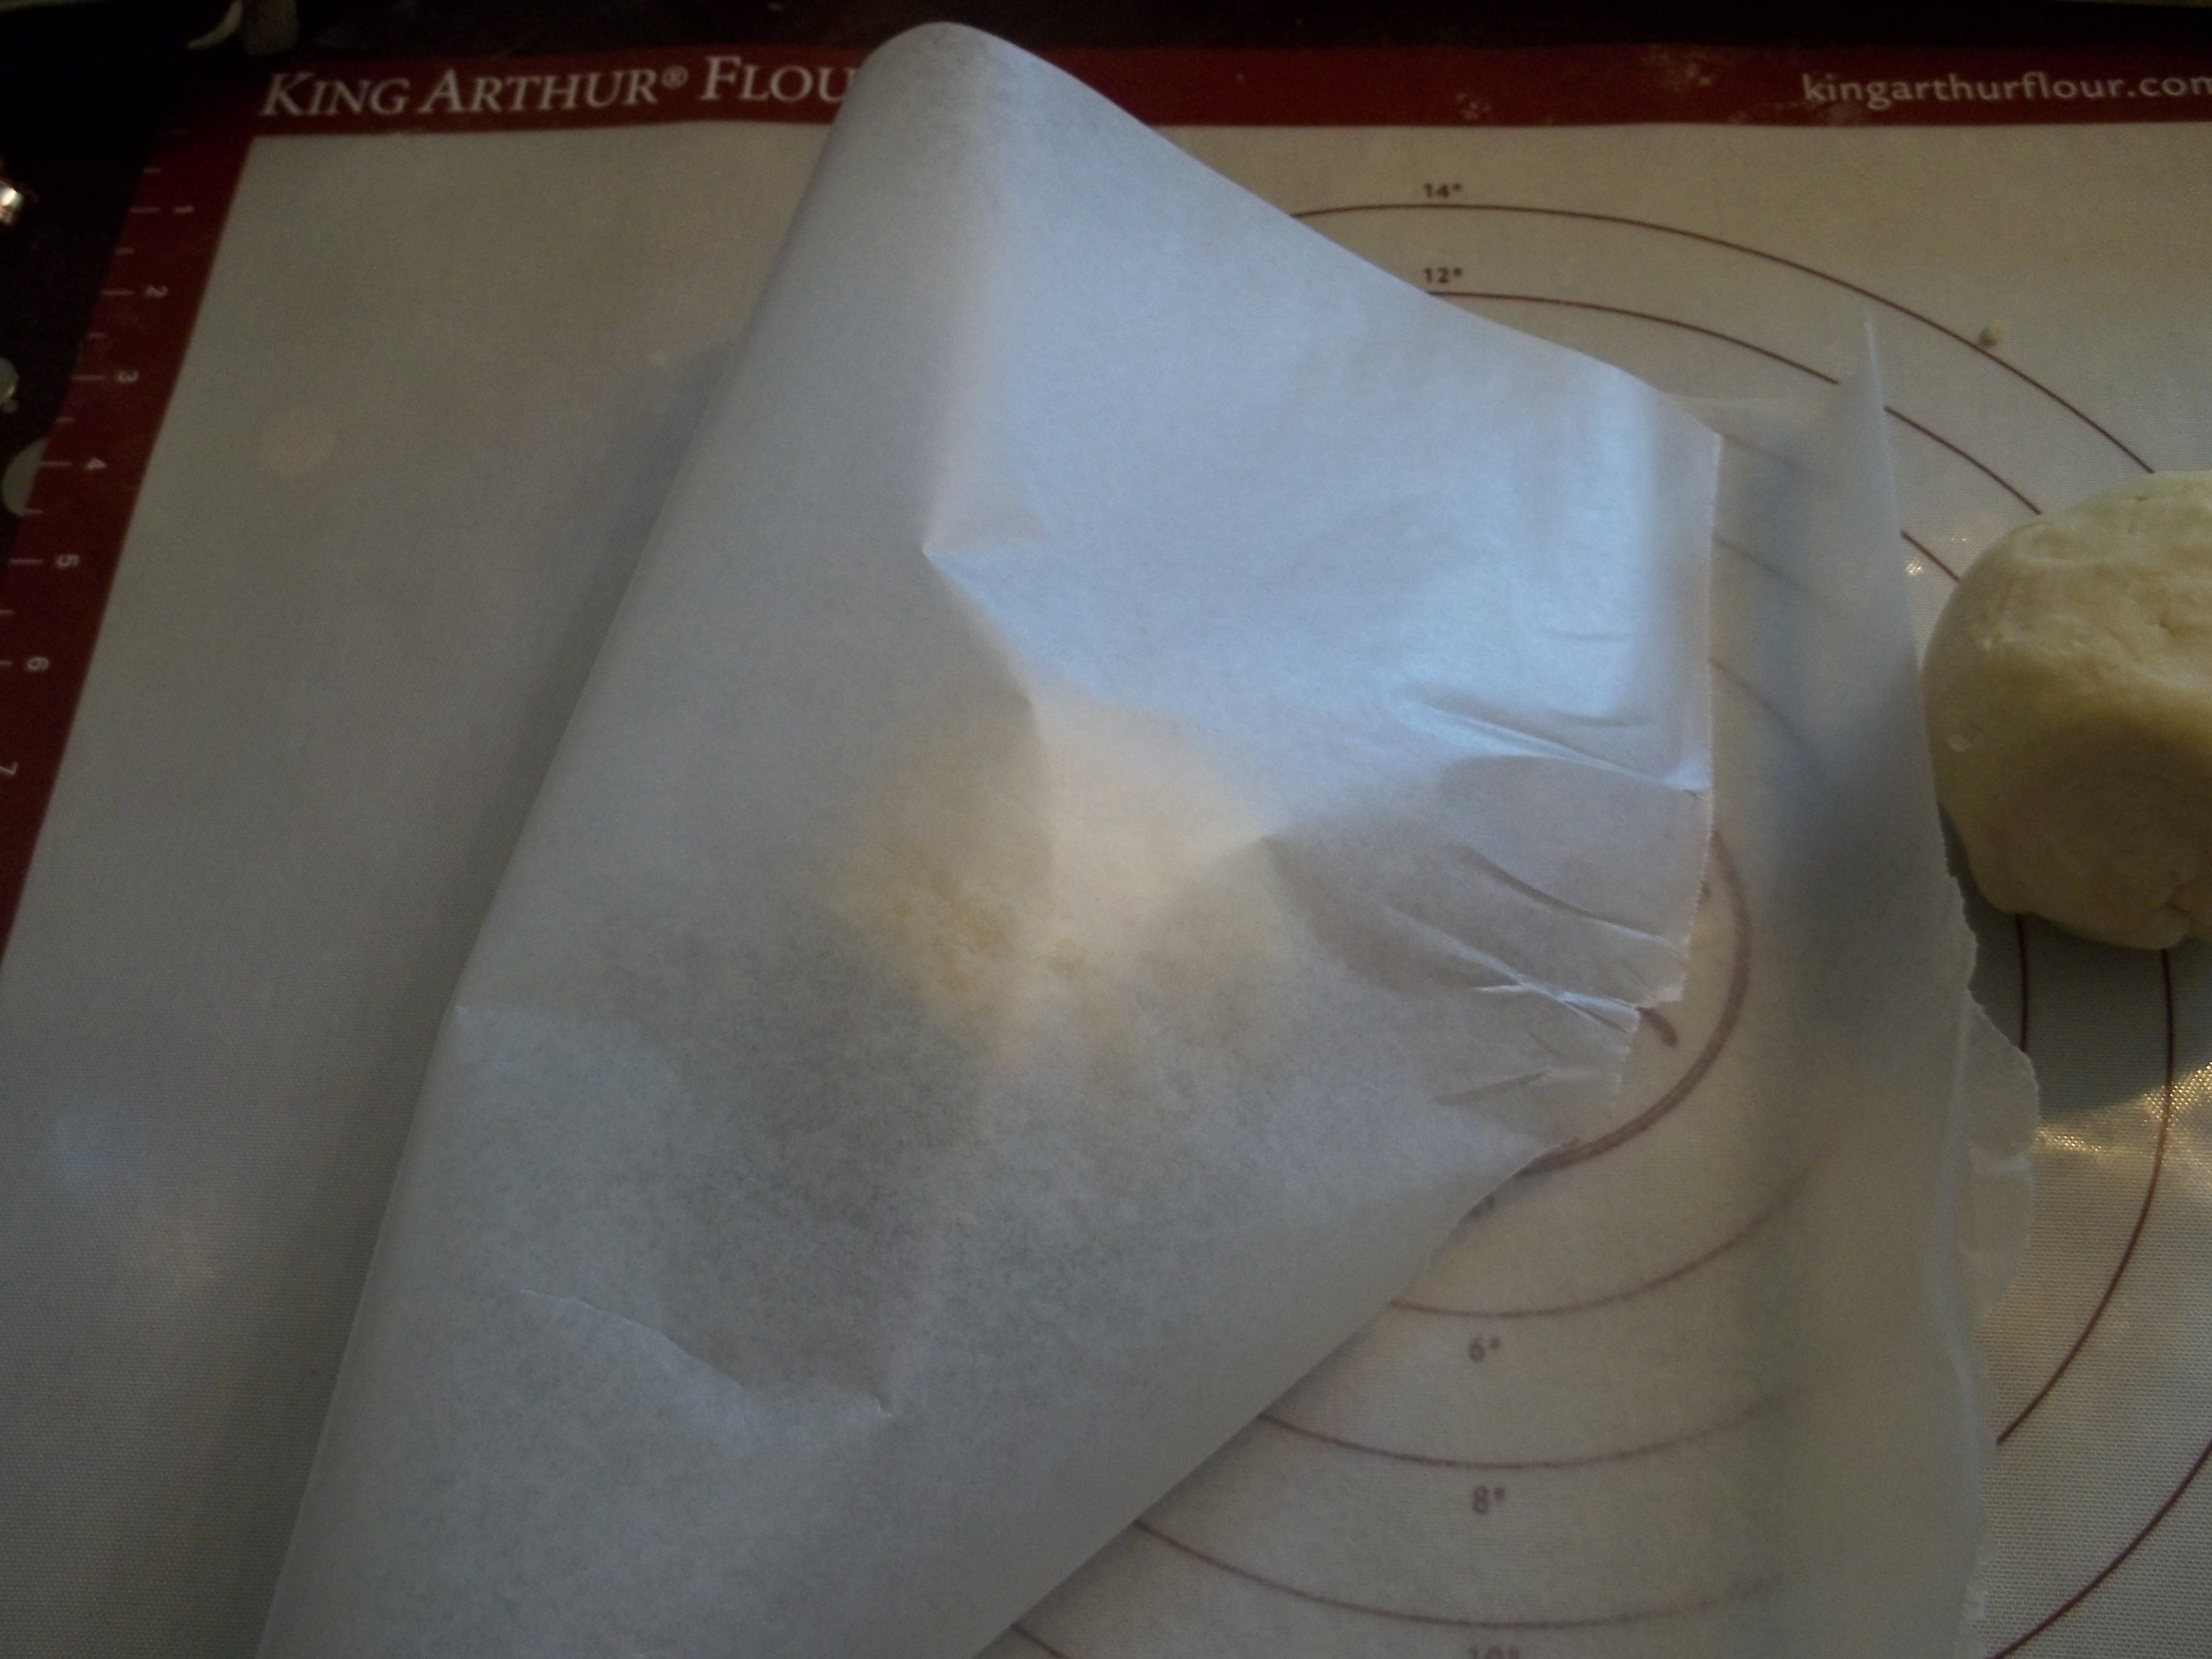
Once you’ve got it pressed, wrap it fairly closely in the wax paper and repeat with the second ball of dough.

Put both discs in the fridge for at least 30 minutes. They’ll keep there for at least three days and in the freezer for longer. I’ve never managed to have to store it for more than about a week. I start storage by stacking the two discs together.
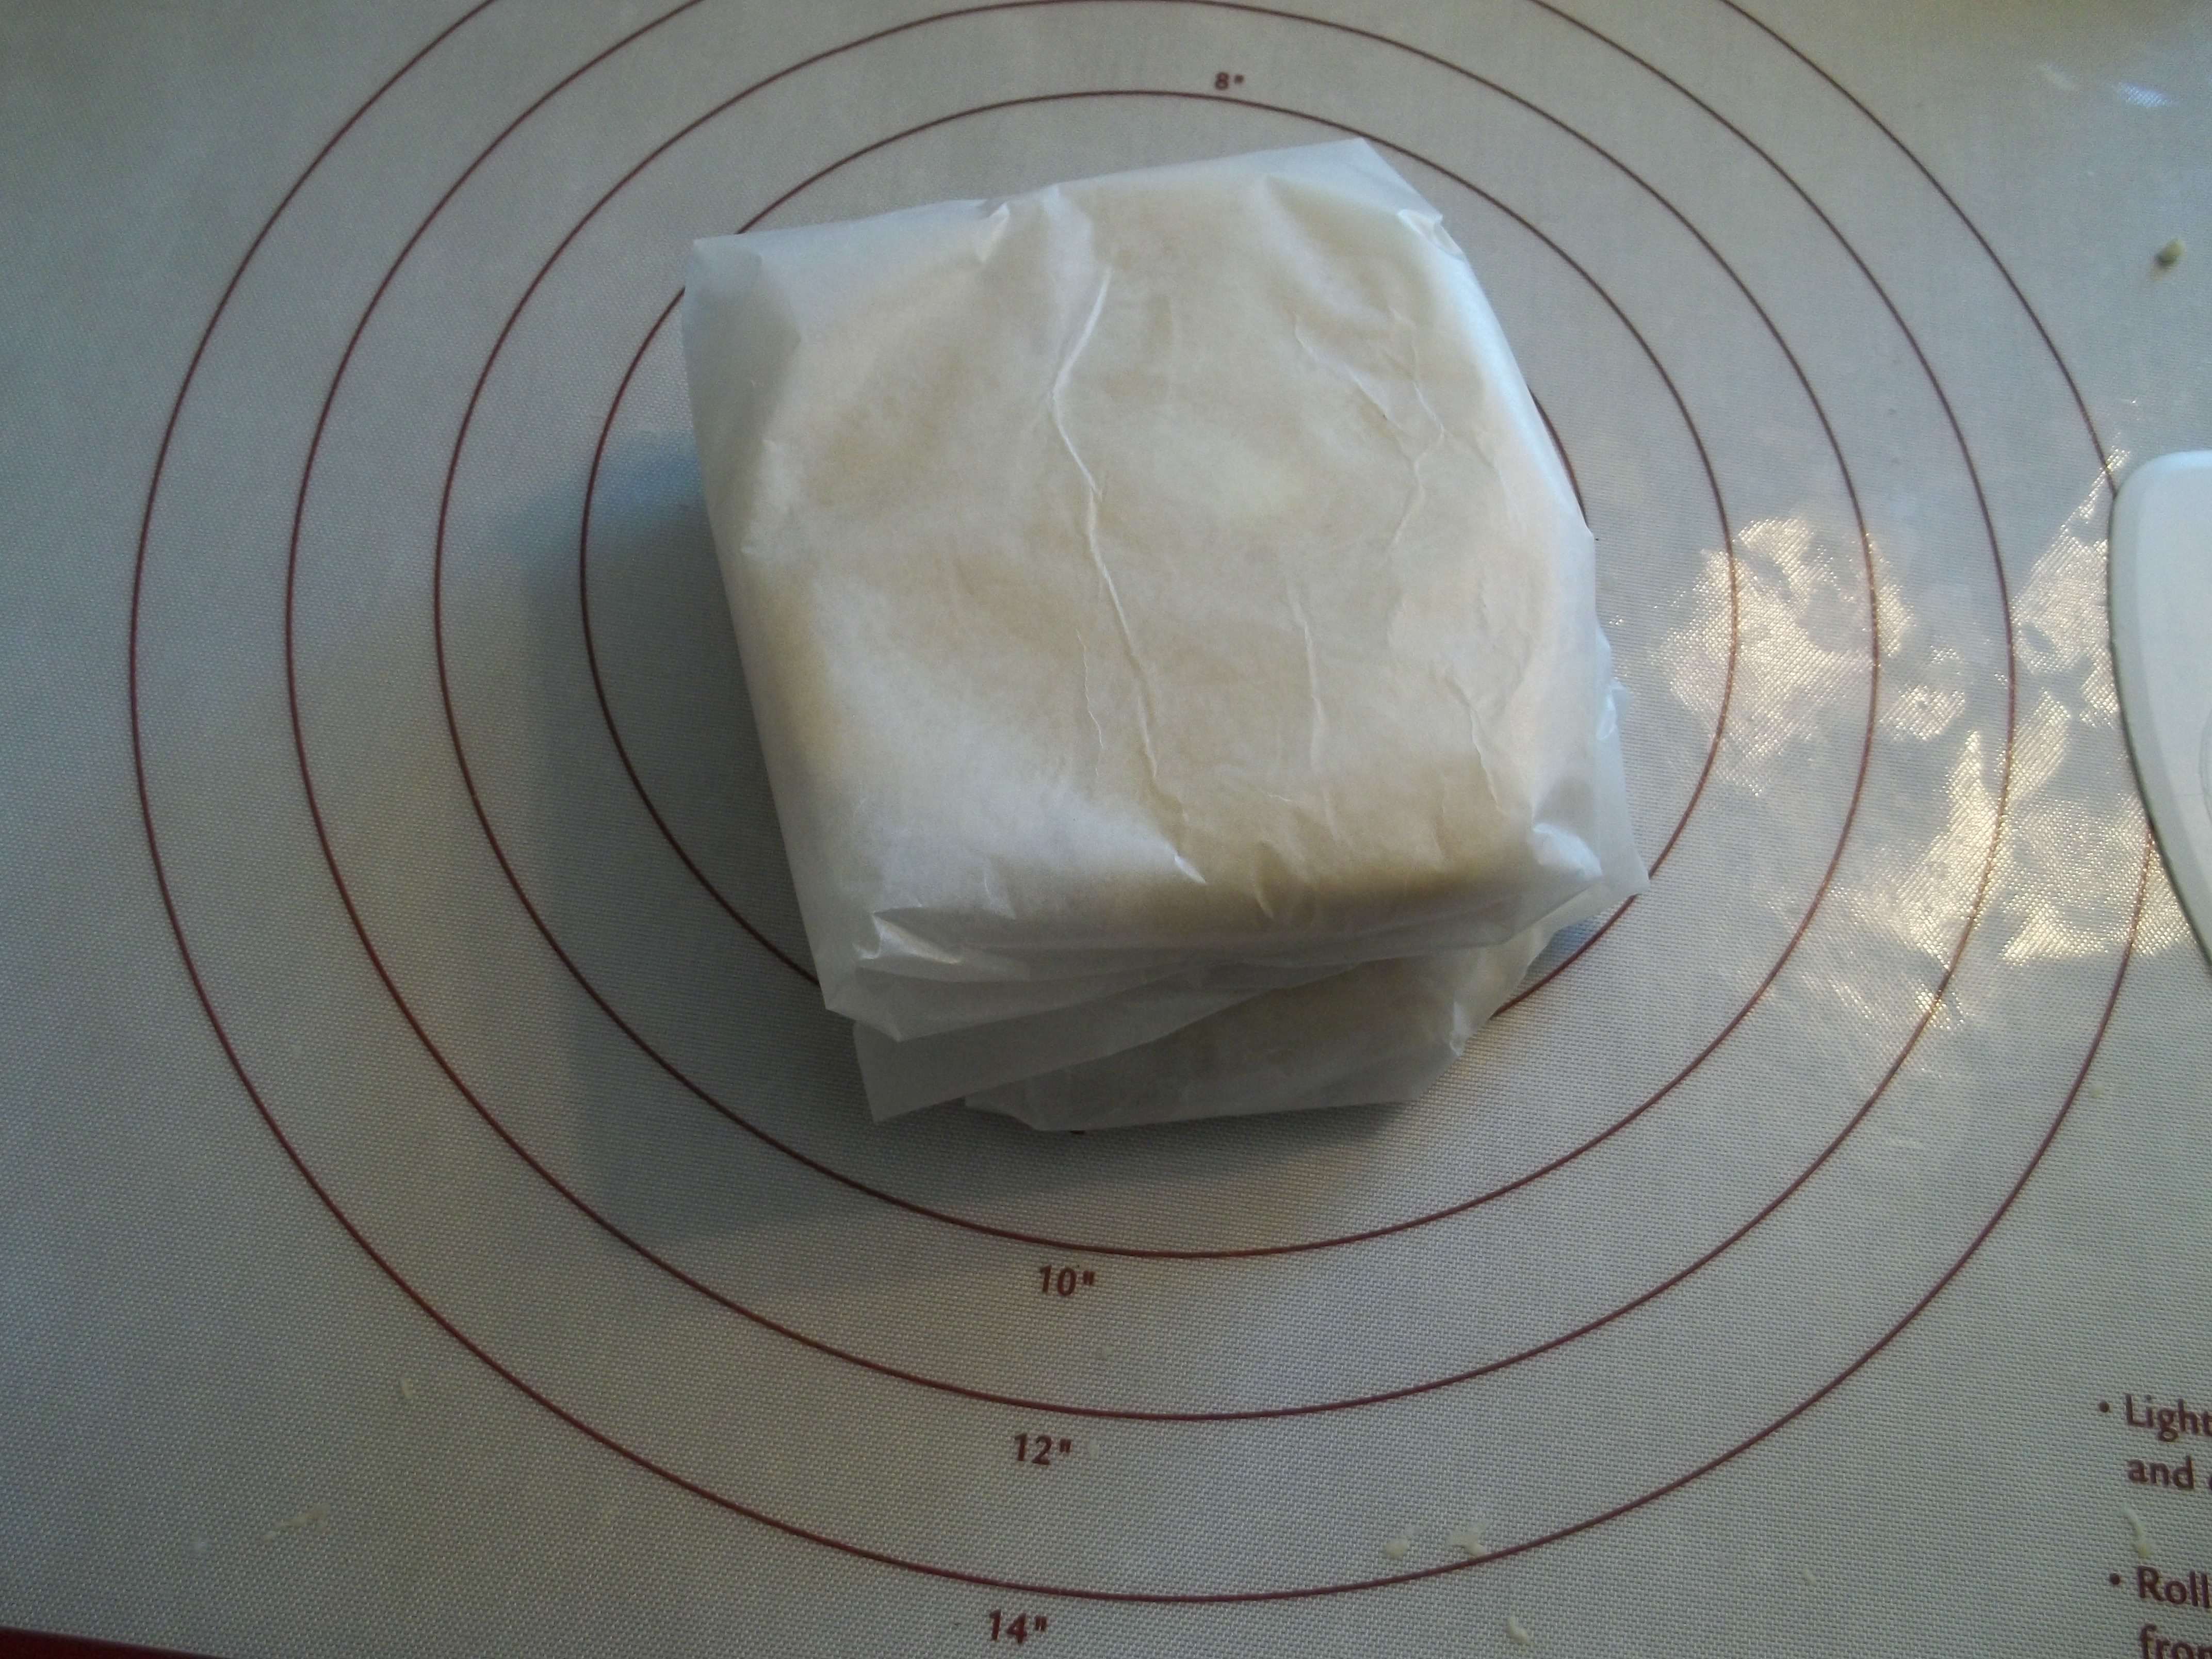
This is where the cling wrap comes back into the equation. I wrap cling wrap around both discs together, using a piece long enough to form 3-4 laters and wrapping tightly. I then turn the discs a quarter turn and do the same again, giving me 6-8 layers of plastic wrap.

It’s not particularly pretty, but it protects the dough from freezer burn and from tasting like anything other than pie crust when you’re ready to use it.
When you’re ready to bake, you’ll want to take the dough out of the fridge about fifteen minutes before it’s time to roll it out. If you have it frozen, let it thaw in the fridge overnight before use.
Next week, I plan on a demonstration of my normal use of pie crust: Chicken and Mushroom Pie. One day I might even manage to make a dessert pie with this stuff.