I don’t remember eating bagels until I was at least a teenager.
They weren’t a big thing around my East Tennessee hometown. White bread? Yes. Cornbread? Hell yes. Biscuits? With every meal if possible. But bagels? Not so much.
The first time I had a bagel, I wasn’t entirely sure what I thought of it and my very first question was “How do they make it shiny and chewy like that?” It was a while longer before I found out that the answer was “They’re boiled.” At the time, that seemed a little weird to me, but I wasn’t going to complain.
Fast-forward a couple-three decades and you find me in a sunny little kitchen, back in East Tennessee after spending my twenties living hither, thither, and yon. I’ve recently been bitten by the baking bug, partially due to a desire to get less additives and more nutrition into a family member who has recently been told that her stomach is partially paralyzed.
Said family member, having grown up Jewish in the DC area, is a life-long bagel lover. So, when I saw that the Artisan Bread in Five Minutes a Day book I’d recently started using had a bagel recipe, I decided to try them out. They weren’t bad. They weren’t fantastic and they didn’t have that lovely gleam-and-chew that I thought they ought to, but they weren’t bad.
According to what I read later, the issue was apparently that the dough just wasn’t stiff enough. Looking back, I can see how that could be the issue. I had to handle them very carefully and they didn’t retain their lovely round shape through the boiling process.
This brings us to the present and the current bagel experiment.
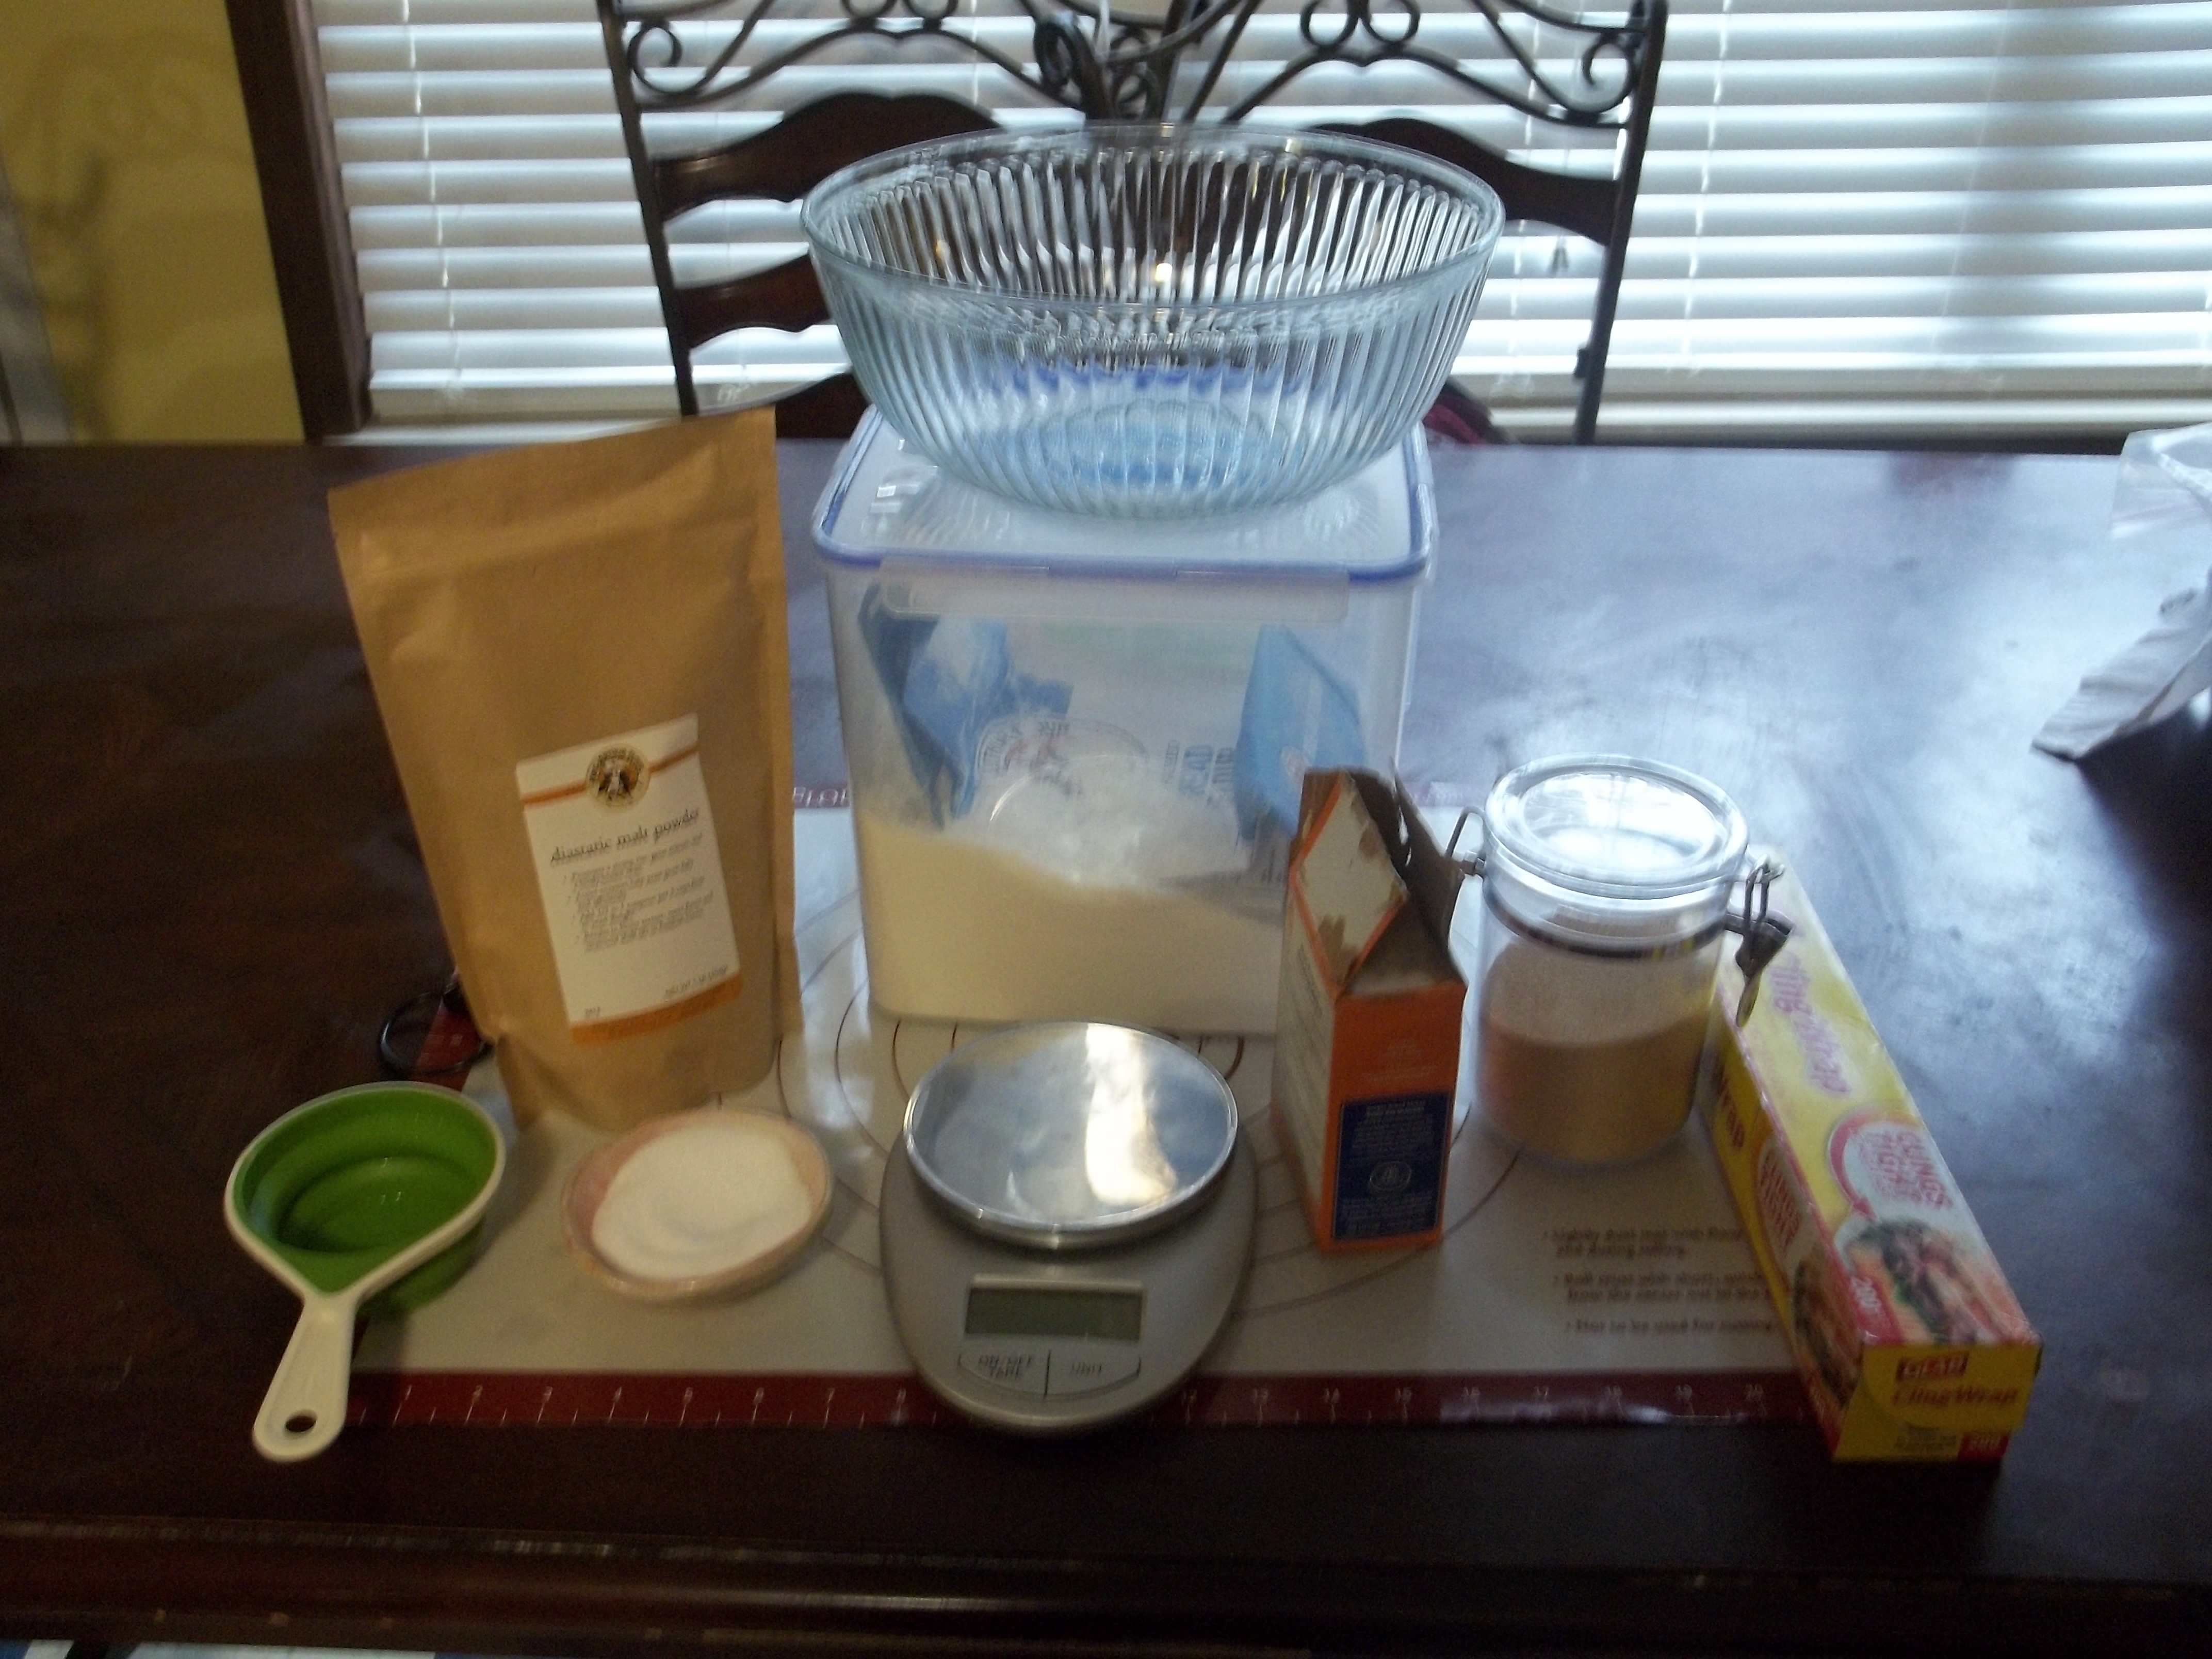
This time, I used the formula from The Bread Baker’s Apprentice for the dough. I don’t have specifically high gluten flour, but I do have King Arthur unbleached bread flour, which is higher in gluten than most other bread flours. I also have the diastatic malt powder, which I bought because I saw it and had the vague recollection I was going to want it for something bread-related. I seem to buy a lot of things for that reason lately.
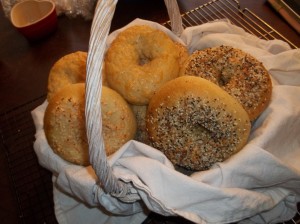
I asked for topping suggestions on Facebook and we’re going to try a few: poppy seeds, sesame seeds, salt, asiago cheese, onions, and an “everything” bagel using the Artisan Bread Topping from King Arthur plus onions and salt.
Like many of the recipes in BBA, this is a two-day process. Most of the work is actually done on day one. I was a little surprised at how quick the finishing-up went on day two.
The recipe starts with a sponge. As far as I can tell, a sponge is like a sourdough starter, only it’s done with commercial yeast, so it’s made much closer in to the time you’re going to make the bread. Most of the sponges I’ve read about use from 1/2 to 3/4 of the flour for the recipe, most of or all of the liquid, and varying amounts of the yeast.
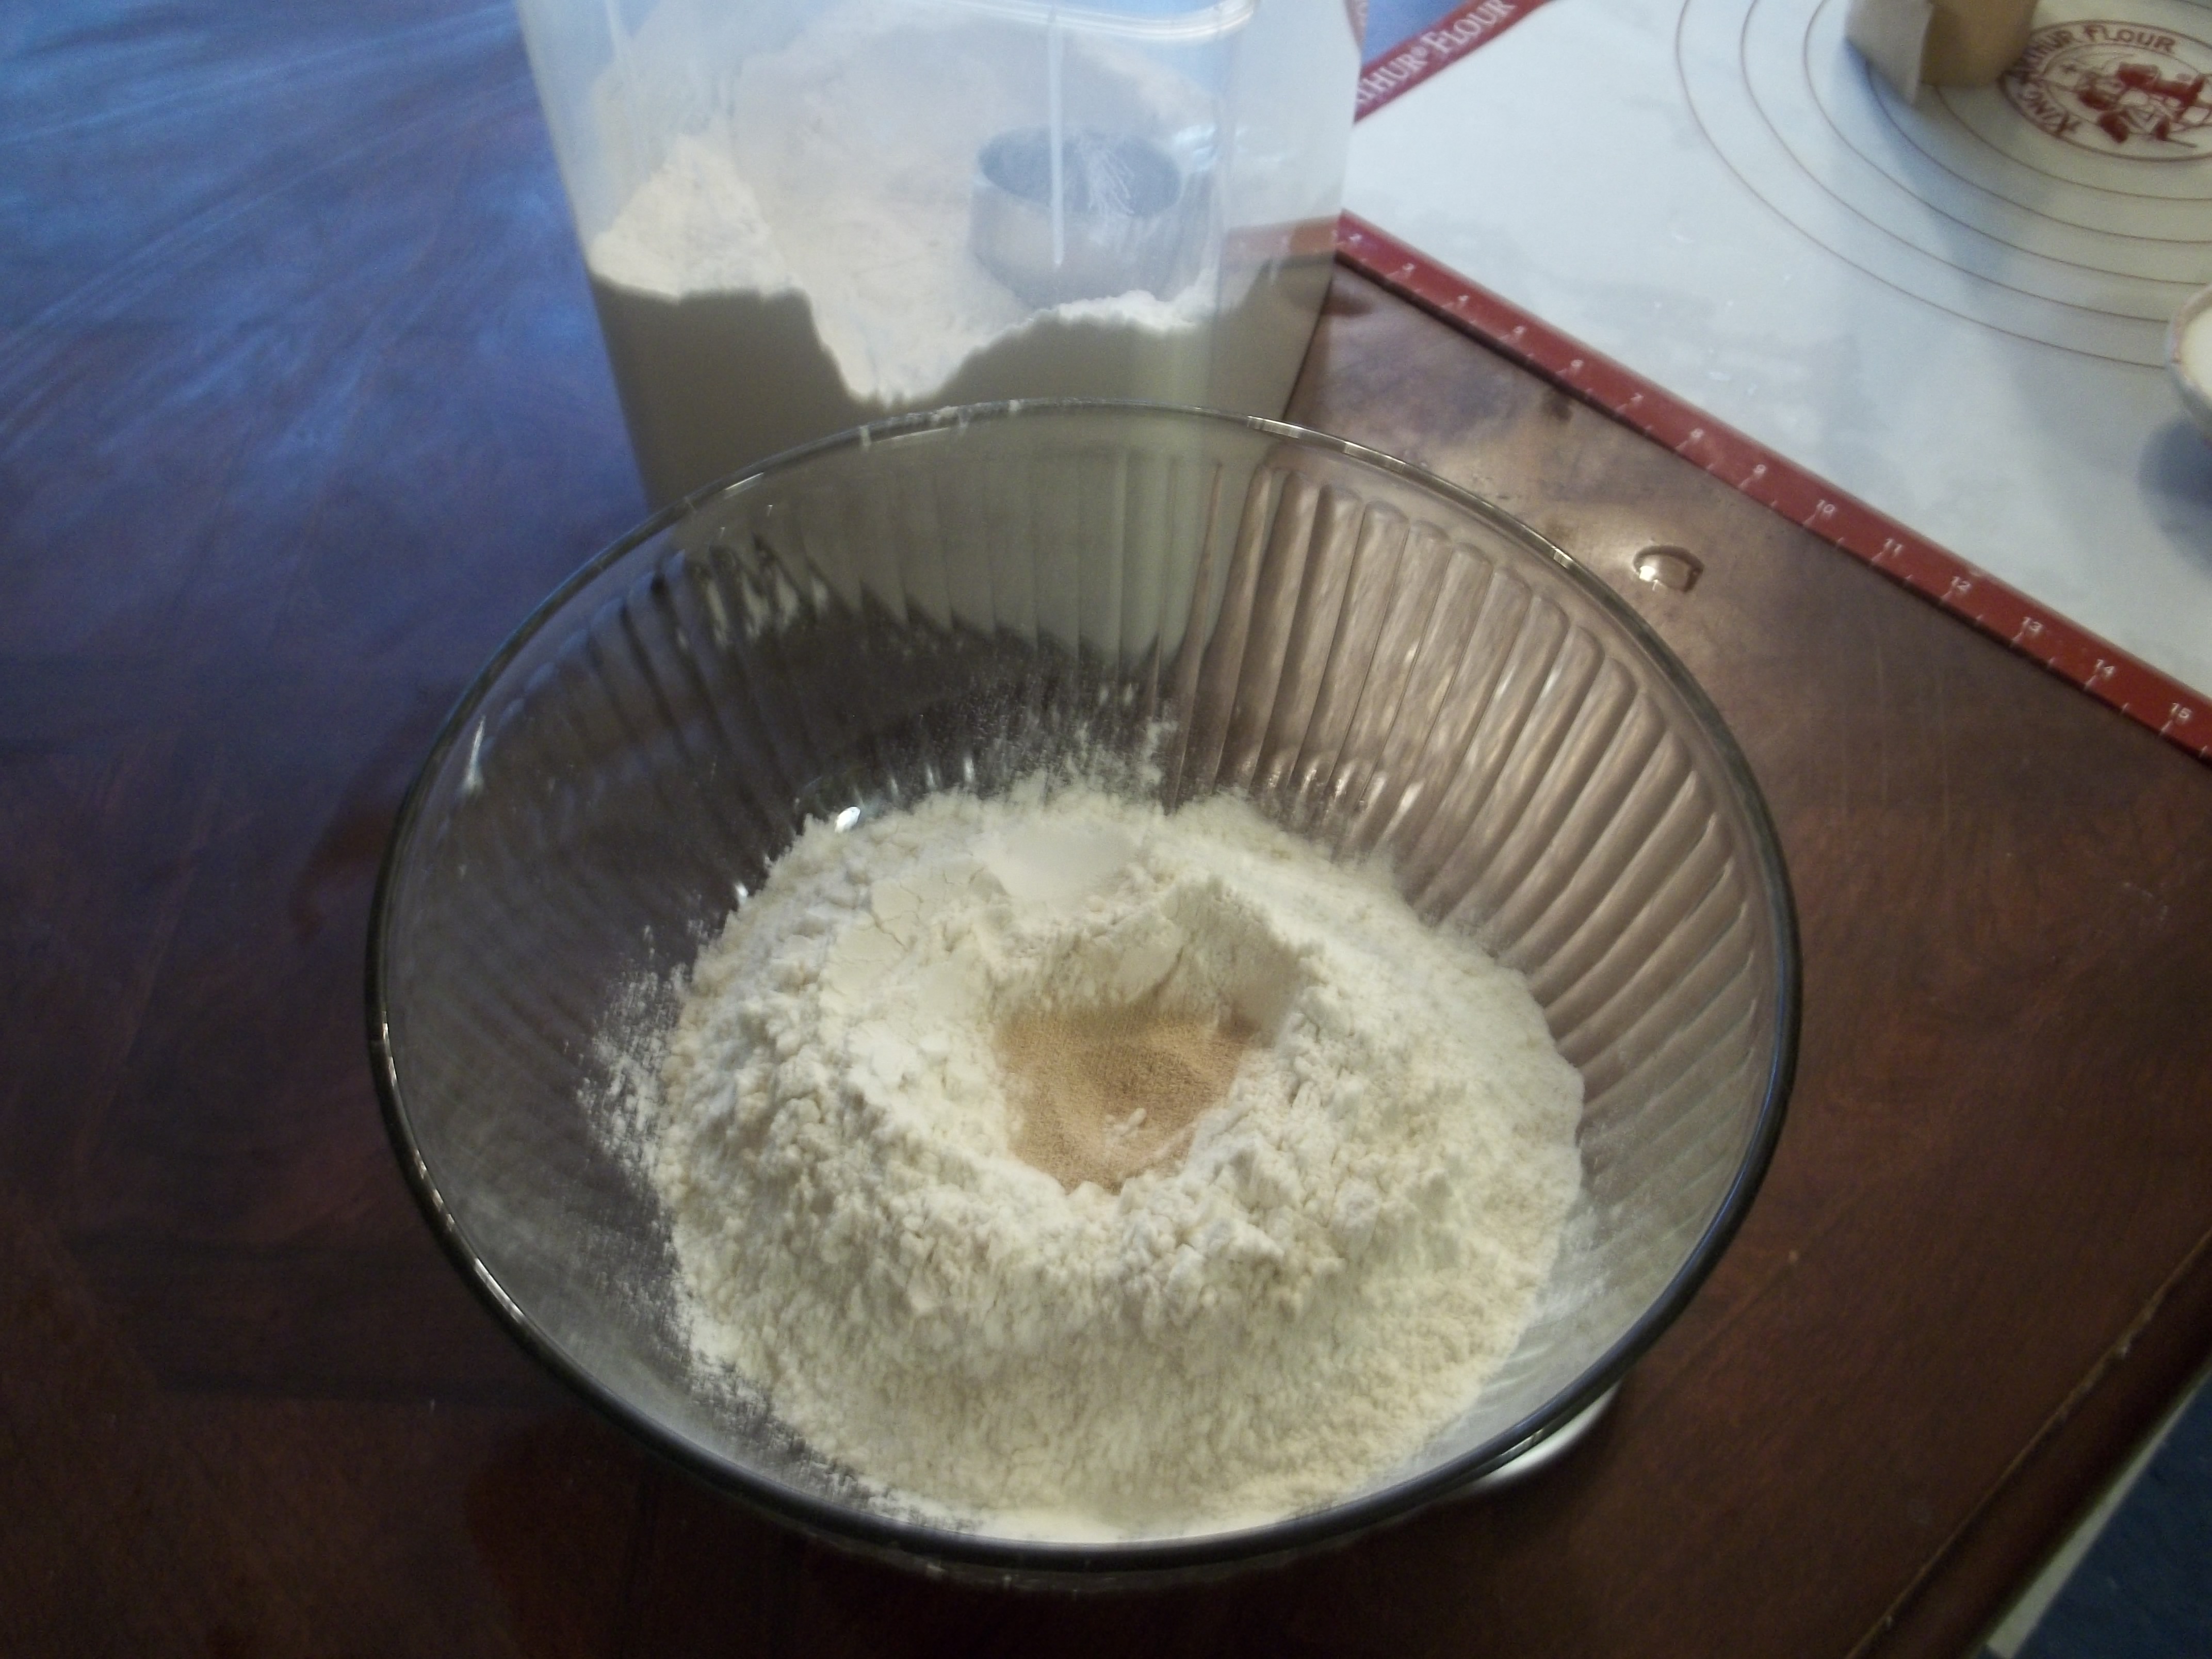
This sponge starts with 4 cups (18 ounces) flour, a teaspoon of yeast and 2.5 cups (20 ounces) of water. Like I mentioned earlier, I’m using King Arthur unbleached bread flour. Given how these came out, I may actually go with an even higher-gluten flour on the next batch.
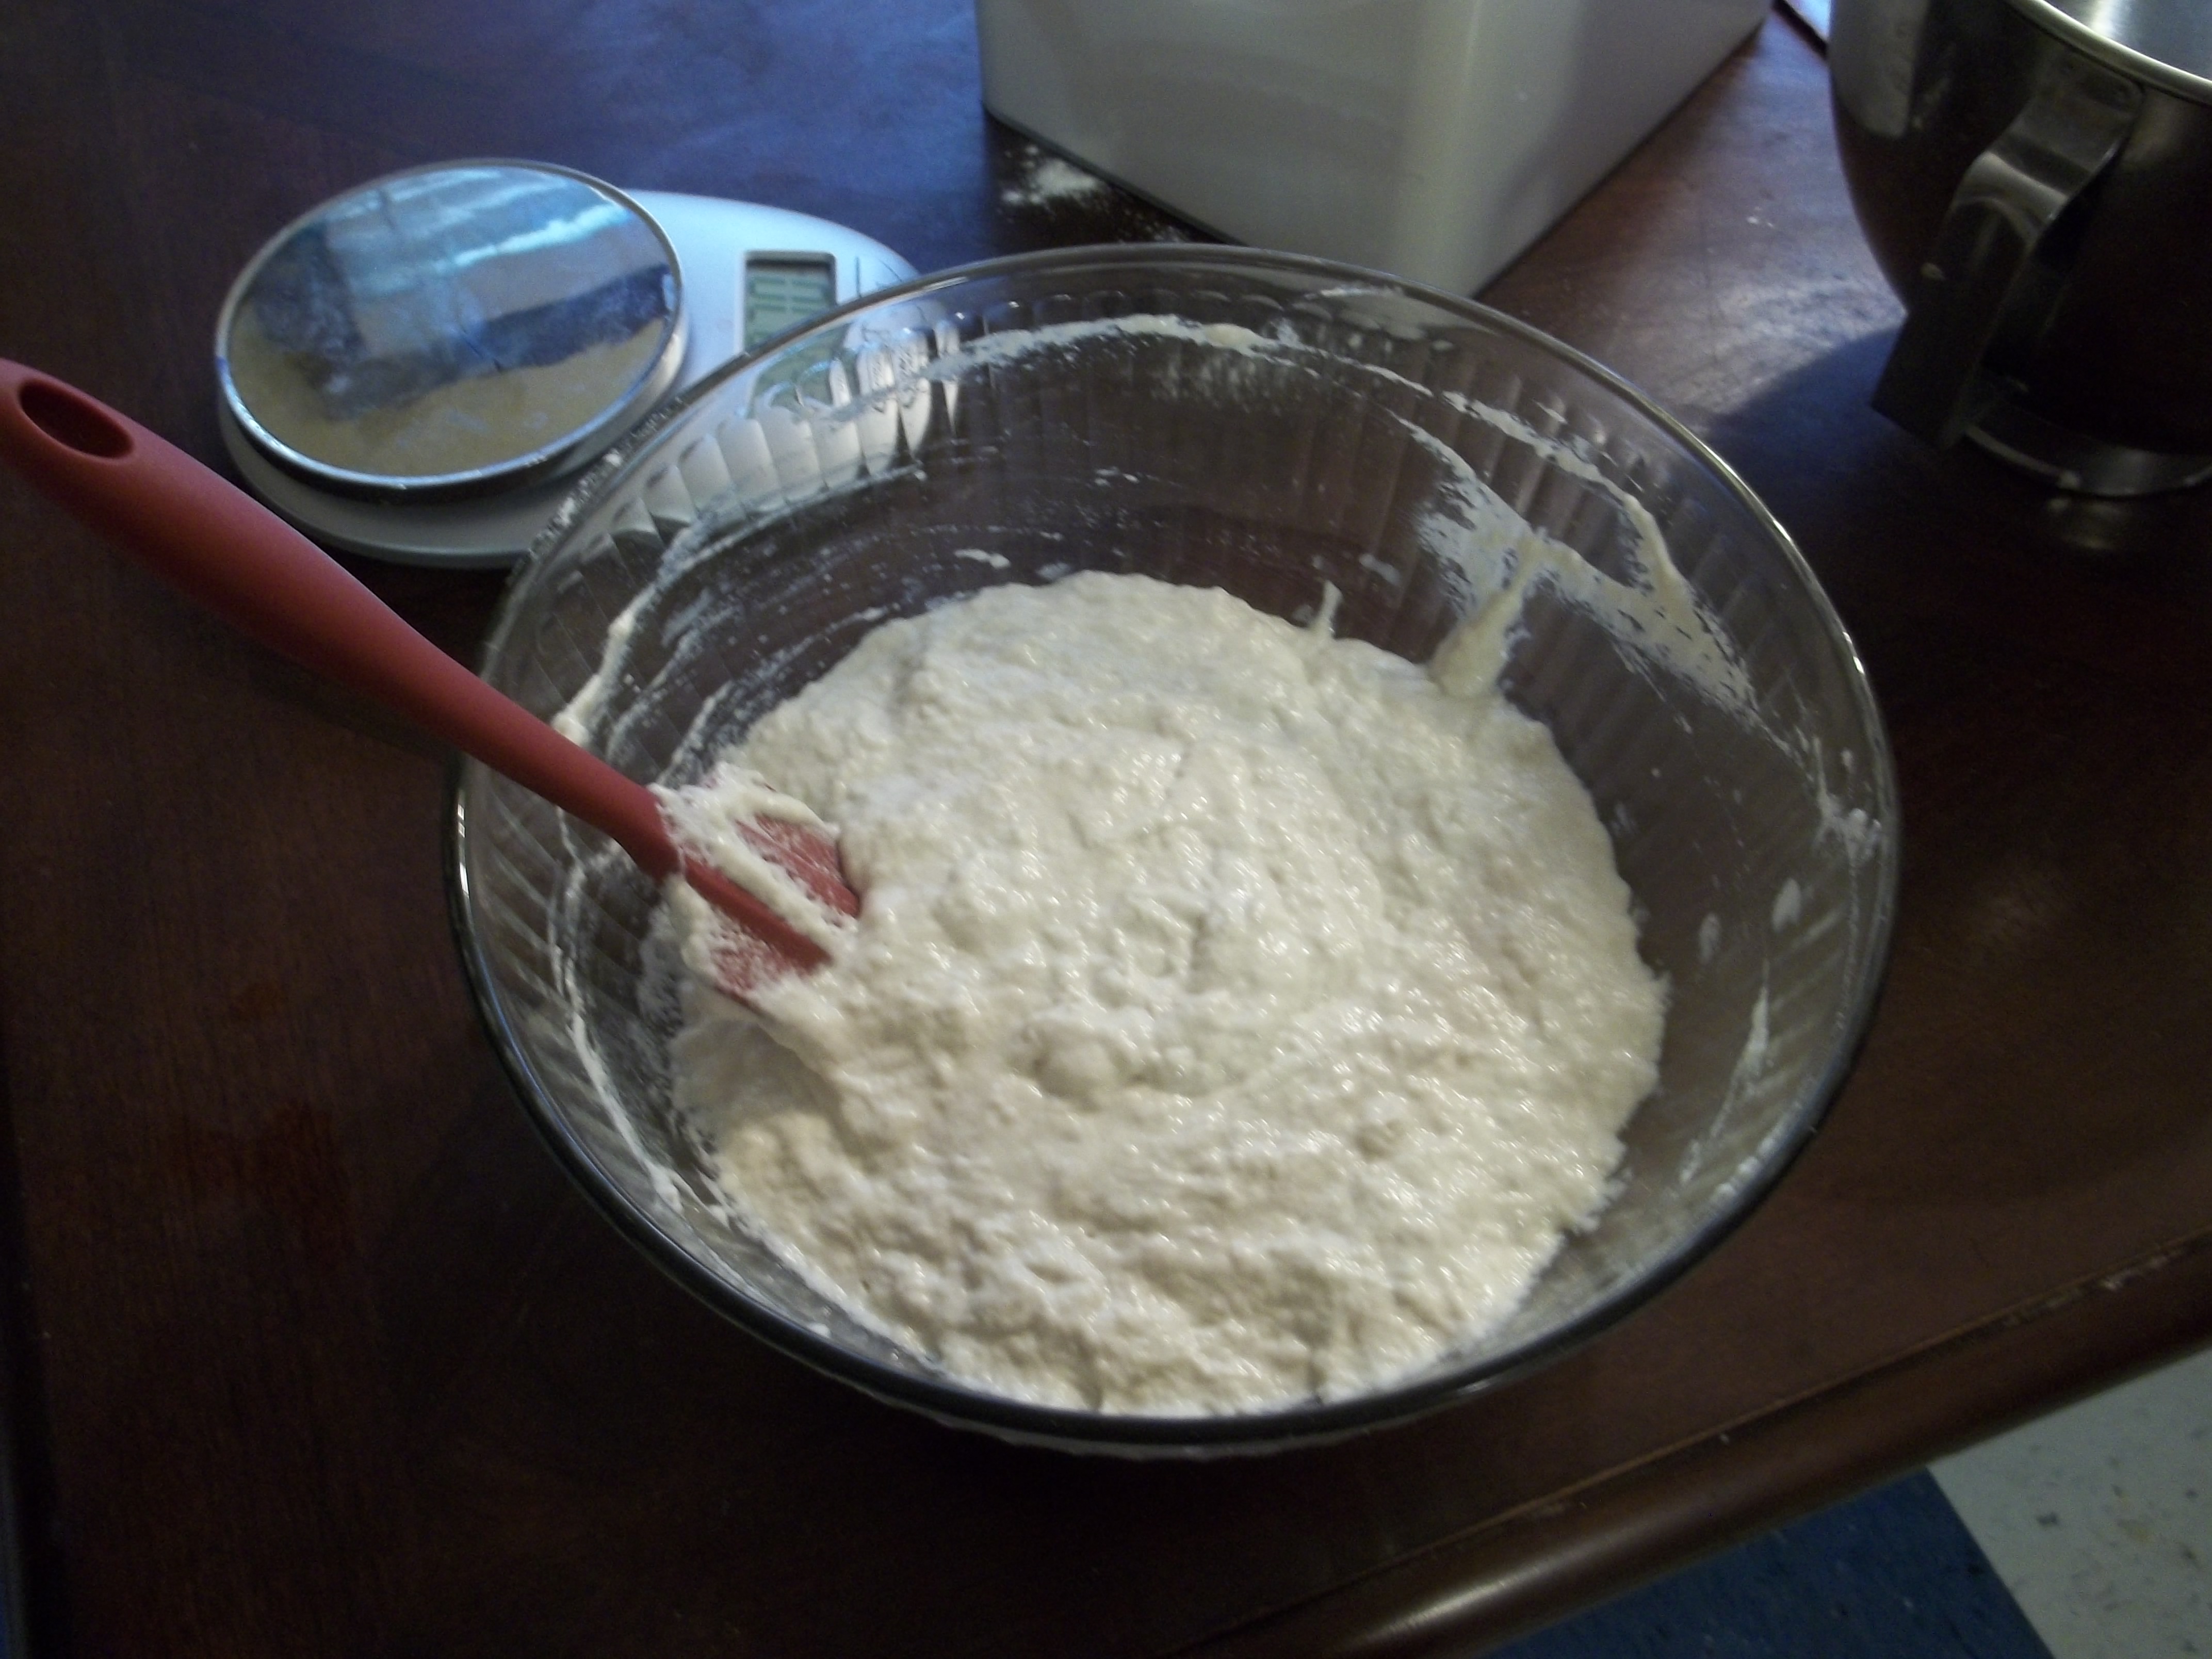
The sponge comes out very batter-like. This one was a little lumpy and I may try using a whisk rather than a spatula next time to do the mixing.
After I got it mixed, it was time to let it rise and get all bubbly and fermented. It was cold in the kitchen, and even though room temperature is usually plenty warm for rising bread I decided to use my uber-fancy proofing box. I didn’t get a shot of the box, which is actually my microwave with a large Scooby mug full of water at about 140 degrees thanks to our super-duper electric kettle.
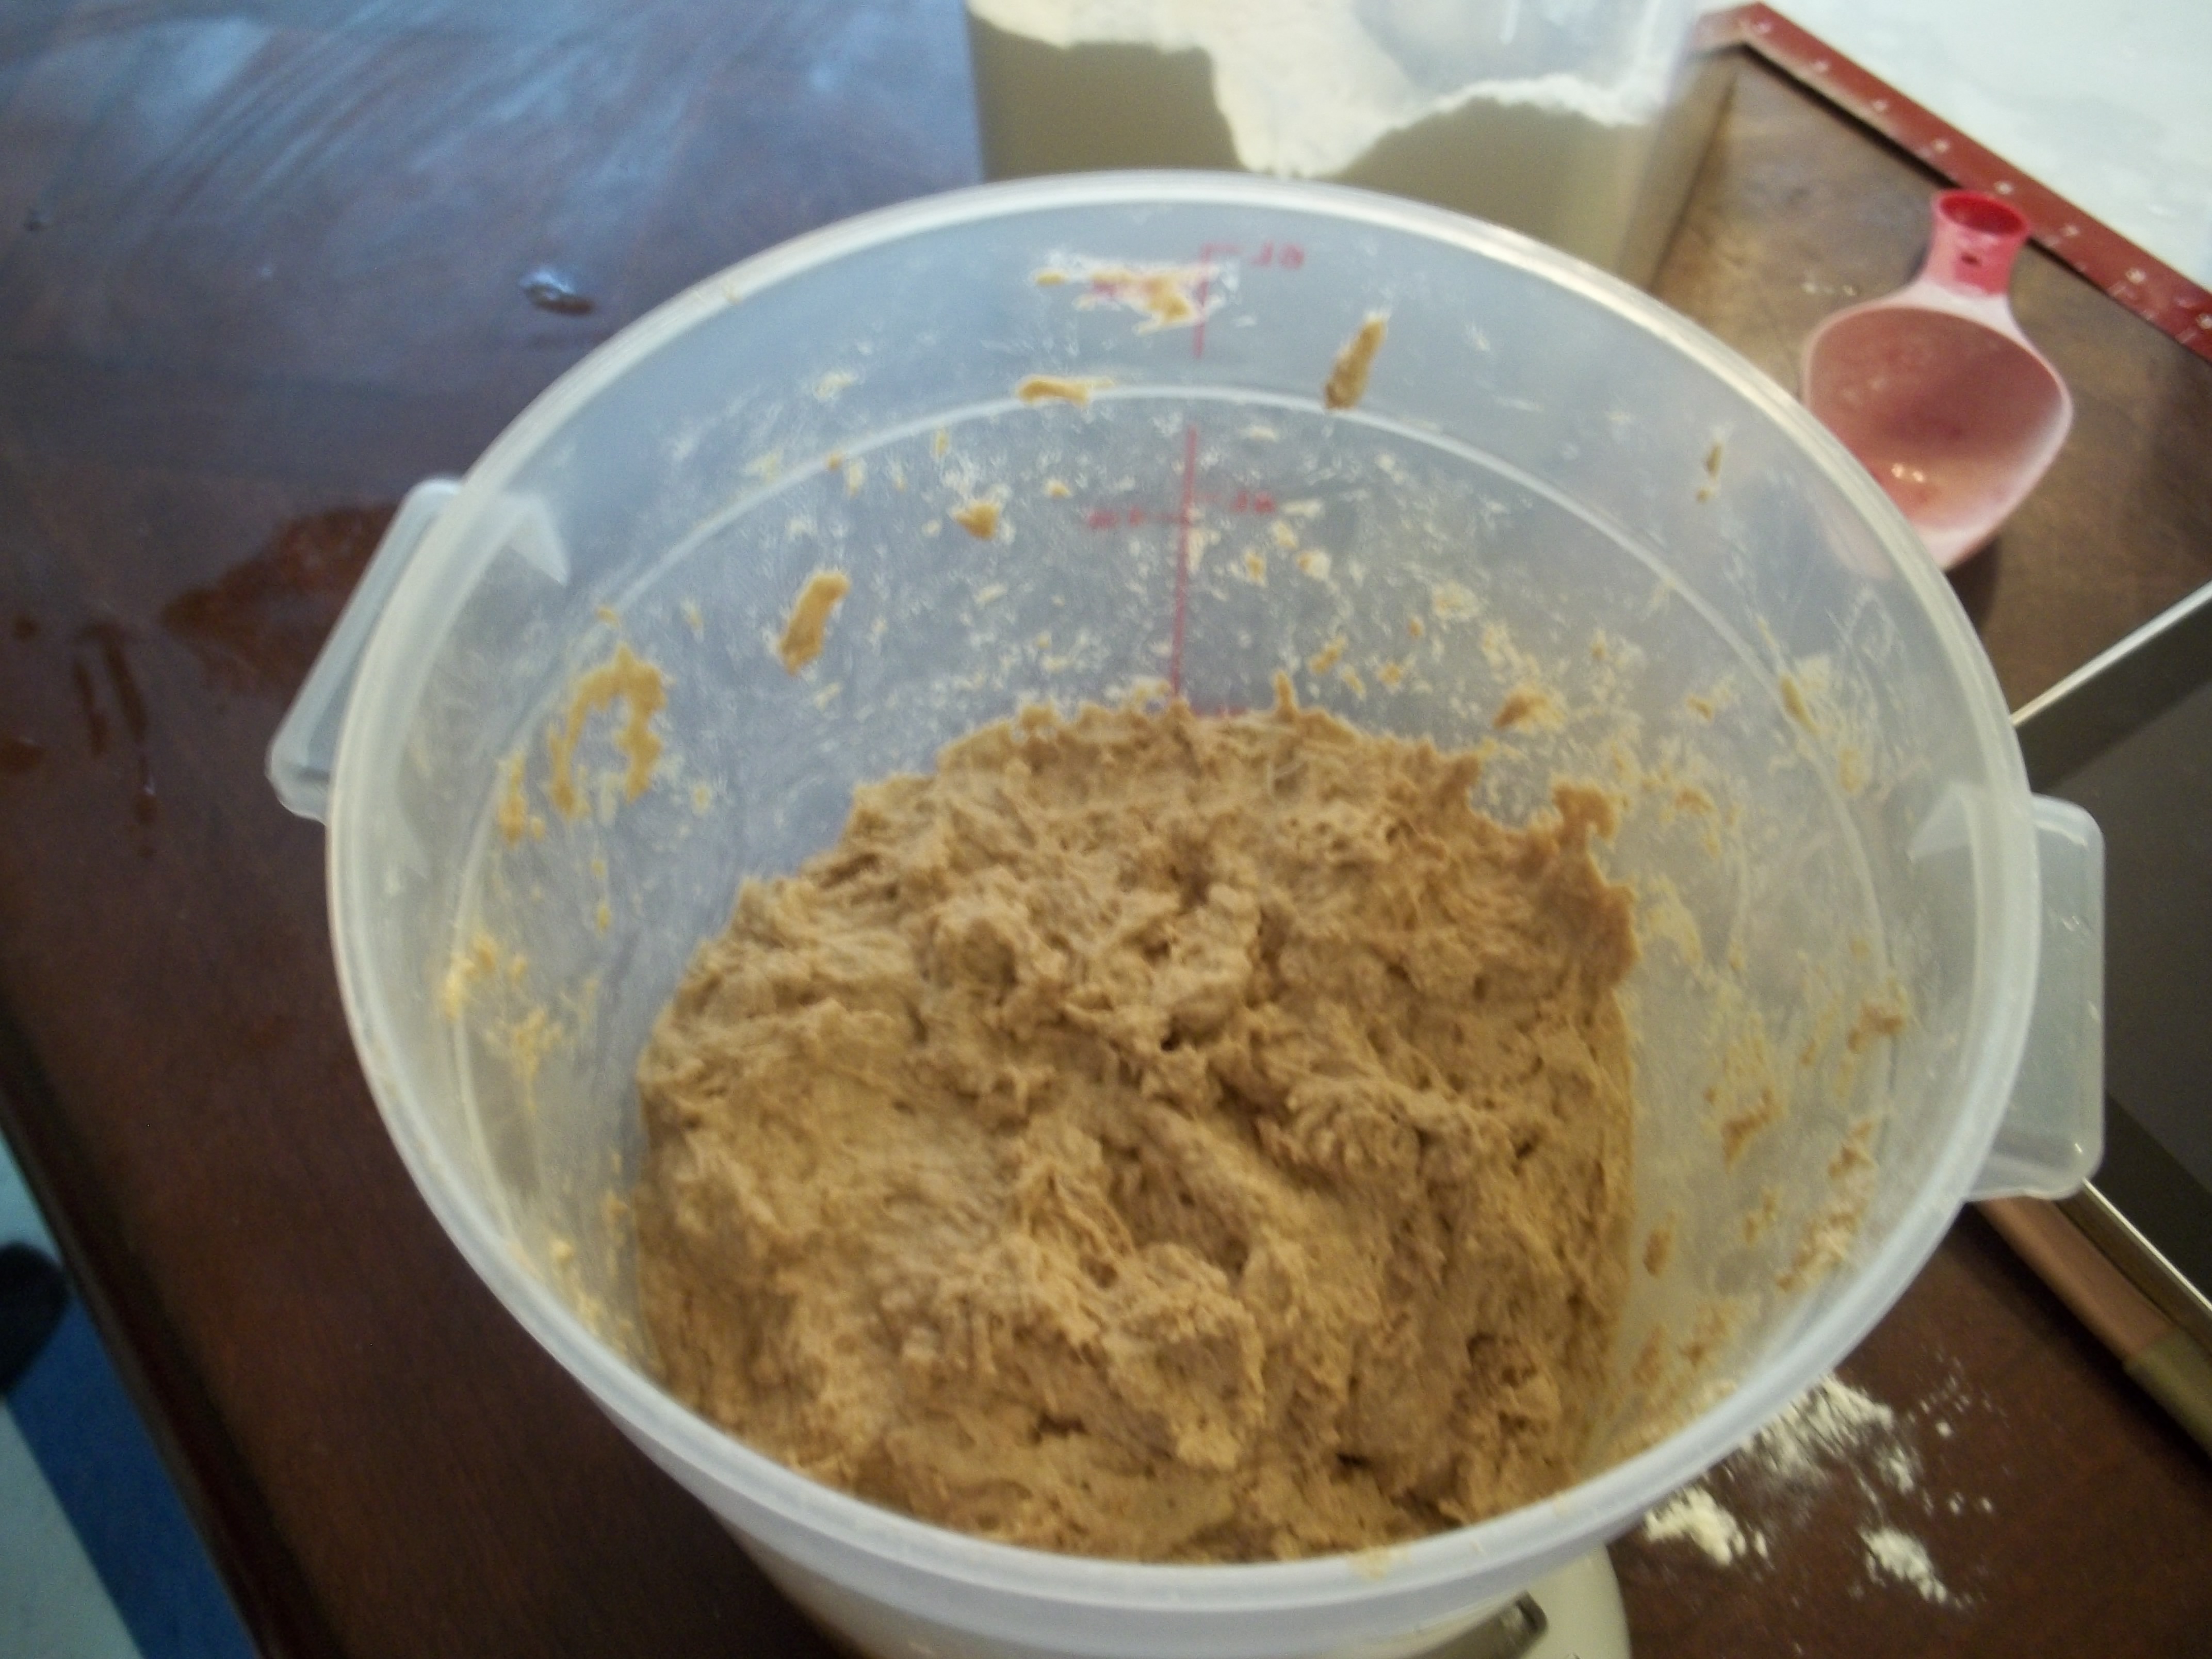
Two, two-and-a-half hours later, it looked like this:
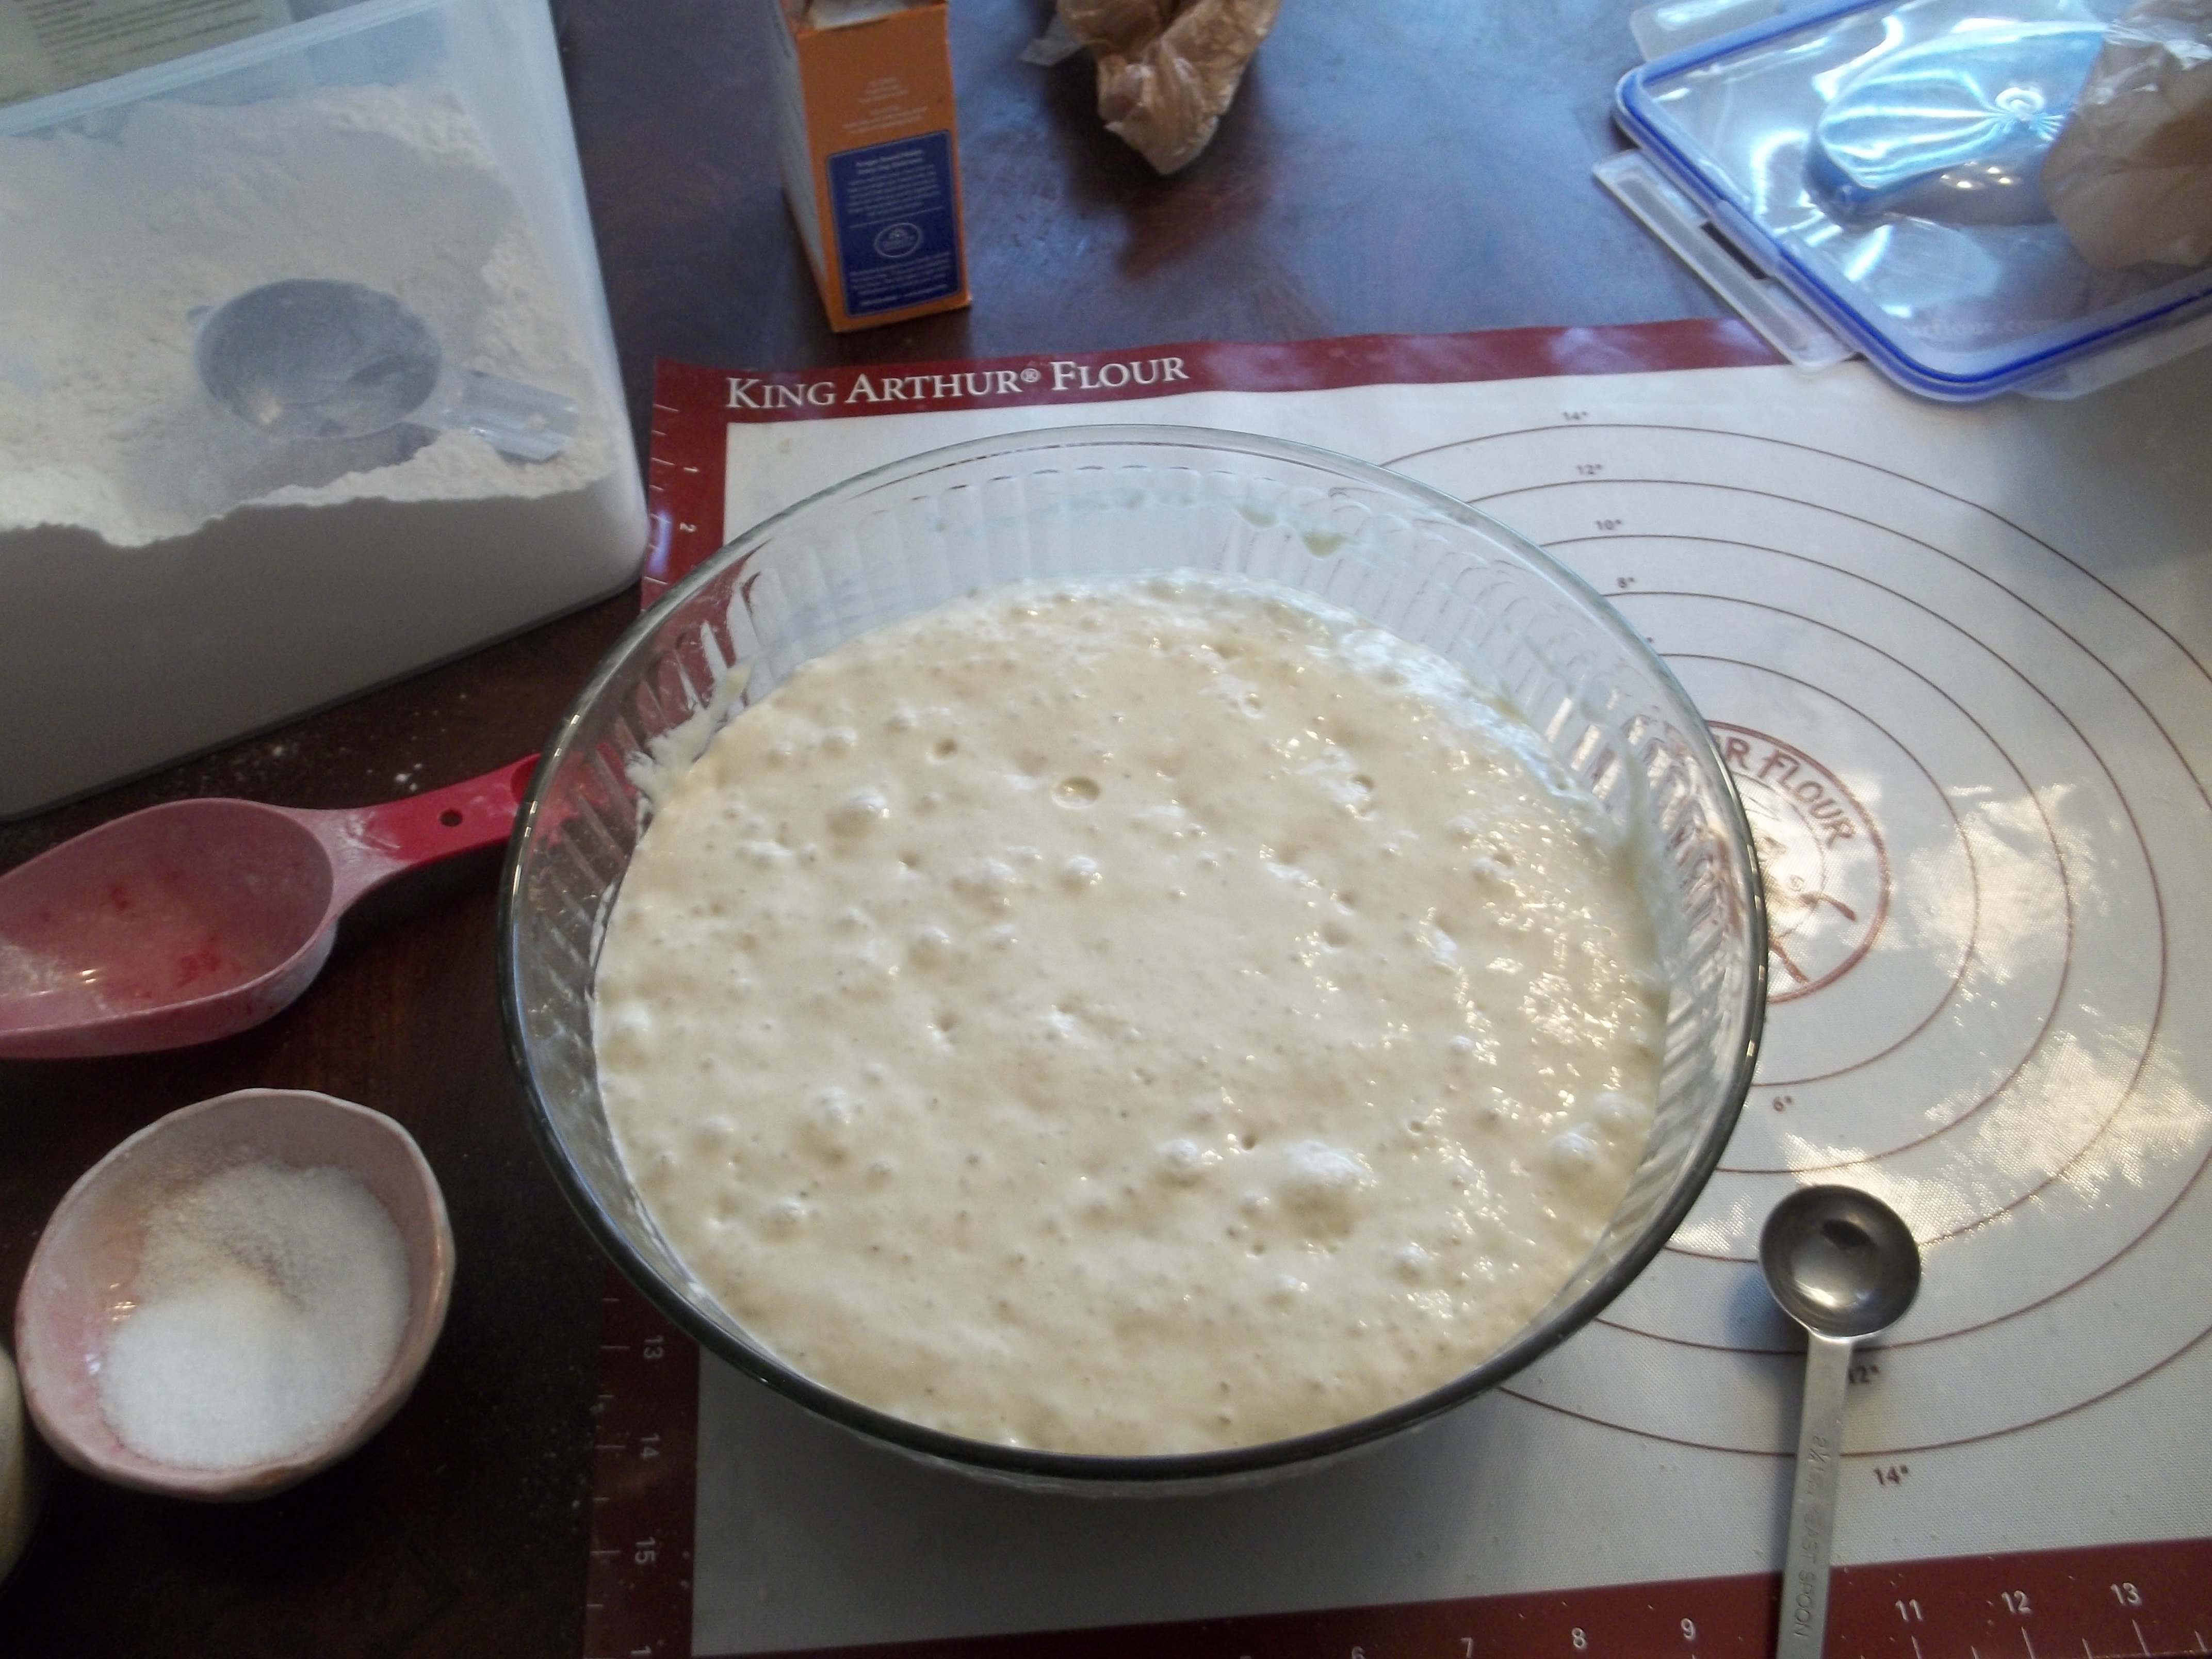
That transformation is part of why I find baking so fascinating. Two powders and some water and you get bubbly, delicious smelling sponge.
The book said it should collapse when tapped on the counter, but this one didn’t. Tapping it on the counter (or table in this case) did make some of the bubbles rise up to the surface and burst, but not collapse in the dramatic manner I was expecting. Next time, I may let it ferment longer.
This was the point when it was time to mix in the diastatic malt (2 teaspoons, .33 ounce), the rest of the yeast (.5 tsp, .055 ounce), the salt (2 3/4 tsp, .7 ounce) and the rest of the flour (3 3/4 cups, 17 ounces). The mixing in of the flour was sort of multi-stage, multi-process thing. Meaning I couldn’t get it stirred in with the spatula, so I put the dough into the KitchenAid and proceeded to try to get it mixed up that way. Even then, I couldn’t get all the flour called for in the recipe into it. I called it good enough and brought most of the last 3/4 cup of flour over to the table with my lovely new silicone pastry mat to start kneading.
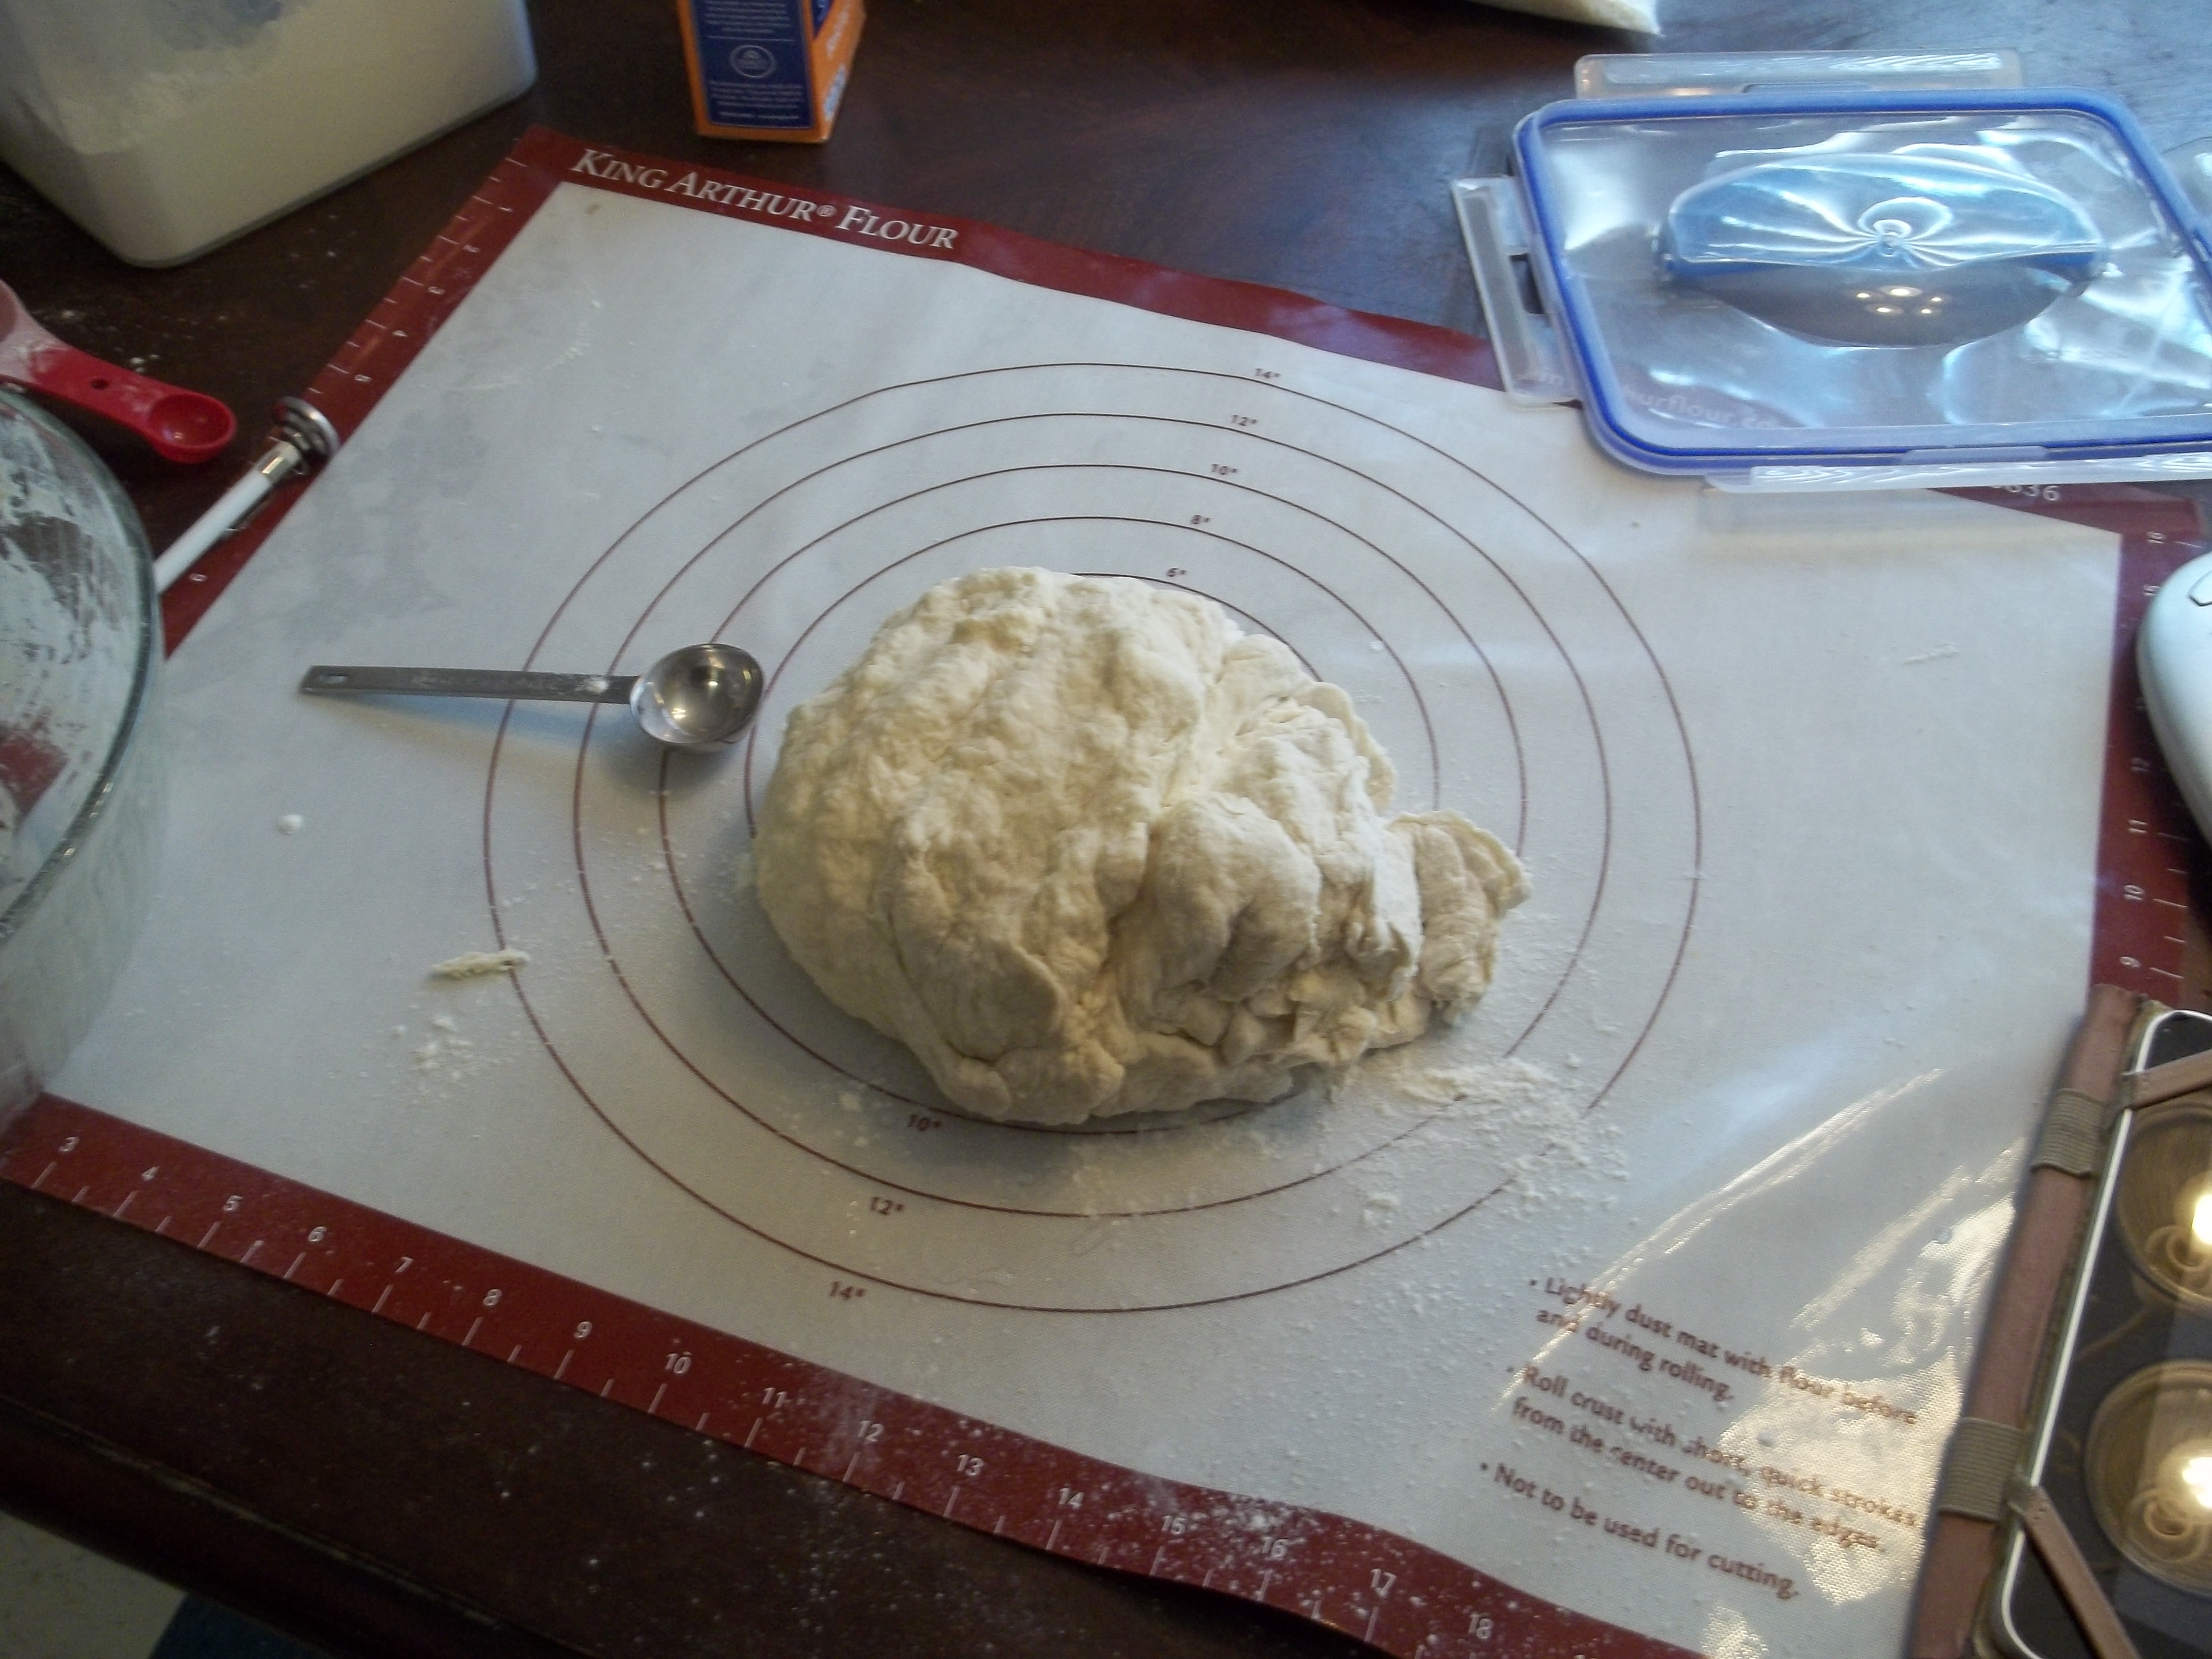
I have another pastry mat, but it slides around on the table too much for good bread kneading that’s this extensive. It’s good for pie-crust rolling, however.
Kneading bagel dough is no joke. Kneading dough in general is no joke, but this took some real work. I kept sprinkling flour over the dough and onto the mat and working it into the ball because bagel dough isn’t supposed to be even a little tacky. Most doughs I’ve worked with are at least tacky and sourdough is actively sticky. The book says you can use your stand mixer, but I was having issues getting the dough to pick up the flour in the KitchenAid, so hand-kneading it was.
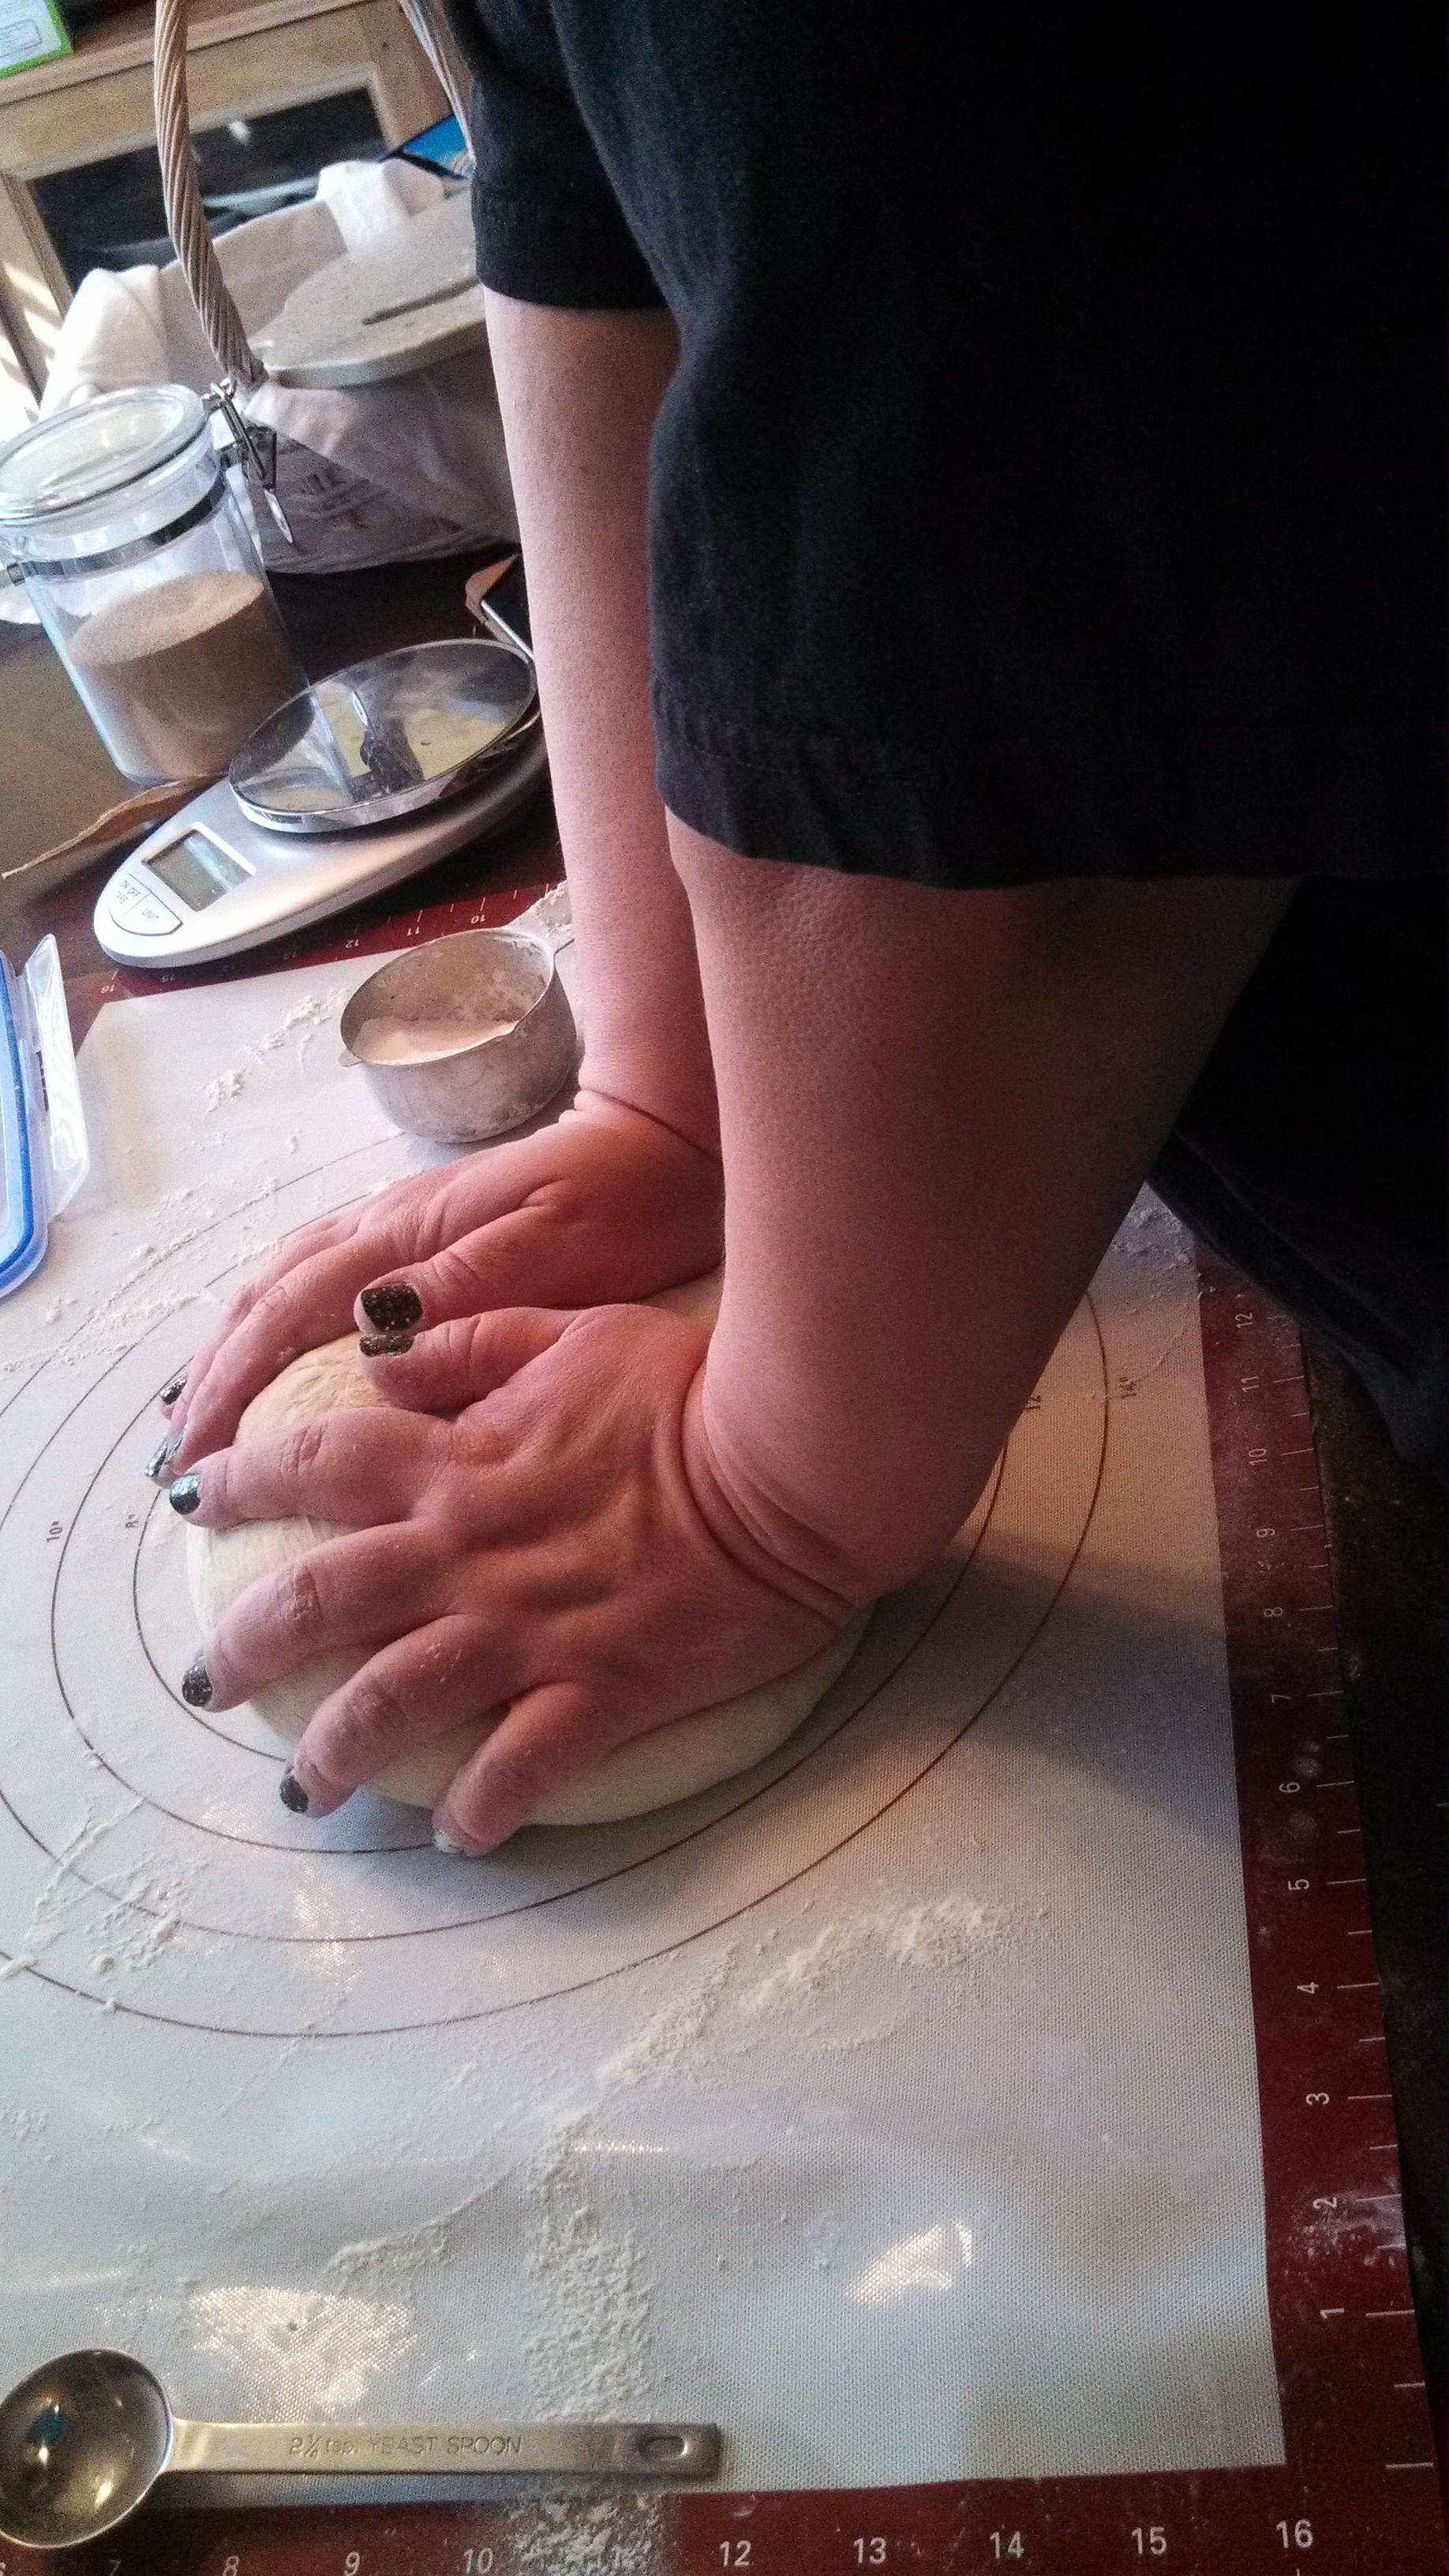

I ended up working at it for fifteen minutes or more to get it to a stage that I felt pretty certain was smooth and non-tacky enough to qualify. I may actually have to work it longer next time. It did make an awfully pretty ball, though.
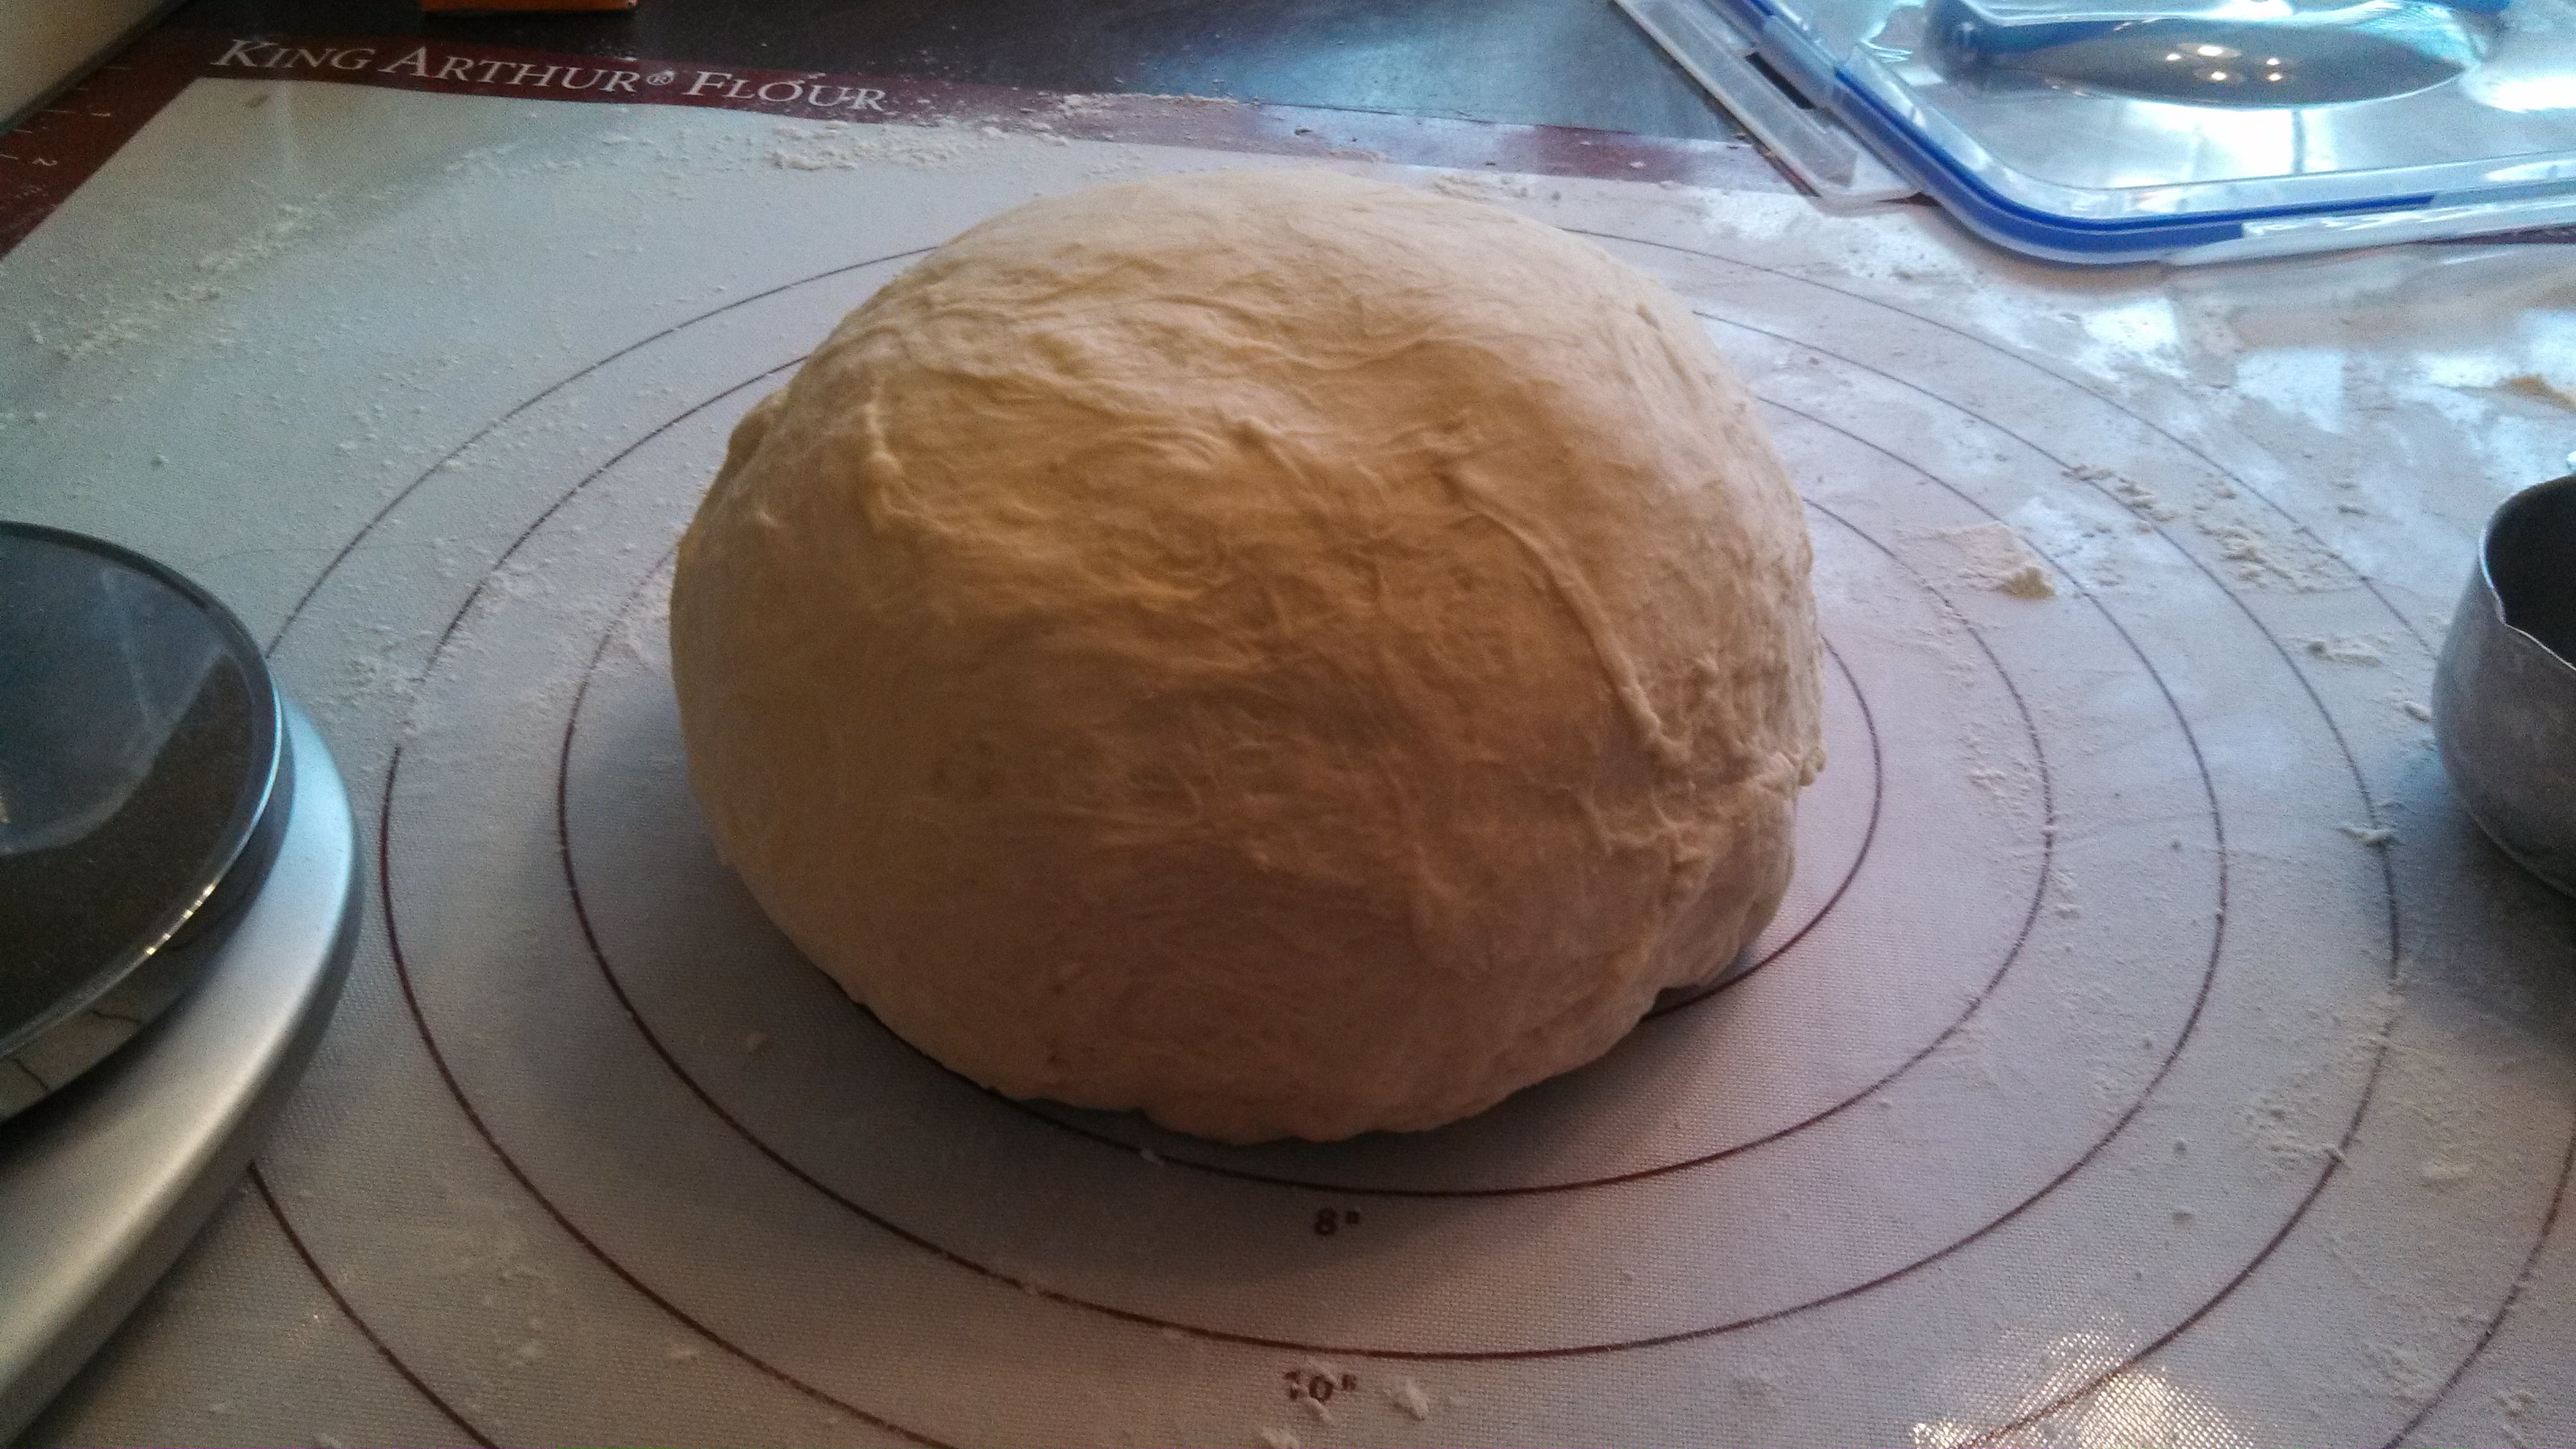
After kneading you, cut it up into pieces and form them into rolls, which are basically tiny little boules. The trick is getting them mostly even. I’m still not great at that, so some came out larger than others, but I’m fine with that.
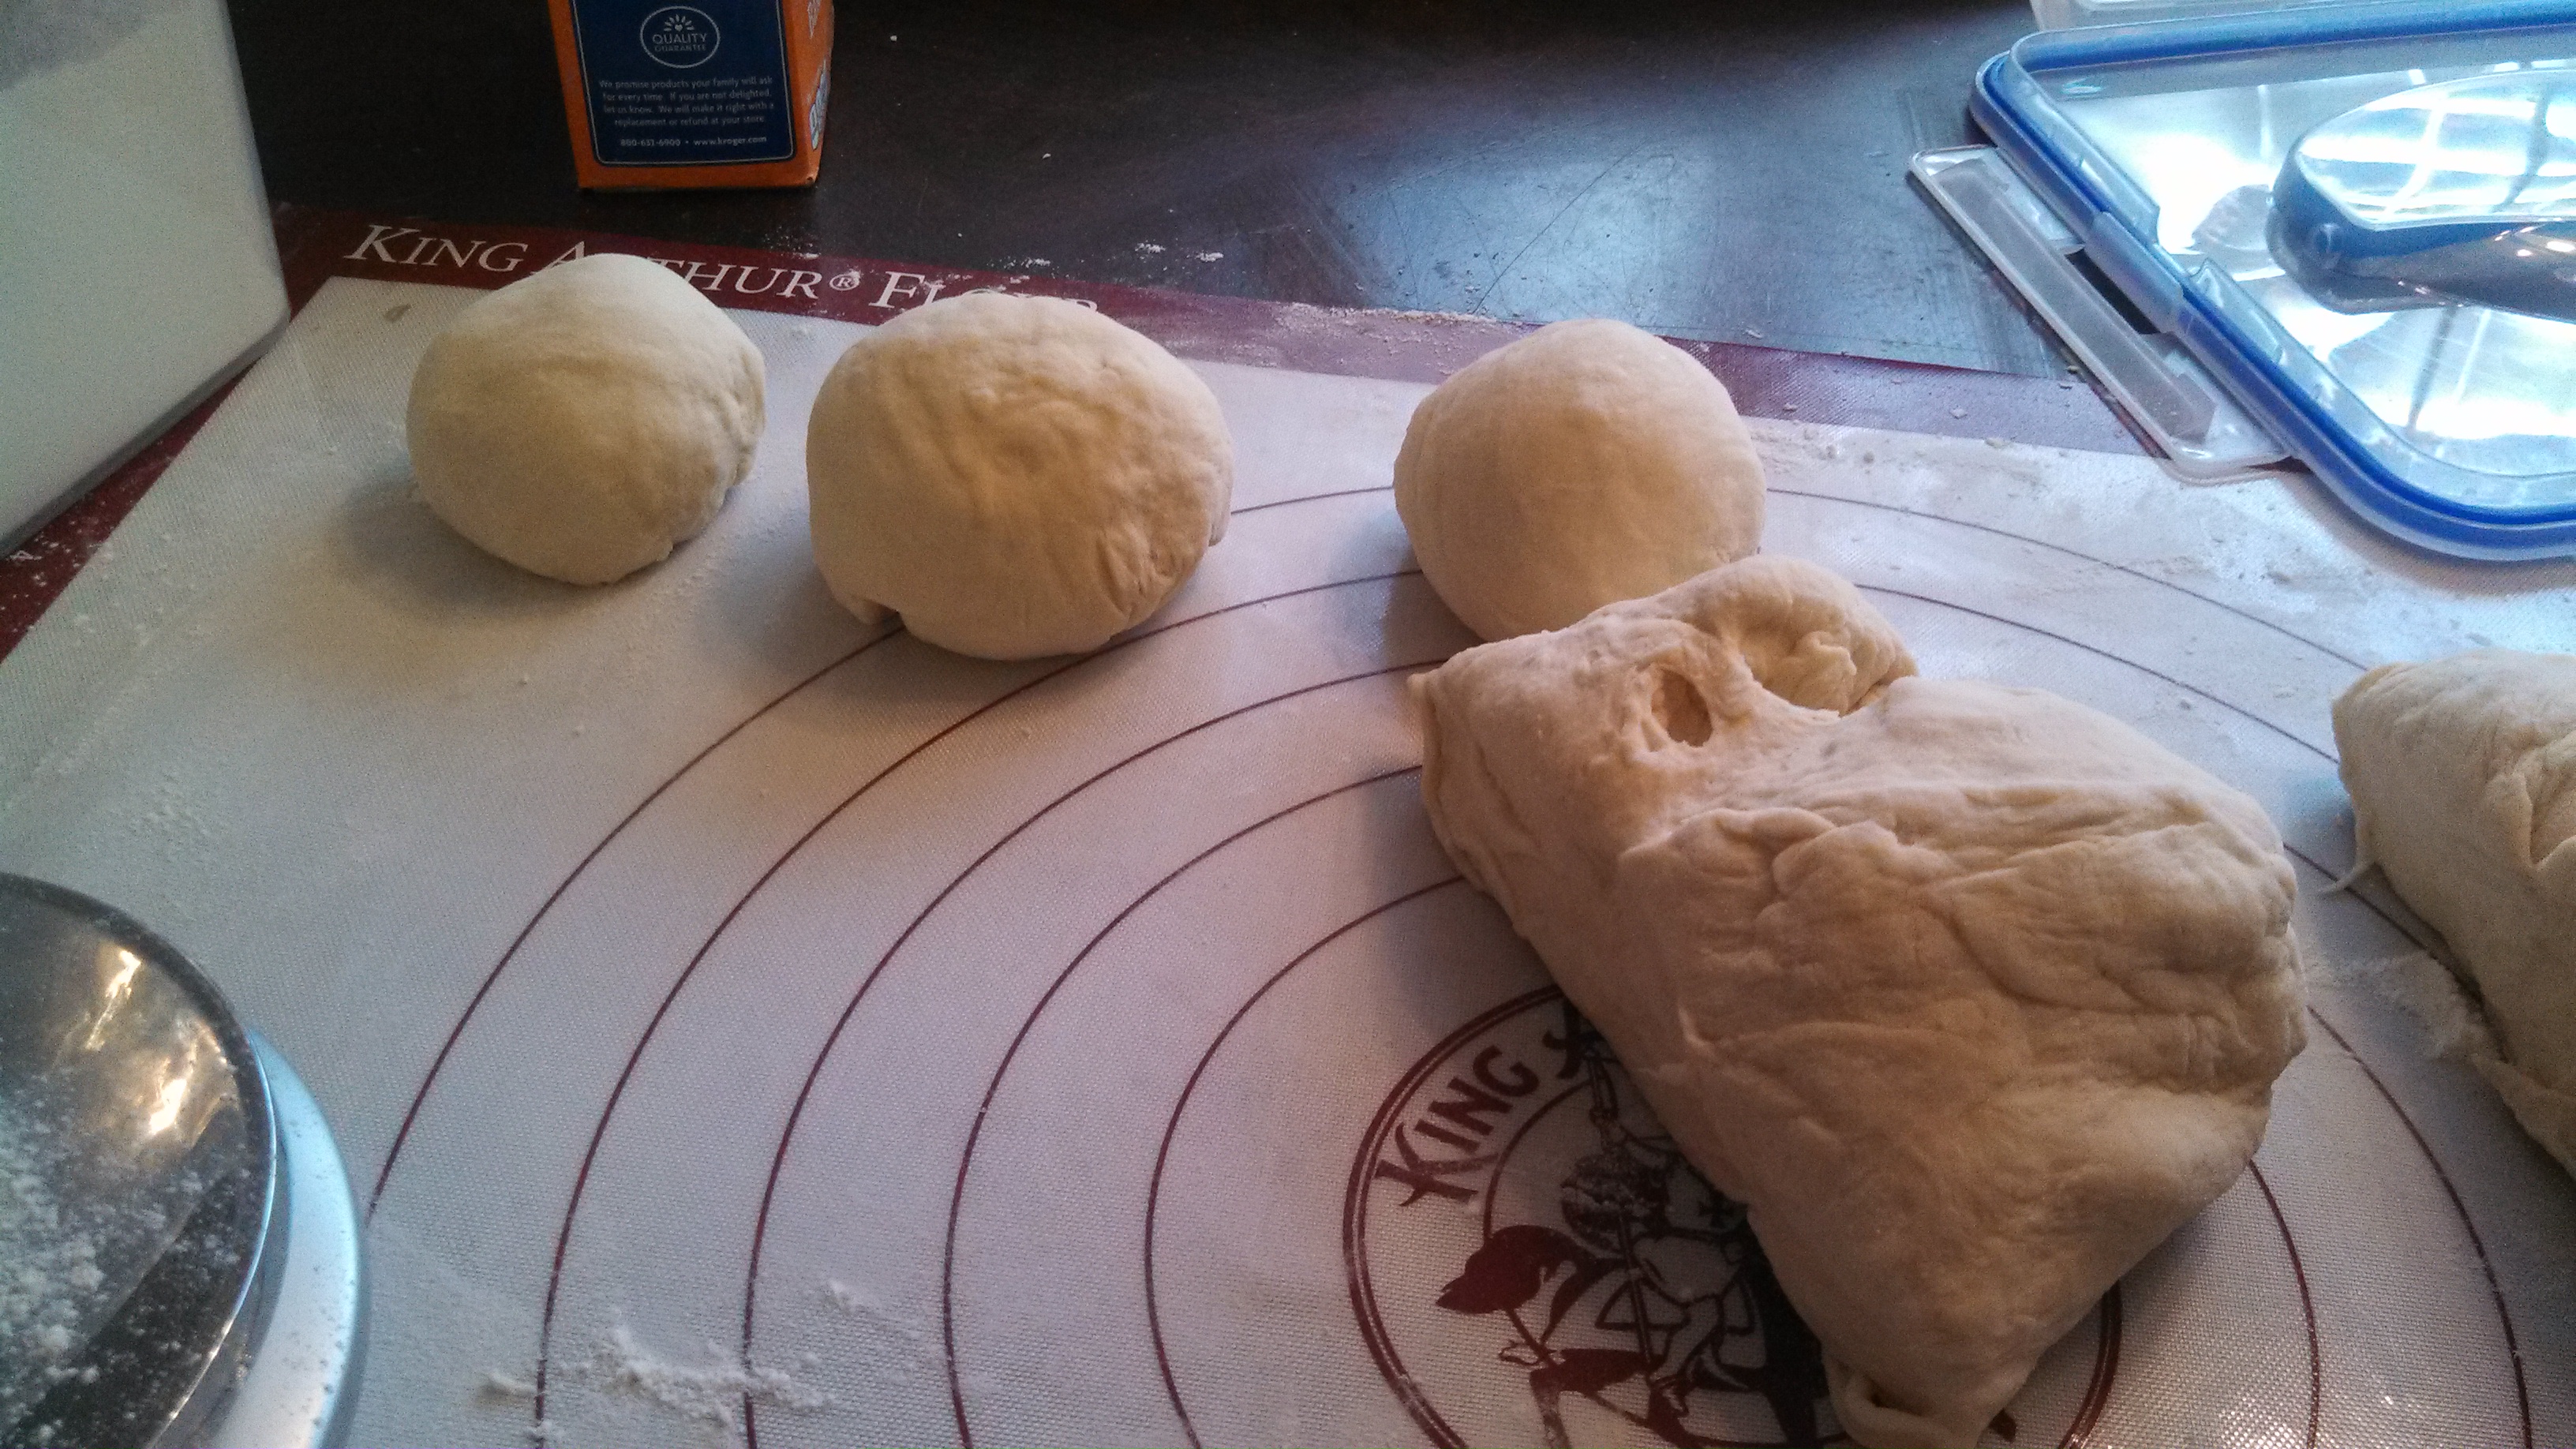
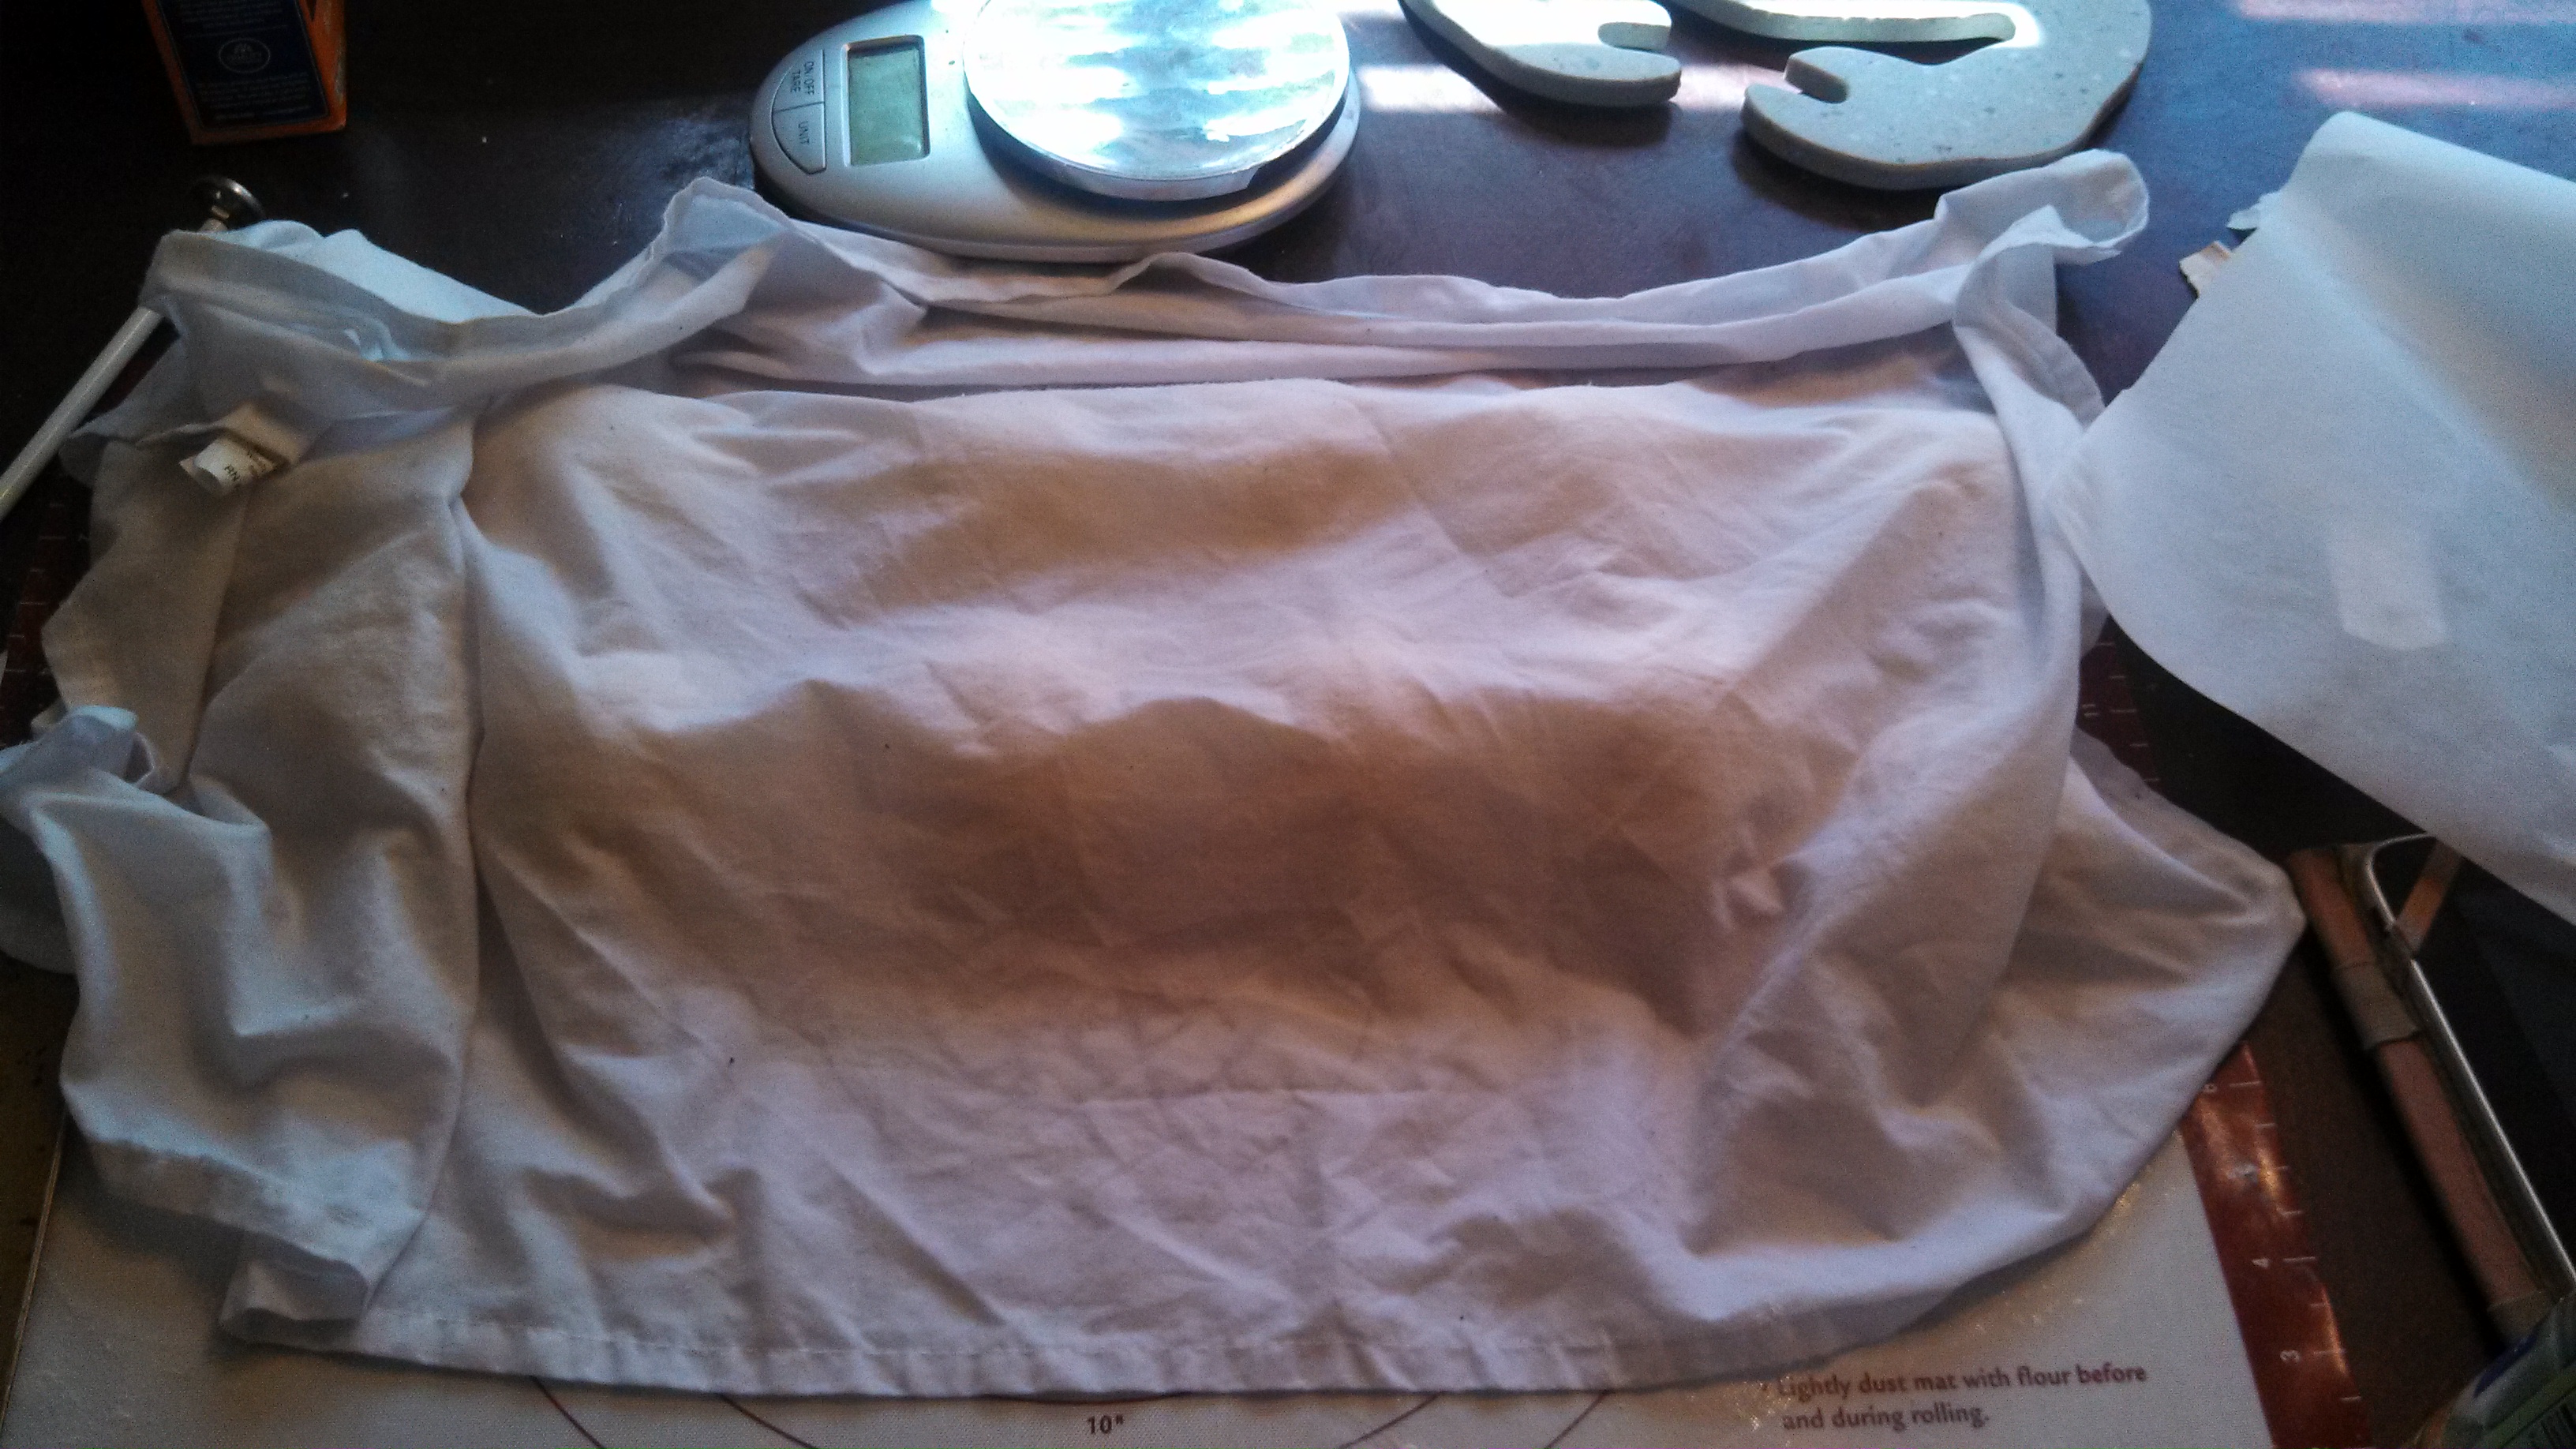
Since this recipe is supposed to make a dozen large bagels, I divided the big dough ball into rough halves and made six rolls out of each half. Once they were all formed, I covered them with one of my handy-dandy bread cloths that I had dampened with lukewarm water and then wrung out. They rested like that for 20-30 minutes.
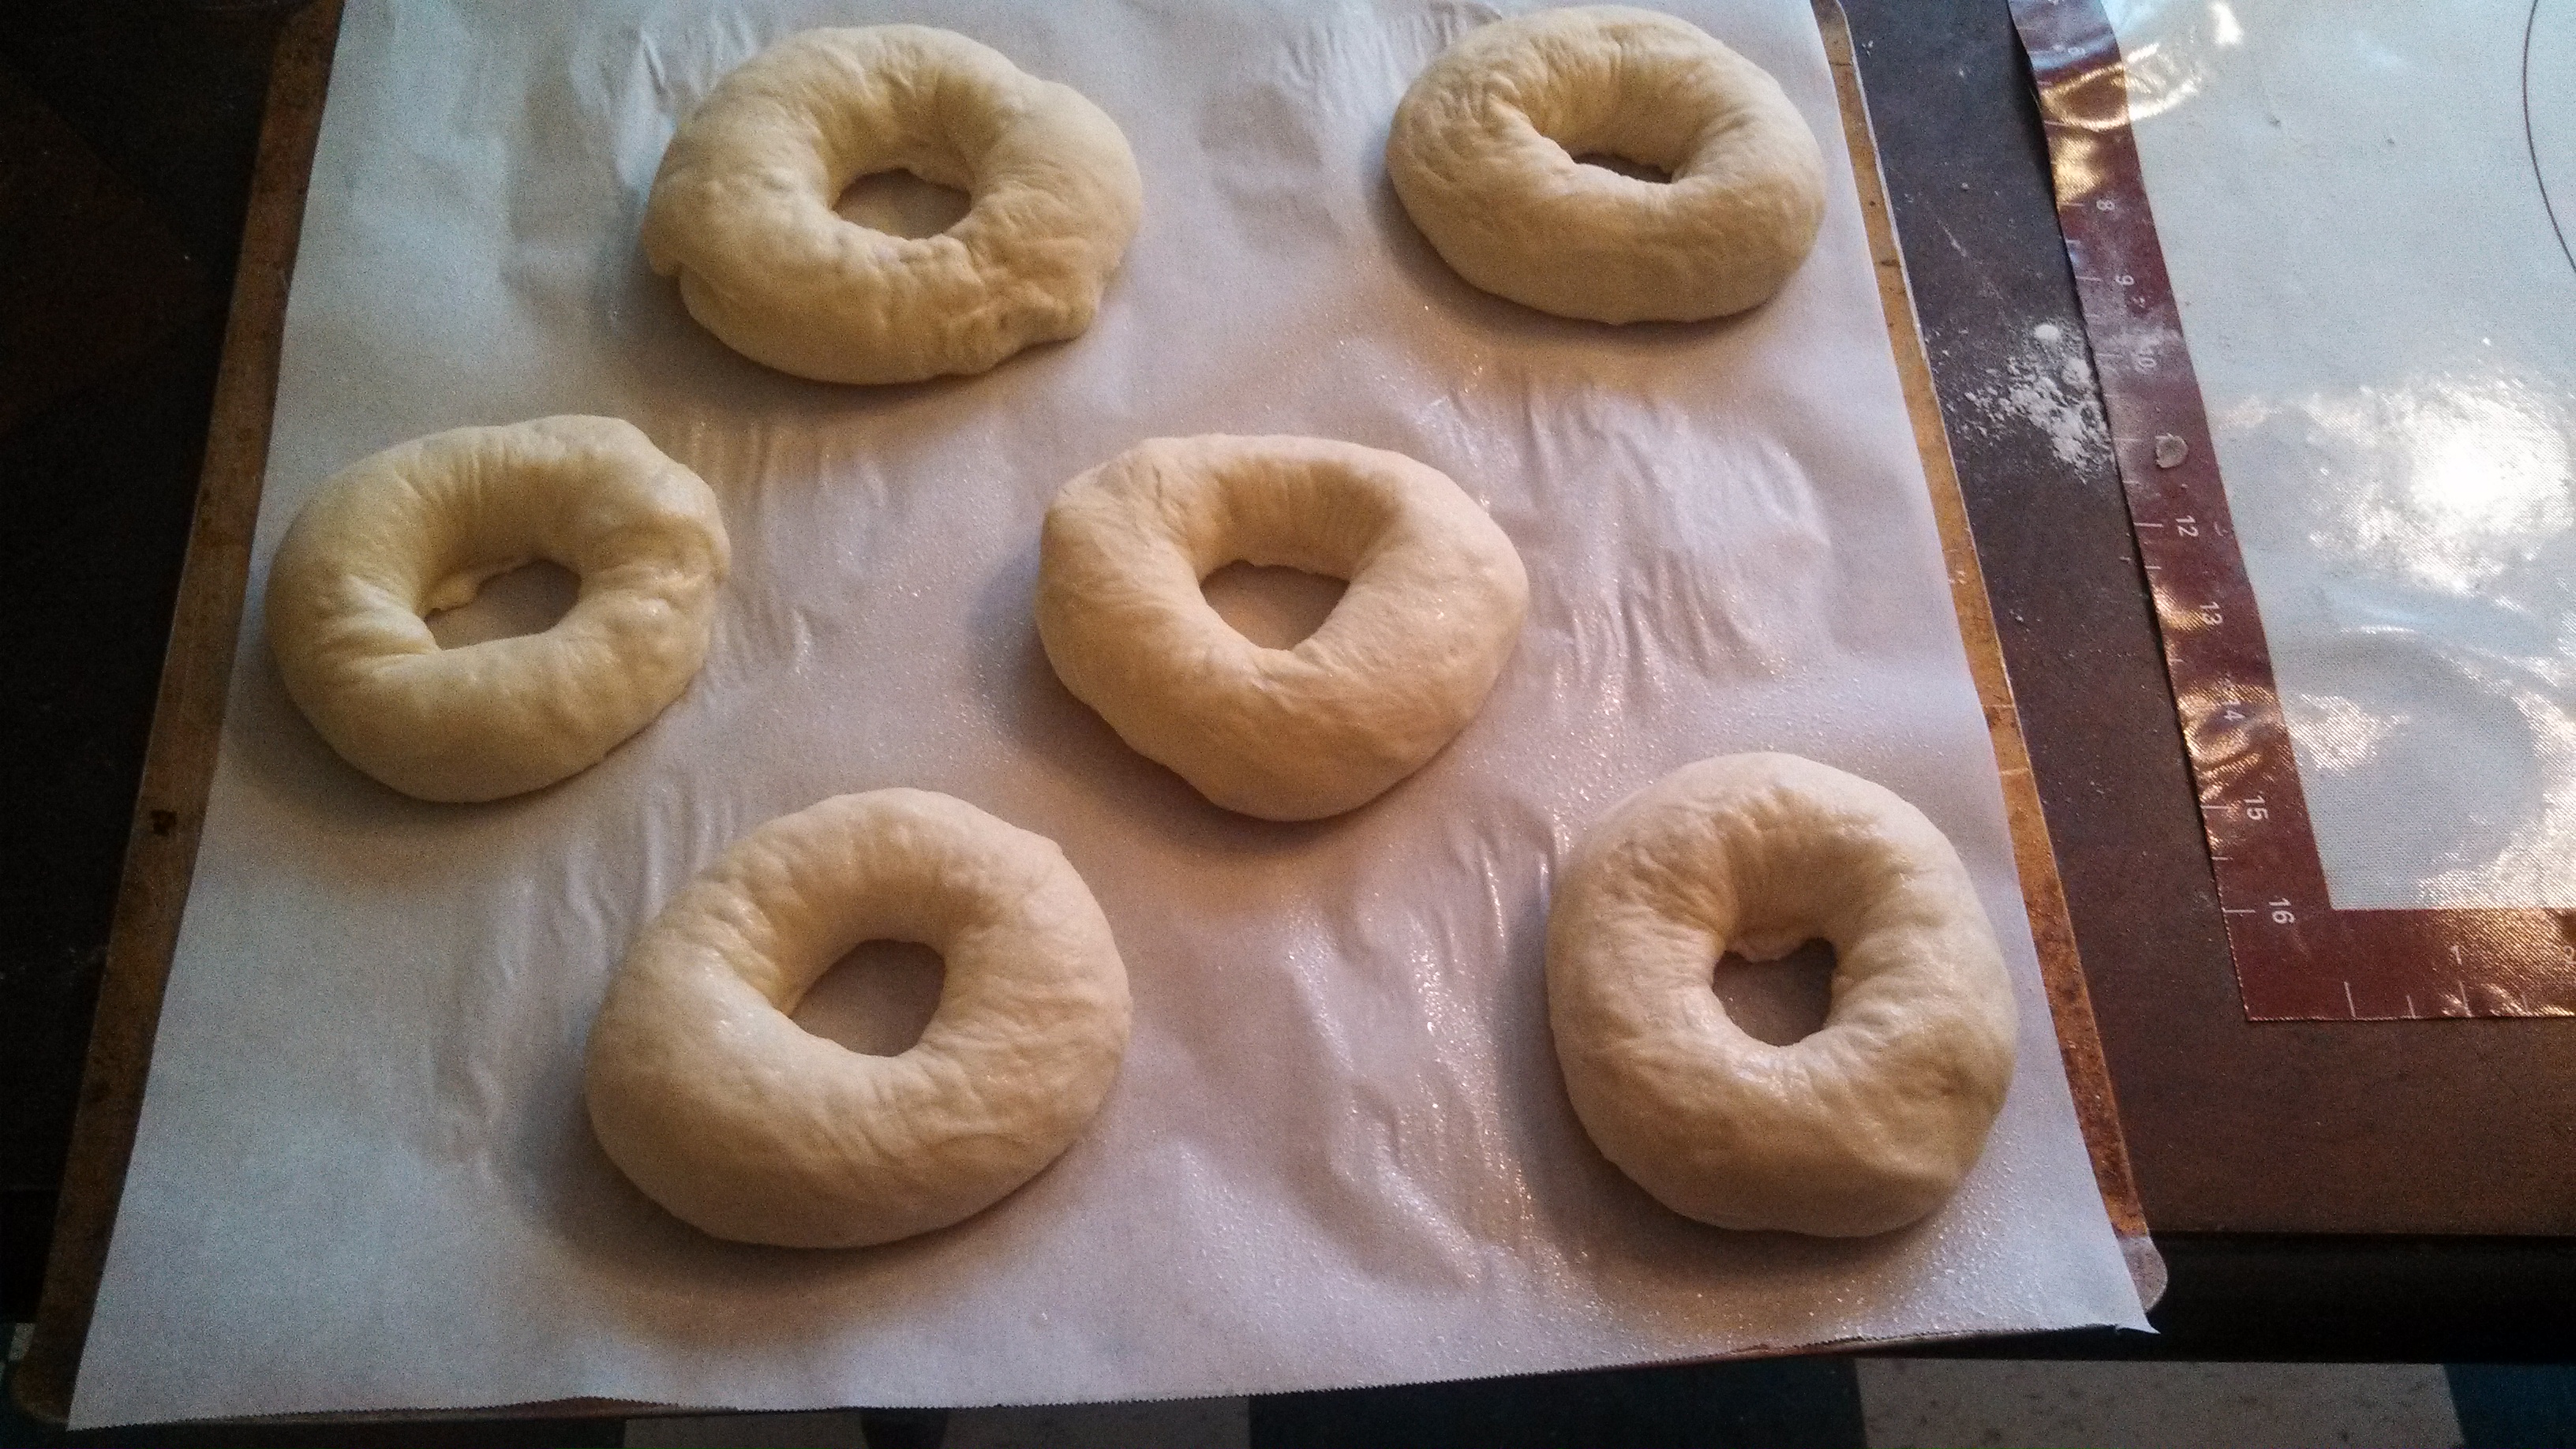
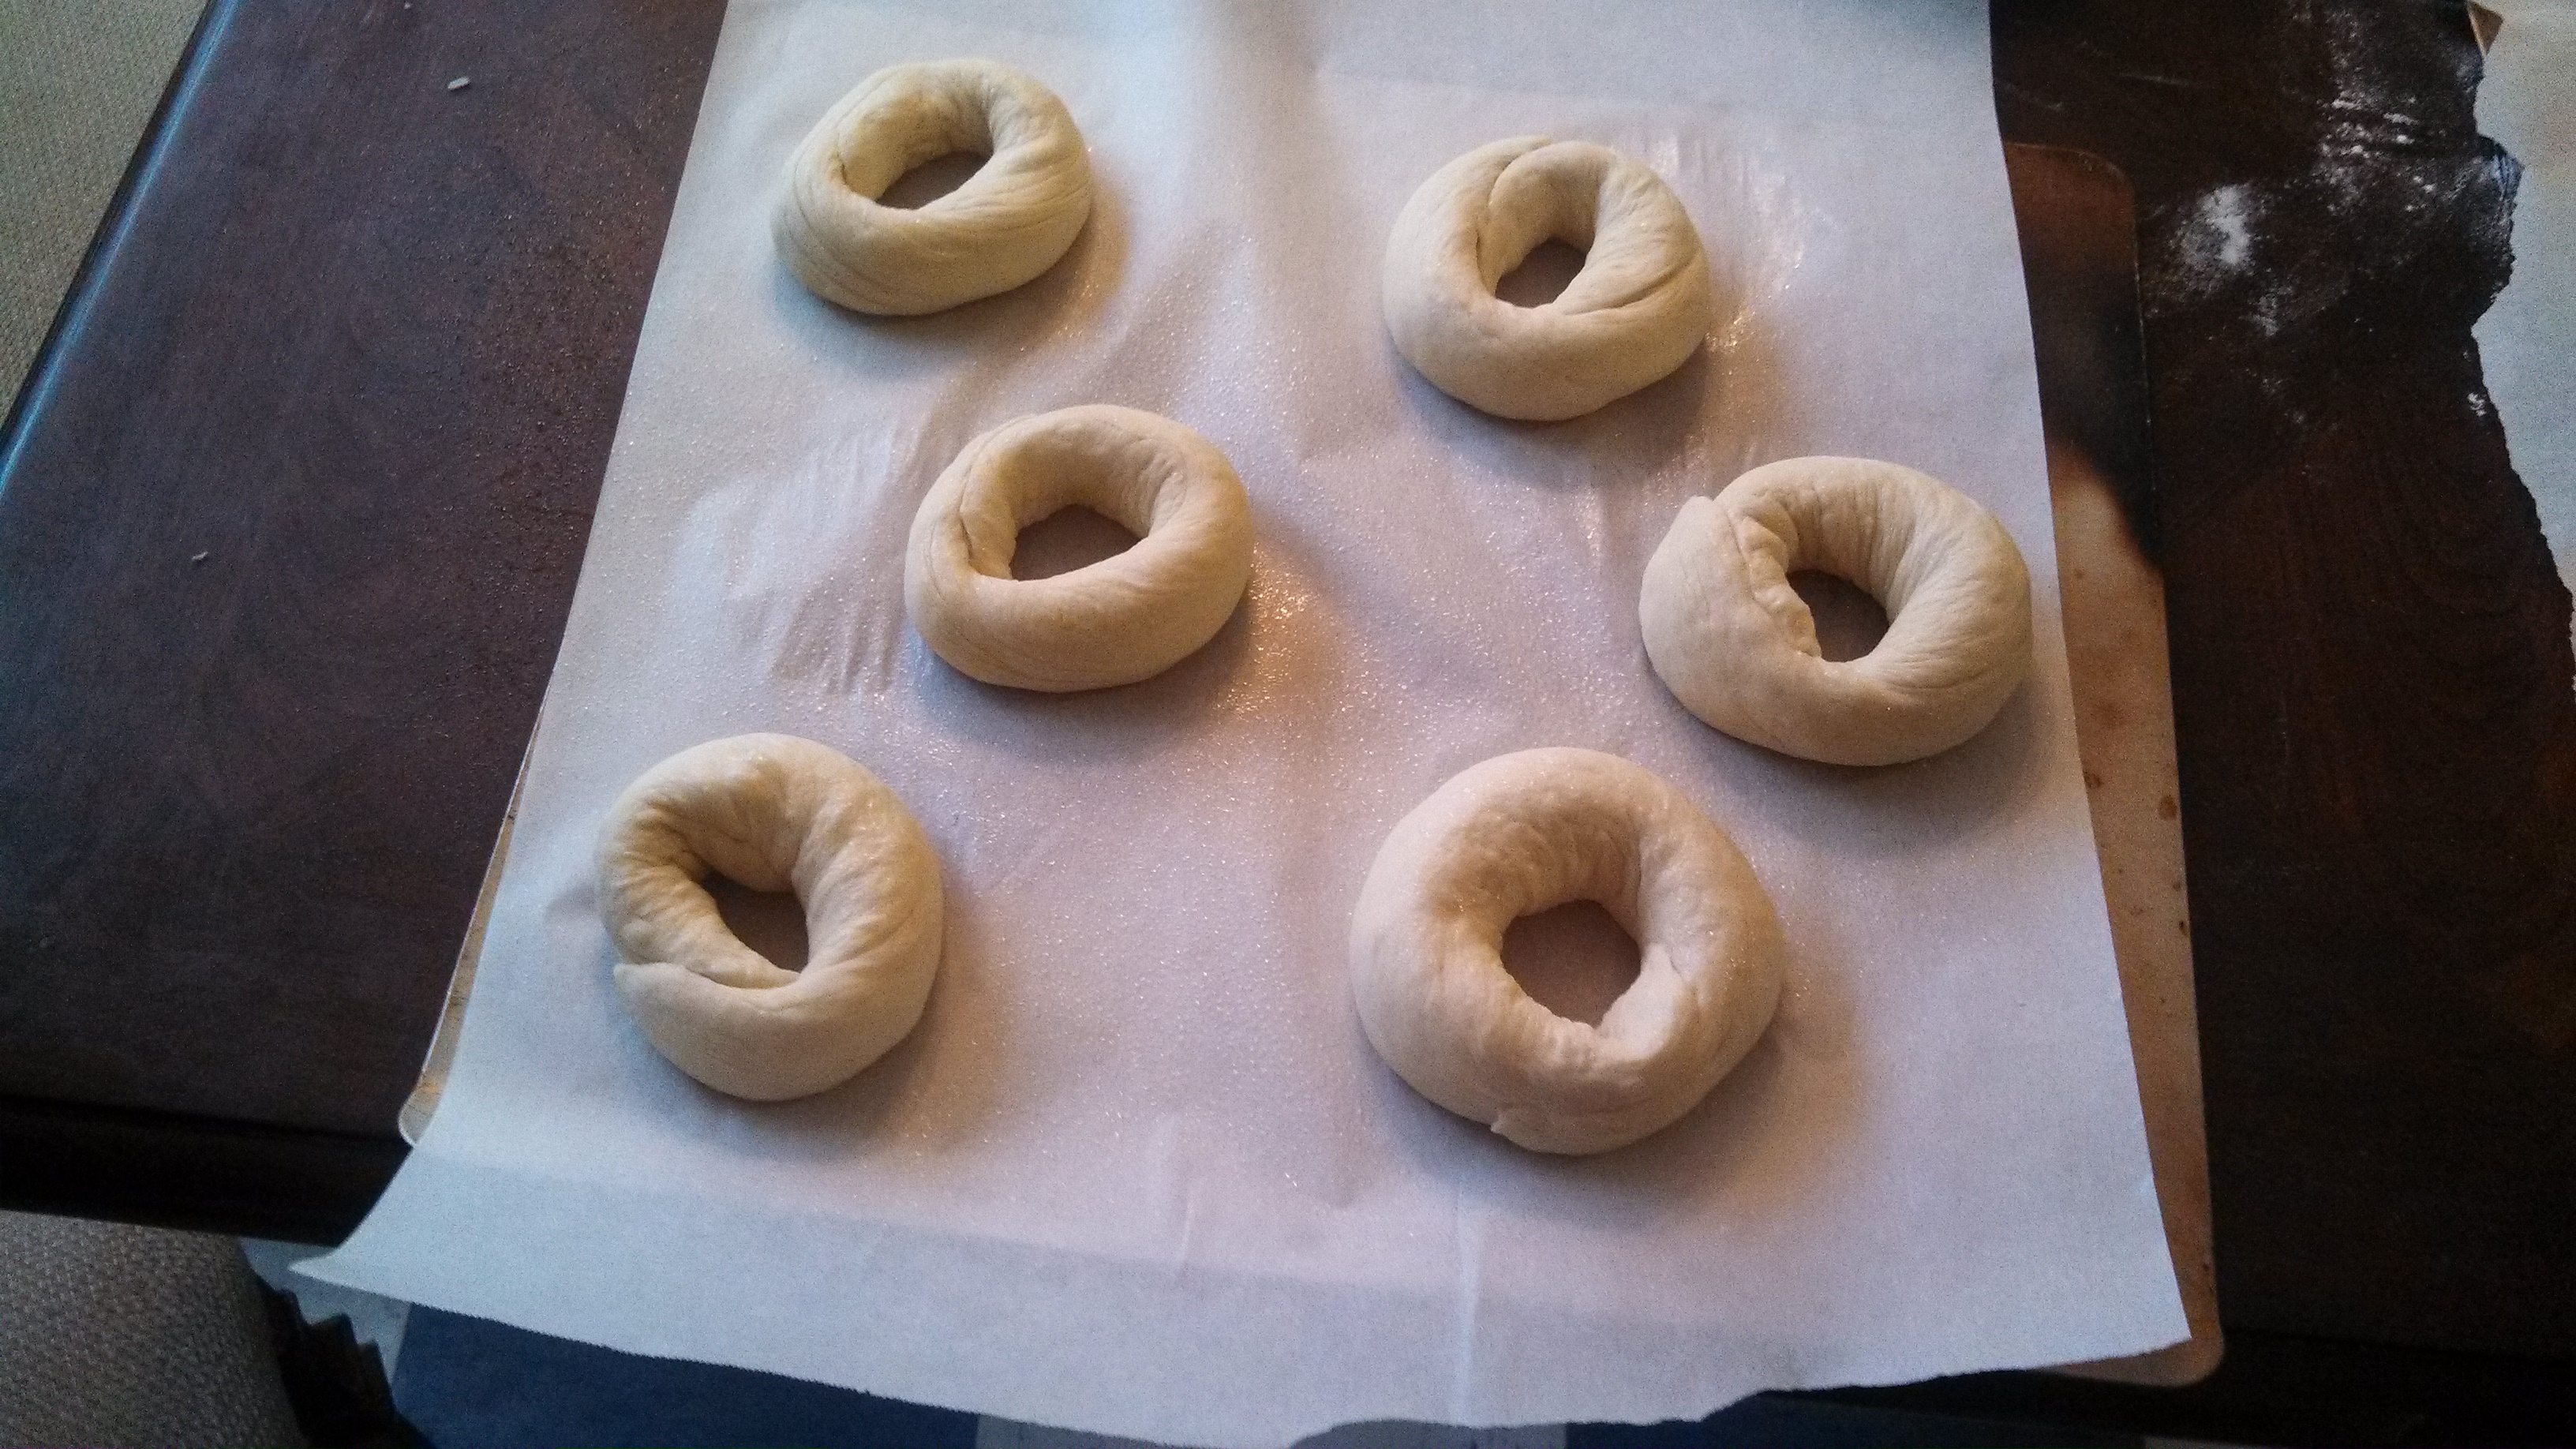
Once they’d had their little bready naps, I started in with the forming. There are two methods given, and not knowing if there was much difference, I decided to do half and half. one method is punching a hole in a dough ball with your thumb and carefully stretching it out to make a large ring. I didn’t get pictures of that process, but they came out looking like this.
The second method is to roll each ball into a rope of dough and then wrap it around your hand, then press the wrapped ends on the counter to press them together.
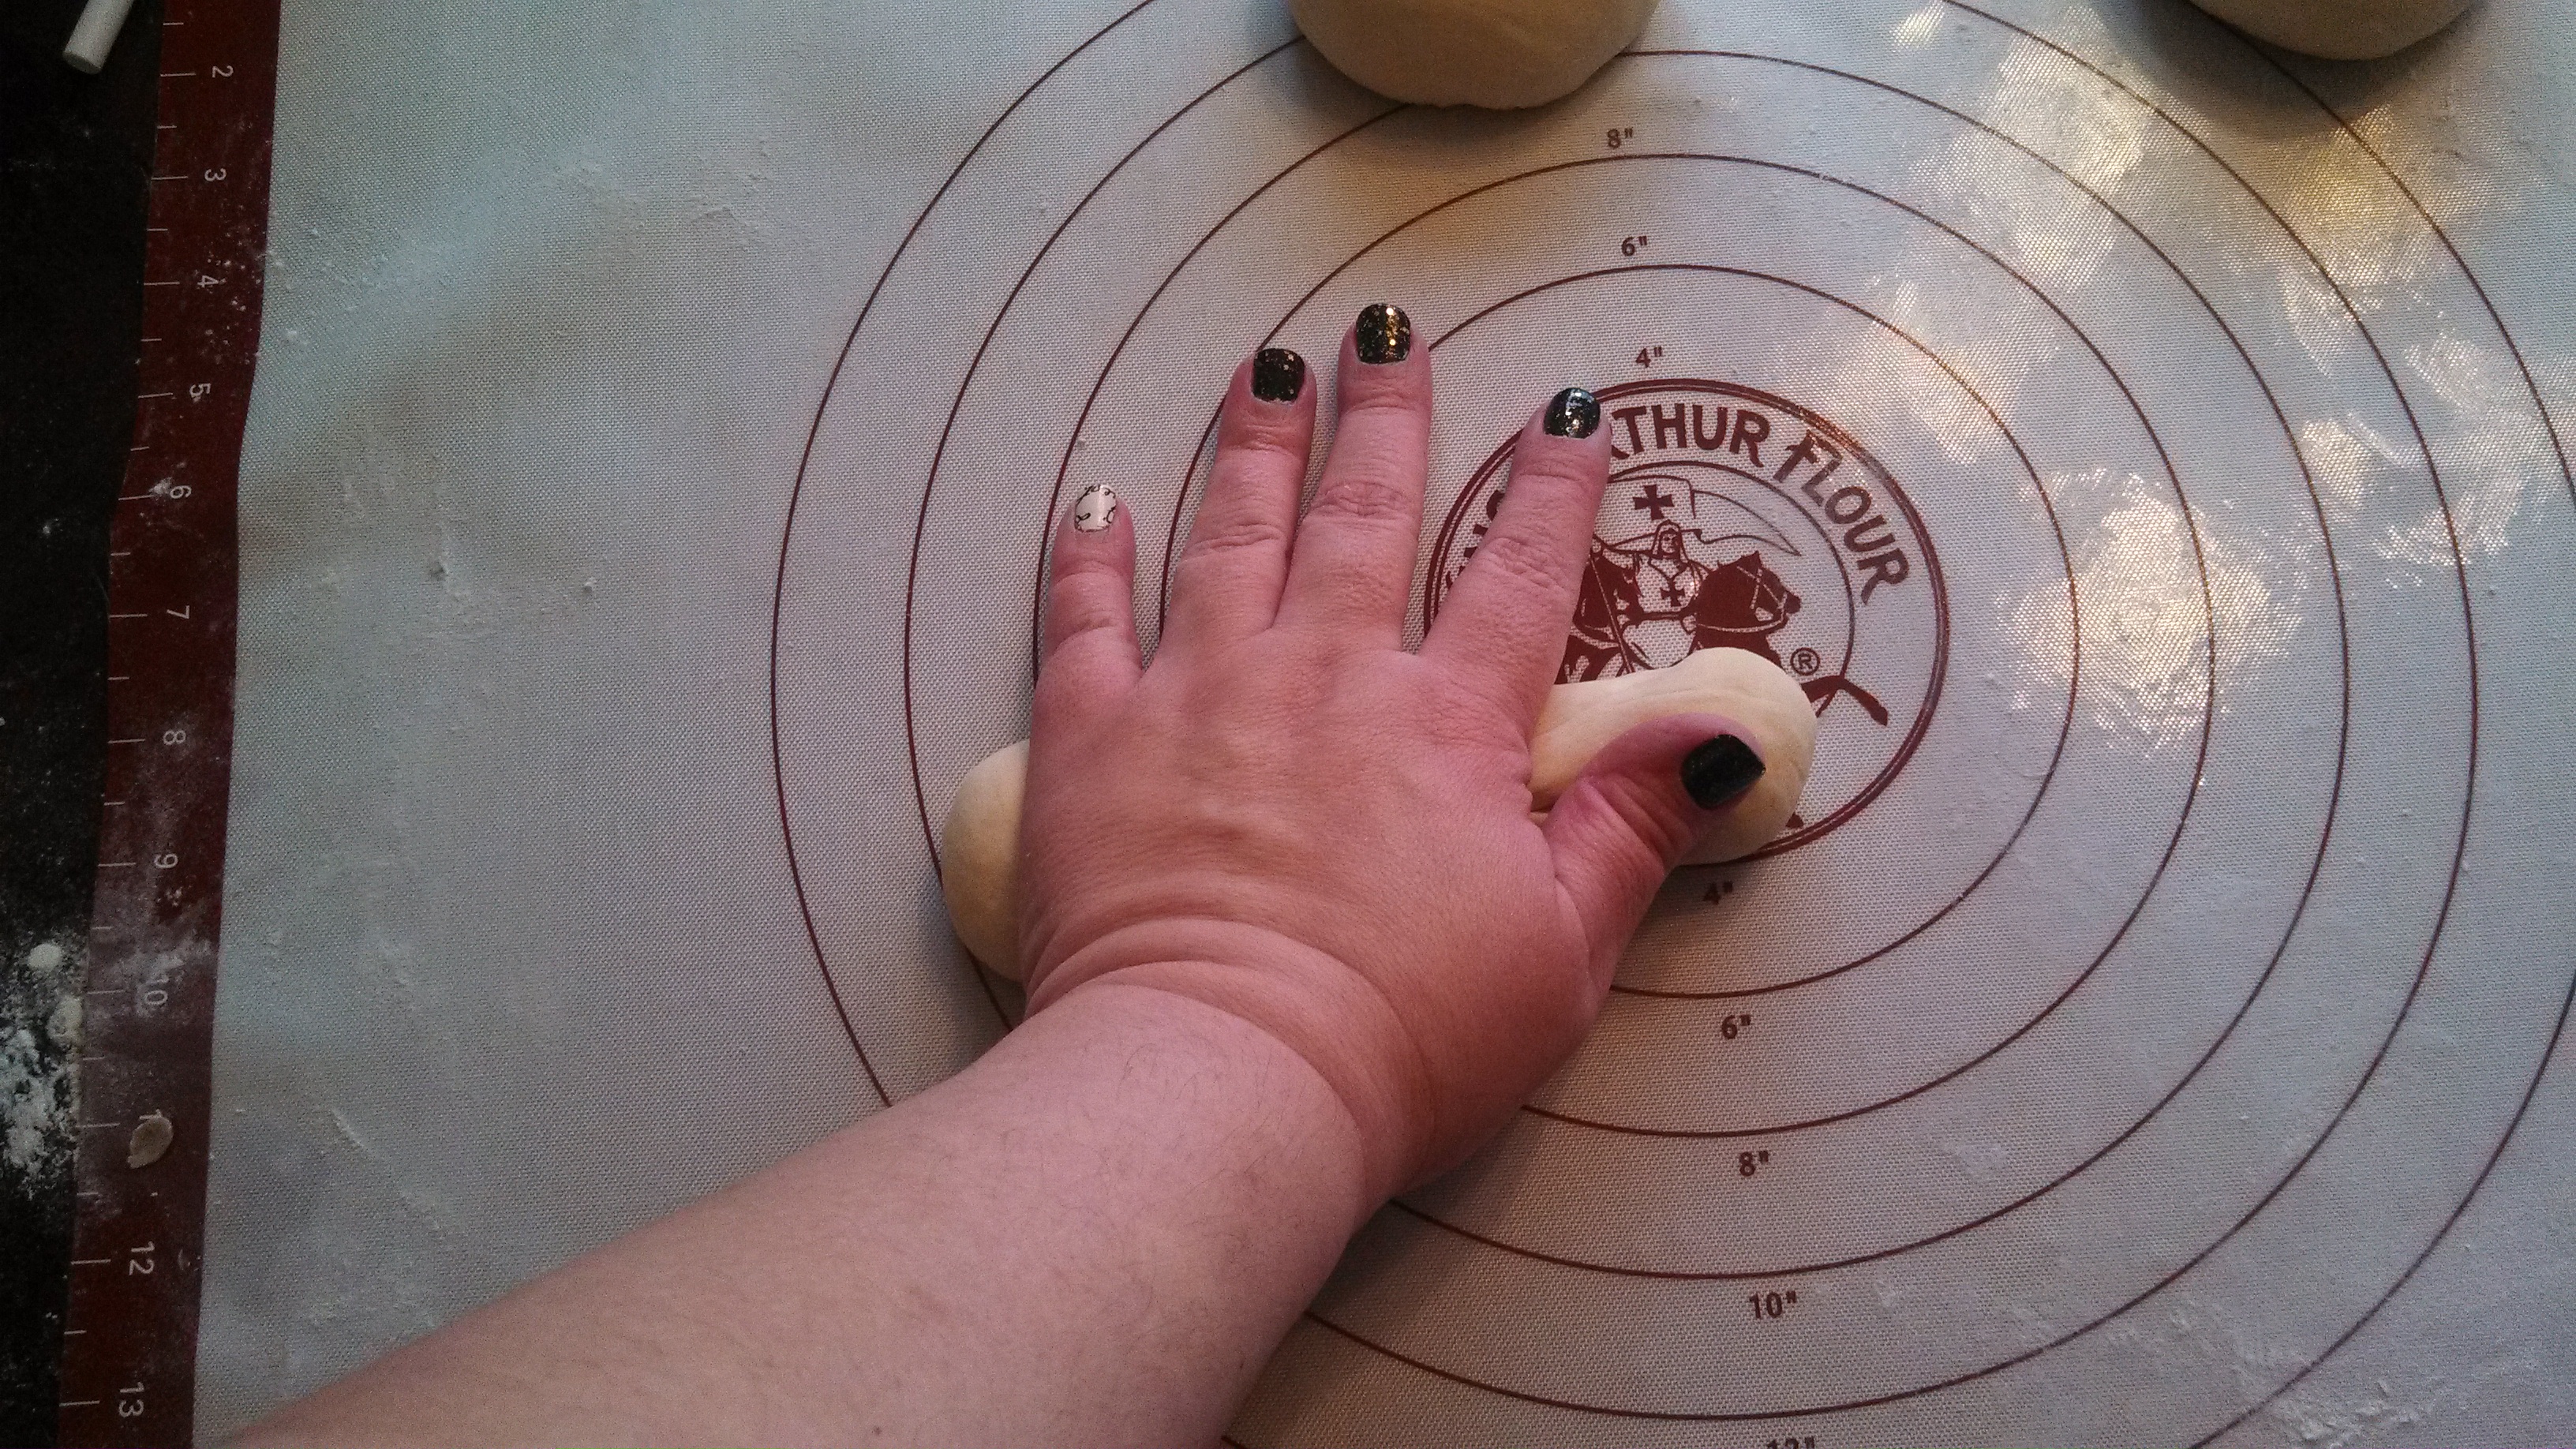
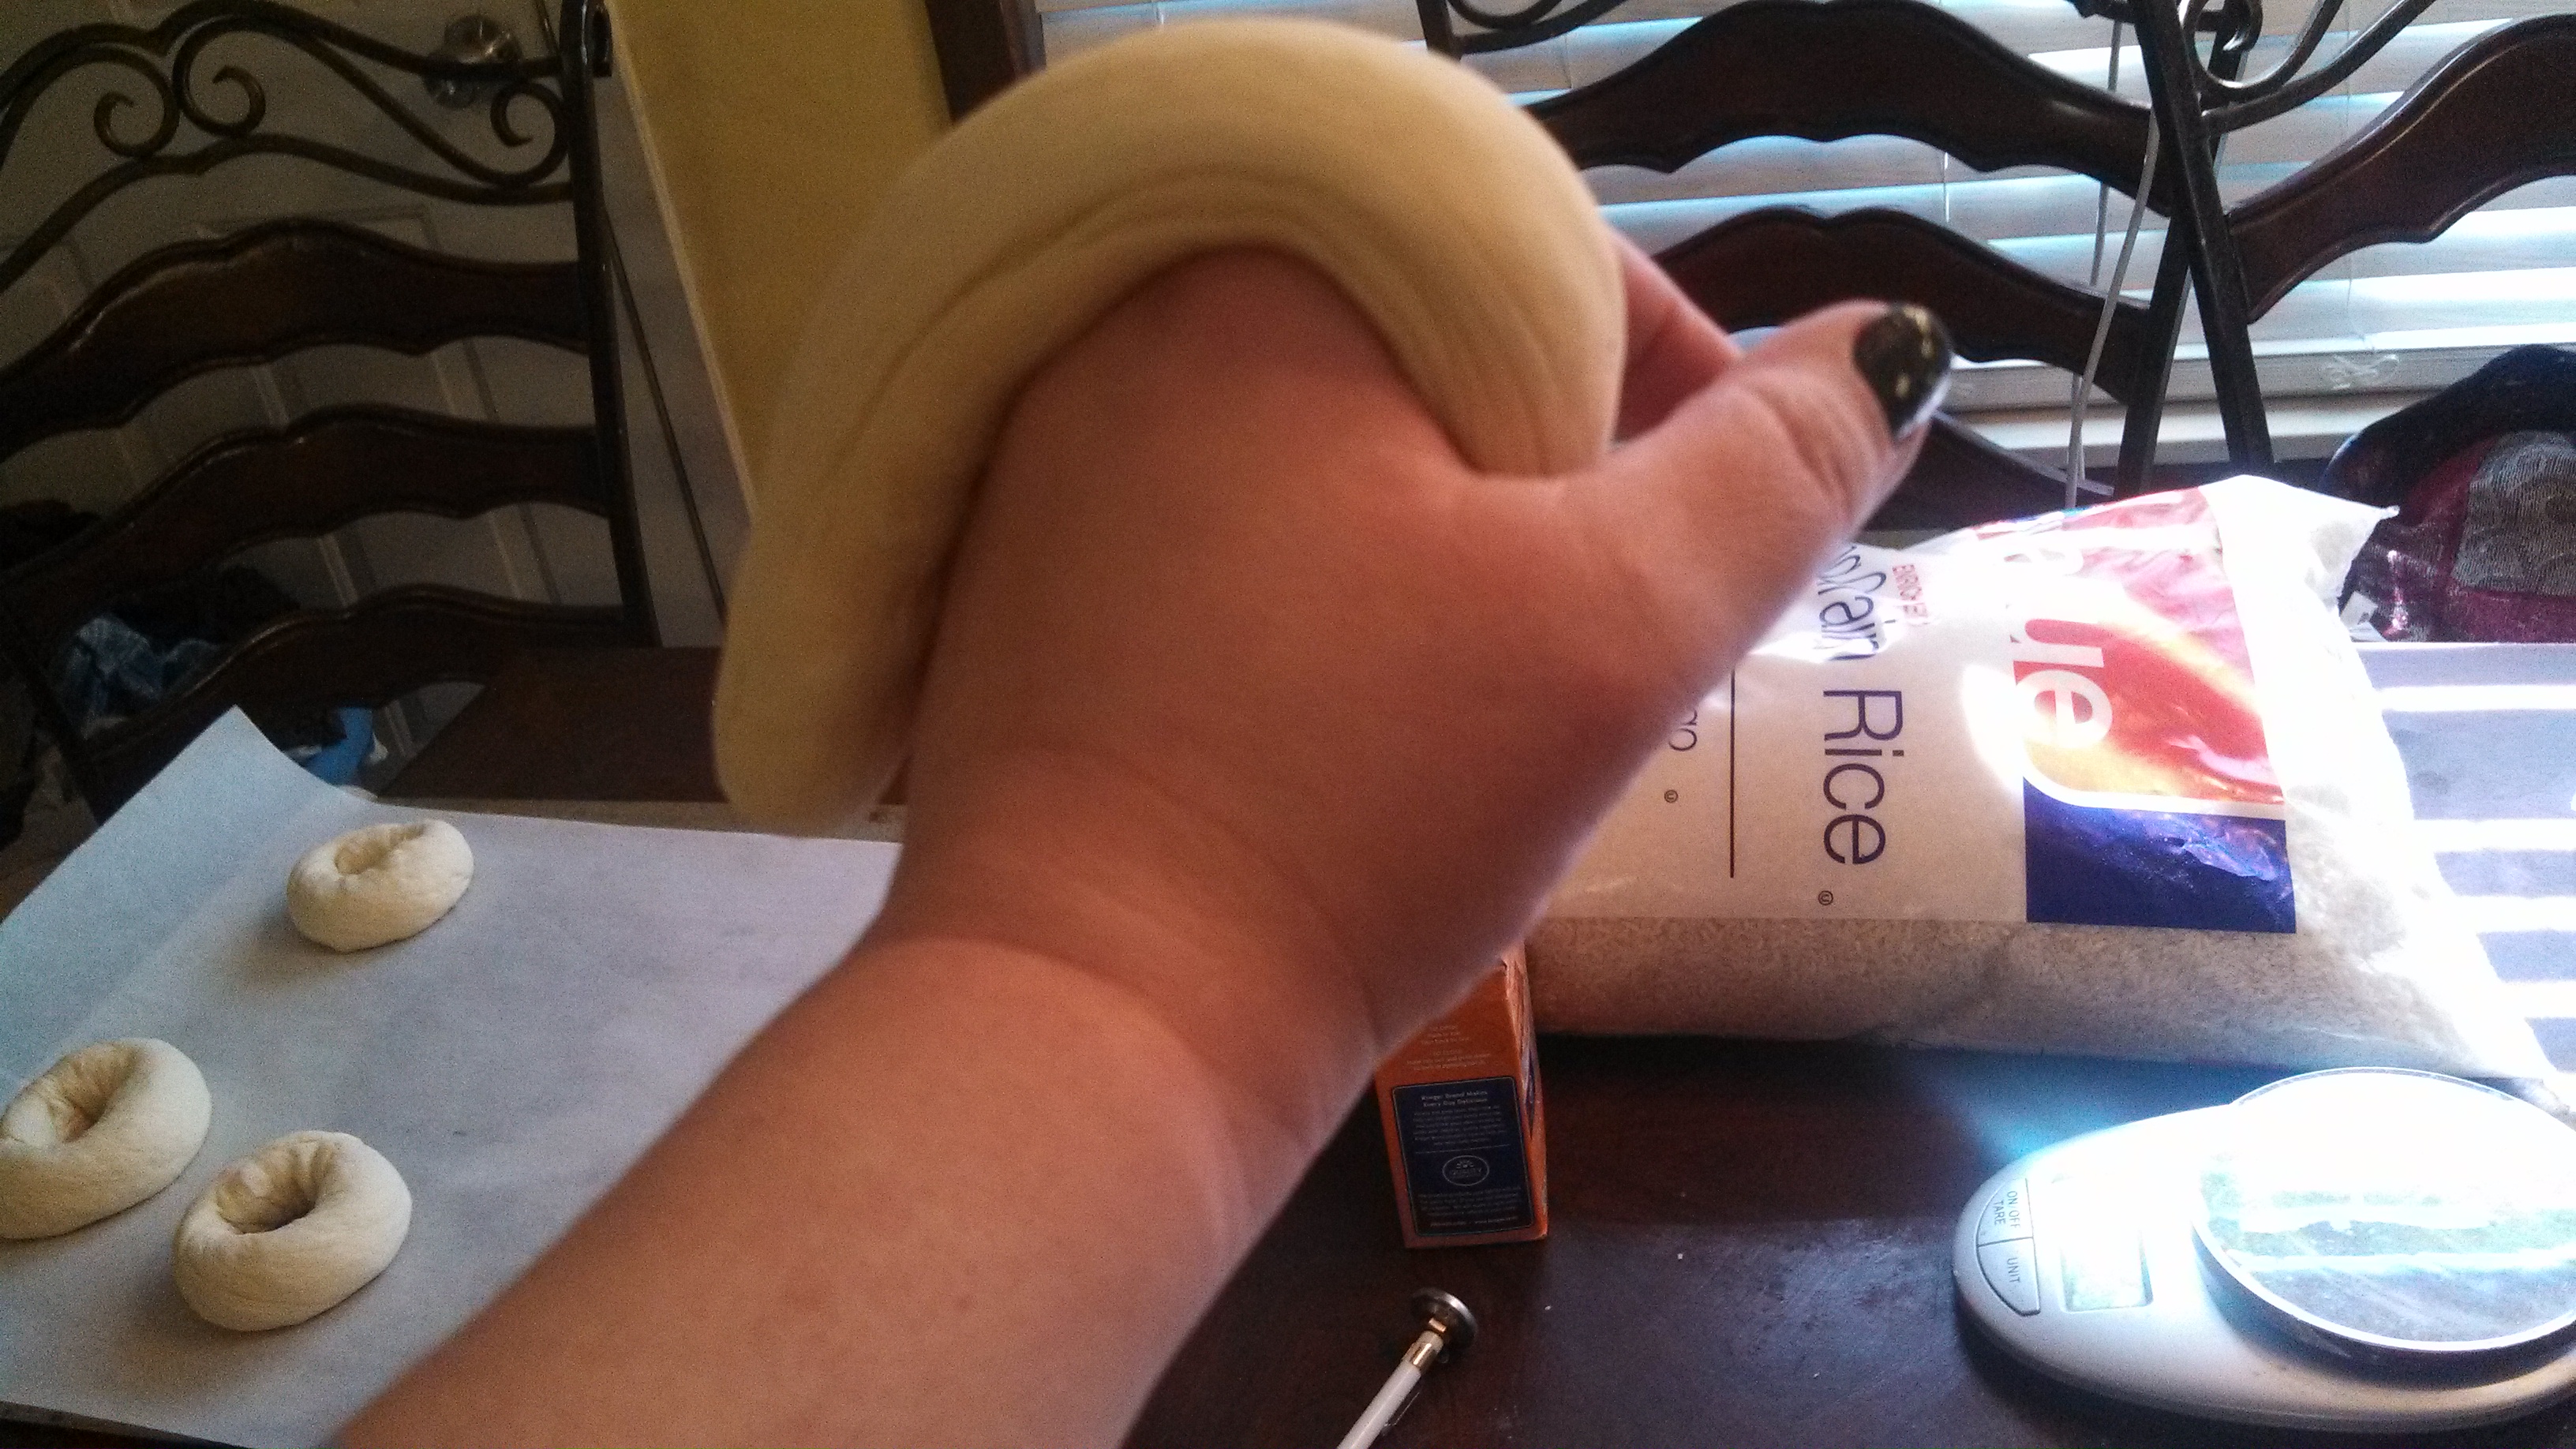
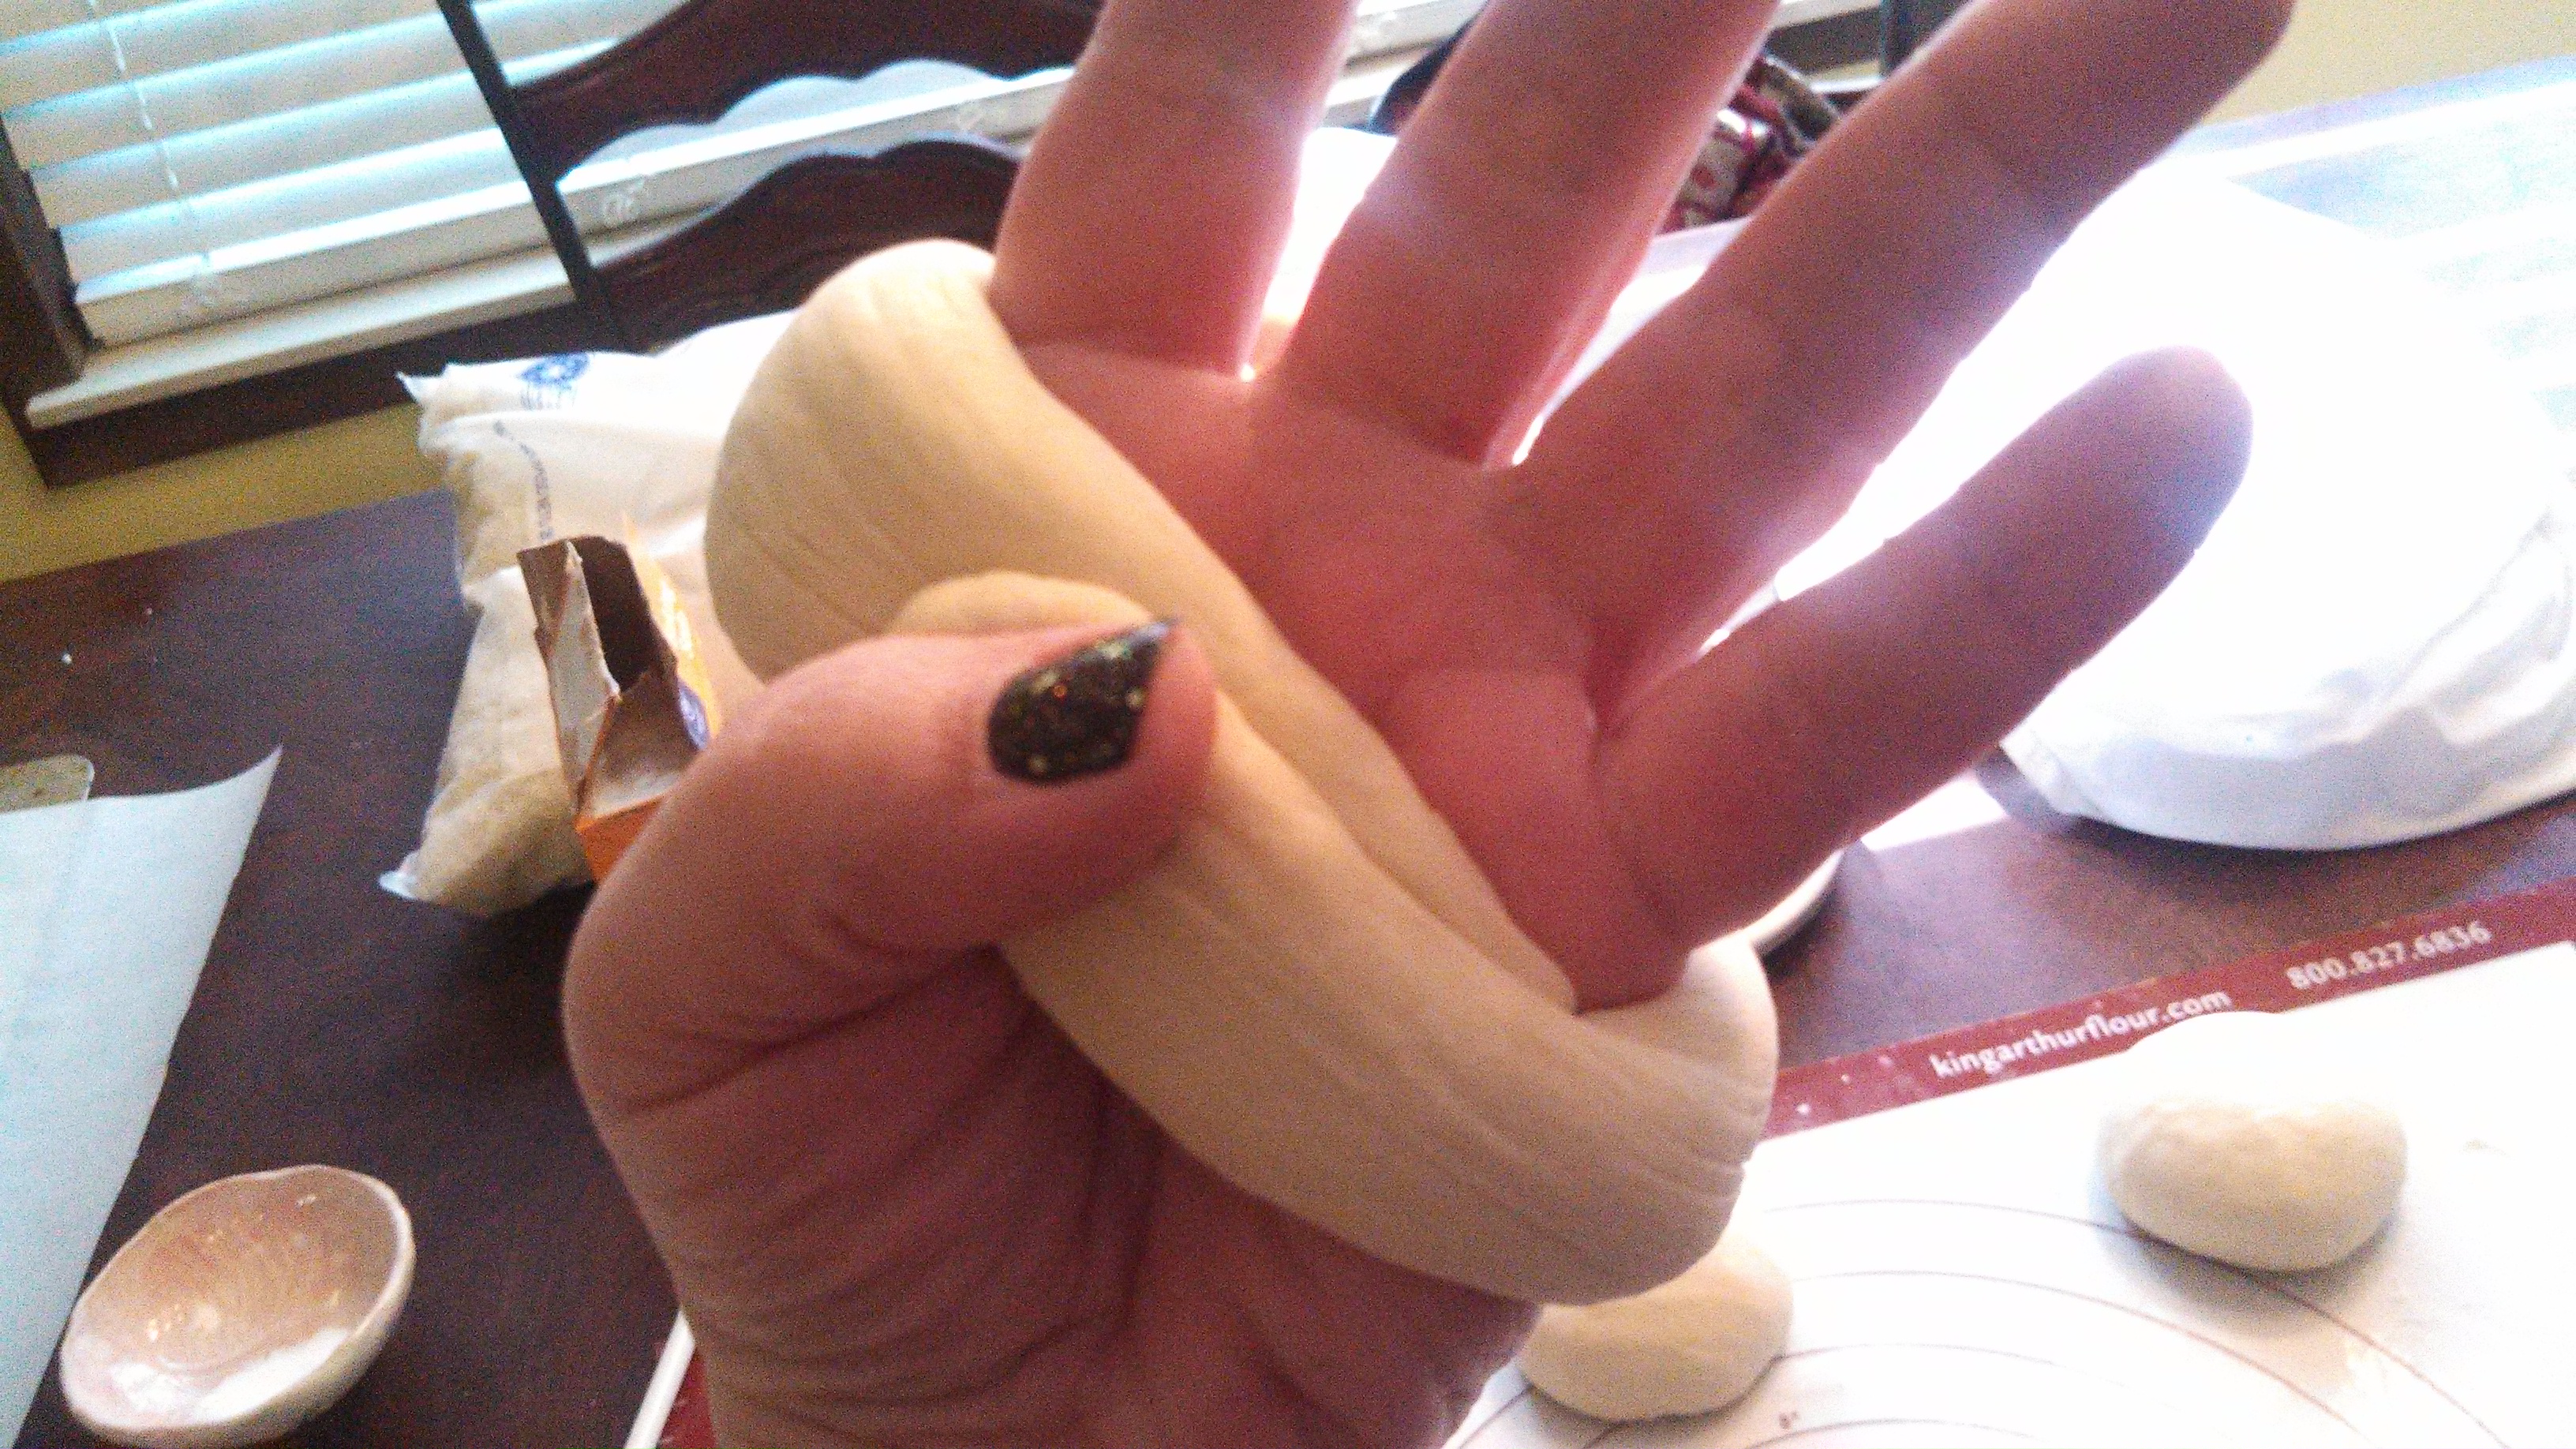
Those came out, in my opinion, prettier than the others.
Once they’re all formed into their vaguely bagel-ish shapes, you spritz them with spray oil and cover them with plastic wrap and wait another 10-20 minutes. Then you do a float test to see if they’re ready to go into the fridge. The book said if they float within 10 seconds of being dropped in a small bowl of room-temperature or cool water, they’re ready for their overnight rise. The tester for this batch never even sunk all the way to the bottom of the bowl.

I stuck both the pans into the fridge overnight. I had to do some extensive fridge Tetris to do it, which included bringing in a mini-fridge that belongs to the basement elf and setting it up to take the overflow from the fridge.
I did make one rather silly mistake while I was doing all the waiting around that happens with breads like this. I realized that we were out of dough for the seed loaves I’ve been making and went about making a batch of it in one of my dough buckets. These guys live on the top shelf of the fridge… you probably see where this is going.
I realized after I’d mixed it that there was going to be no place to store it, so I ended up baking two ginormous seed loaves. One of them we kept. One I took across to our neighbors and was tickled when one of them said “This is going with dinner. I don’t even know what we’re having yet, but this is going with it.”
Next time: Day two. Boiling, topping, and baking.
Your bread looks SO yummy, Waya! Congratulations on how beautifully it’s all coming along — makes me hungry just looking at the photos! 🙂