We have a problem with puns in my house. Well, no, we don’t. No one has a problem making puns. It’s just that there are rather more made than I’ve been led to believe happen in the average household. Not that we’re average. But I digress before I even start.
I didn’t grow up eating challah, just like I didn’t grow up eating bagels. And, just like she did grow up eating bagels, one of the housemates did grow up eating challah, so she’s been my sounding board on this stuff from day one. She’s told me several times that what I make is as good as or better than any she had at holiday feasts when she was younger.
It’s also about a million times less complex than I expected it to be. Some of that is due to the recipe I use, some of it is the fact that I grew up with a sister who had hair down to her waist. You learn to at least do a rudimentary braid pretty early on under those circumstances.
I’ve been using the recipe from Artisan Bread in Five Minutes since I started making this. With this batch, I switched to the newer version of the book because it has the nifty tables with weights as well as volumes at the beginning of every recipe. I kept the yeast amount from the original recipe, however.
I’ve done this dough two ways in the past; using the Kitchen-Aid with the dough hook and the way I’m showing here, where I just mixed it right in the dough bucket.
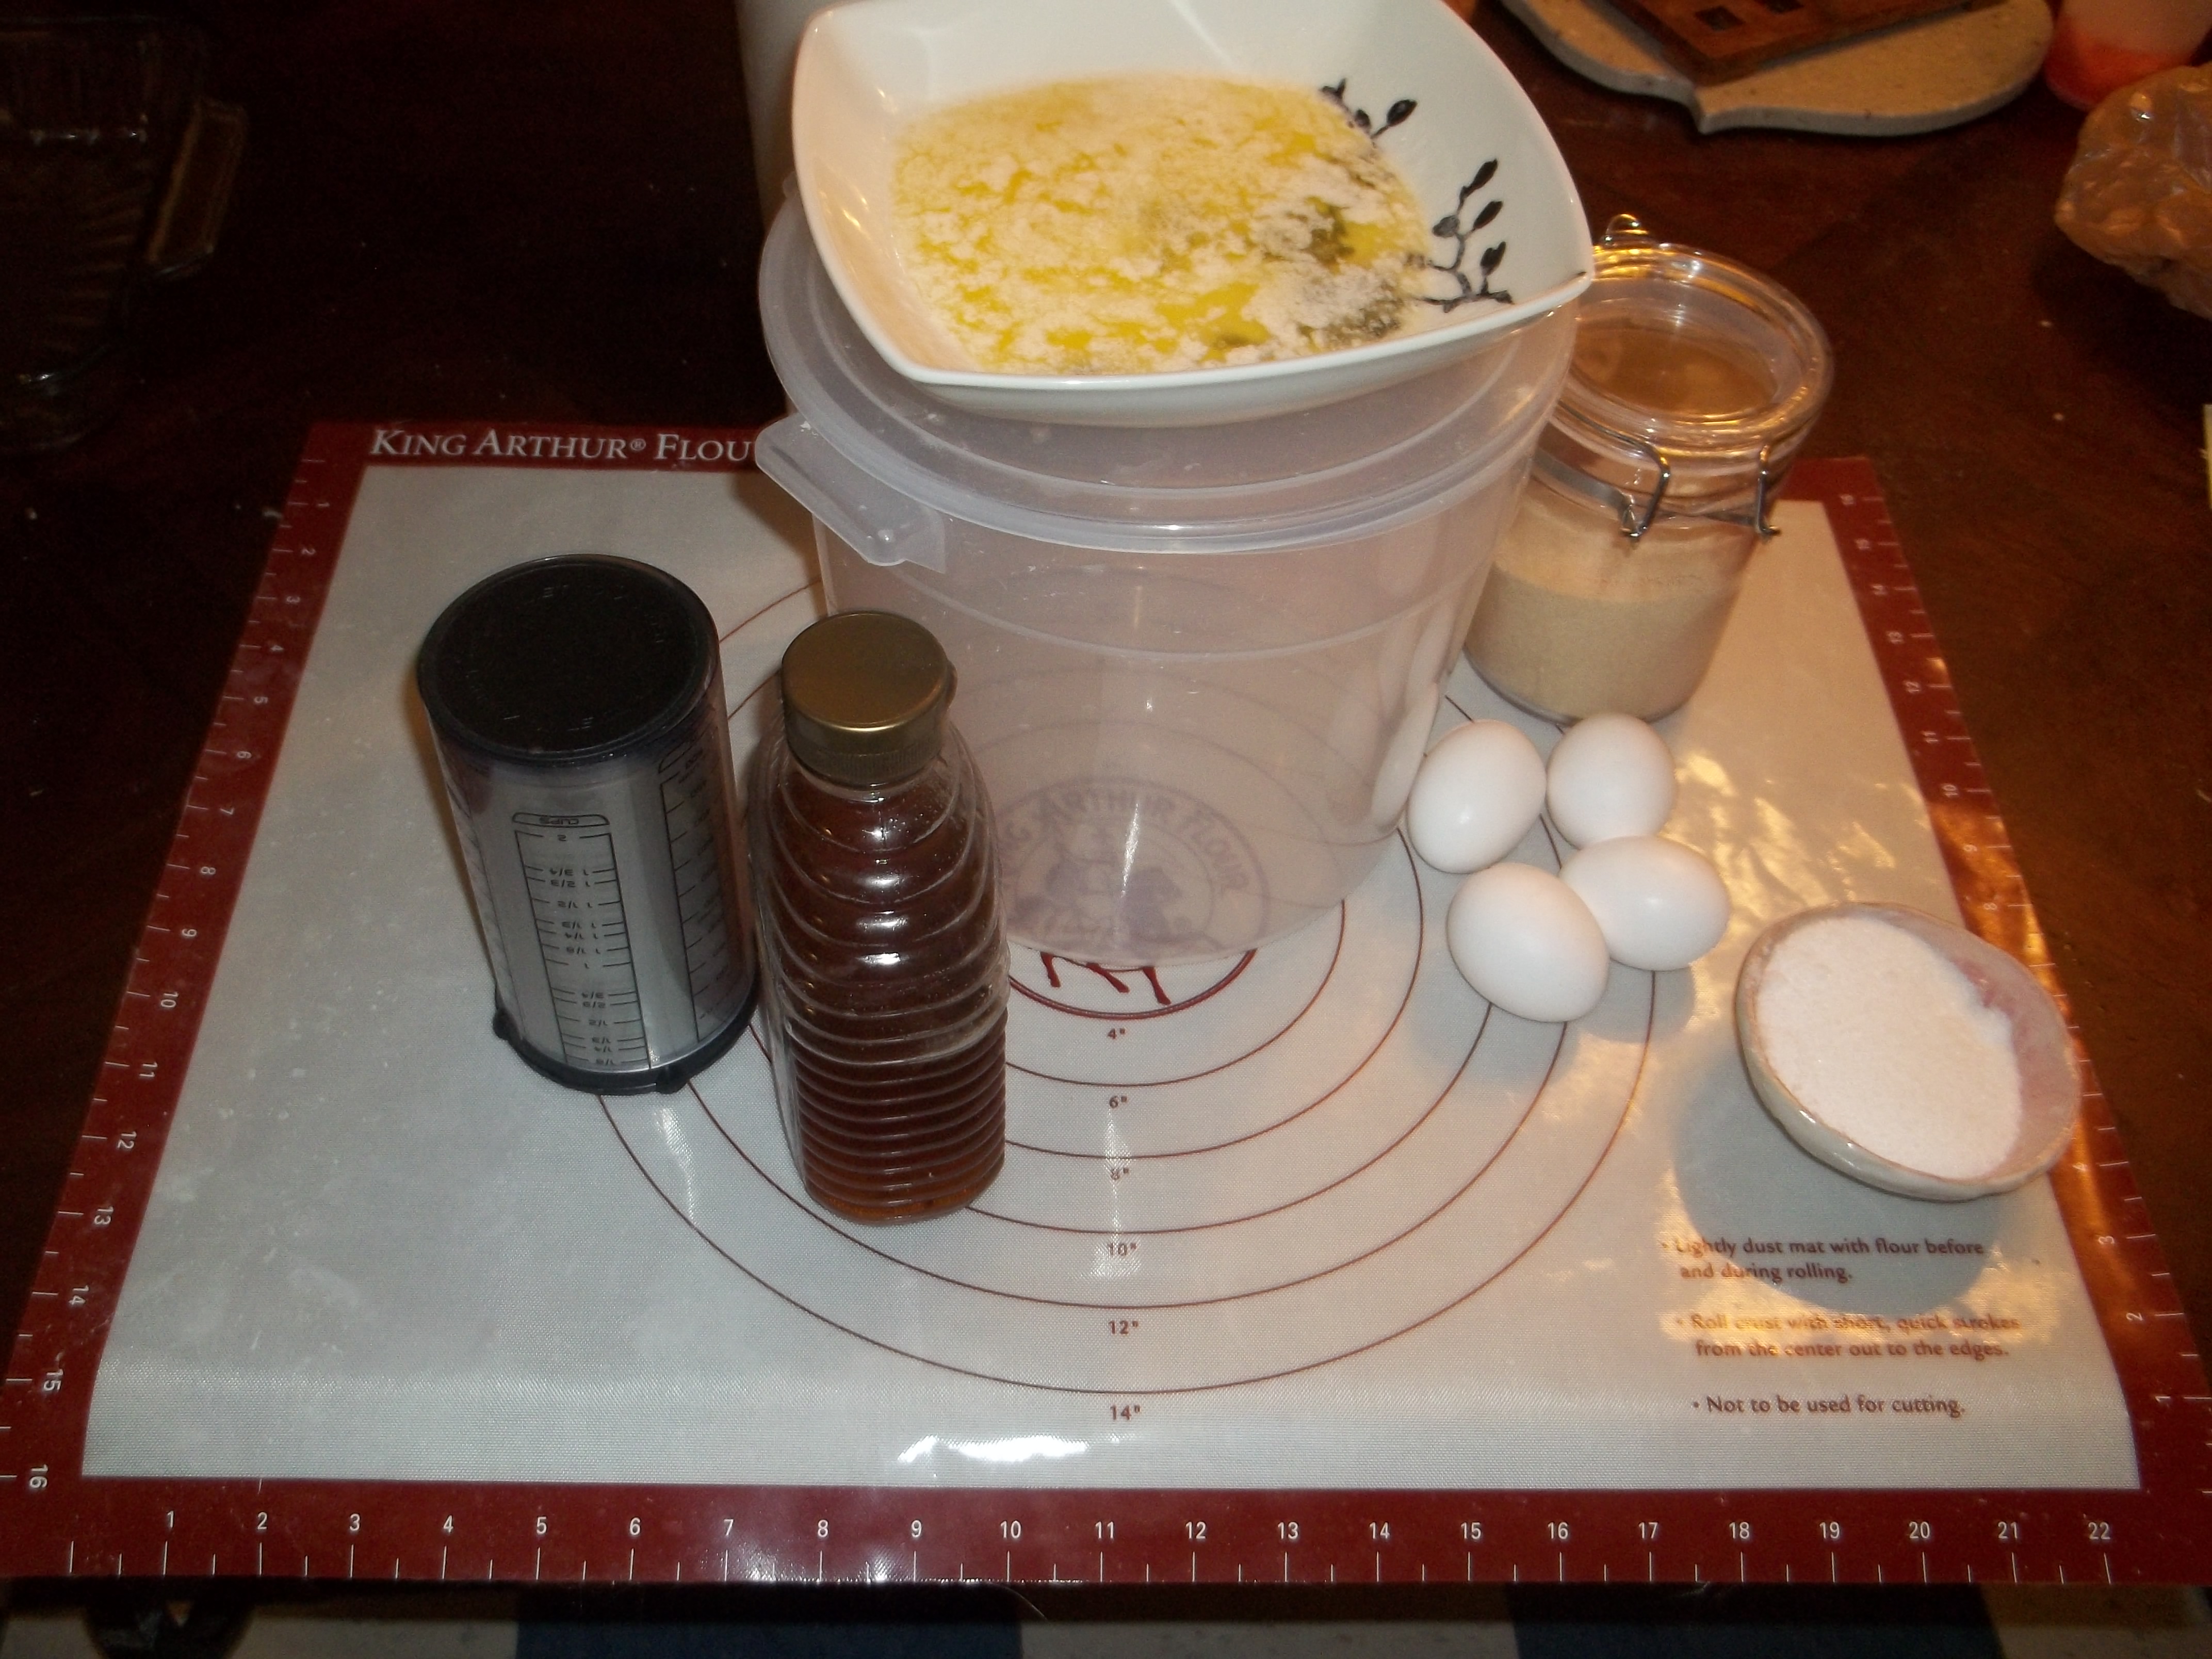
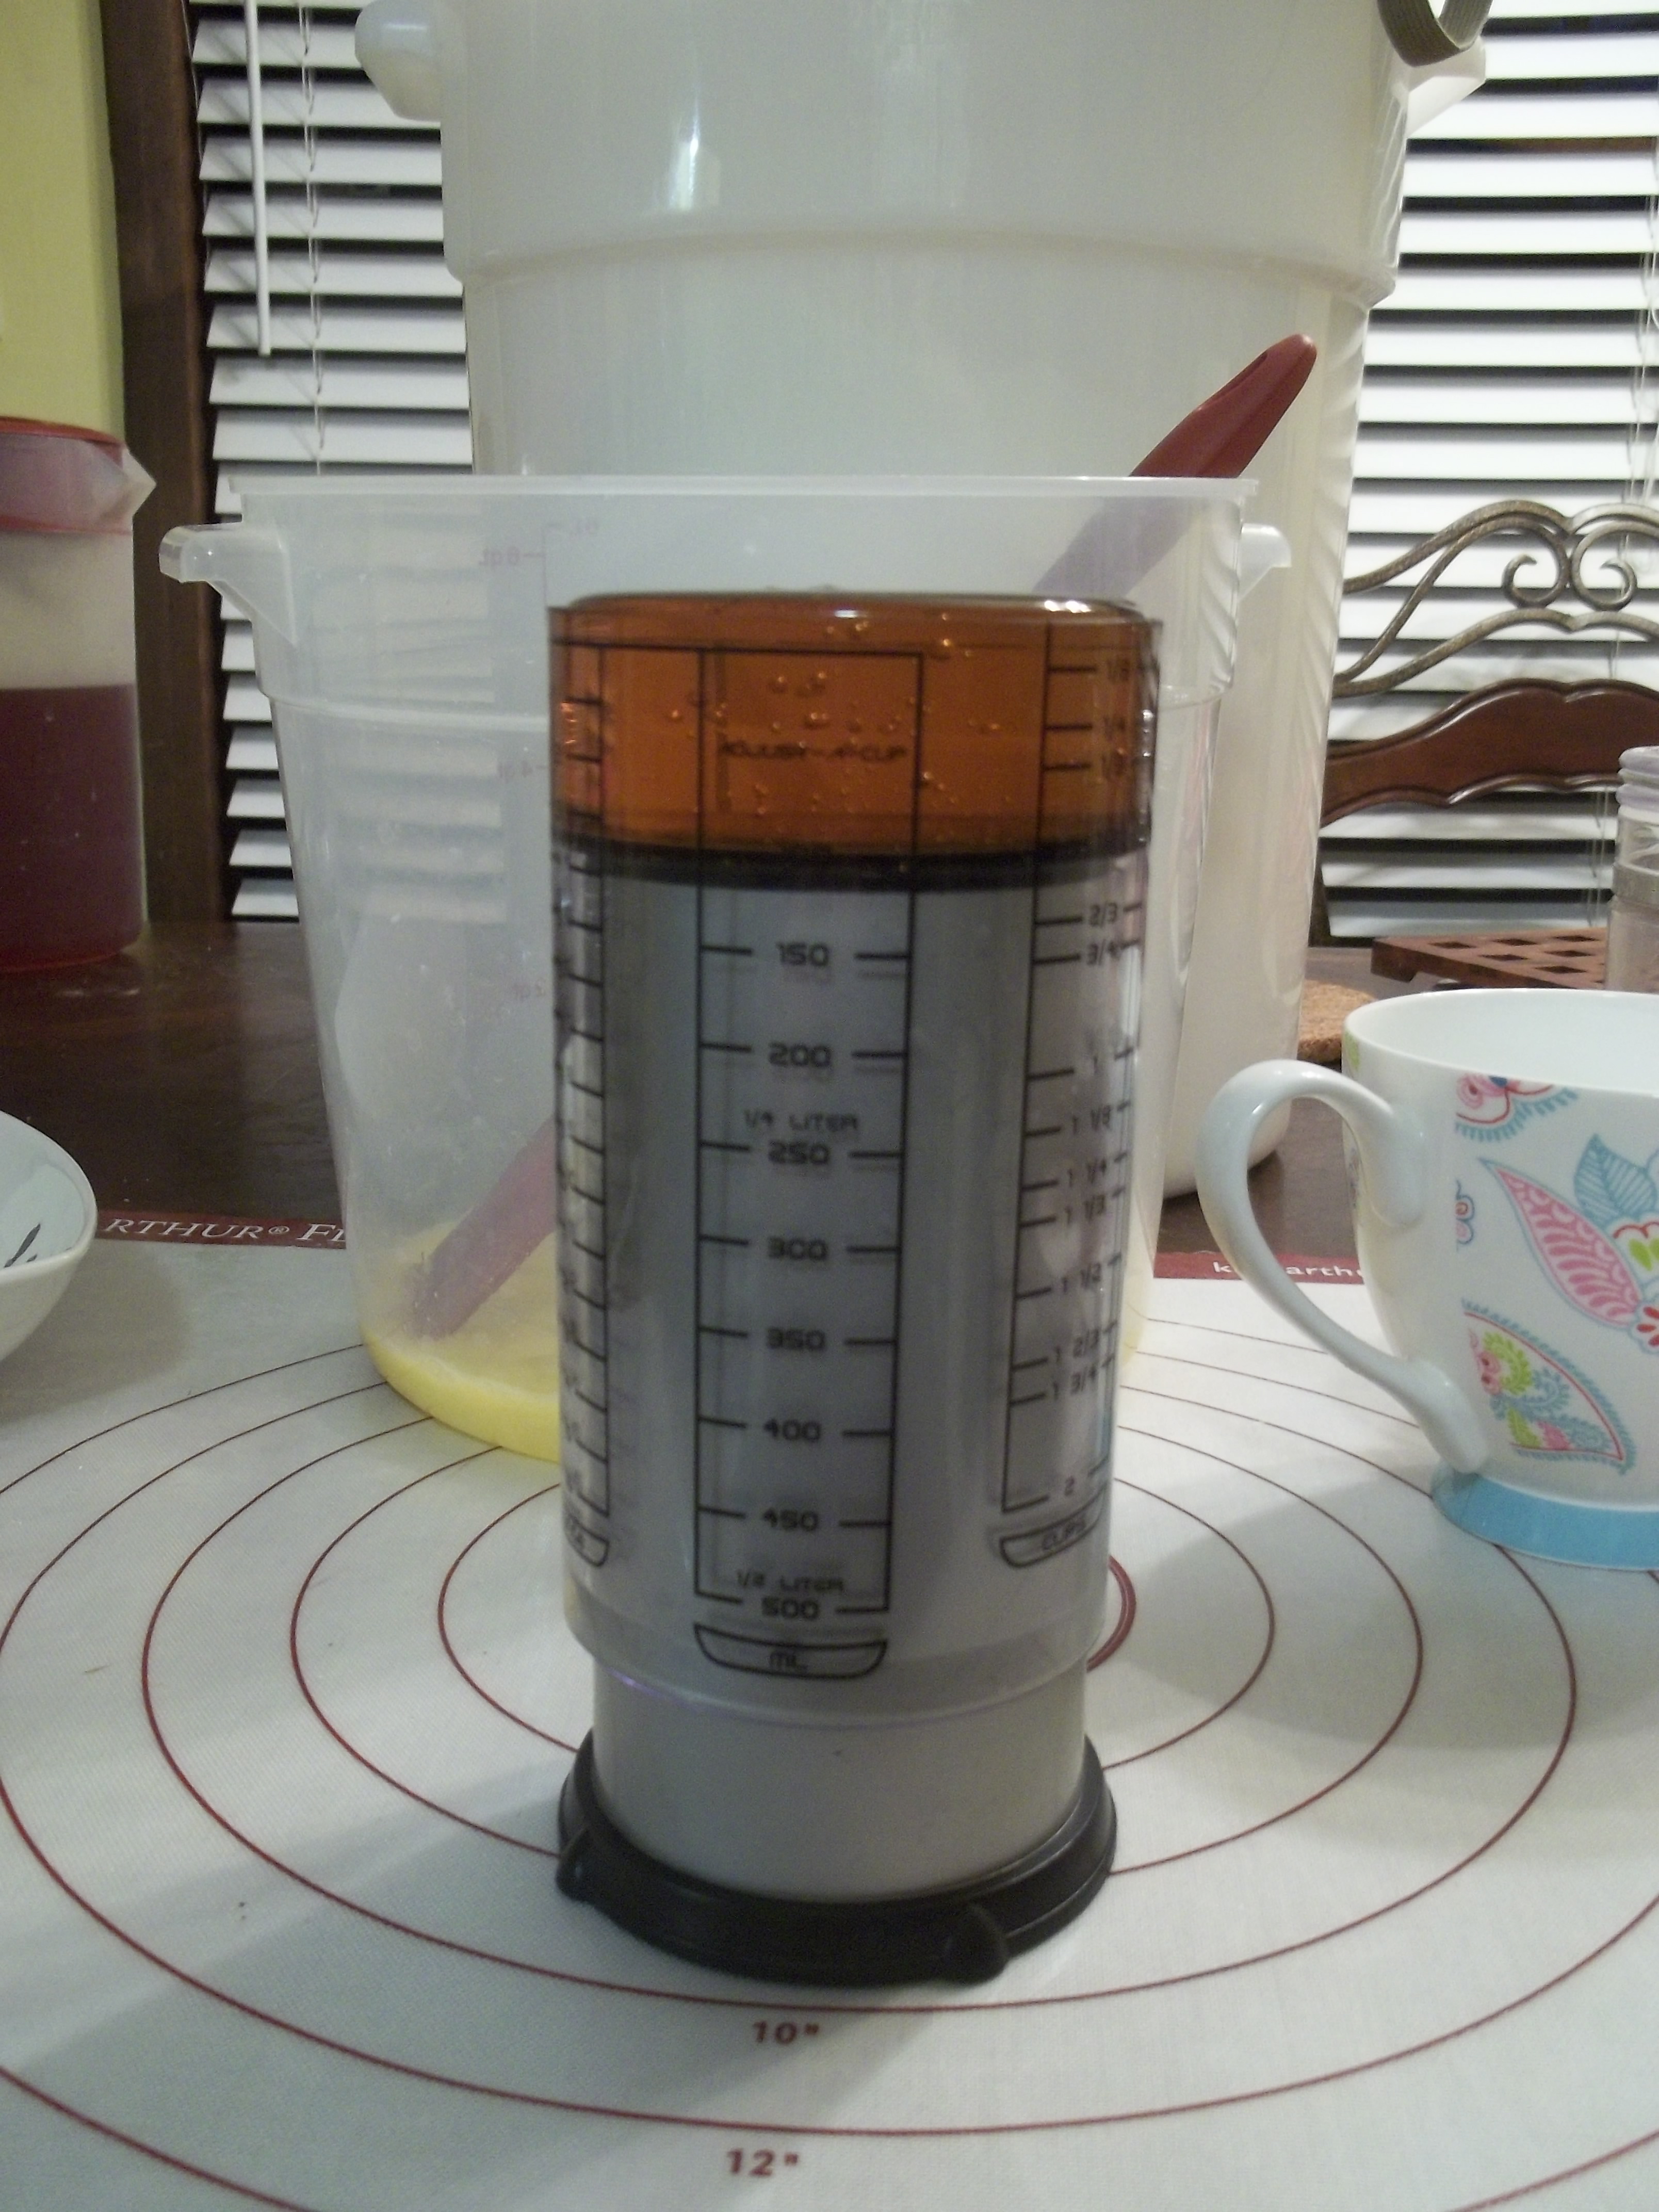
First, I measured out the honey using this fantastic gadget. It’s also amazing for peanut butter cookies or the protein brownies I’ve made a time or two. Anyone who has ever tried to get all the nut butter out of a standard measuring cup will understand the godsend this thing is.
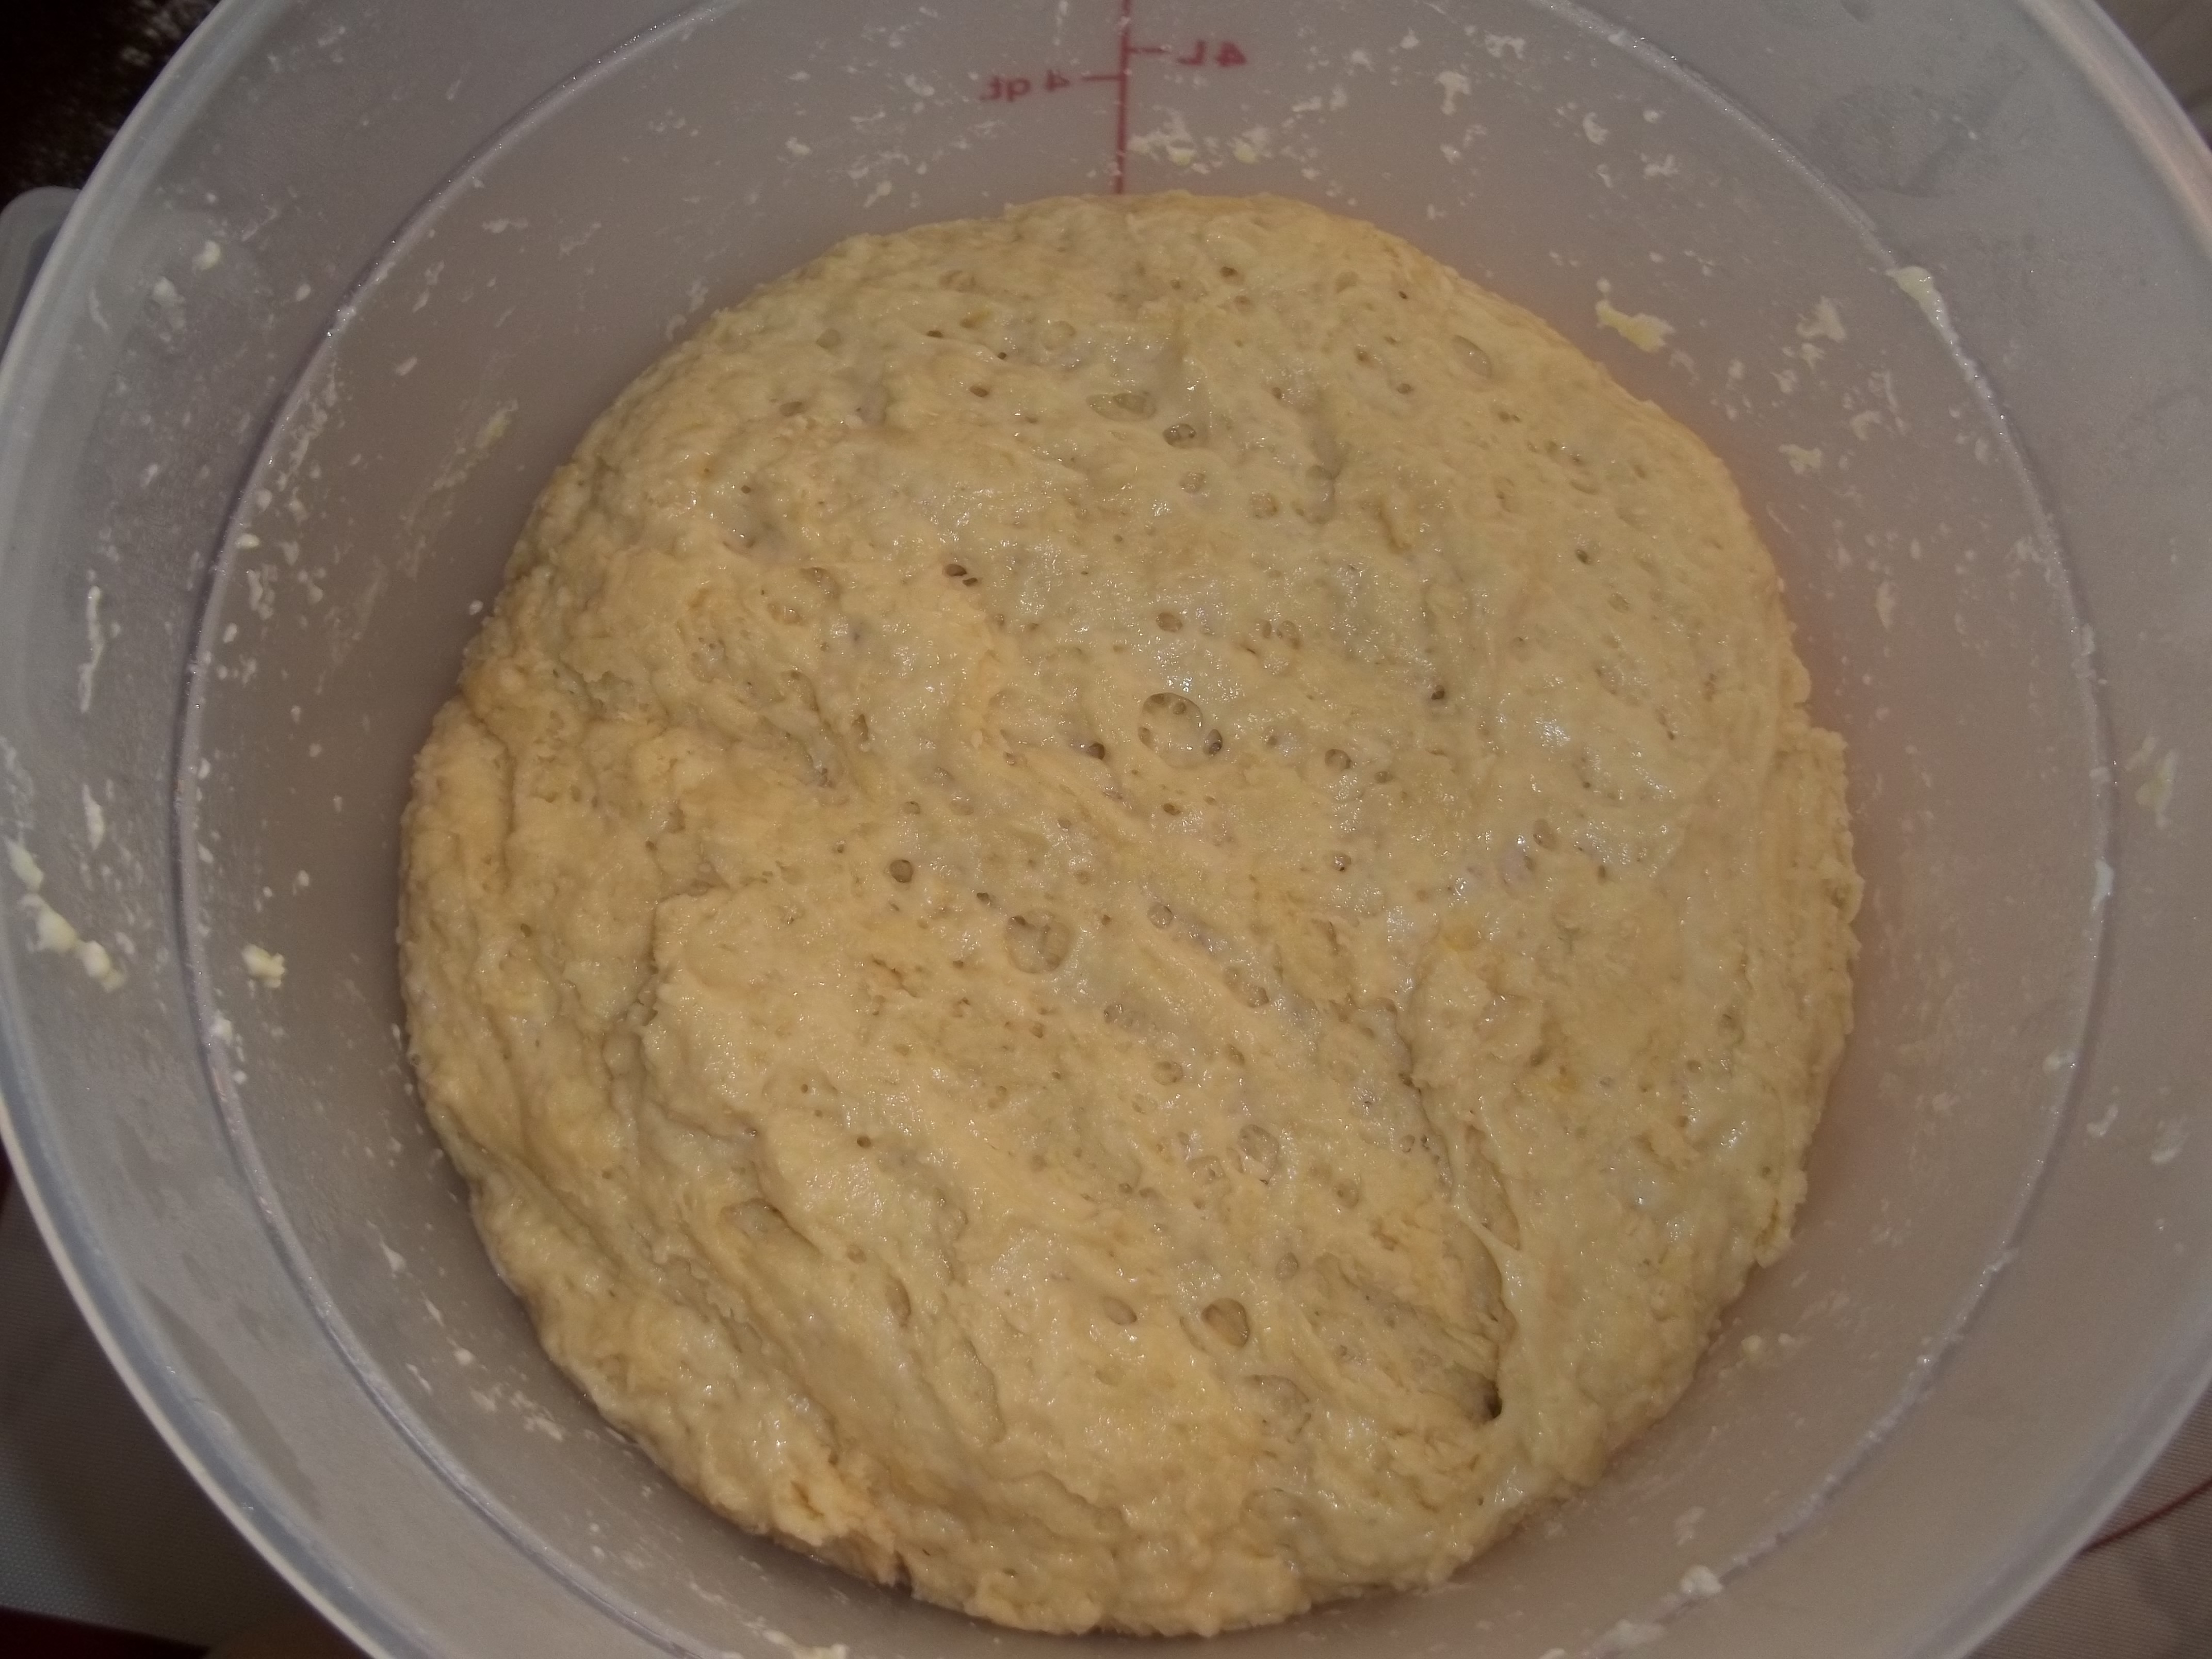
That went into the bucket with the 1 3/4 cups of lukewarm water, the four eggs, and the stick of melted butter. Challah is considered an enriched dough, but it can’t hold a candle to the enrichment that goes on in brioche. We’ll be tackling that later on when it comes time for cinnamon rolls. To all the liquid, I added the yeast and salt and mixed up. At this stage, it looks less-than-appetizing, but it smells fabulous.

The flour is added to this and mixed, first with the spatula and then with my hands, to get a fairly dense, golden dough. Once all the dry things are hydrated and all the wet things are incorporated, the lid goes on the bucket (though not snapped completely in place, I’ll tell the story about how I learned not to do that another time) and it’s set side for a couple of hours to rise before it’s tucked into the fridge overnight. Some of the reason for this is to develop flavor. The larger reason, for me at least, is that it’s much, much, much easier to handle and shape this dough if it’s had a chance to chill.

I love these buckets, by the way. I have a pair of them and they have served me well through my bread adventures. They’re yet another toy bought from the King Arthur Flour site. At our last place, I almost always had both of them full of dough. I need to get back to that here, at least somewhat.
Day two. Shaping and proofing the challah.

Most, if not all, of the ABin5 recipes have the ‘dust the dough liberally with flour’ instructions when it comes to this part. Some of that is to created what they call the gluten cloak. Some of it is to keep the dough from just clinging to your fingers. In any case, you dust the dough with flour, cut off a piece of the appropriate size and turn it into a ball by stretching it gently around on all four sides.
With the leaner doughs from this book, I tend to take out just enough for a loaf or two and put the rest back in the fridge. Enriched doughs don’t last as long, however, so I often end up making up all of a batch at once. That’s what I did today. The smaller of the two dough balls will become cinnamon-sugar challah, which is French toast fodder if I ever I saw it.
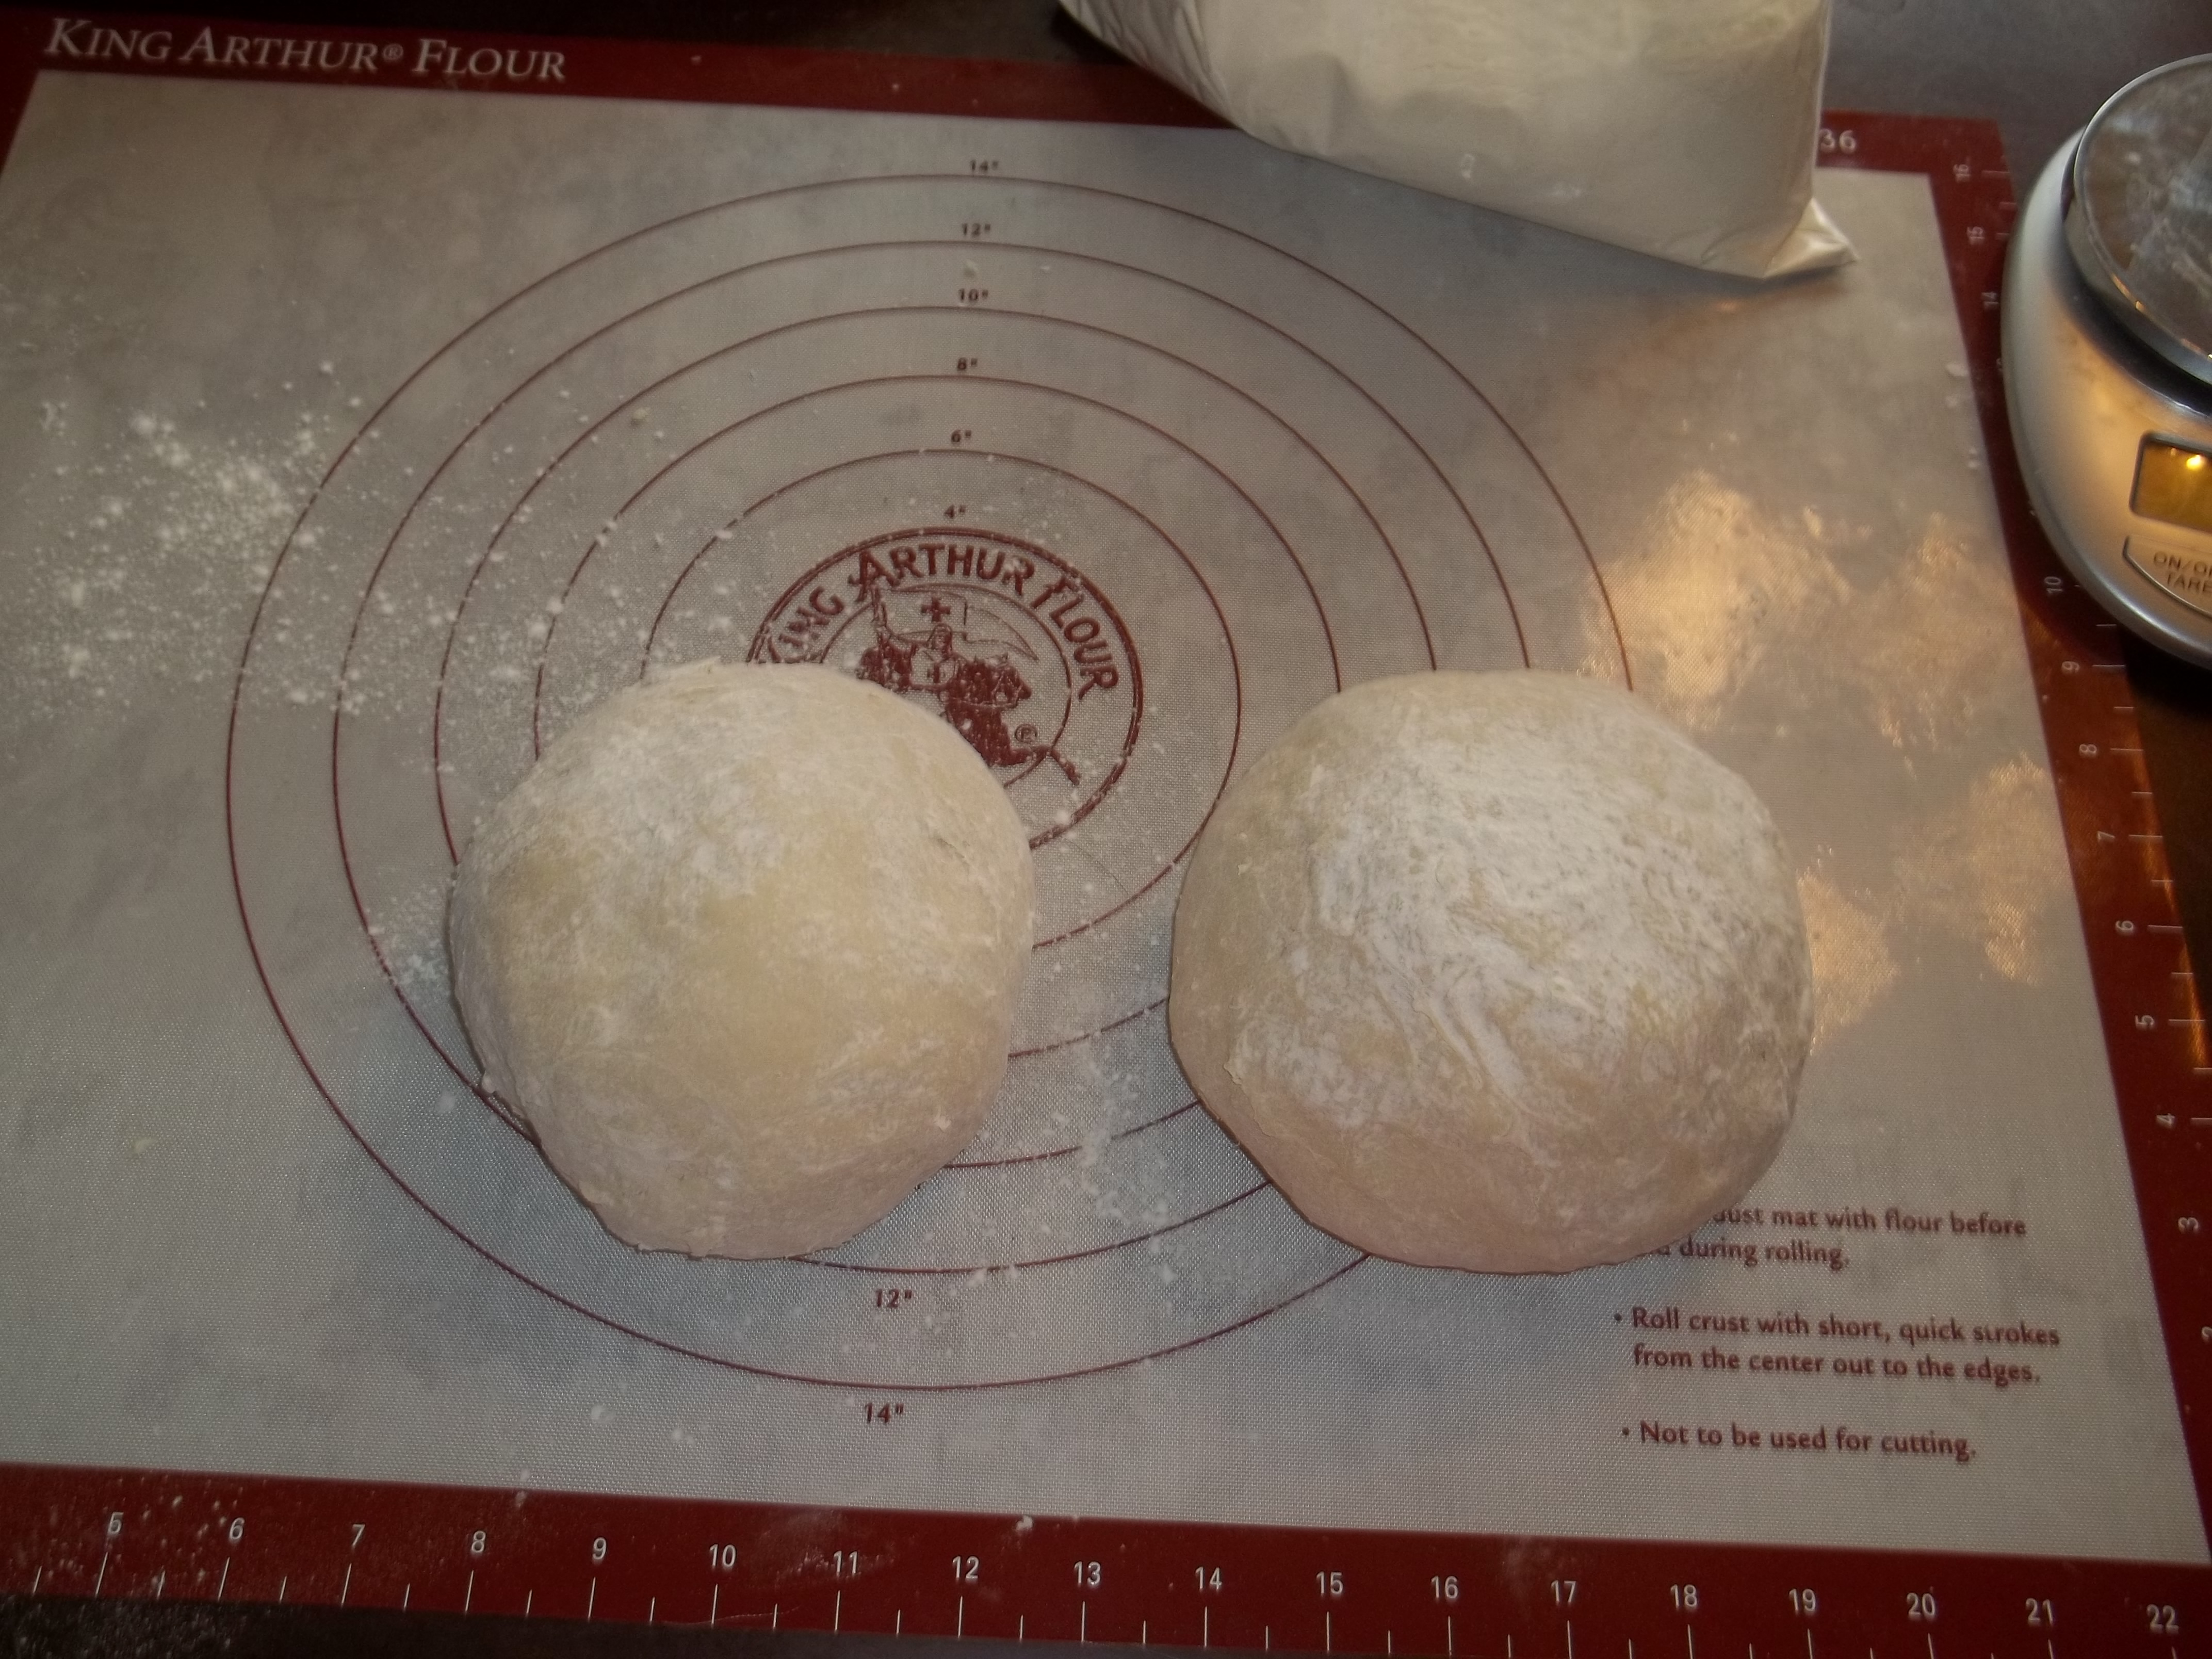
I set aside the first ball and shaped the second one into a rectangular shape because it’s easier for me to judge and cut it into rough thirds when it’s more square. I still end up having to adjust a little, but not as much as trying to divide a sphere into thirds.
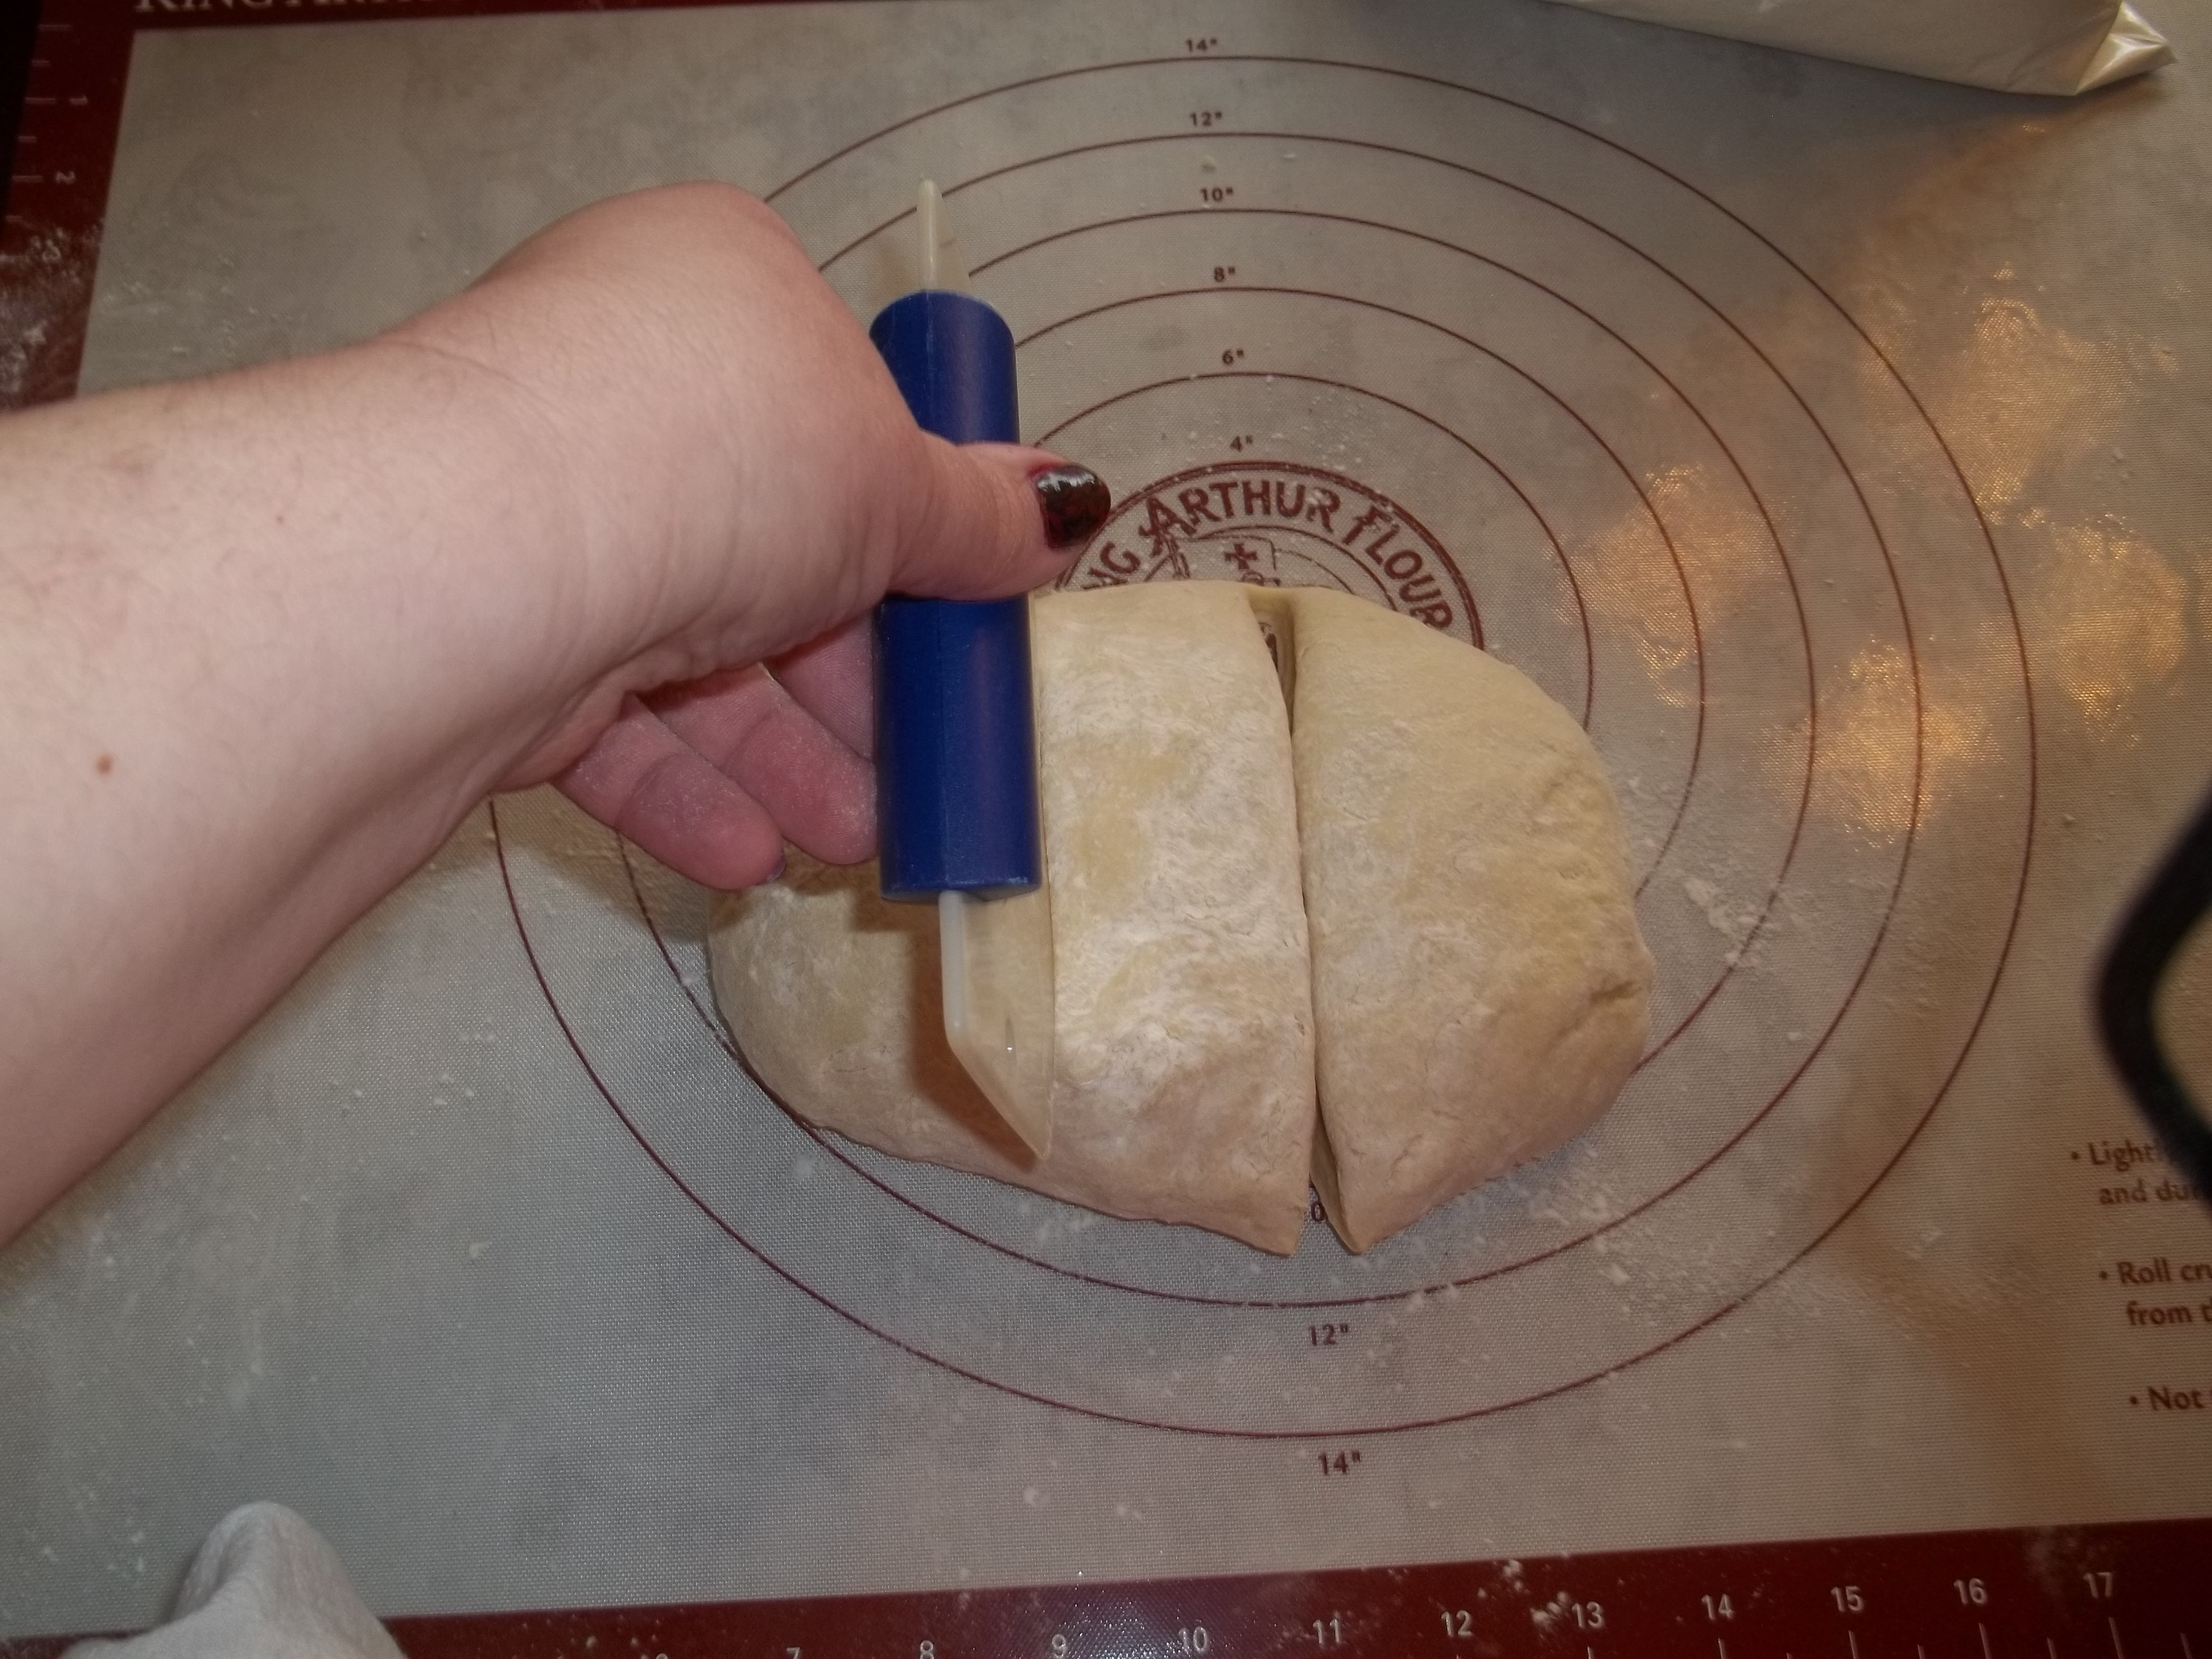
I only use plastic tools to do this sort of thing on the pastry mat and then only gently. Big gaping holes would be a no-no, but even small slits and scratches will make it harder to use for its intended purpose.
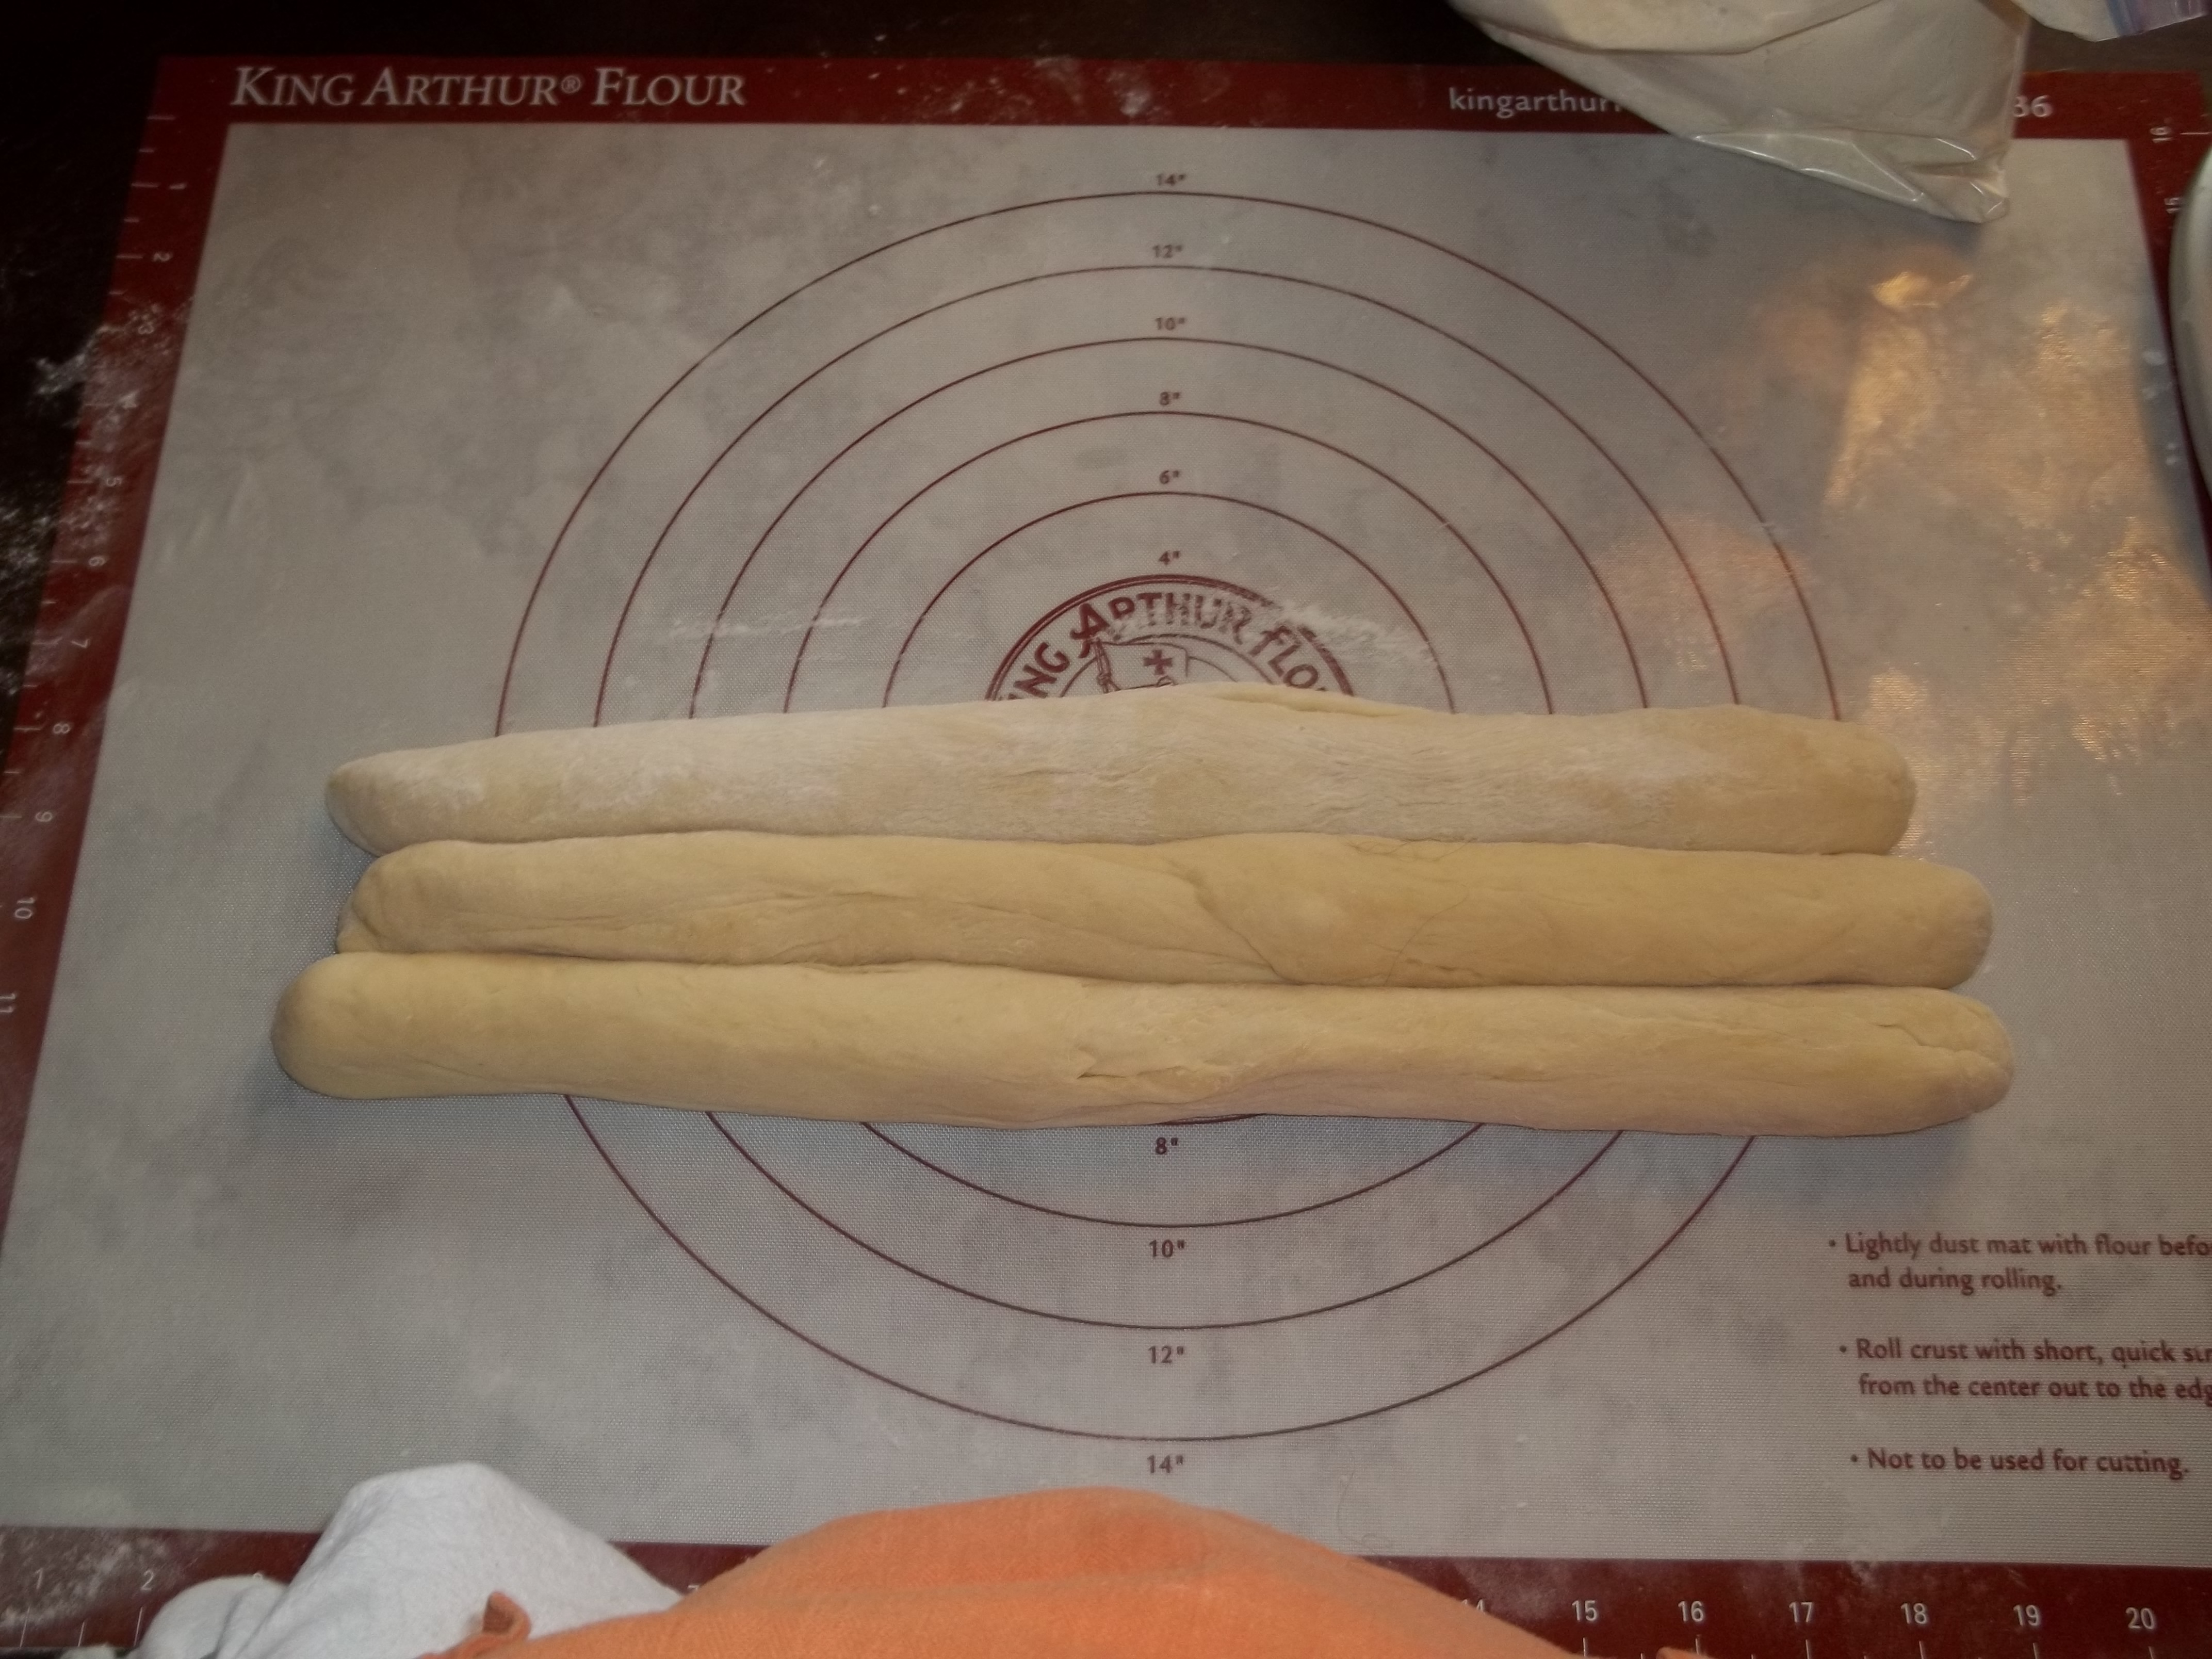
Once the dough is divided, I dust the mat and the pieces of dough with a little flour and start rolling them out into ropes. It’s a lot like turning PlayDoh into ropes, only bread dough will sometimes try to spring back smaller. If that happens, all you can really do is let it rest a bit to relax the gluten and try again. Each of the three pieces of dough gets the same treatment and then it’s time to braid them.
The method of braiding shown in almost every book I’ve read with this type of bread recommends starting your braid from the middle, like so:

It’s supposed to keep your braid from being thicker on one end than the other, but I find that I have enough control for that not be too big an issue. What I can’t do, however, is get the braid as tight as I’d like with this method.
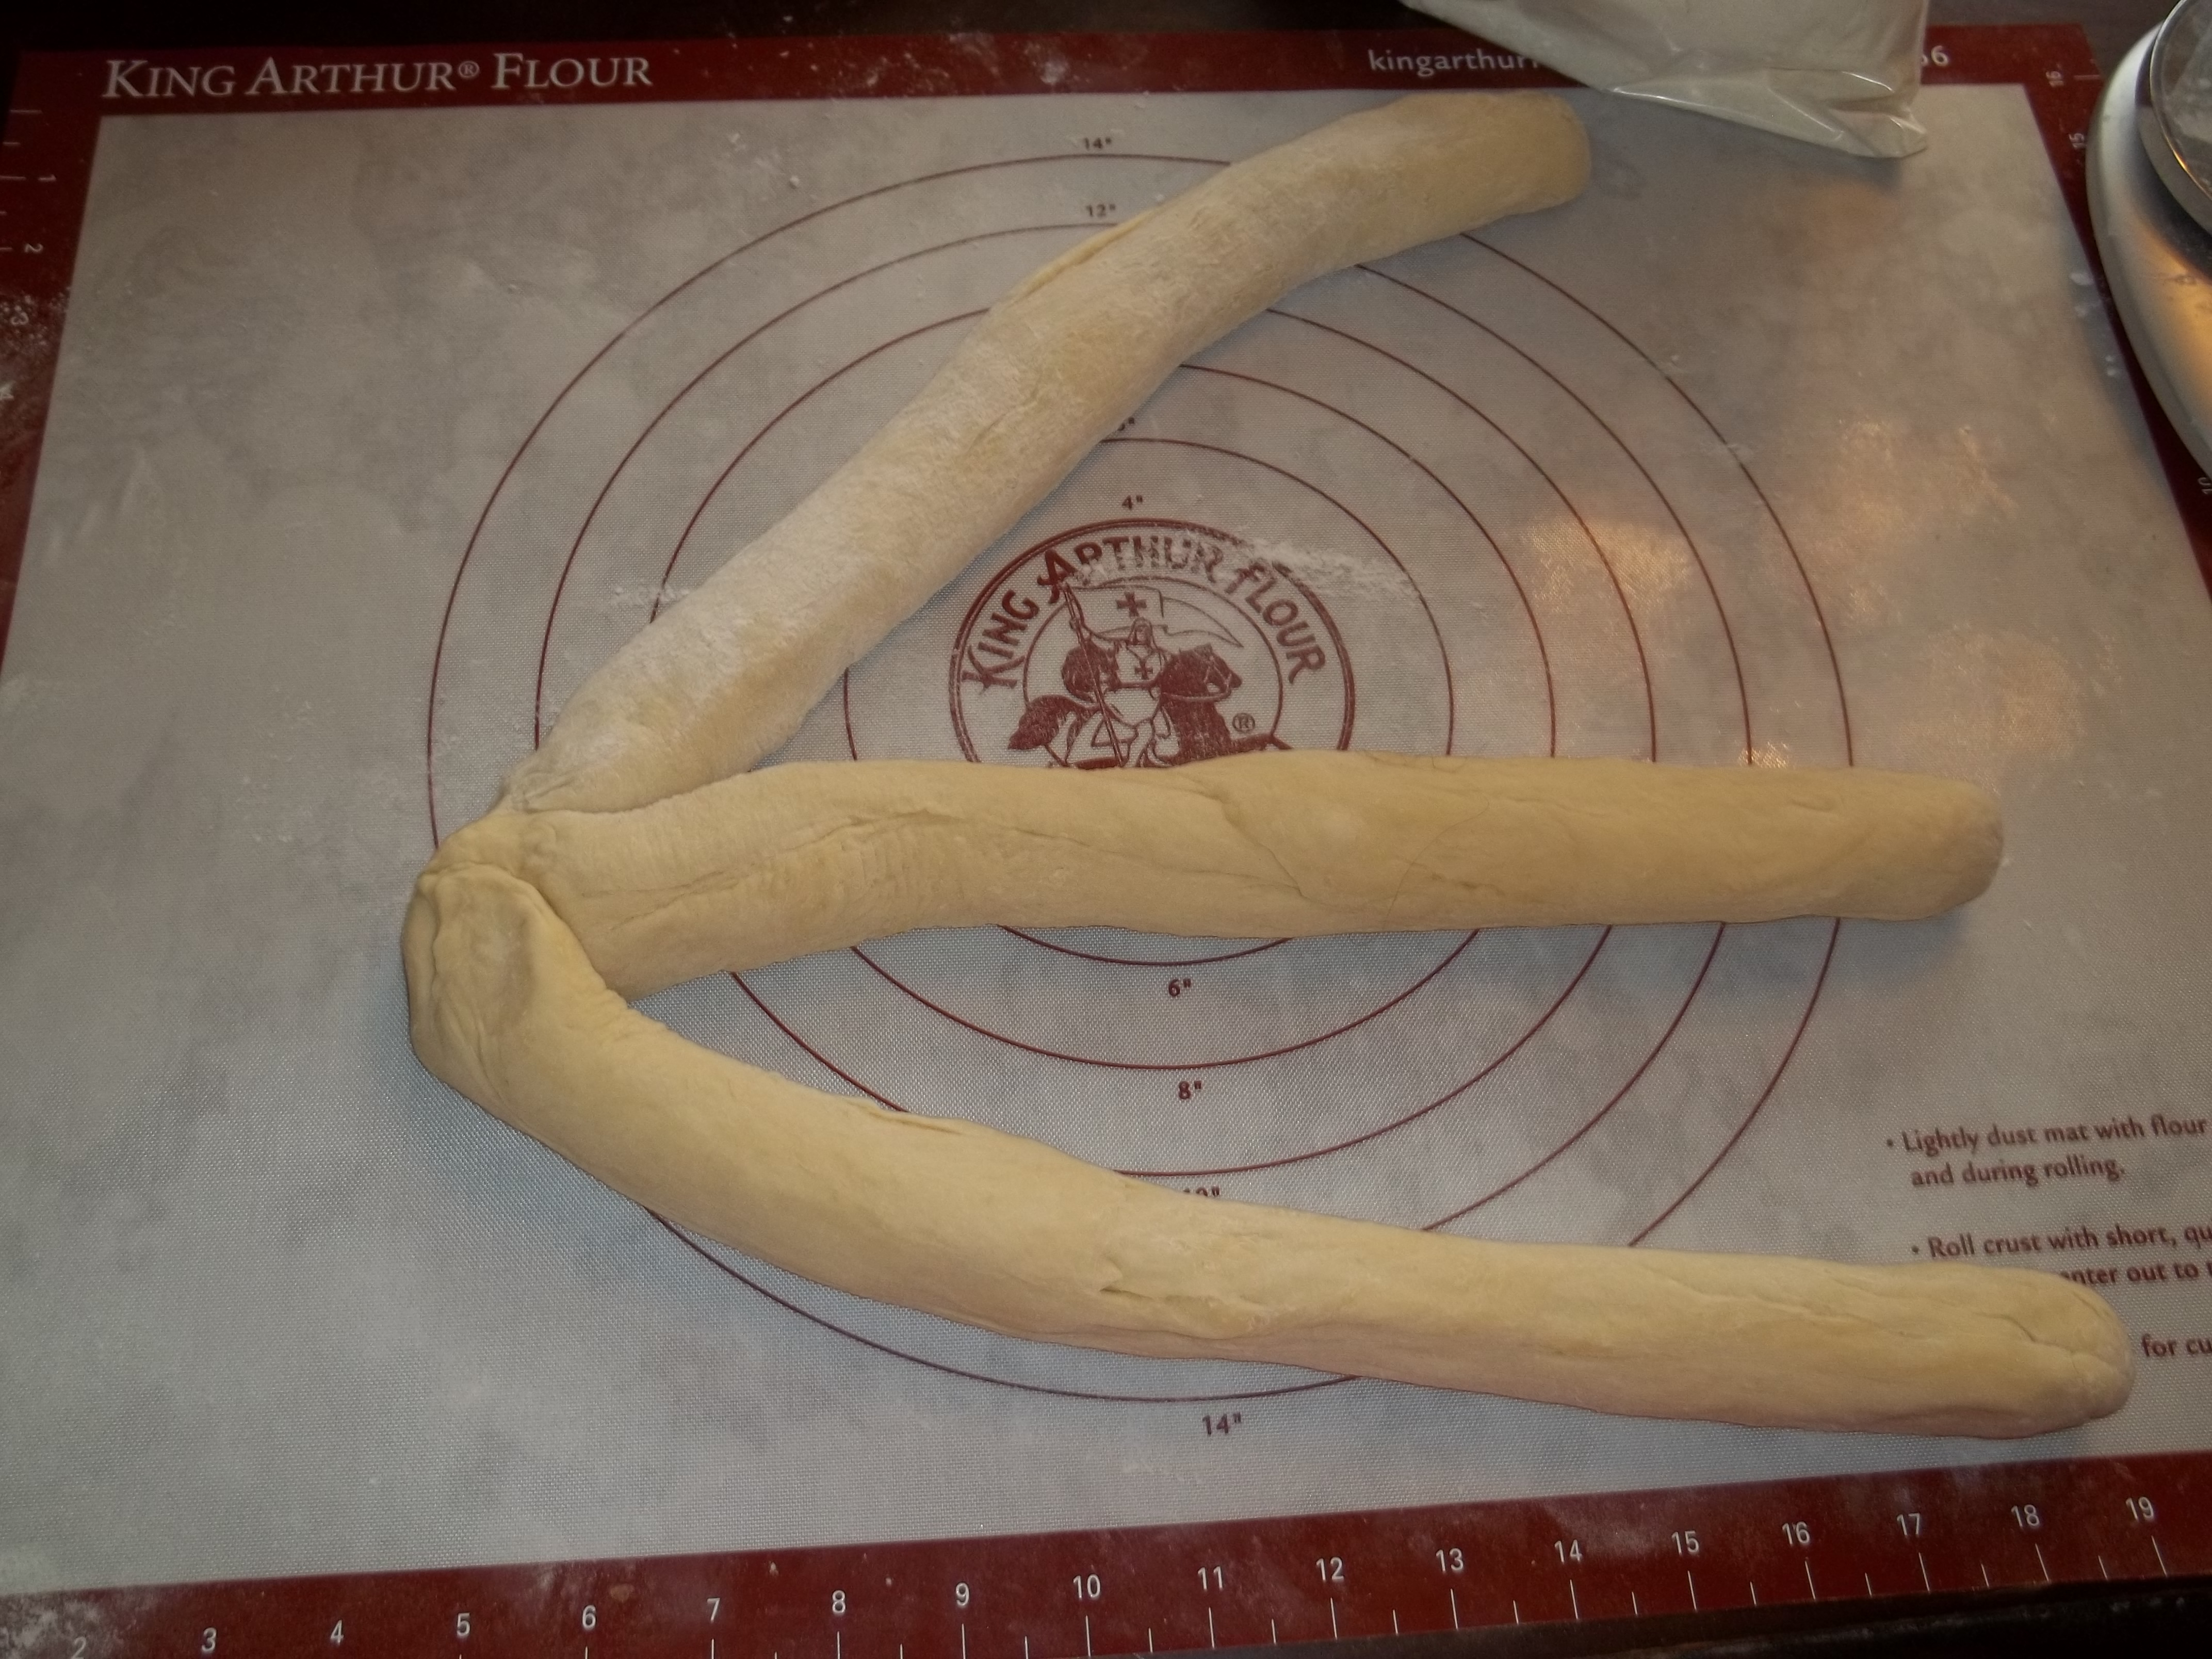
Instead, I do it this way:
After I’ve lined up the three ropes of dough, I pinch the ends together on one side. It really doesn’t seem to matter if it’s a little messy. The big thing is that the ends adhere so that your braid will stay together.
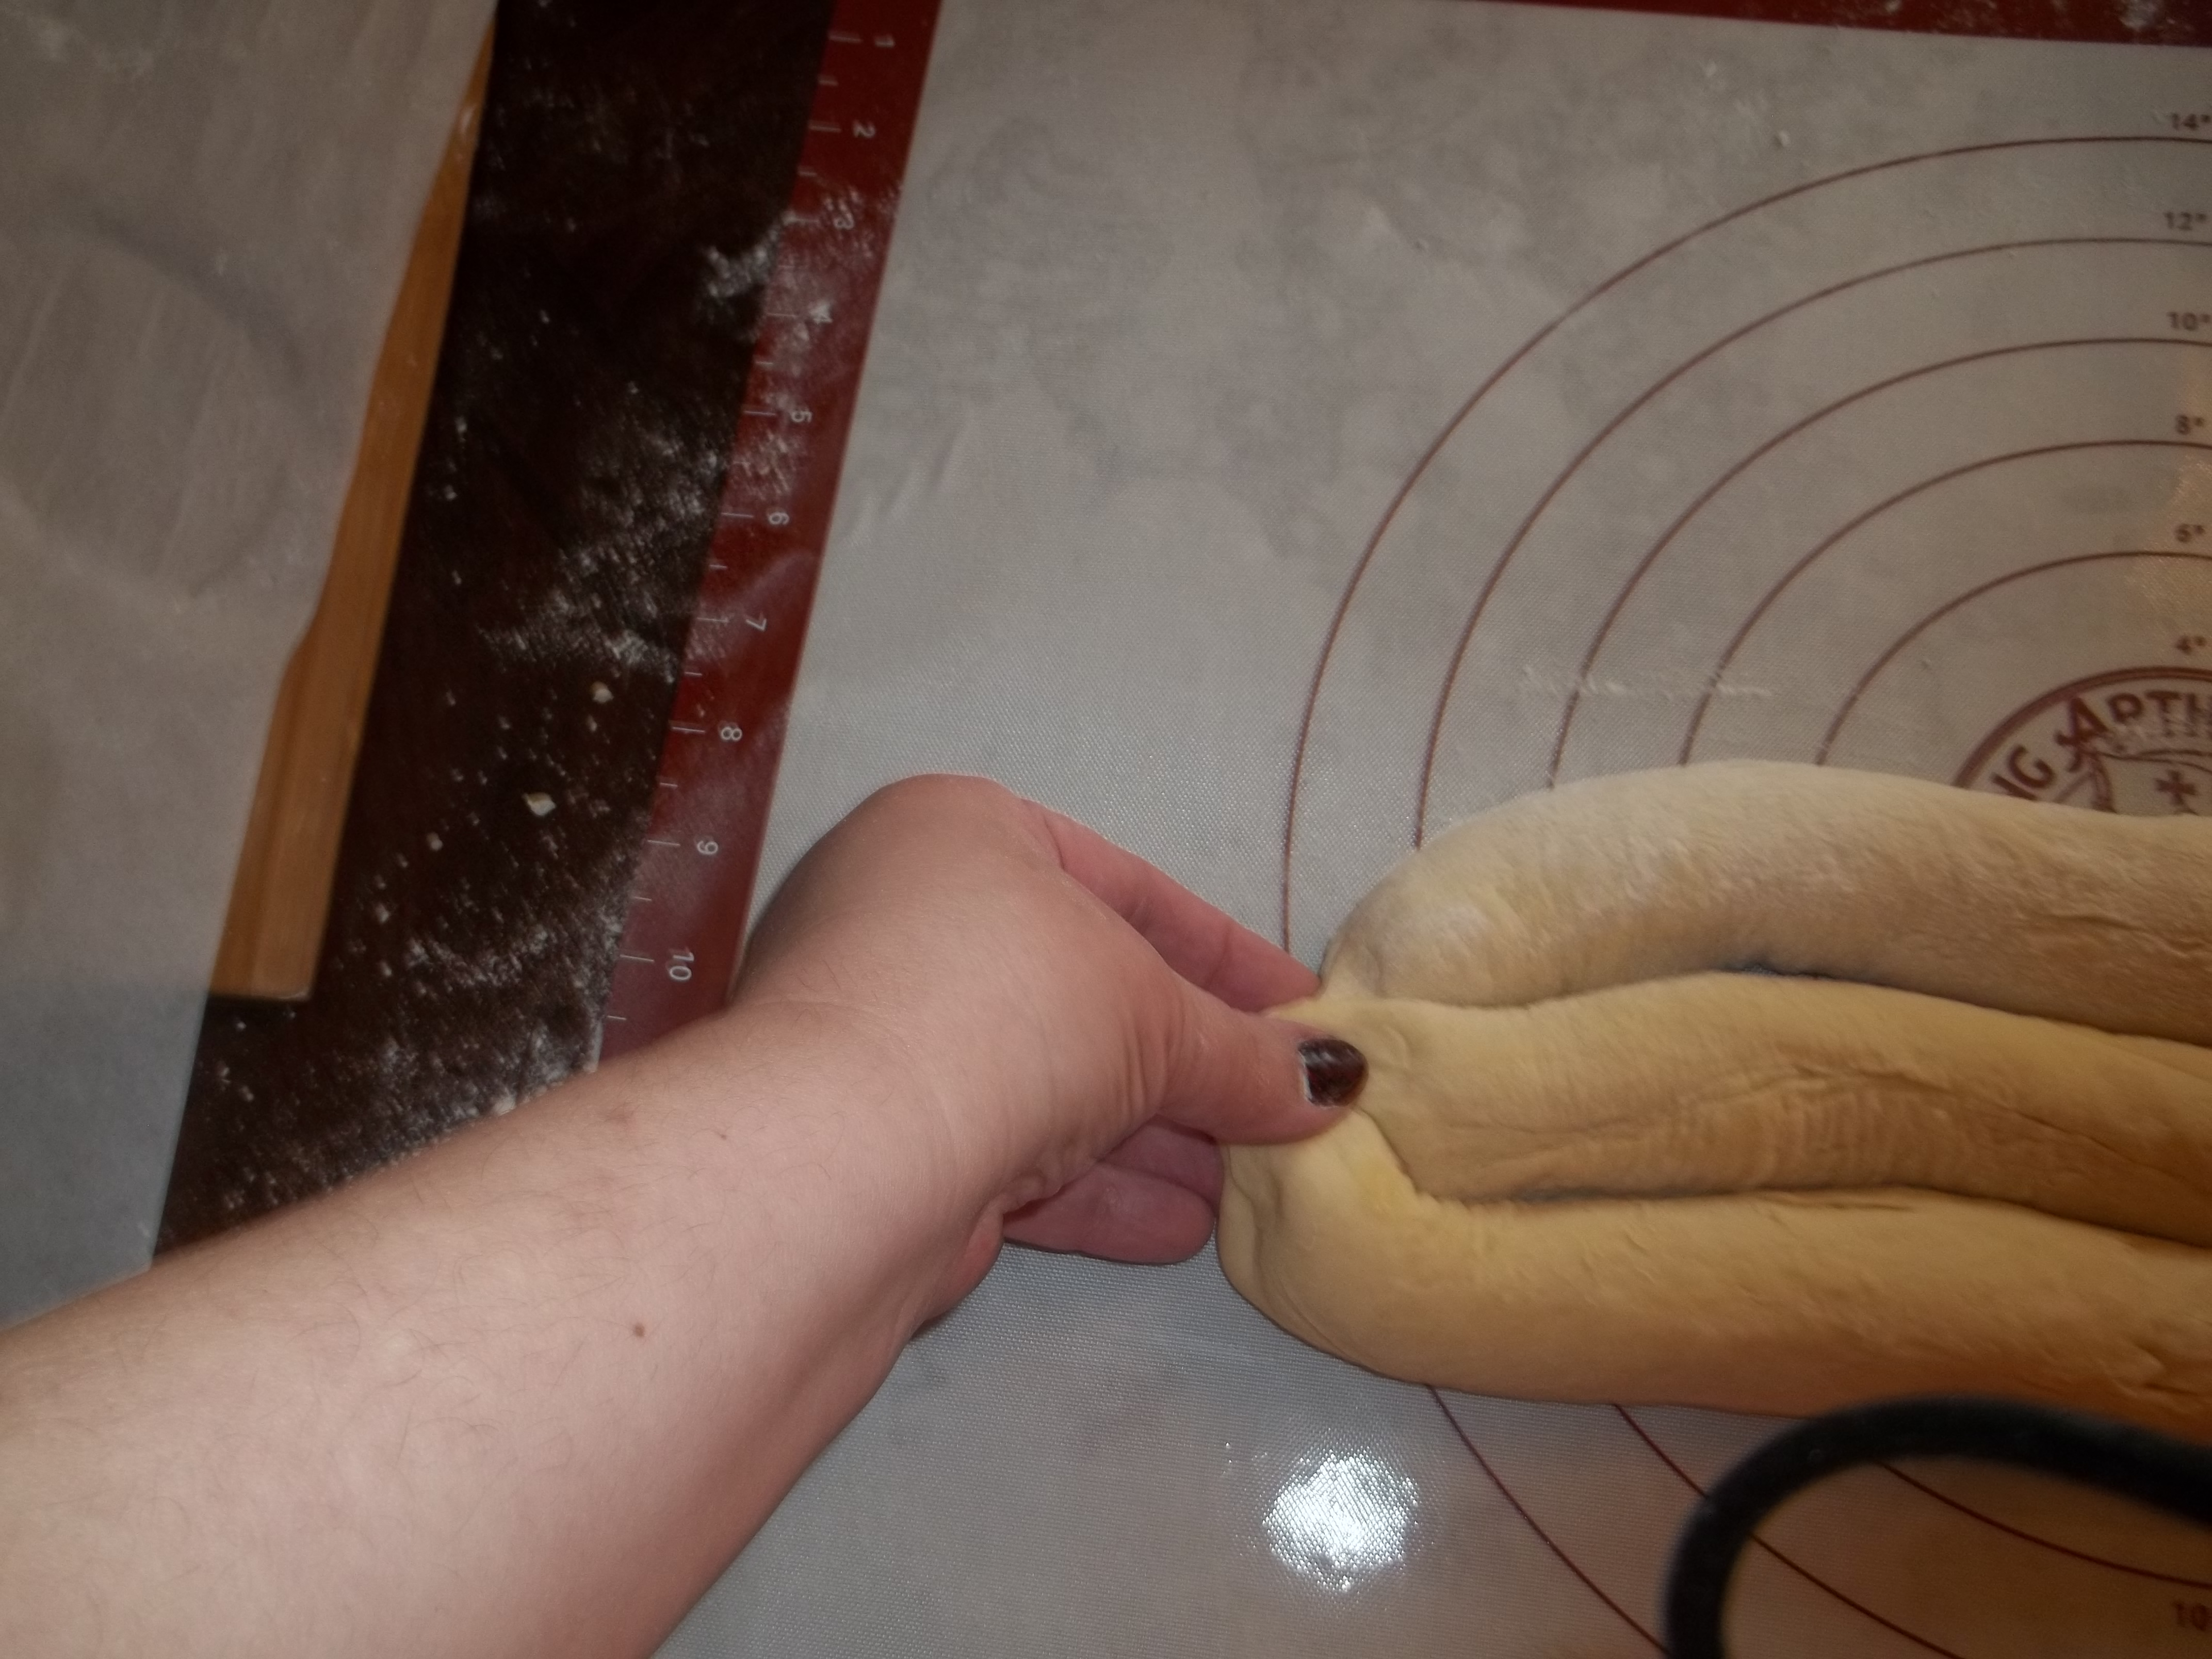

You can rearrange or tuck the pinch under a little to hide it, but once the loaf is proofed and baked, it really is the staying-put part that matters most. Next, you do a basic three-strand braid. Like I said, I learned on my sister’s hair and my cousin’s hair. My hair was kept super-short through most of my childhood because my mom was tired of going to war with uber-curly hair every morning. But I digress again. This is probably the simplest of braids.
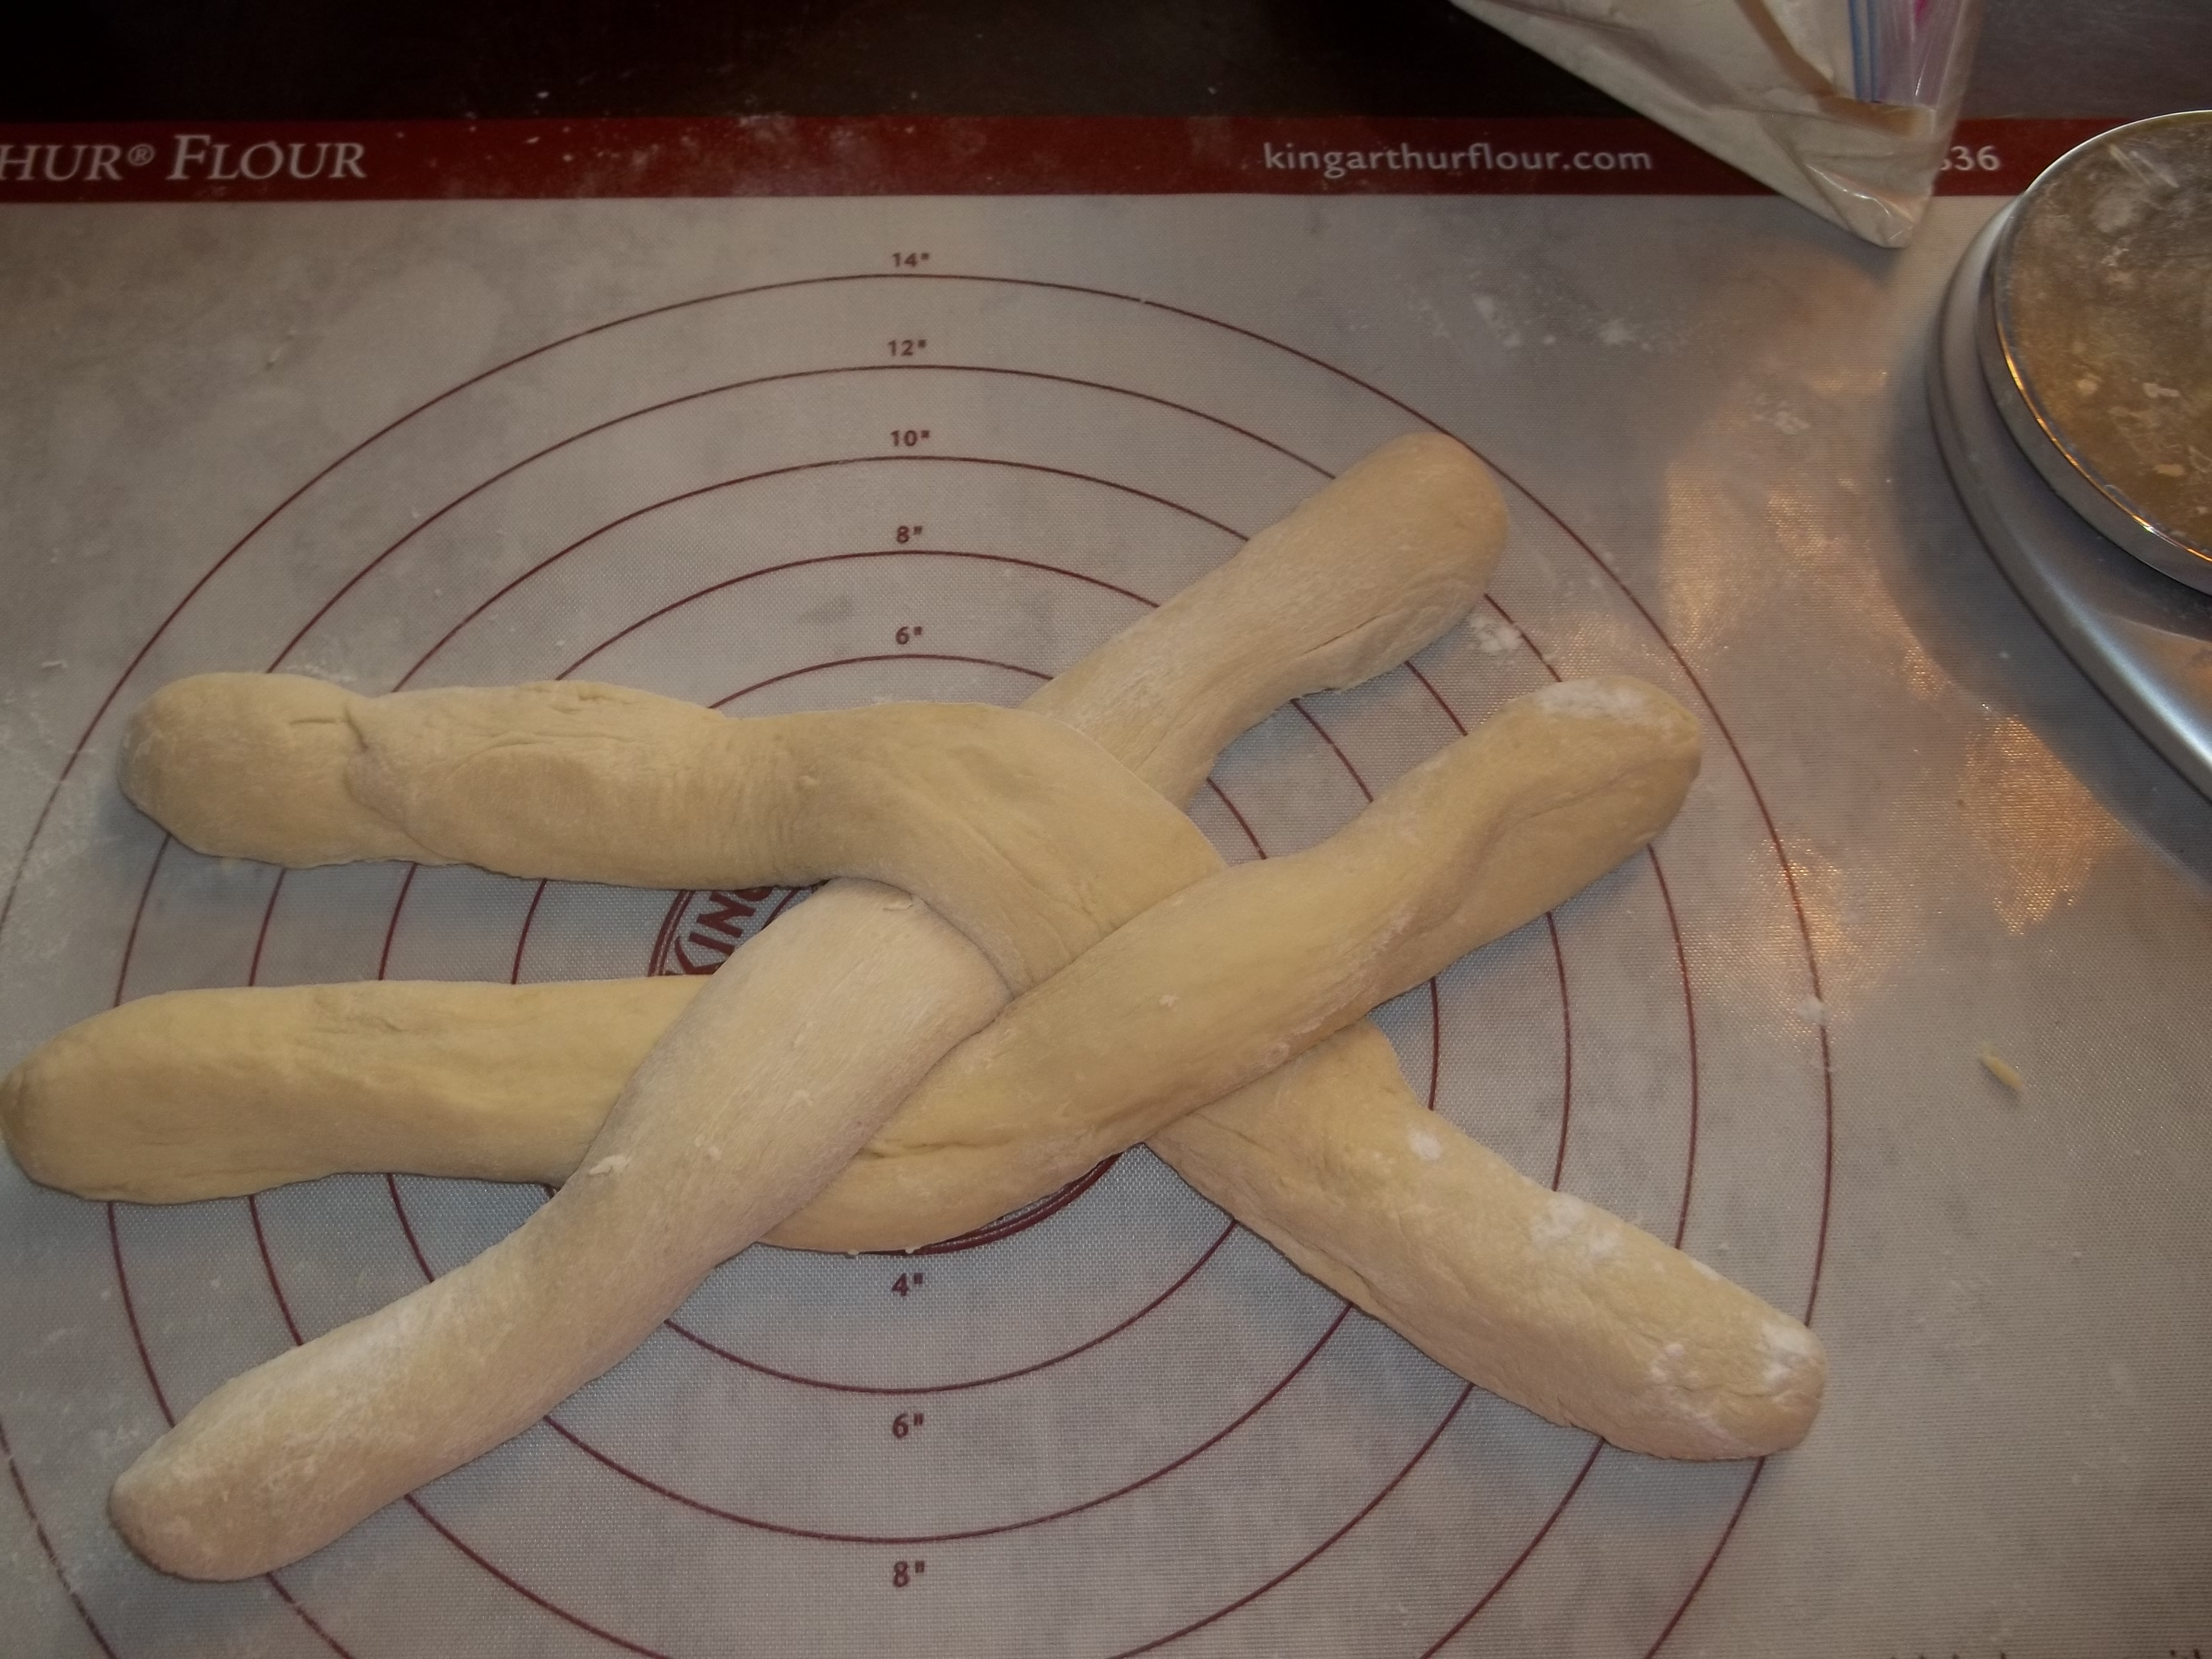
I start out by spreading the ropes of dough apart. This is the big reason I try to make sure the pinch is secure in the step above.
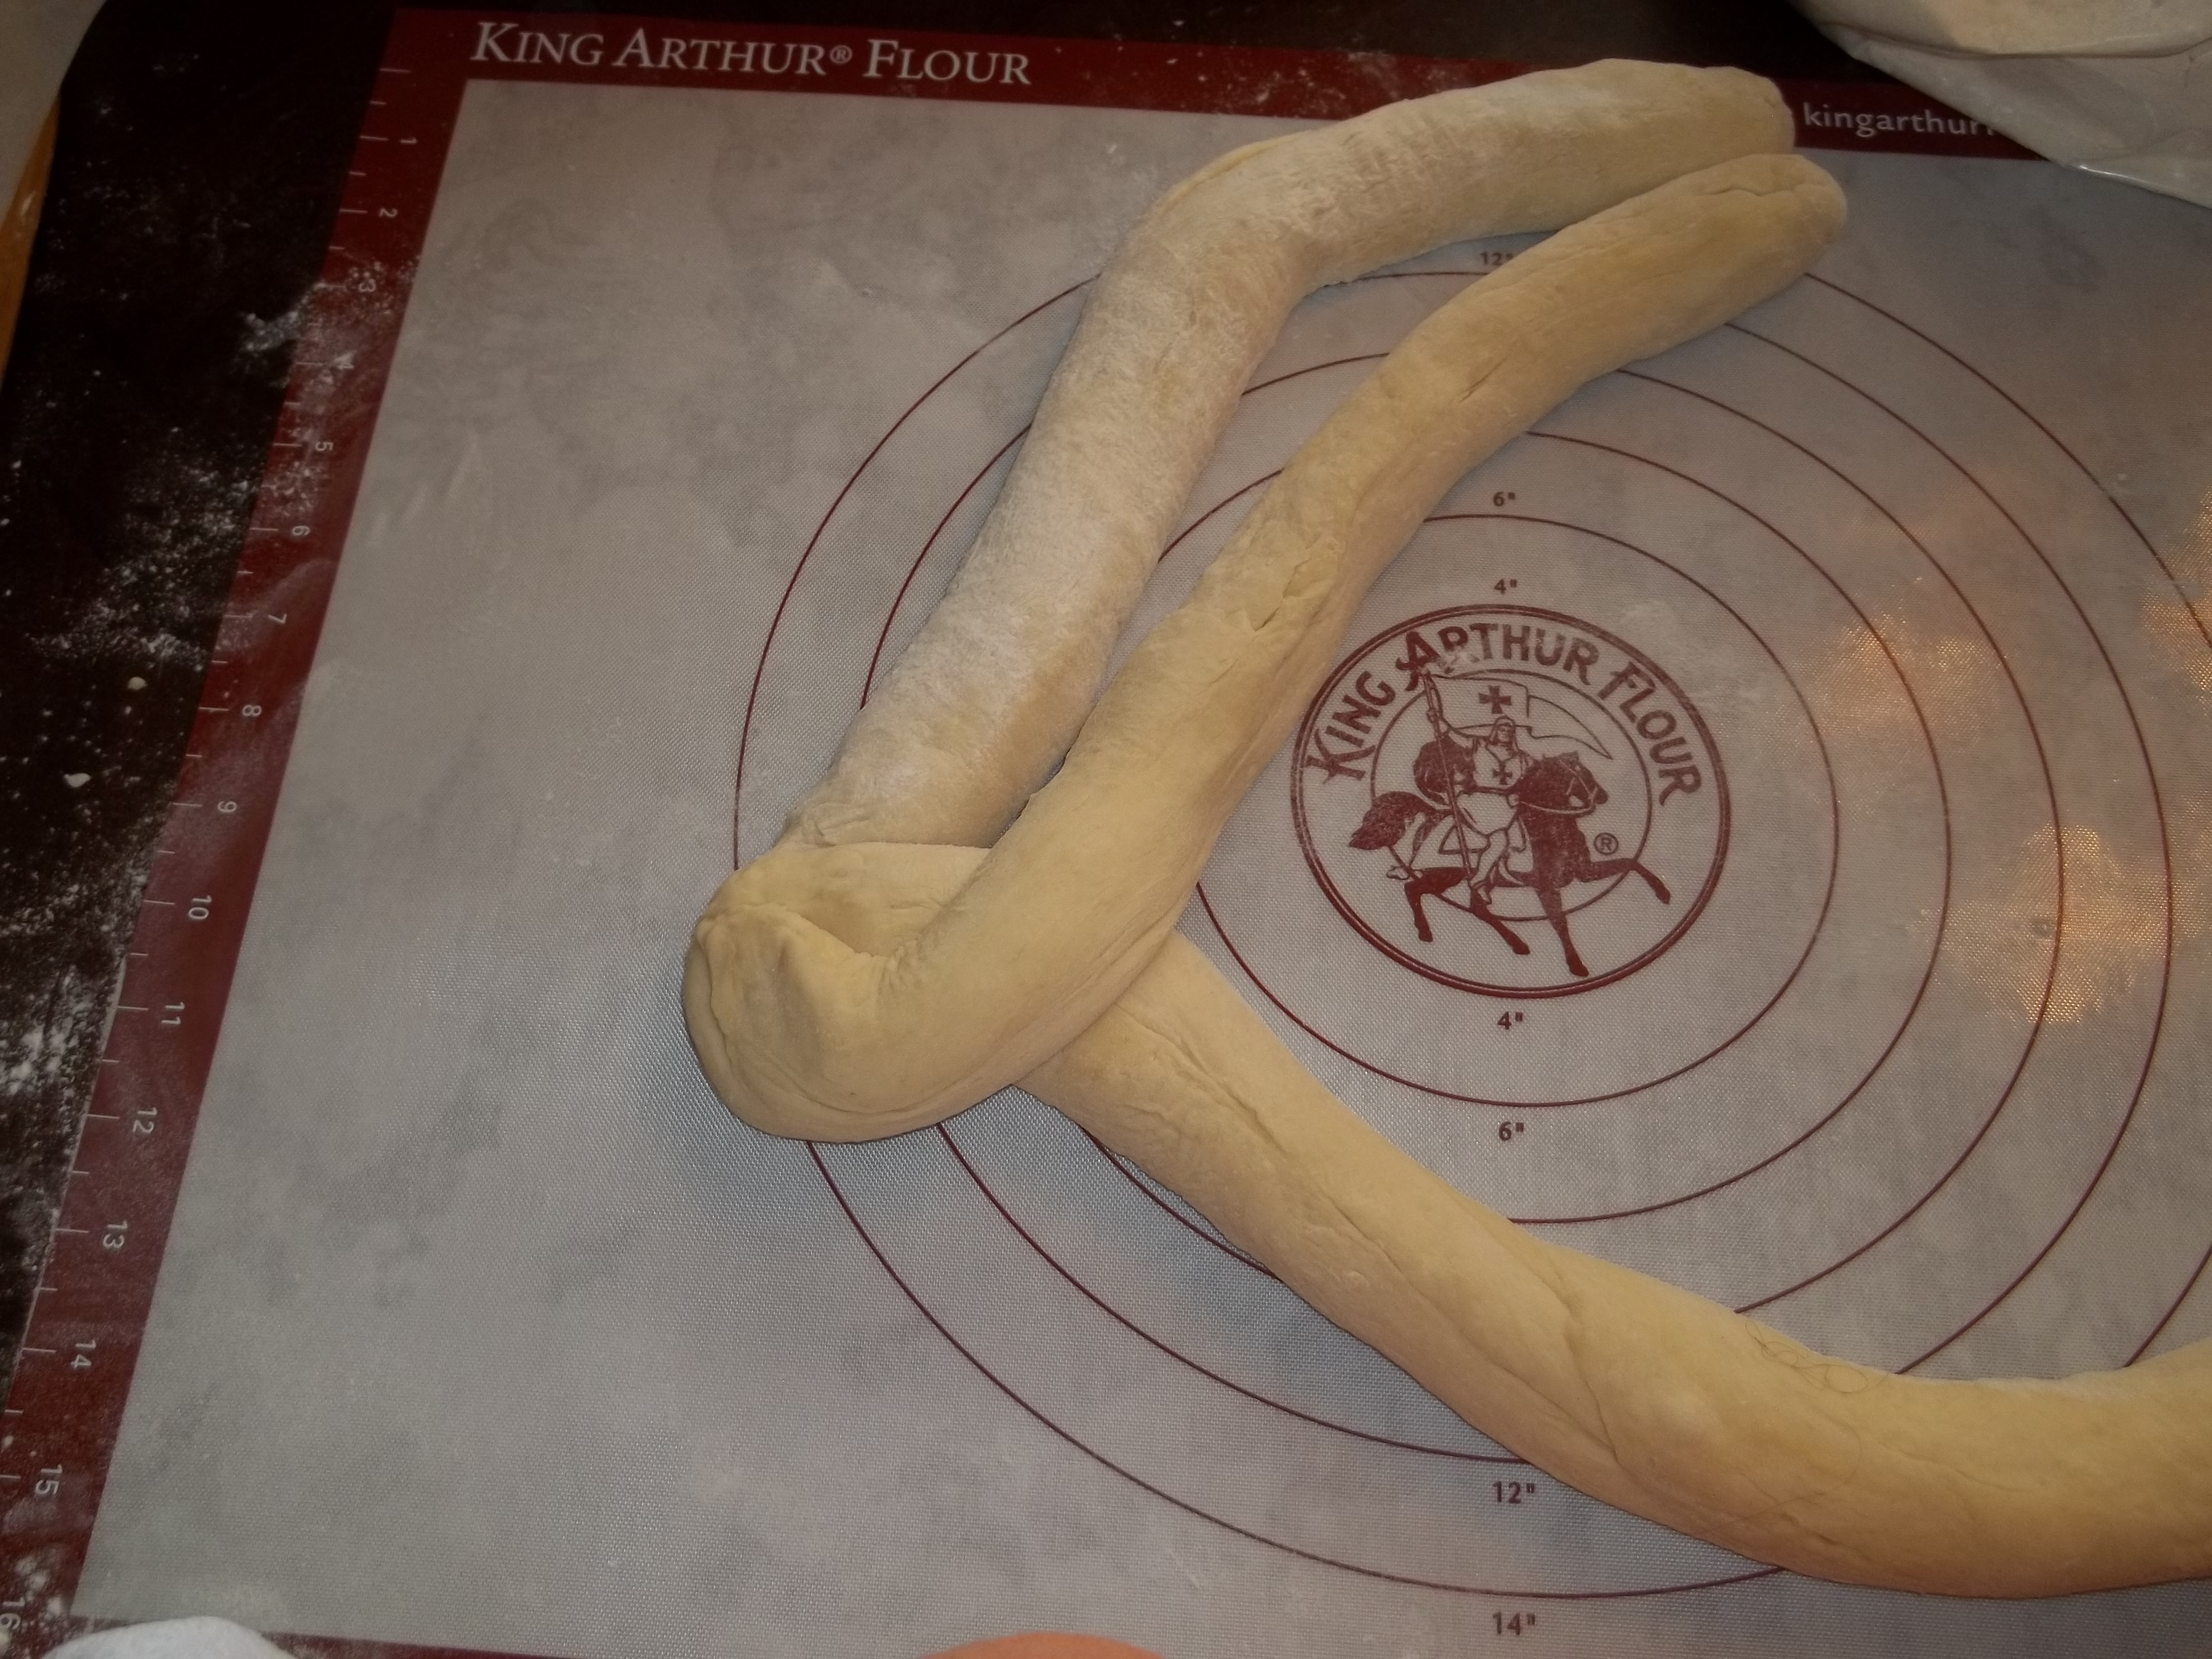
Take one of the outside ropes and lay it over the middle rope, making sure the intersection is up close to the pinch. That rope is now your center rope.
Next, take the rope from the opposite side from where you started and bring it over the new center strand of the braid.
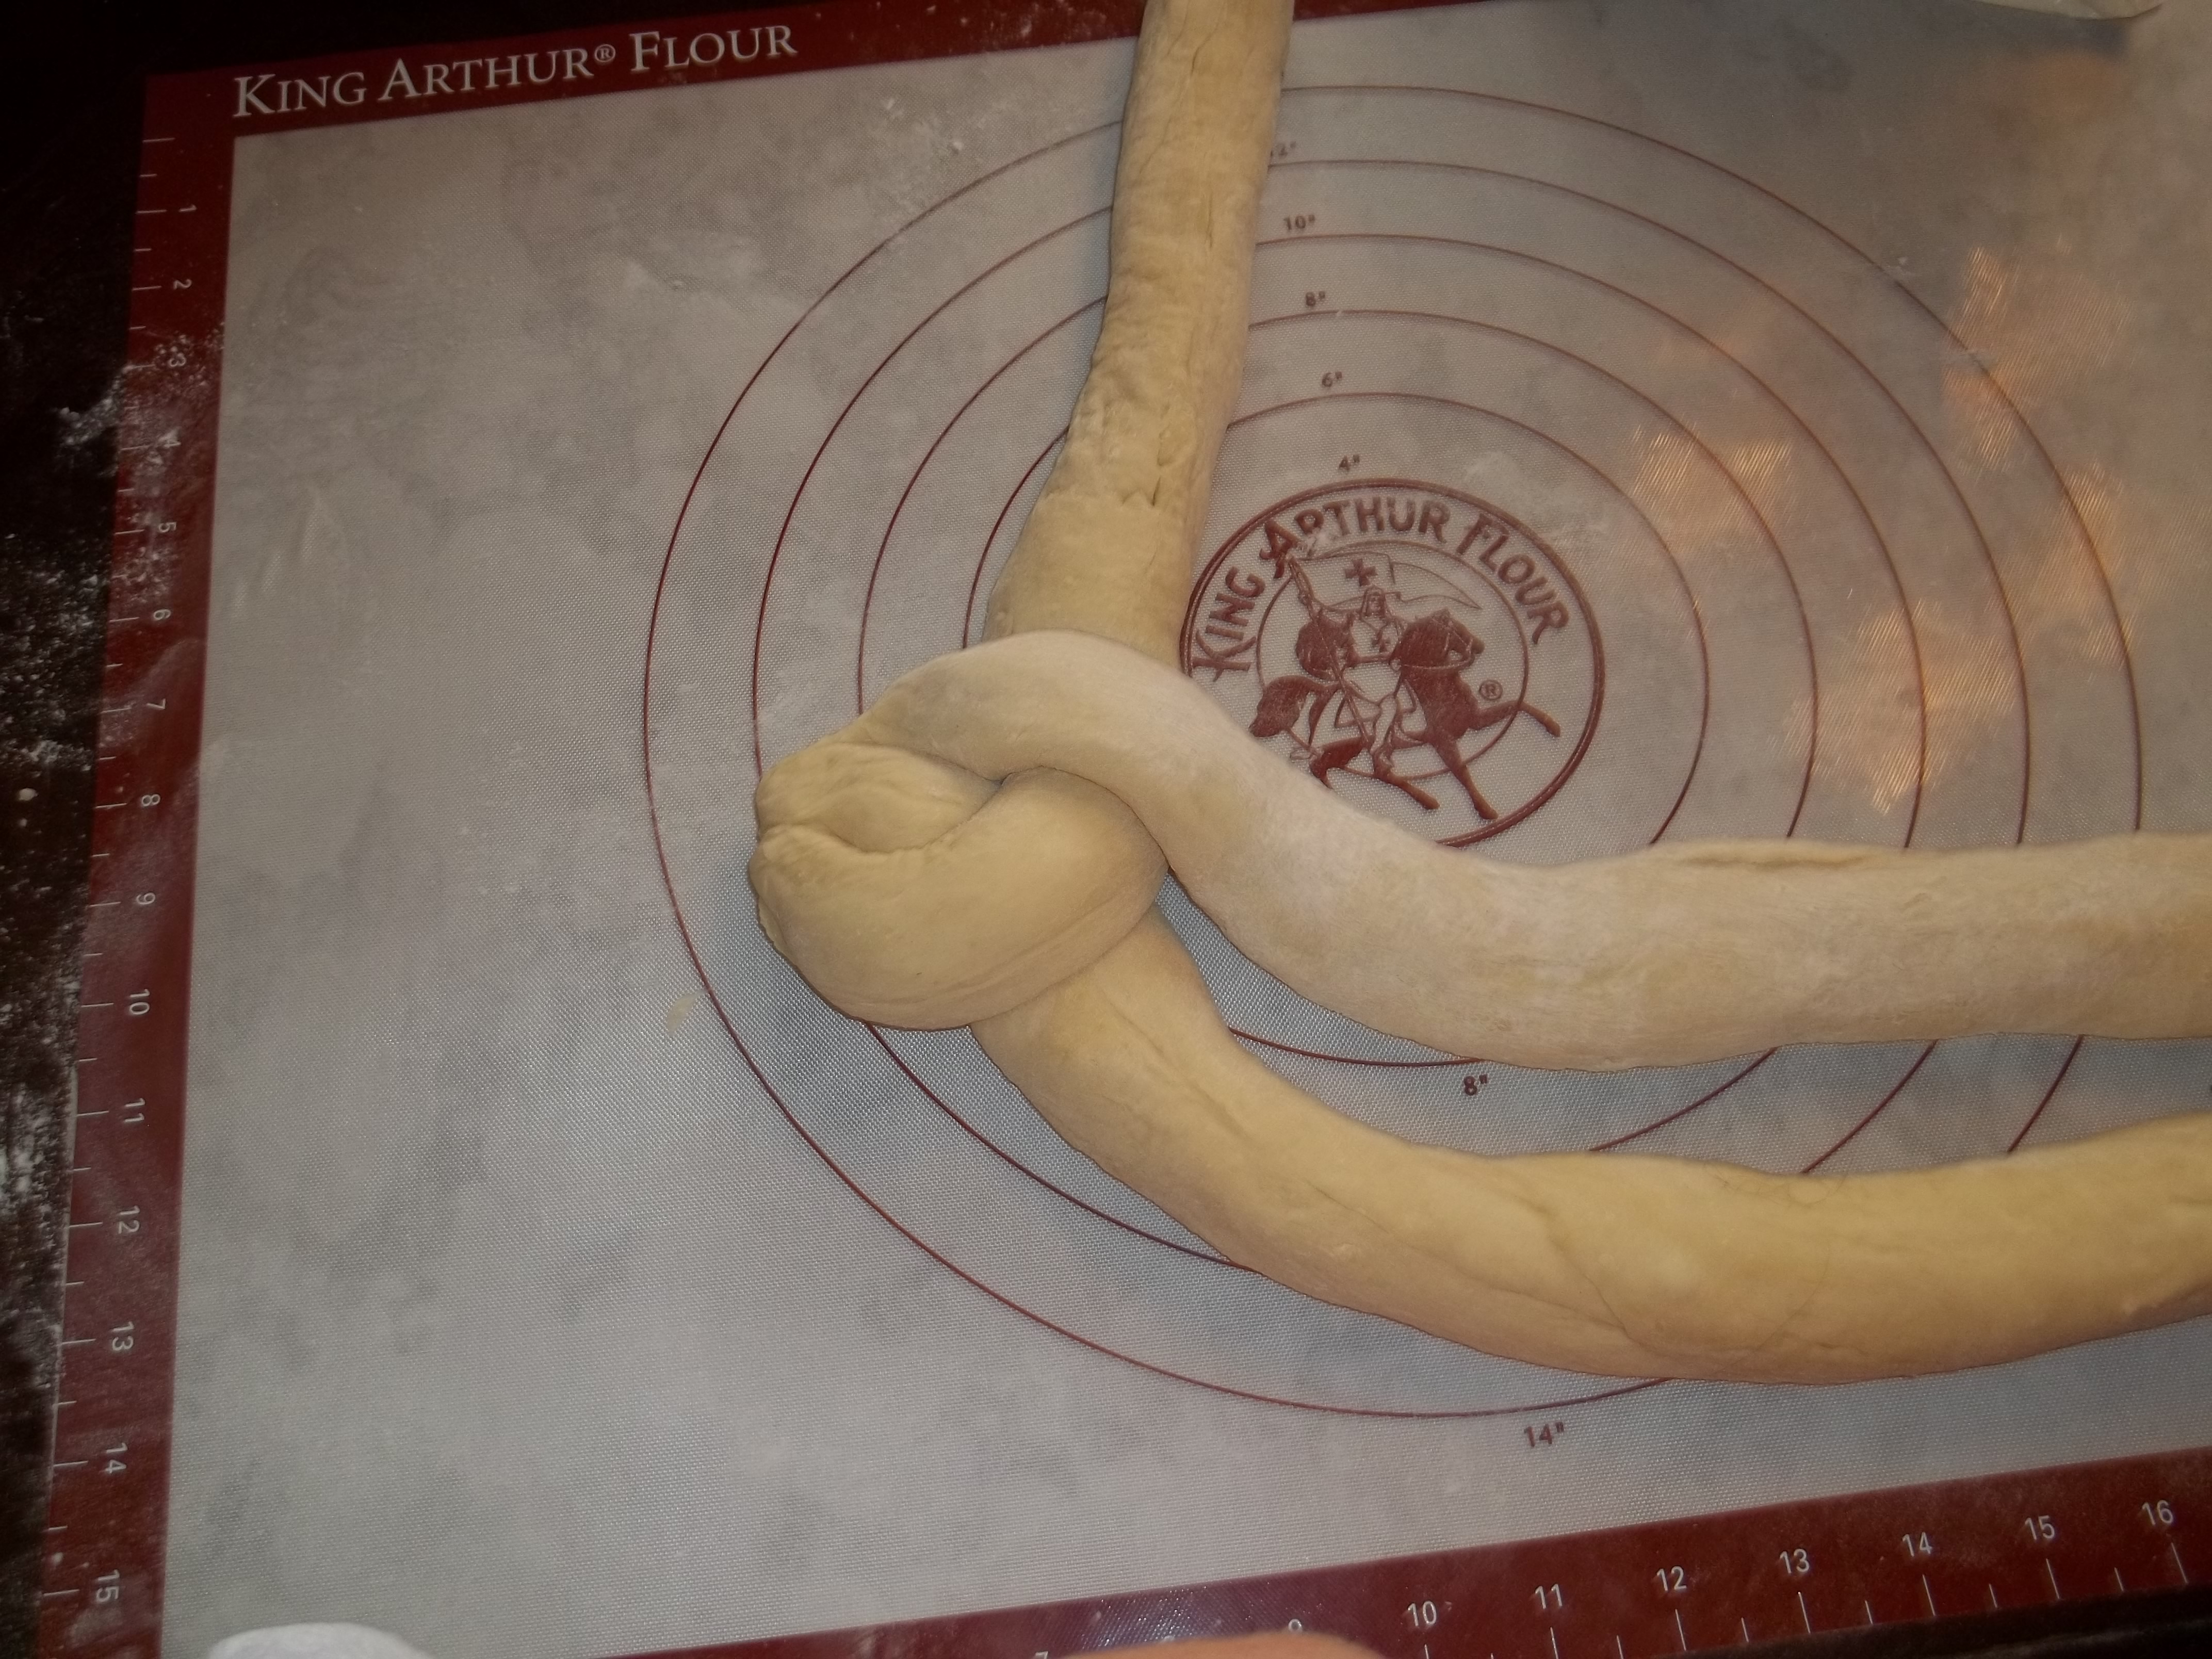
Just like braiding hair, the key elements seem to be keeping the intersections nice and close and not pulling to hard. If you don’t keep the braid tight, you end up with an abomination of a challah like my first one.
This is an example of two bad things. First, not pinching the ends firmly enough. You can see how things started to come apart on the right side. Second, not braiding tightly enough. I’m not sure what my reasoning was, but I did a loose braid with not too many intersections. I learned my lesson well.
This is what the two loaves I made today looked like after braiding:
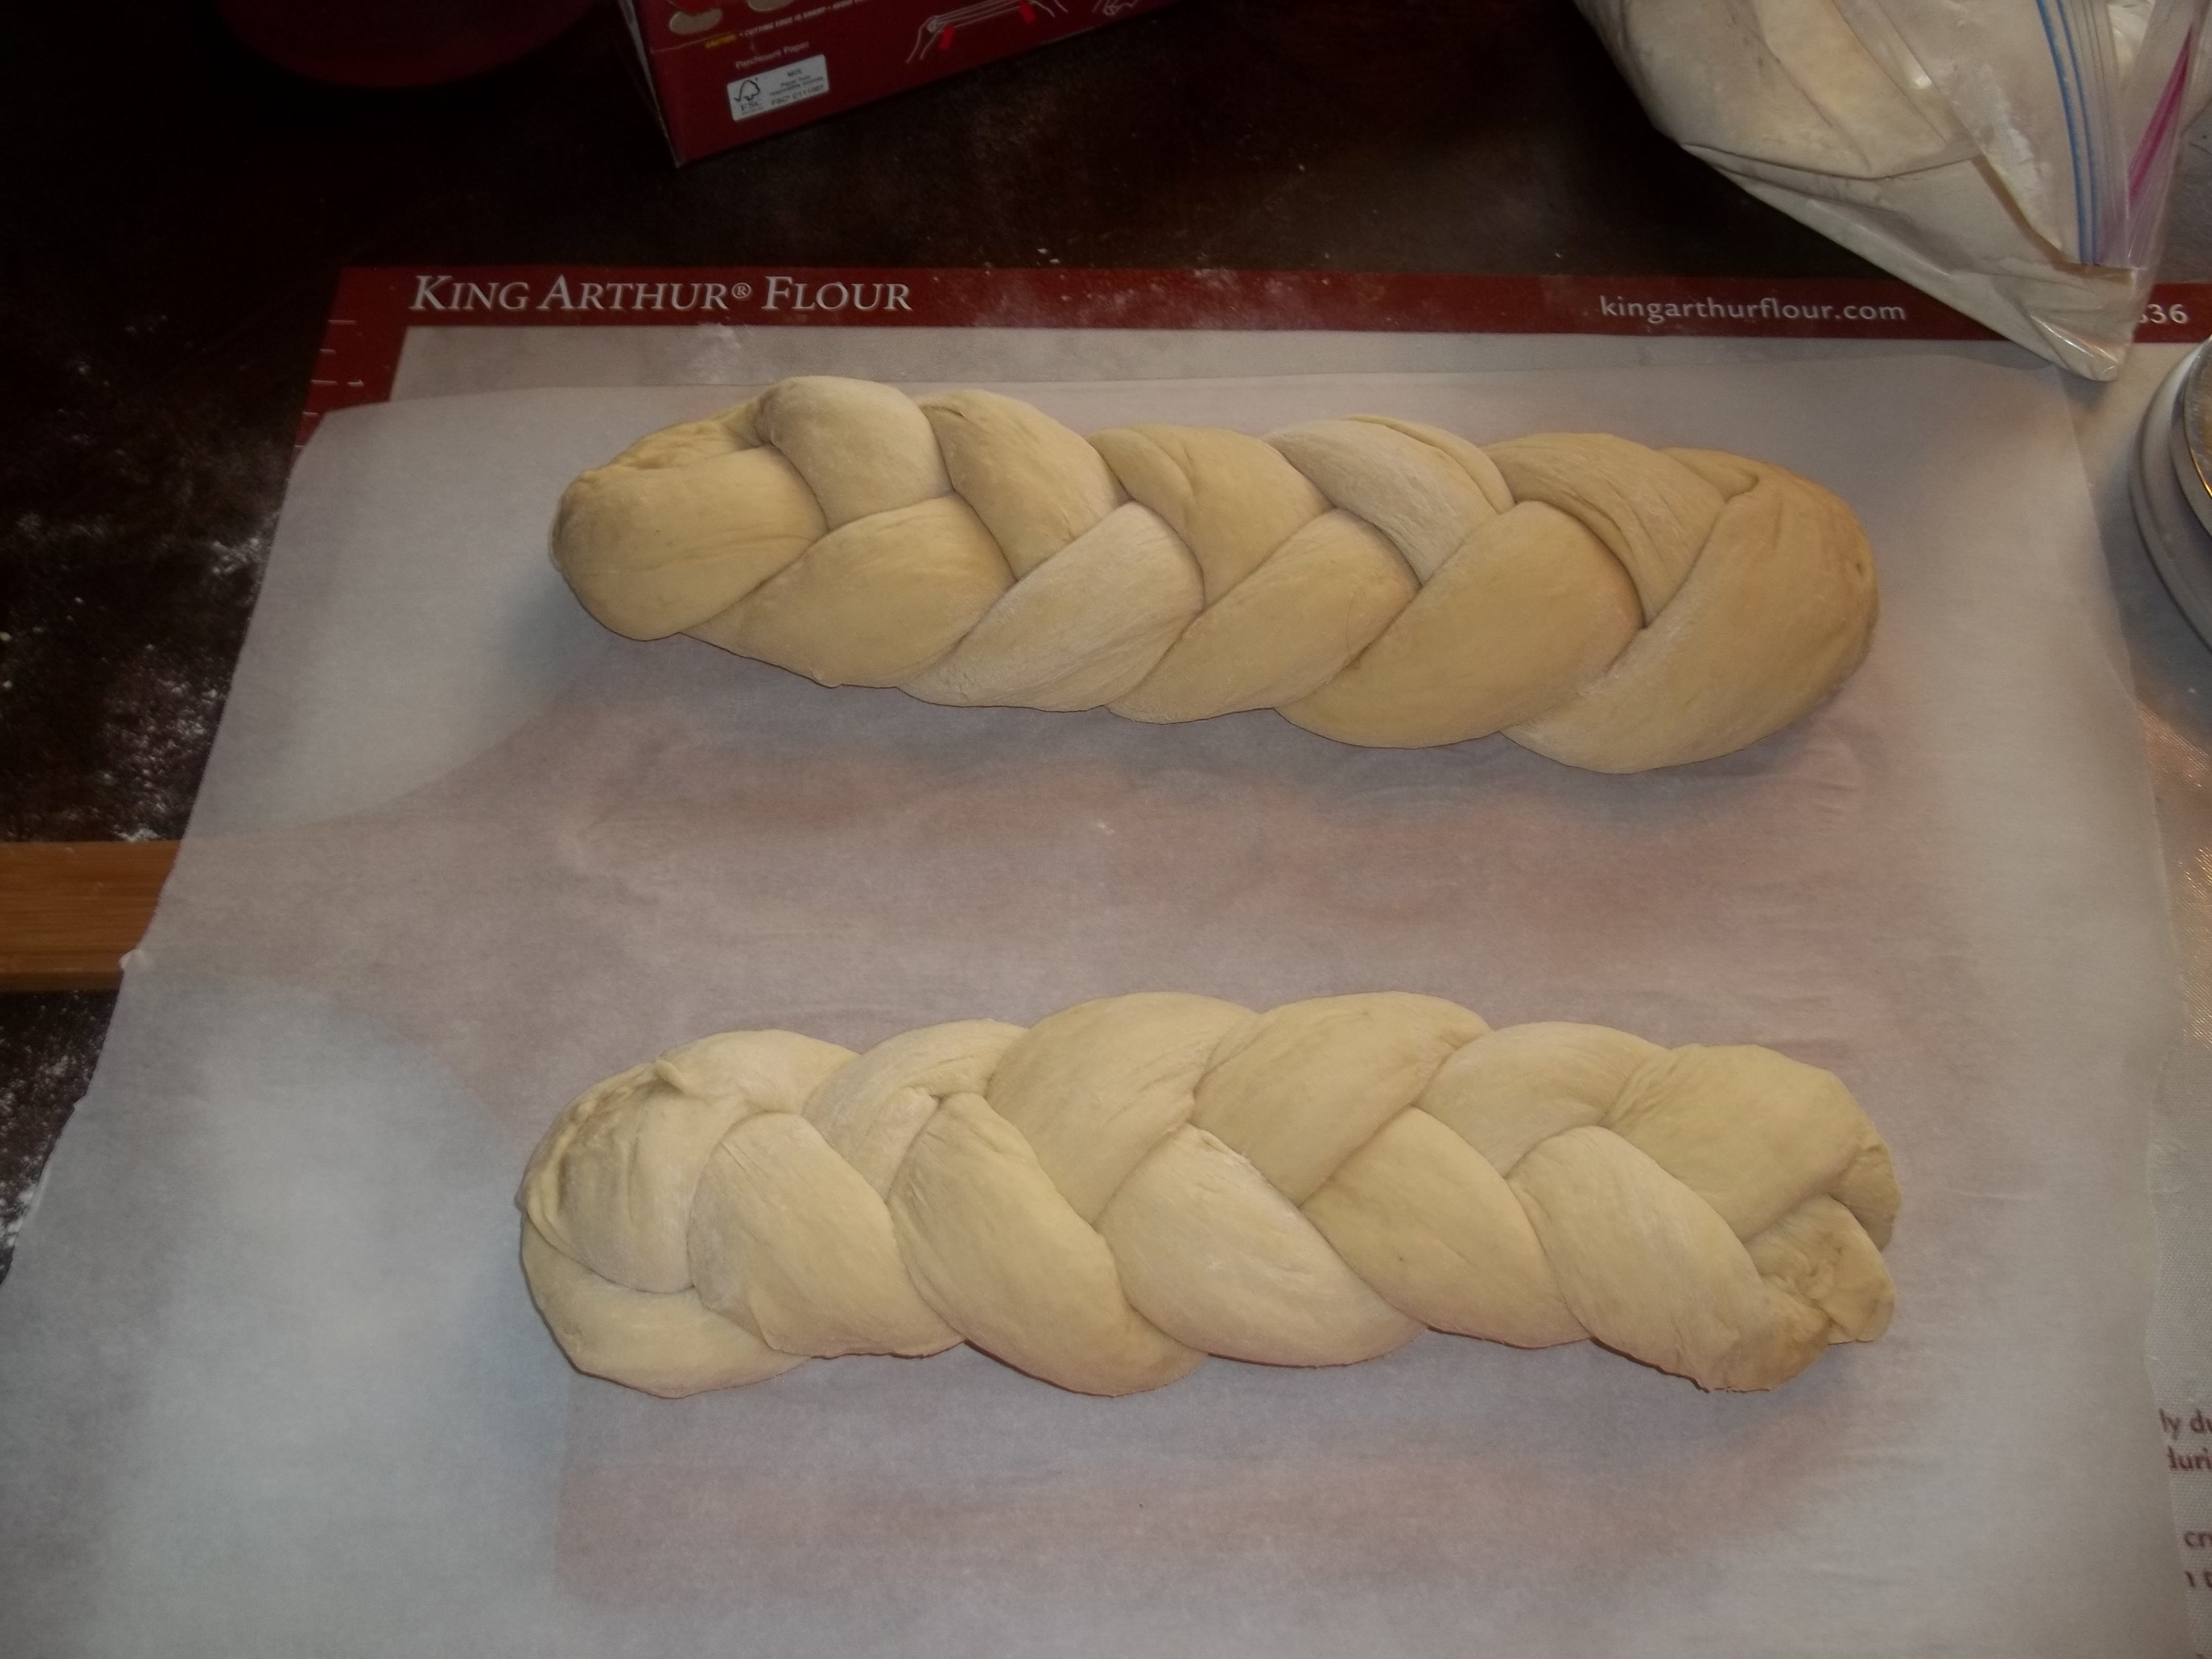
The braids are fairly tightly and, even though one end is a little fatter than the other on the top loaf, they’re both pretty uniform in thickness the whole way through. Now, these are enormous loaves to start with, and they get even bigger after an hour and a half proofing.
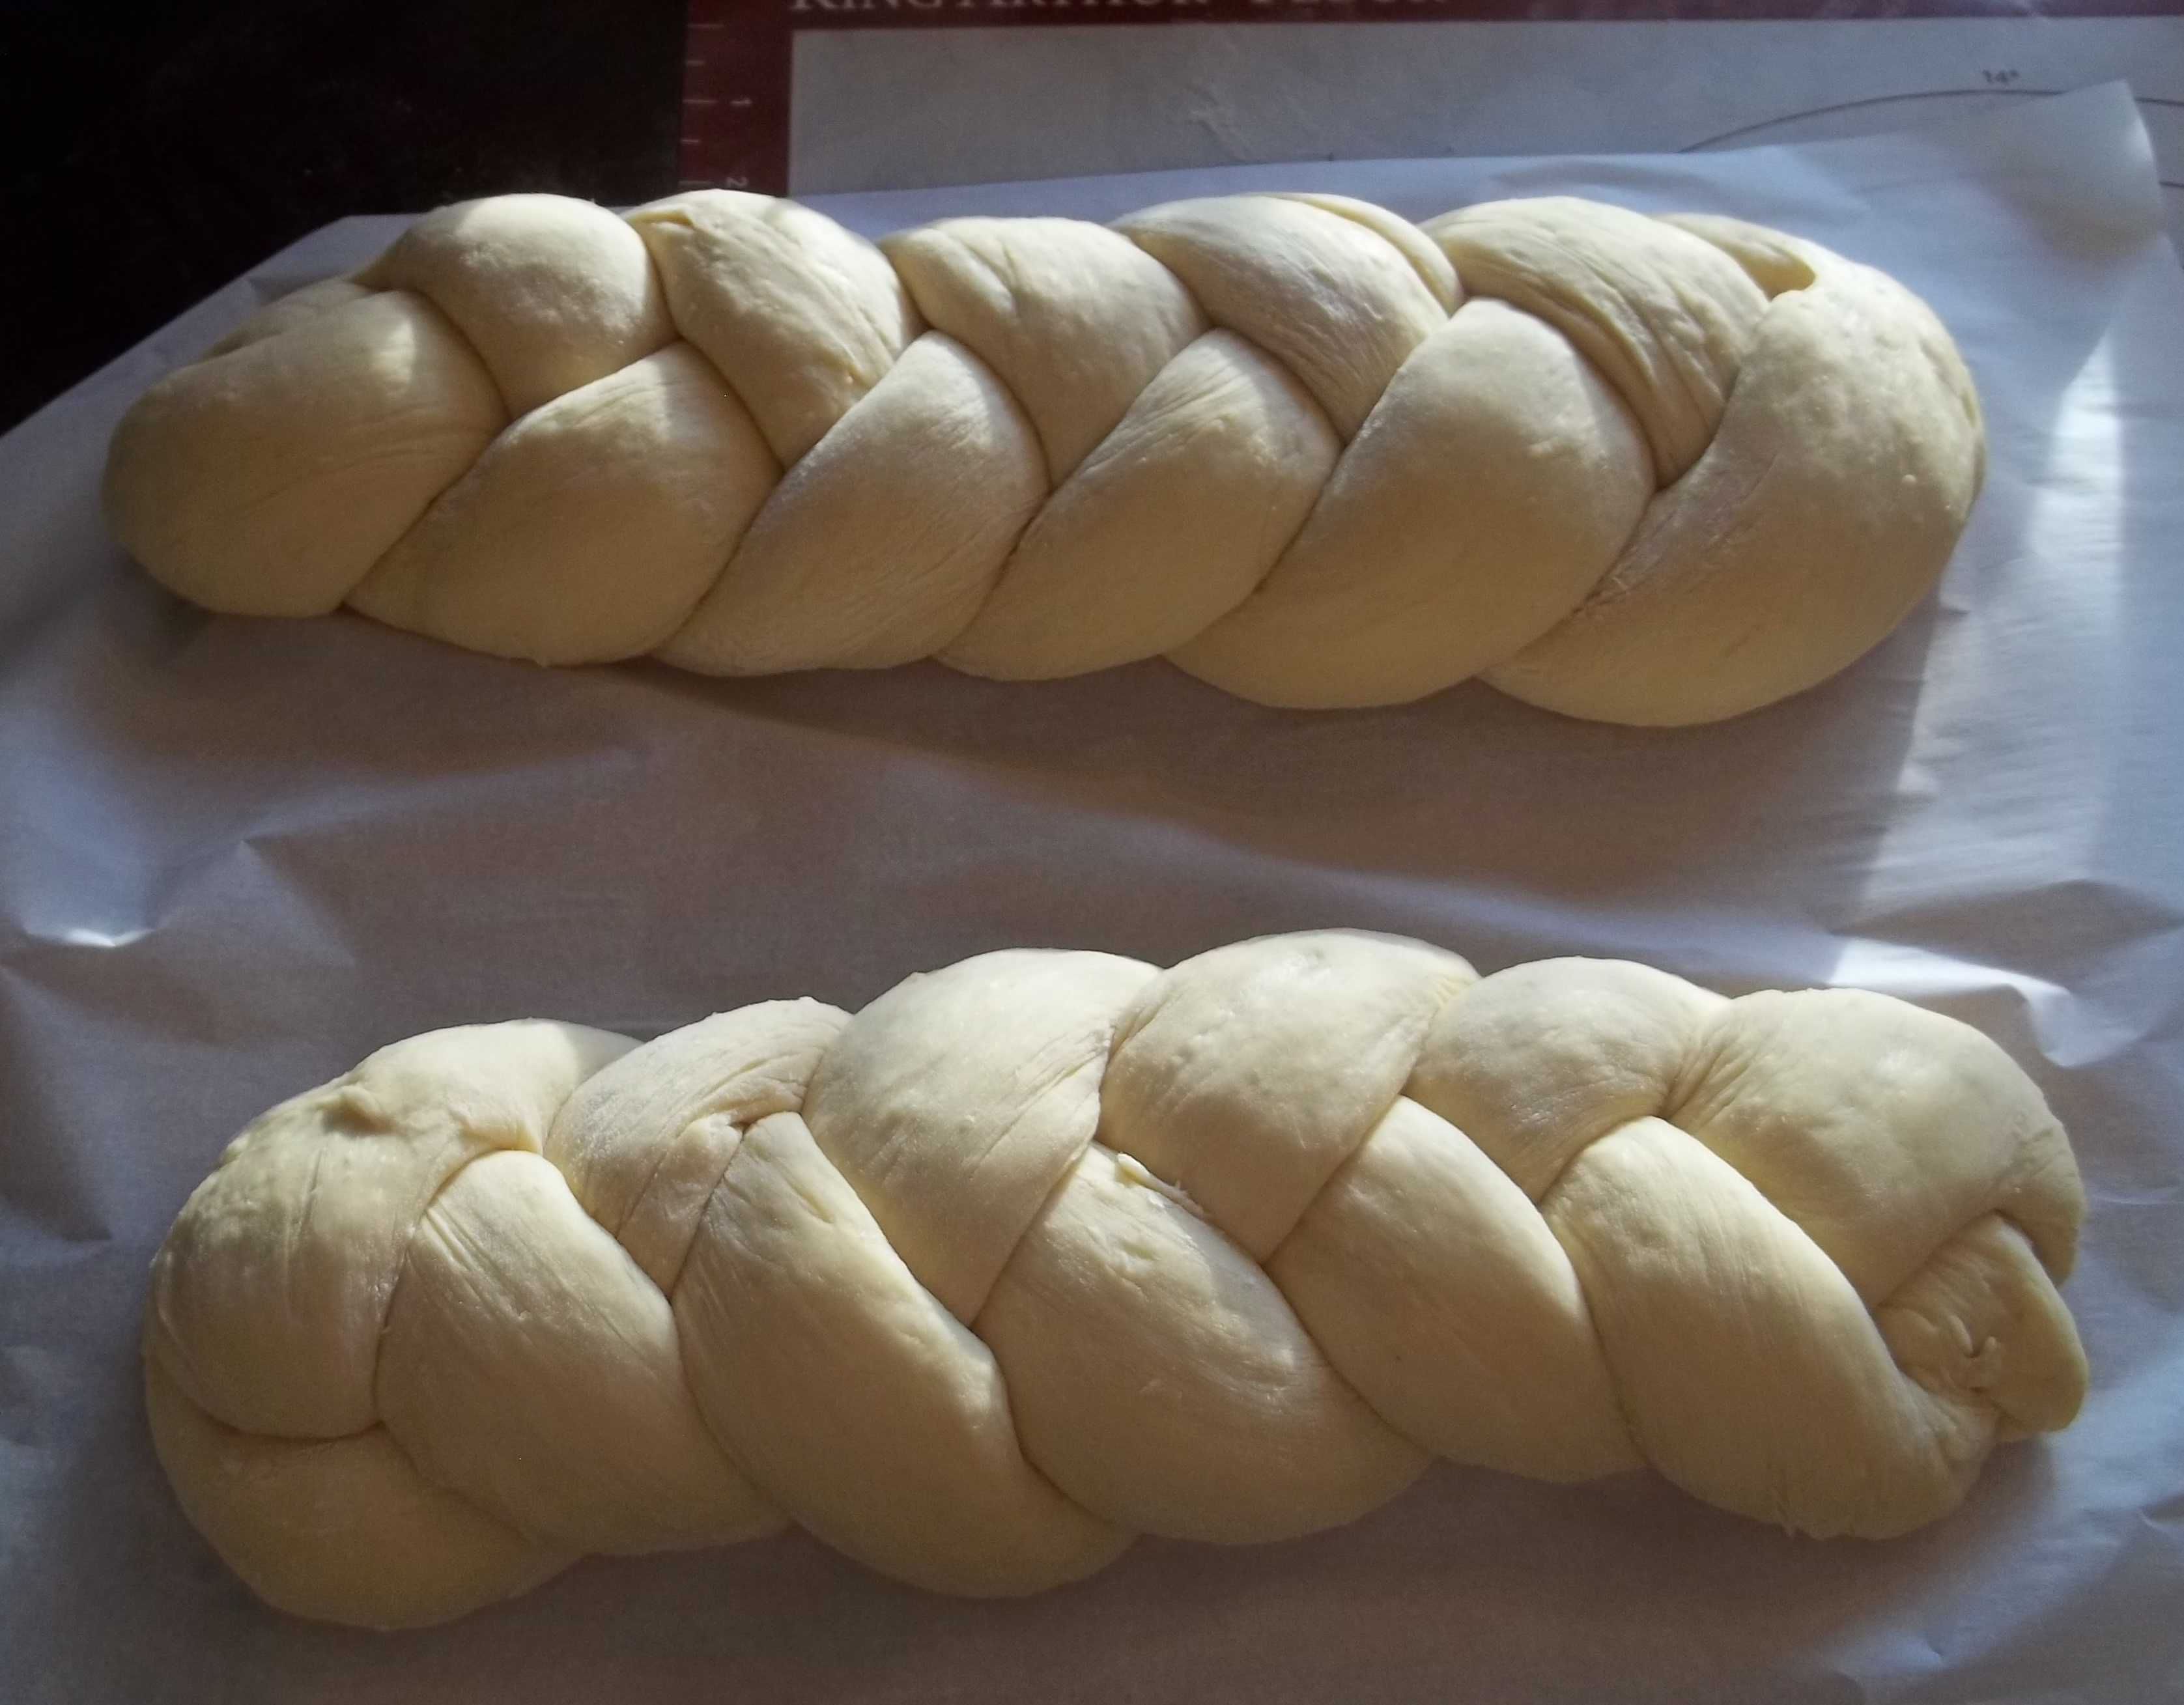
That larger-on-one-end thing is a little more obvious here, but the braids have not come apart at all and they both look plump and nice. After the proofing stage comes the egg wash.
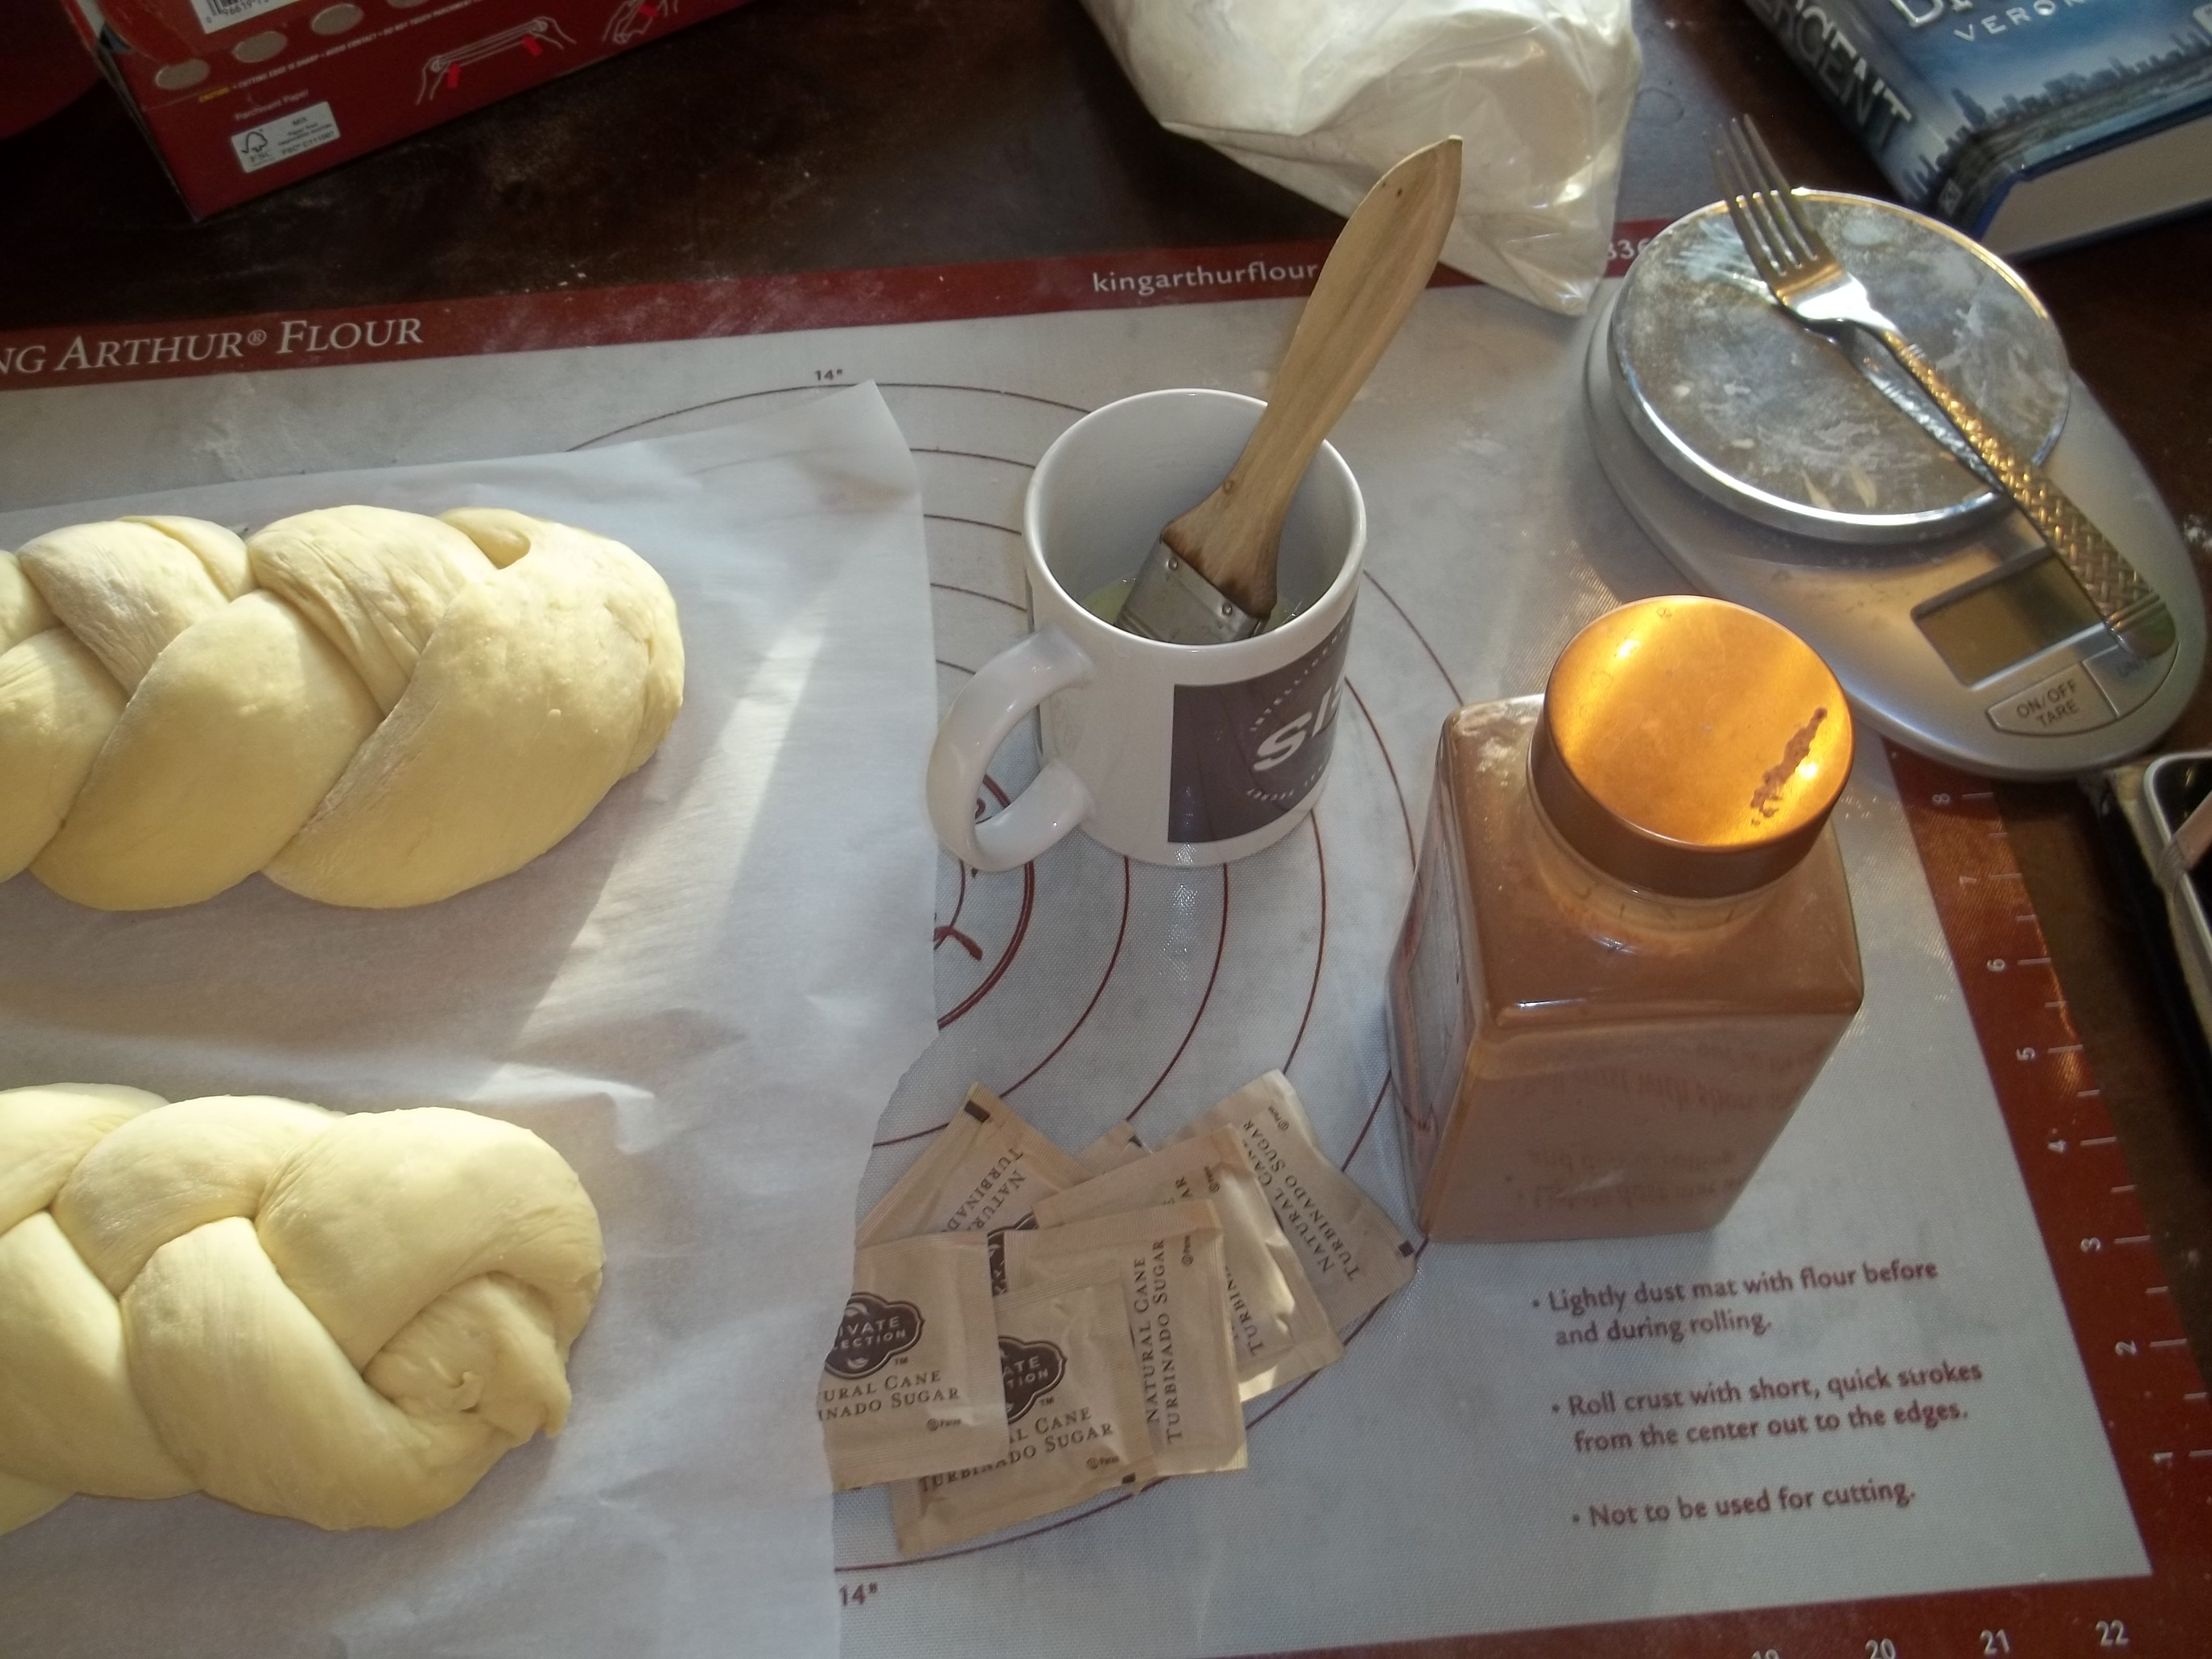
I tend to just use a clean mug and crack in one egg with about a tablespoon of water. I beat them together with a fork and use my handy-dandy pastry brush to apply the egg wash liberally. For this type of thing, I use an old-fashioned pastry brush because the egg wash doesn’t tend to stick well to the bristles of the silicone ones. The other two ingredients in that picture are our enormous bottle of Saigon cinnamon and some packets of turbinado sugar. The sugar still has some of the molasses in it and is a much coarser product than regular sugar, so it looks nicer and makes a better crust.
For the cinnamon-sugar challah, I sprinkle cinnamon liberally over the freshly-egg-washed loaf and then follow that up with a goodly dose of the sugar. This time, I just needed two packets. The egg wash makes a lovely and edible glue. The same thing can be done for things like poppy seeds or rehydrated dried minced onion.
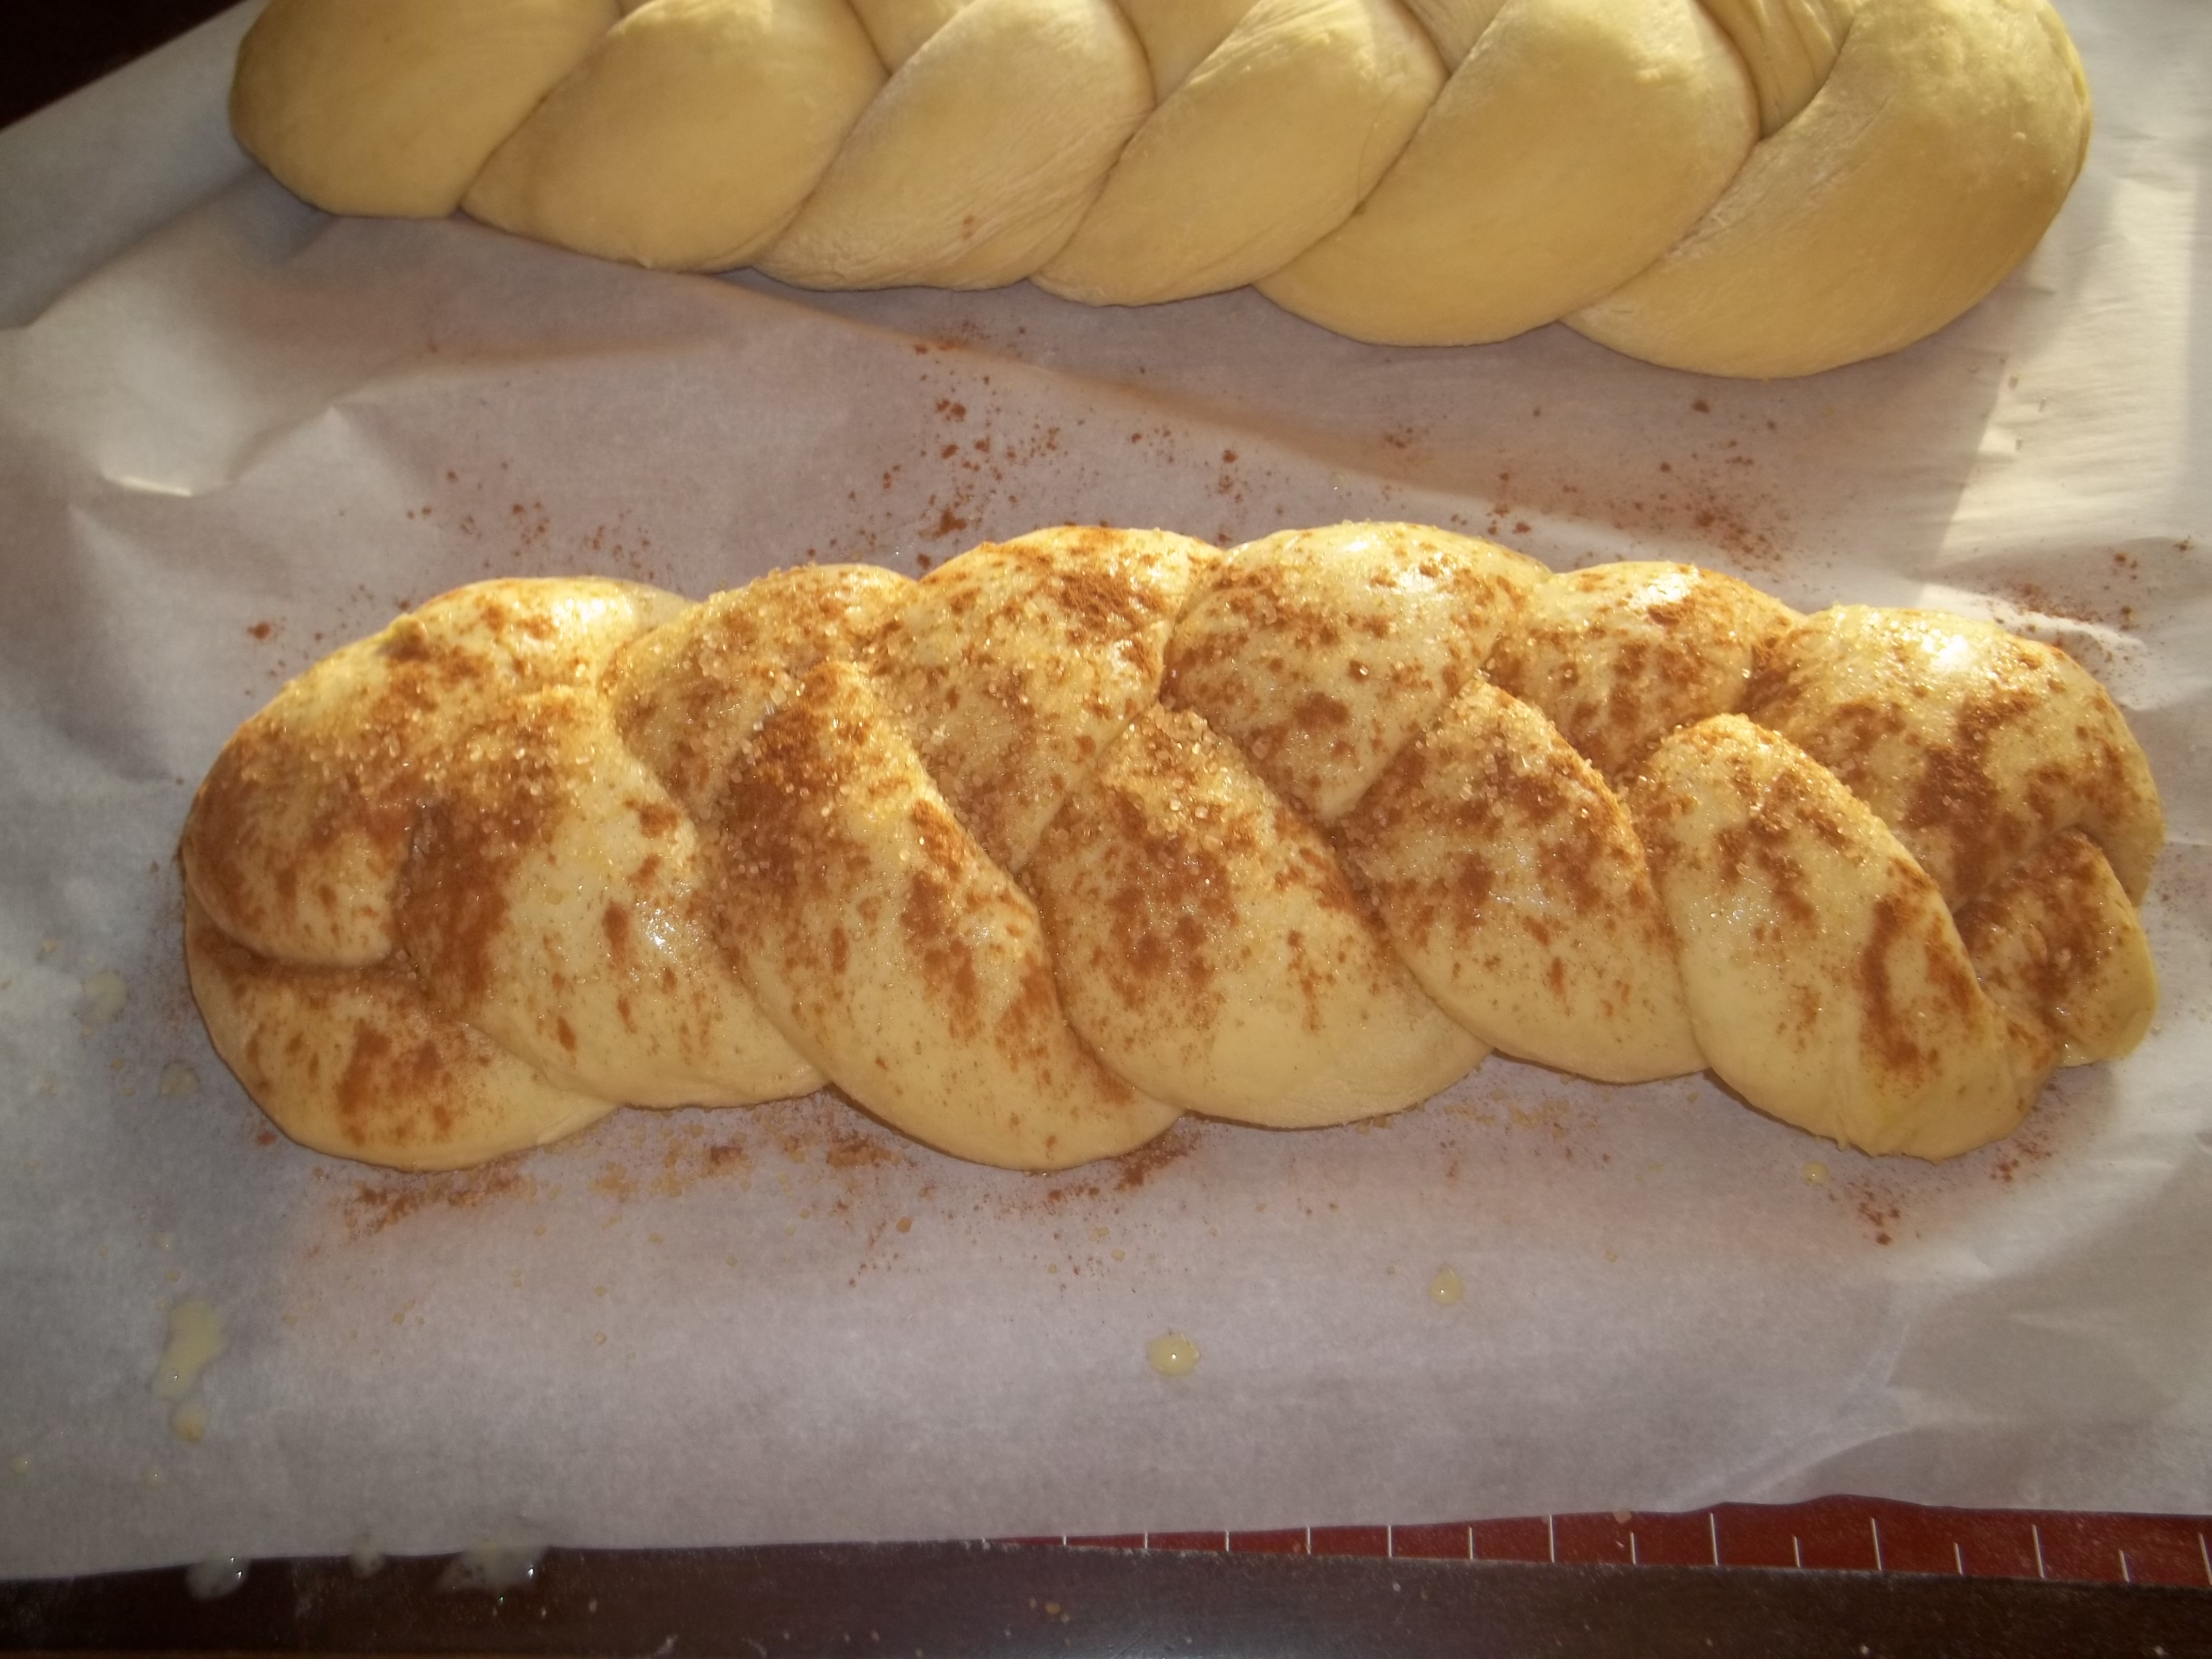
The other loaf has just a simple egg wash and nothing fancy added to it. I only used one egg for both loaves and had some left over. Egg wash tends to go a long way.
The challah bakes in a 350 degree oven for 30-45 minutes, depending on your oven and the size of the loaf. The deciding factor is when you can press gently (with something other than your fingers) on the exposed intersections of the braids and there is some resistance. If it’s too squishy, you will have raw dough in the middle of your loaf. That’s fine if you like raw dough, but not what most folks are looking for.
That comment about these being enormous above is even more obvious here. Both of these loaves are well over a foot long and more than four inches wide. I can normally make three loaves out of this amount of dough, but I only have room for two of this width on my current baking stones.
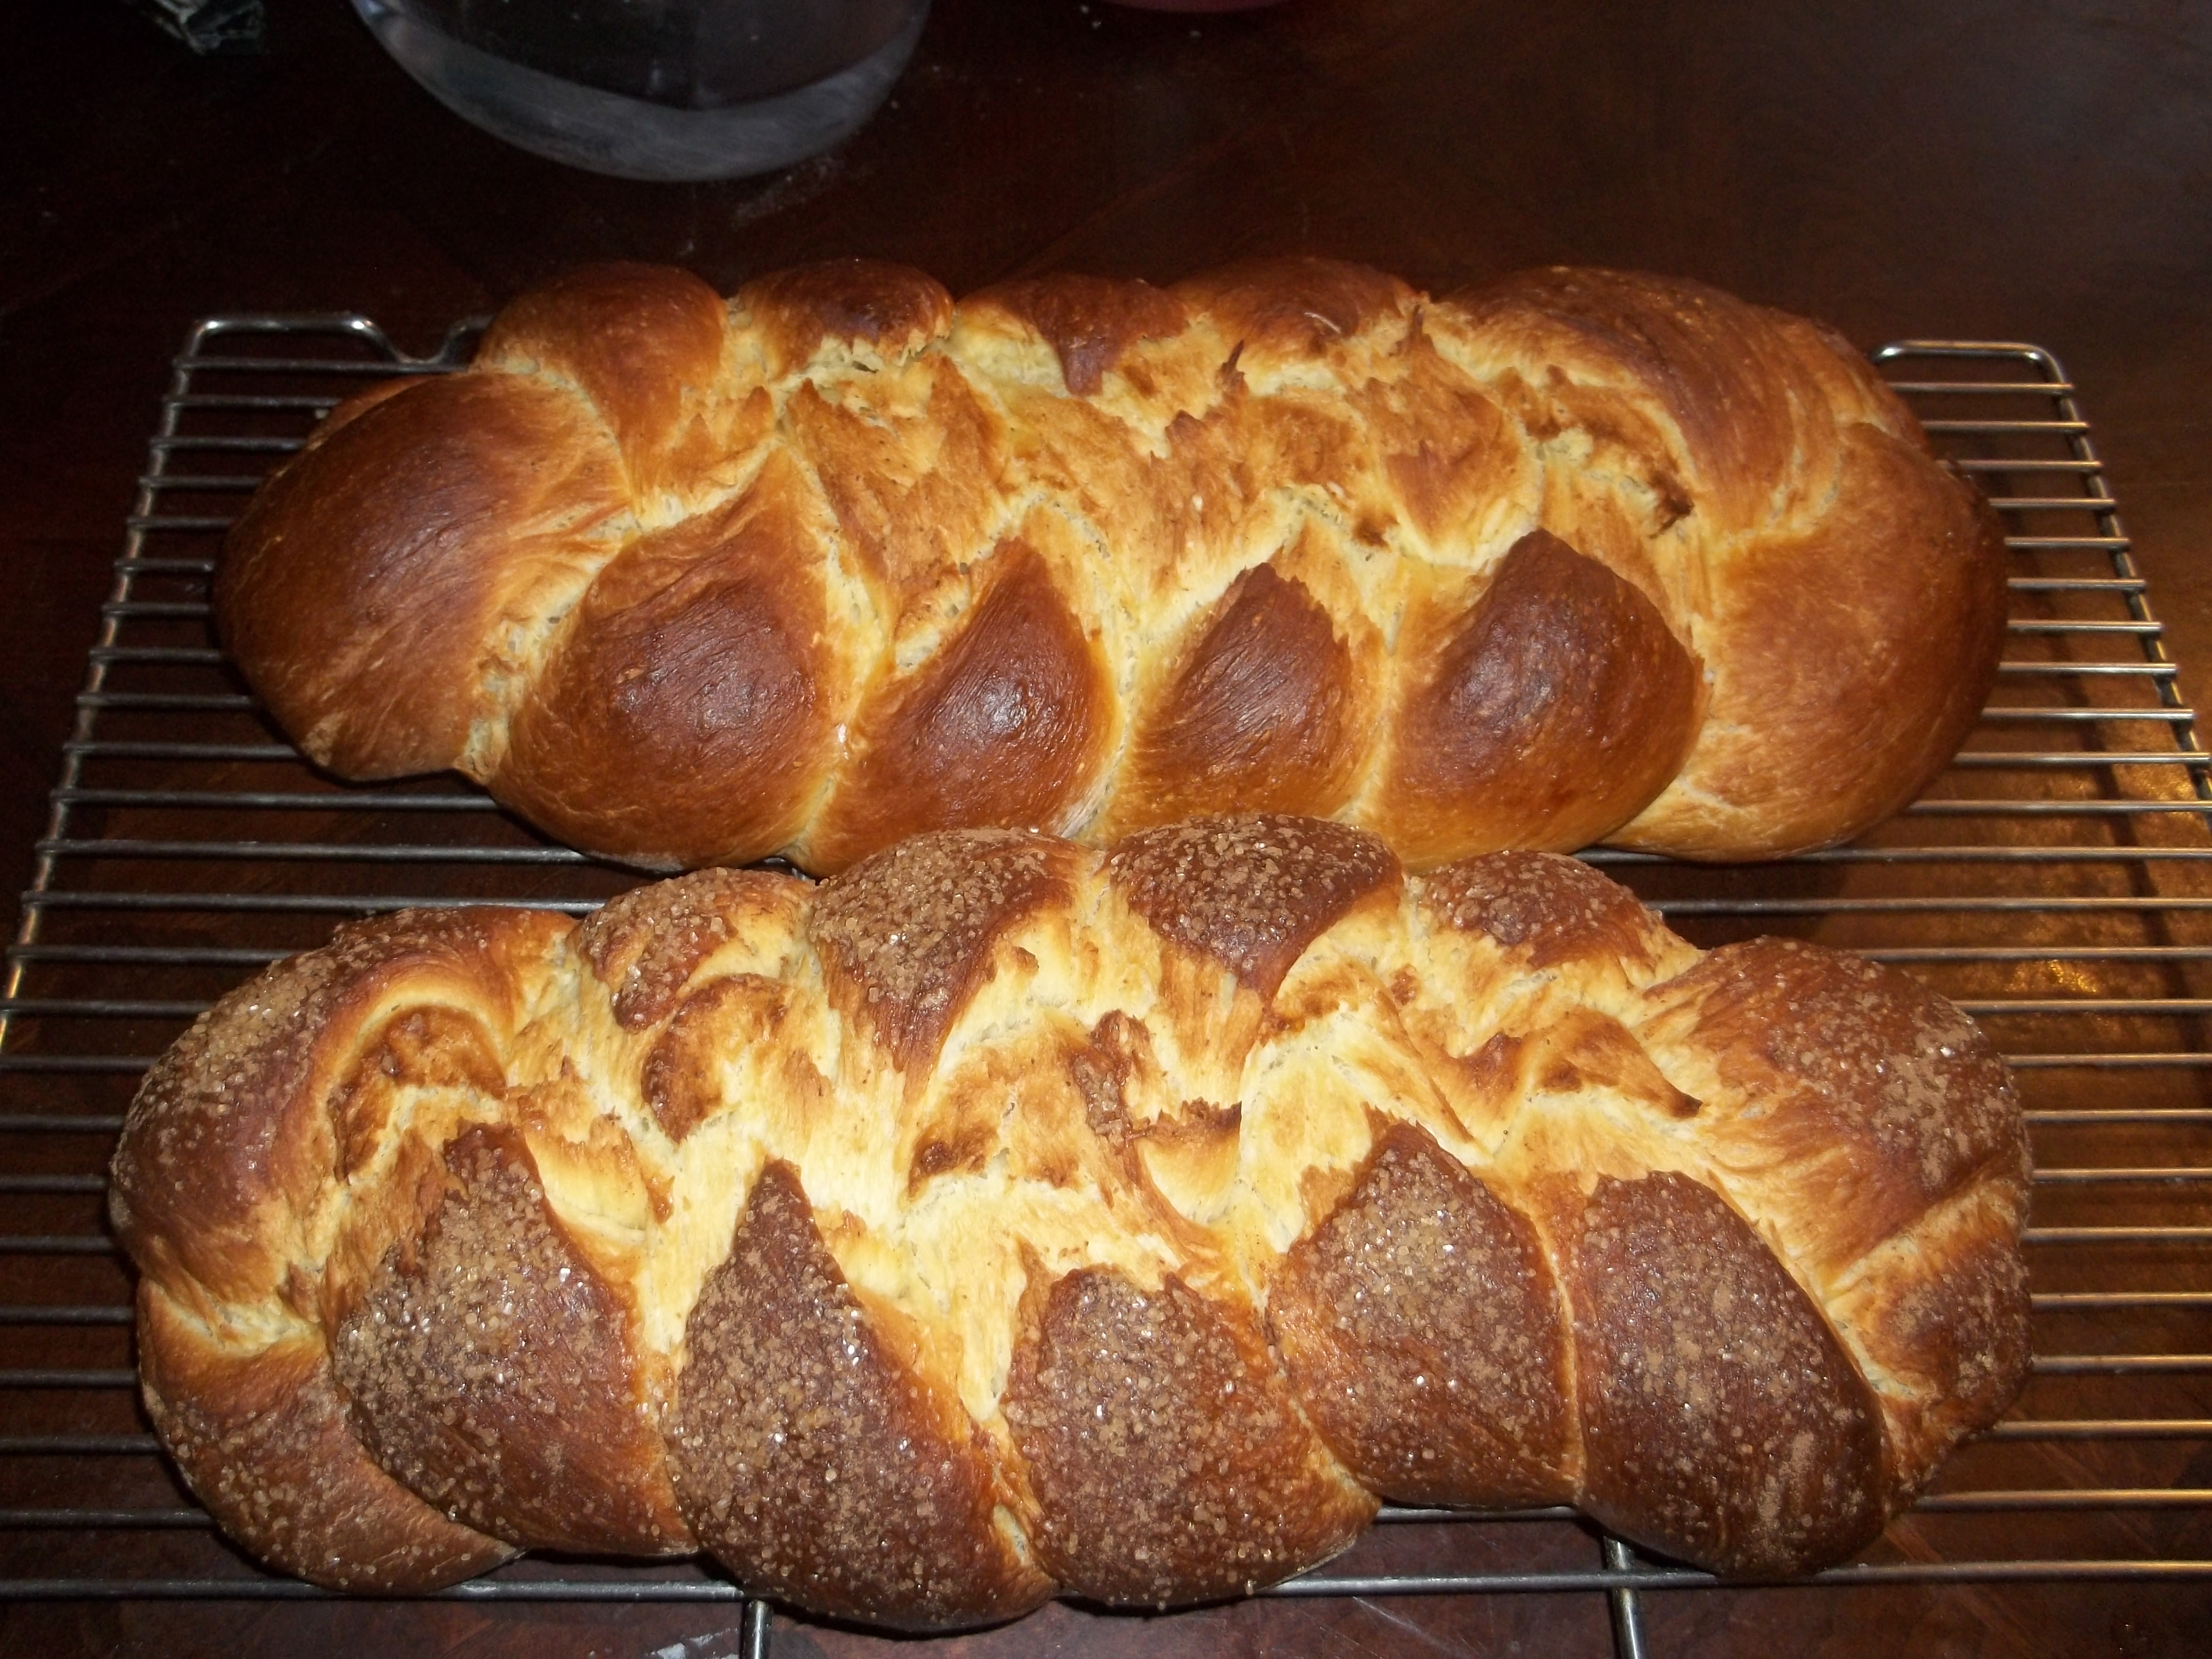
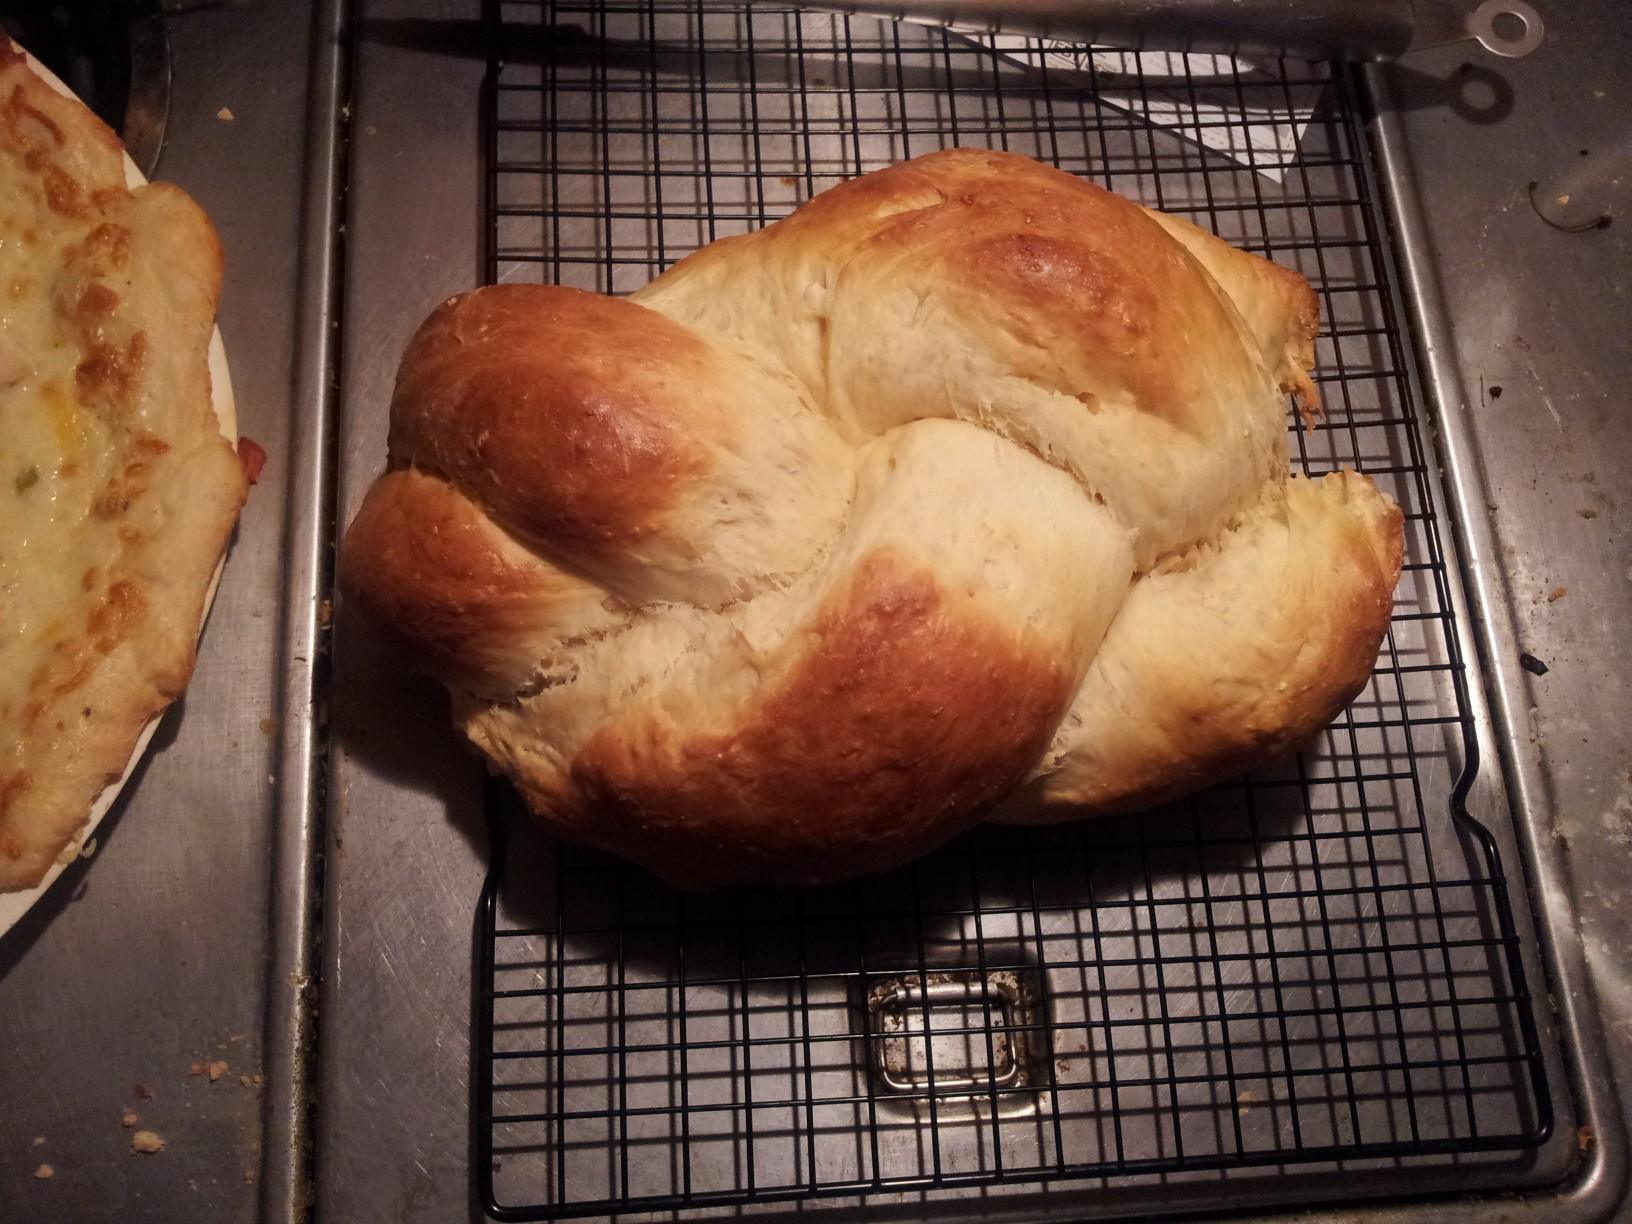
It also bakes darker than a lot of loaves. I got nervous the first couple of times I made it because I was used to ‘lightly golden brown’ and not ‘deep, rich brown’ on my crusts. Some of the color comes from the egg wash and some comes, in the case of the bottom loaf, from the cinnamon and sugar.
As you can see above, the slightly larger on one end thing didn’t matter a great deal in the finished product. It can become a problem if one end is significantly larger than the other, but some variation is fine.
This bread comes out rich and slightly sweet from the honey, but not so sweet as to taste like a pastry. The crumb still has a lovely ‘custard’ consistency and should not be overly dense. Give it a day to rest and it does make amazing French toast. The Basement Elf actually says that the cinnamon-sugar challah smells like French toast to start with, which I attribute to the egg wash and cinnamon on top. We haven’t tried it yet, but I also think this would make some bang-up bread pudding.
I love the rolls you makes but all your bread is delish