 Cinnamon rolls are one of those things that I didn’t think I’d ever have the chops to make. Those and croissants, and I’ve made both now. The first time I made them, it was a complete spur-of-the-moment thing. I had brioche dough. I had sugar and cinnamon. And, the main ingredient in this kind of experiment, I was bored and had time on my hands. I cobbled together the filling and frosting from several different recipes that I used to figure out the method before doing it my way.
After that first experiment, I was asked to please only make these for special occasions. Since that first batch disappeared in about a day and a half with four people eating them, I can see why that request was made. We really are trying to eat more healthily, even if I have a carb-making addiction.
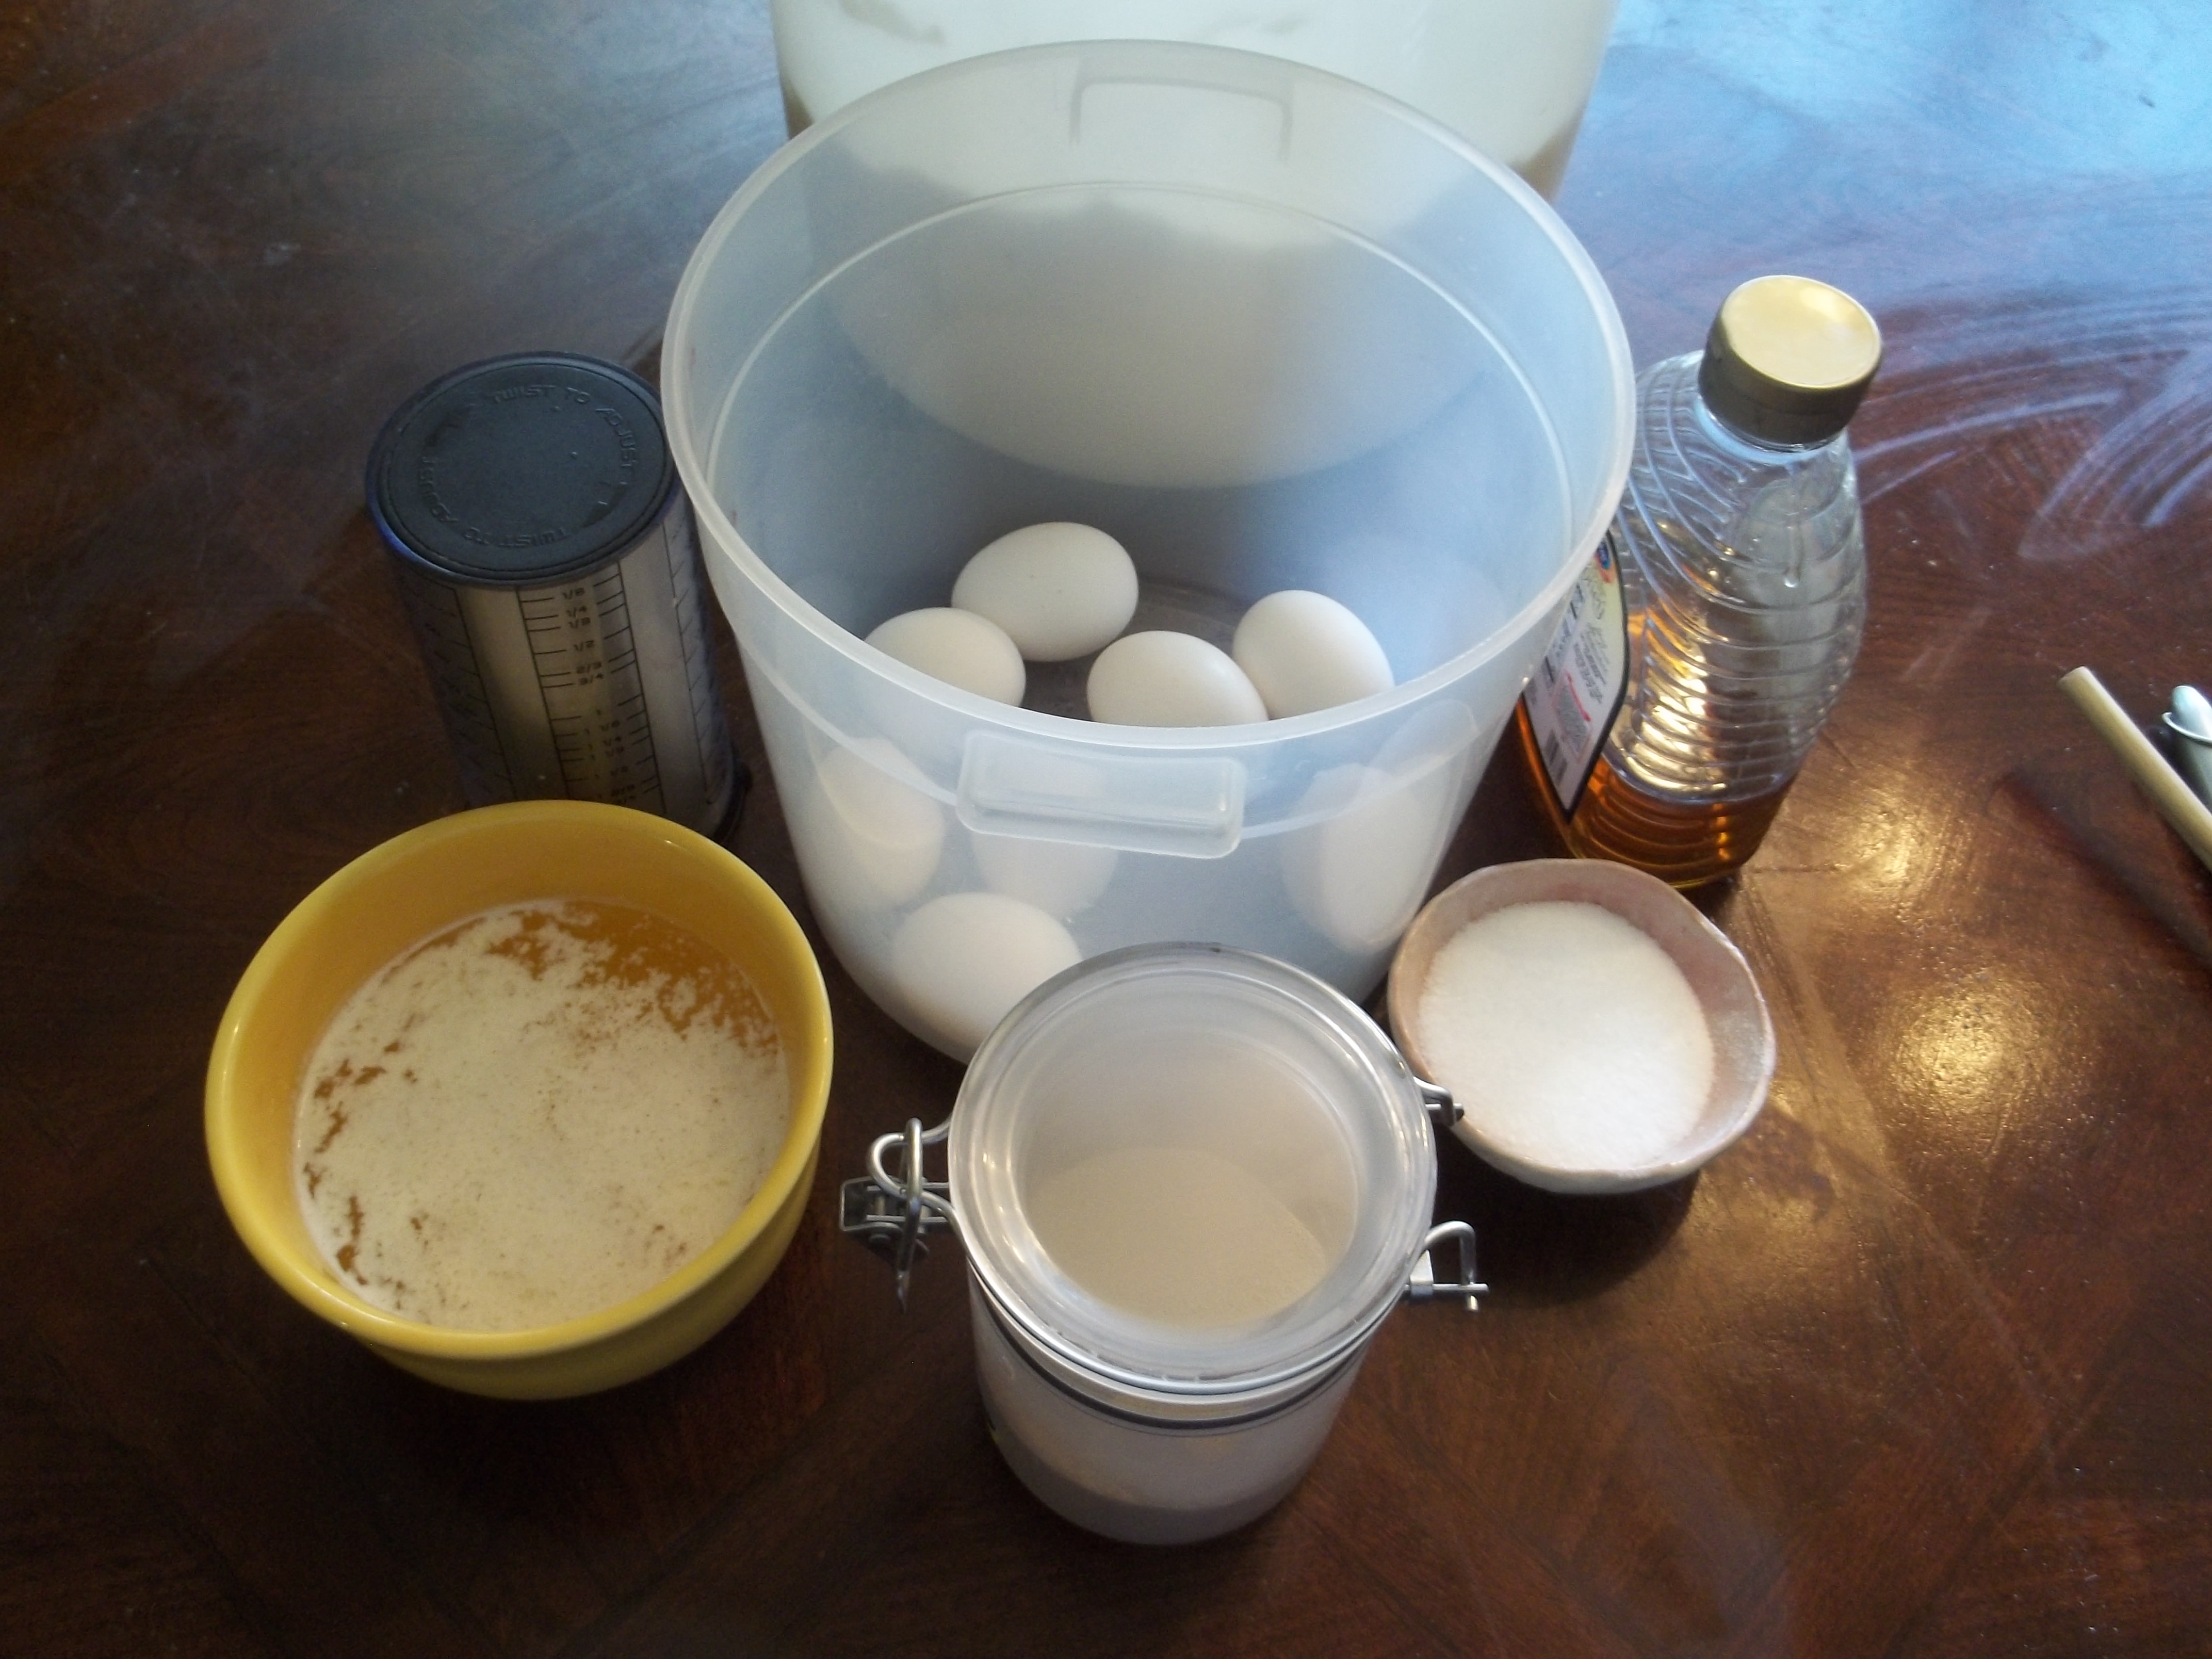
The base for these guys is the brioche recipe from ABin5. Brioche is a really enriched bread. So enriched that there’s some debate over whether it’s a bread or a pastry. No matter which side of that you come down on, you have to admit that there’s a lot of groceries in brioche. For this recipe alone, there are eight large eggs, three sticks of butter, and a half-cup of honey. That’s before you even consider the flour. And there’s seven and a half cups of that, along with a cup and a half of water, four and a half teaspoons yeast, and a tablespoon of salt.
This is one of the doughs I make in bucketfuls, as I do with most of the ABin5 recipes. When I’m not making cinnamon rolls, it will yield a good 3-4 loaves of brioche. Even when I am making cinnamon rolls, I tend to set aside some just for plain brioche. Probably because it’s just so darned pretty. The Basement Elf got me a brioche pan for Christmas, and I usually can’t resist playing with the pretty fluted pan.
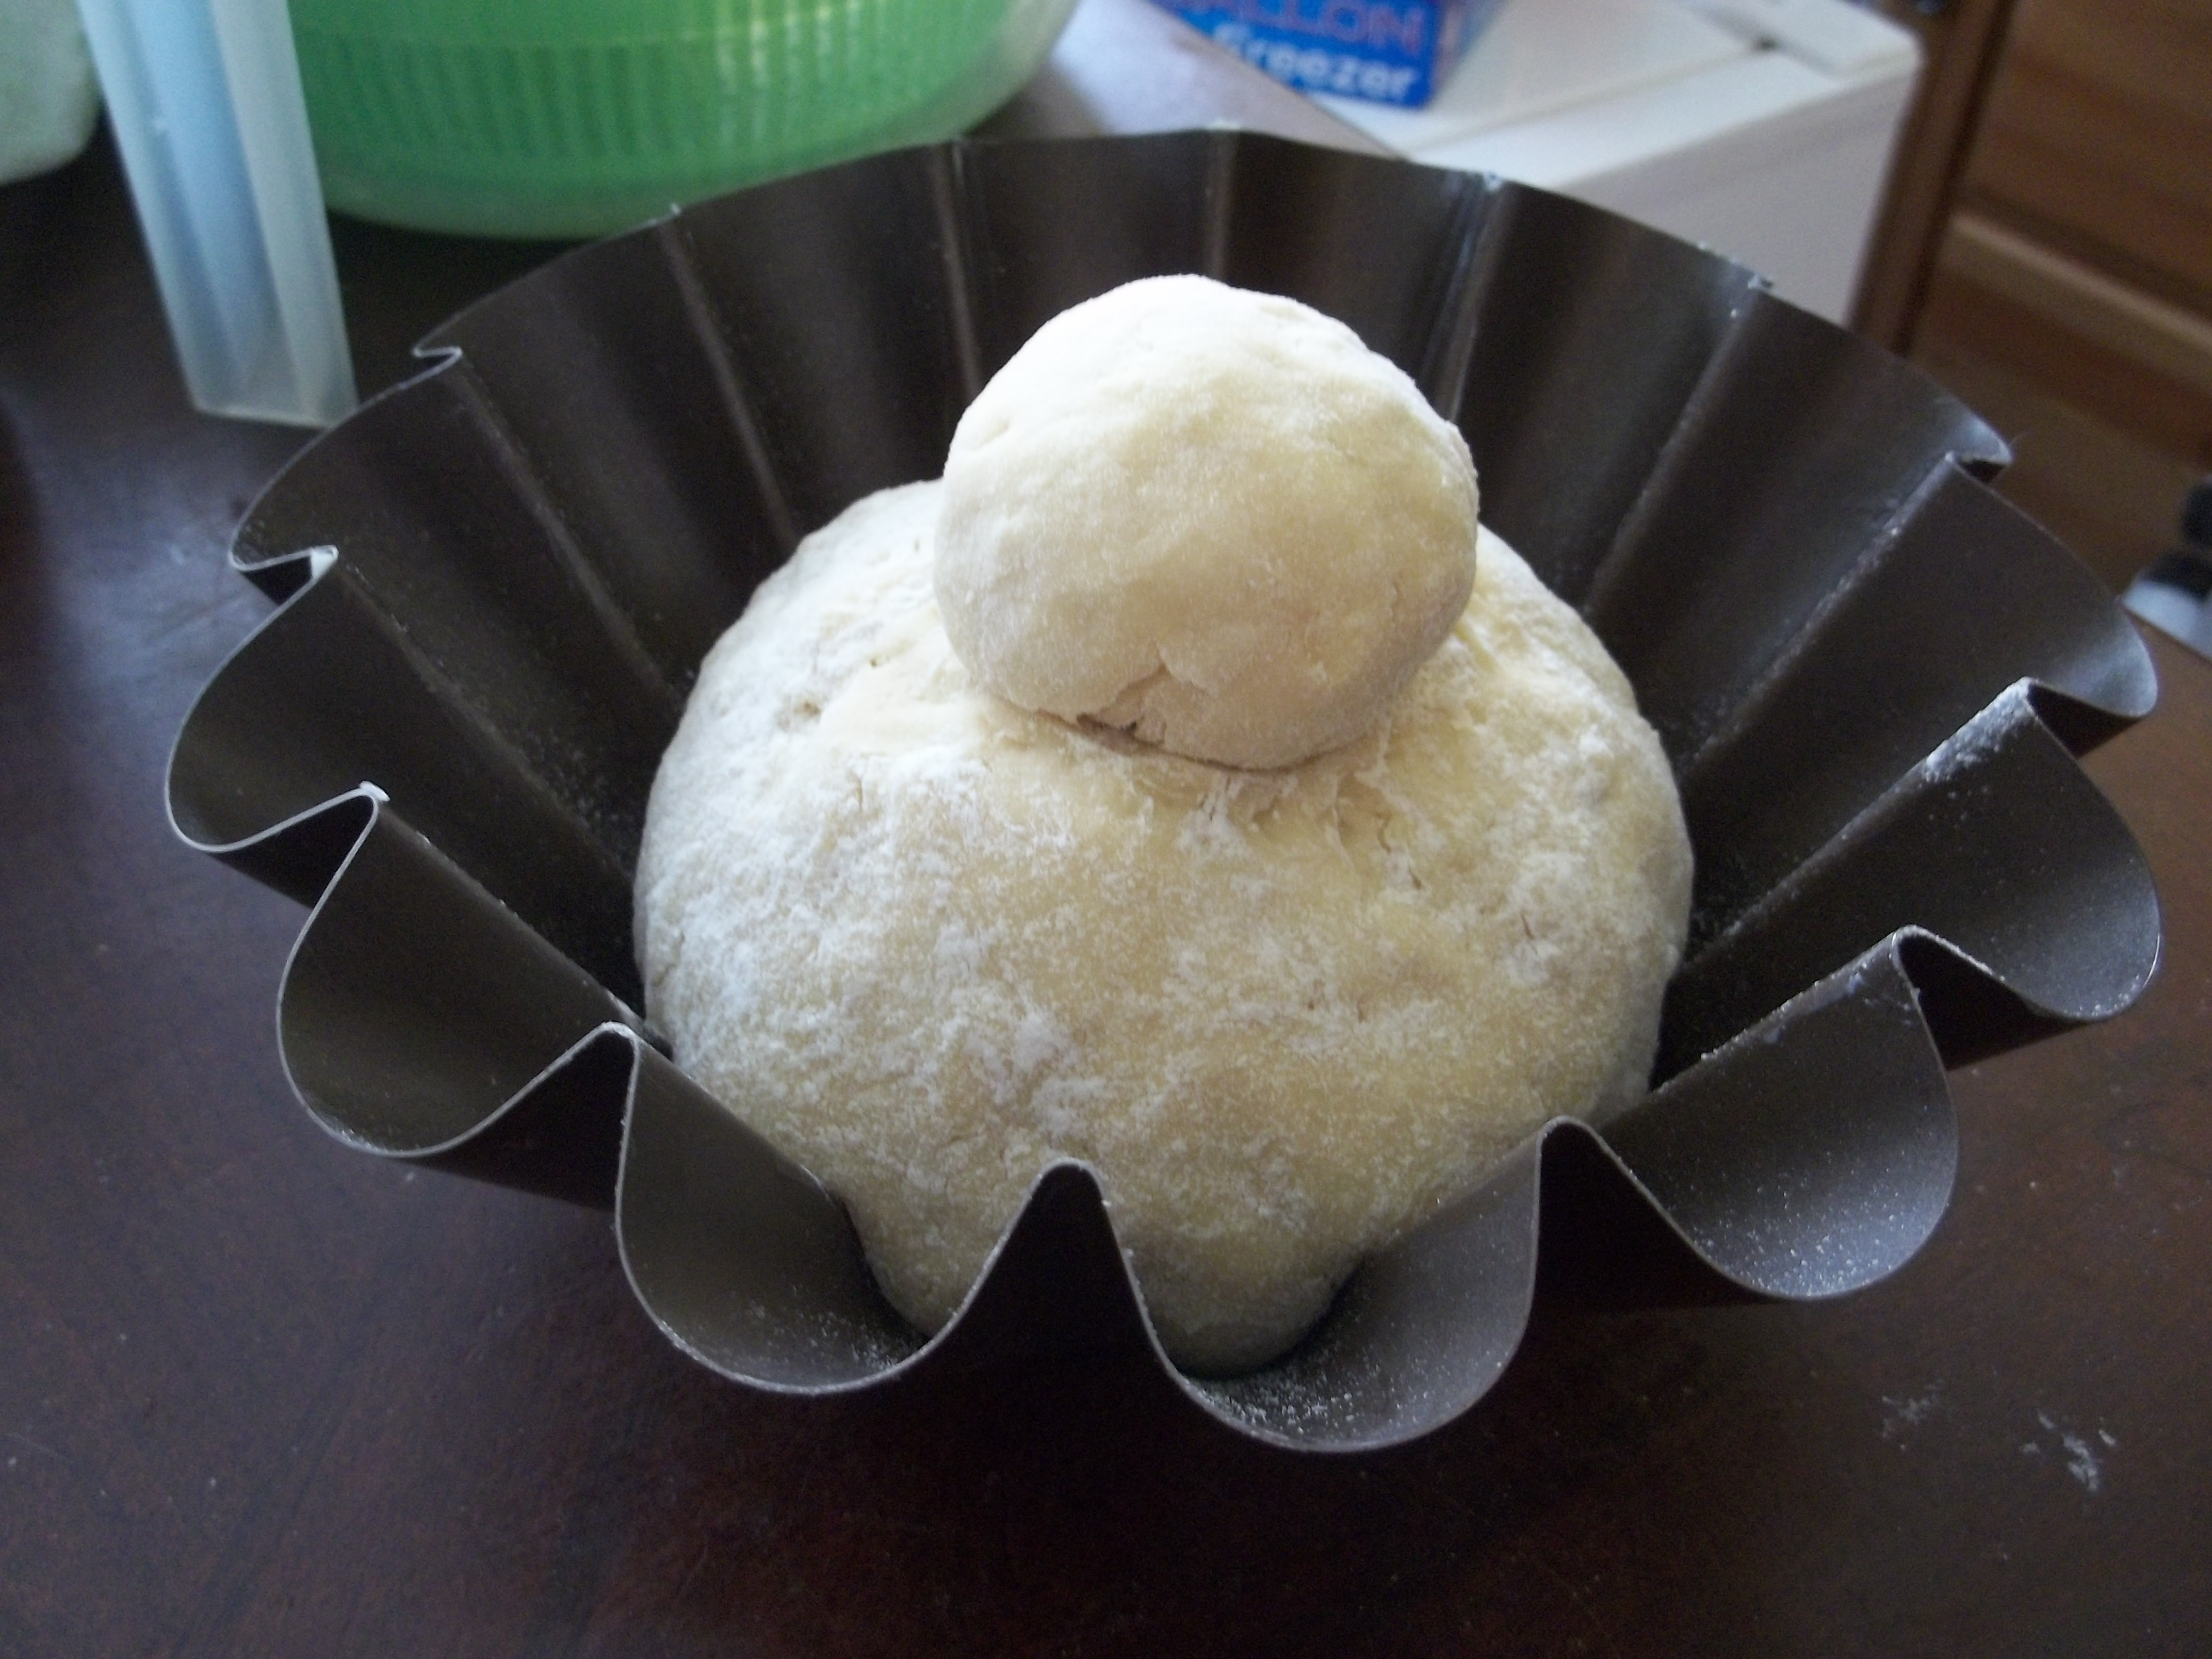
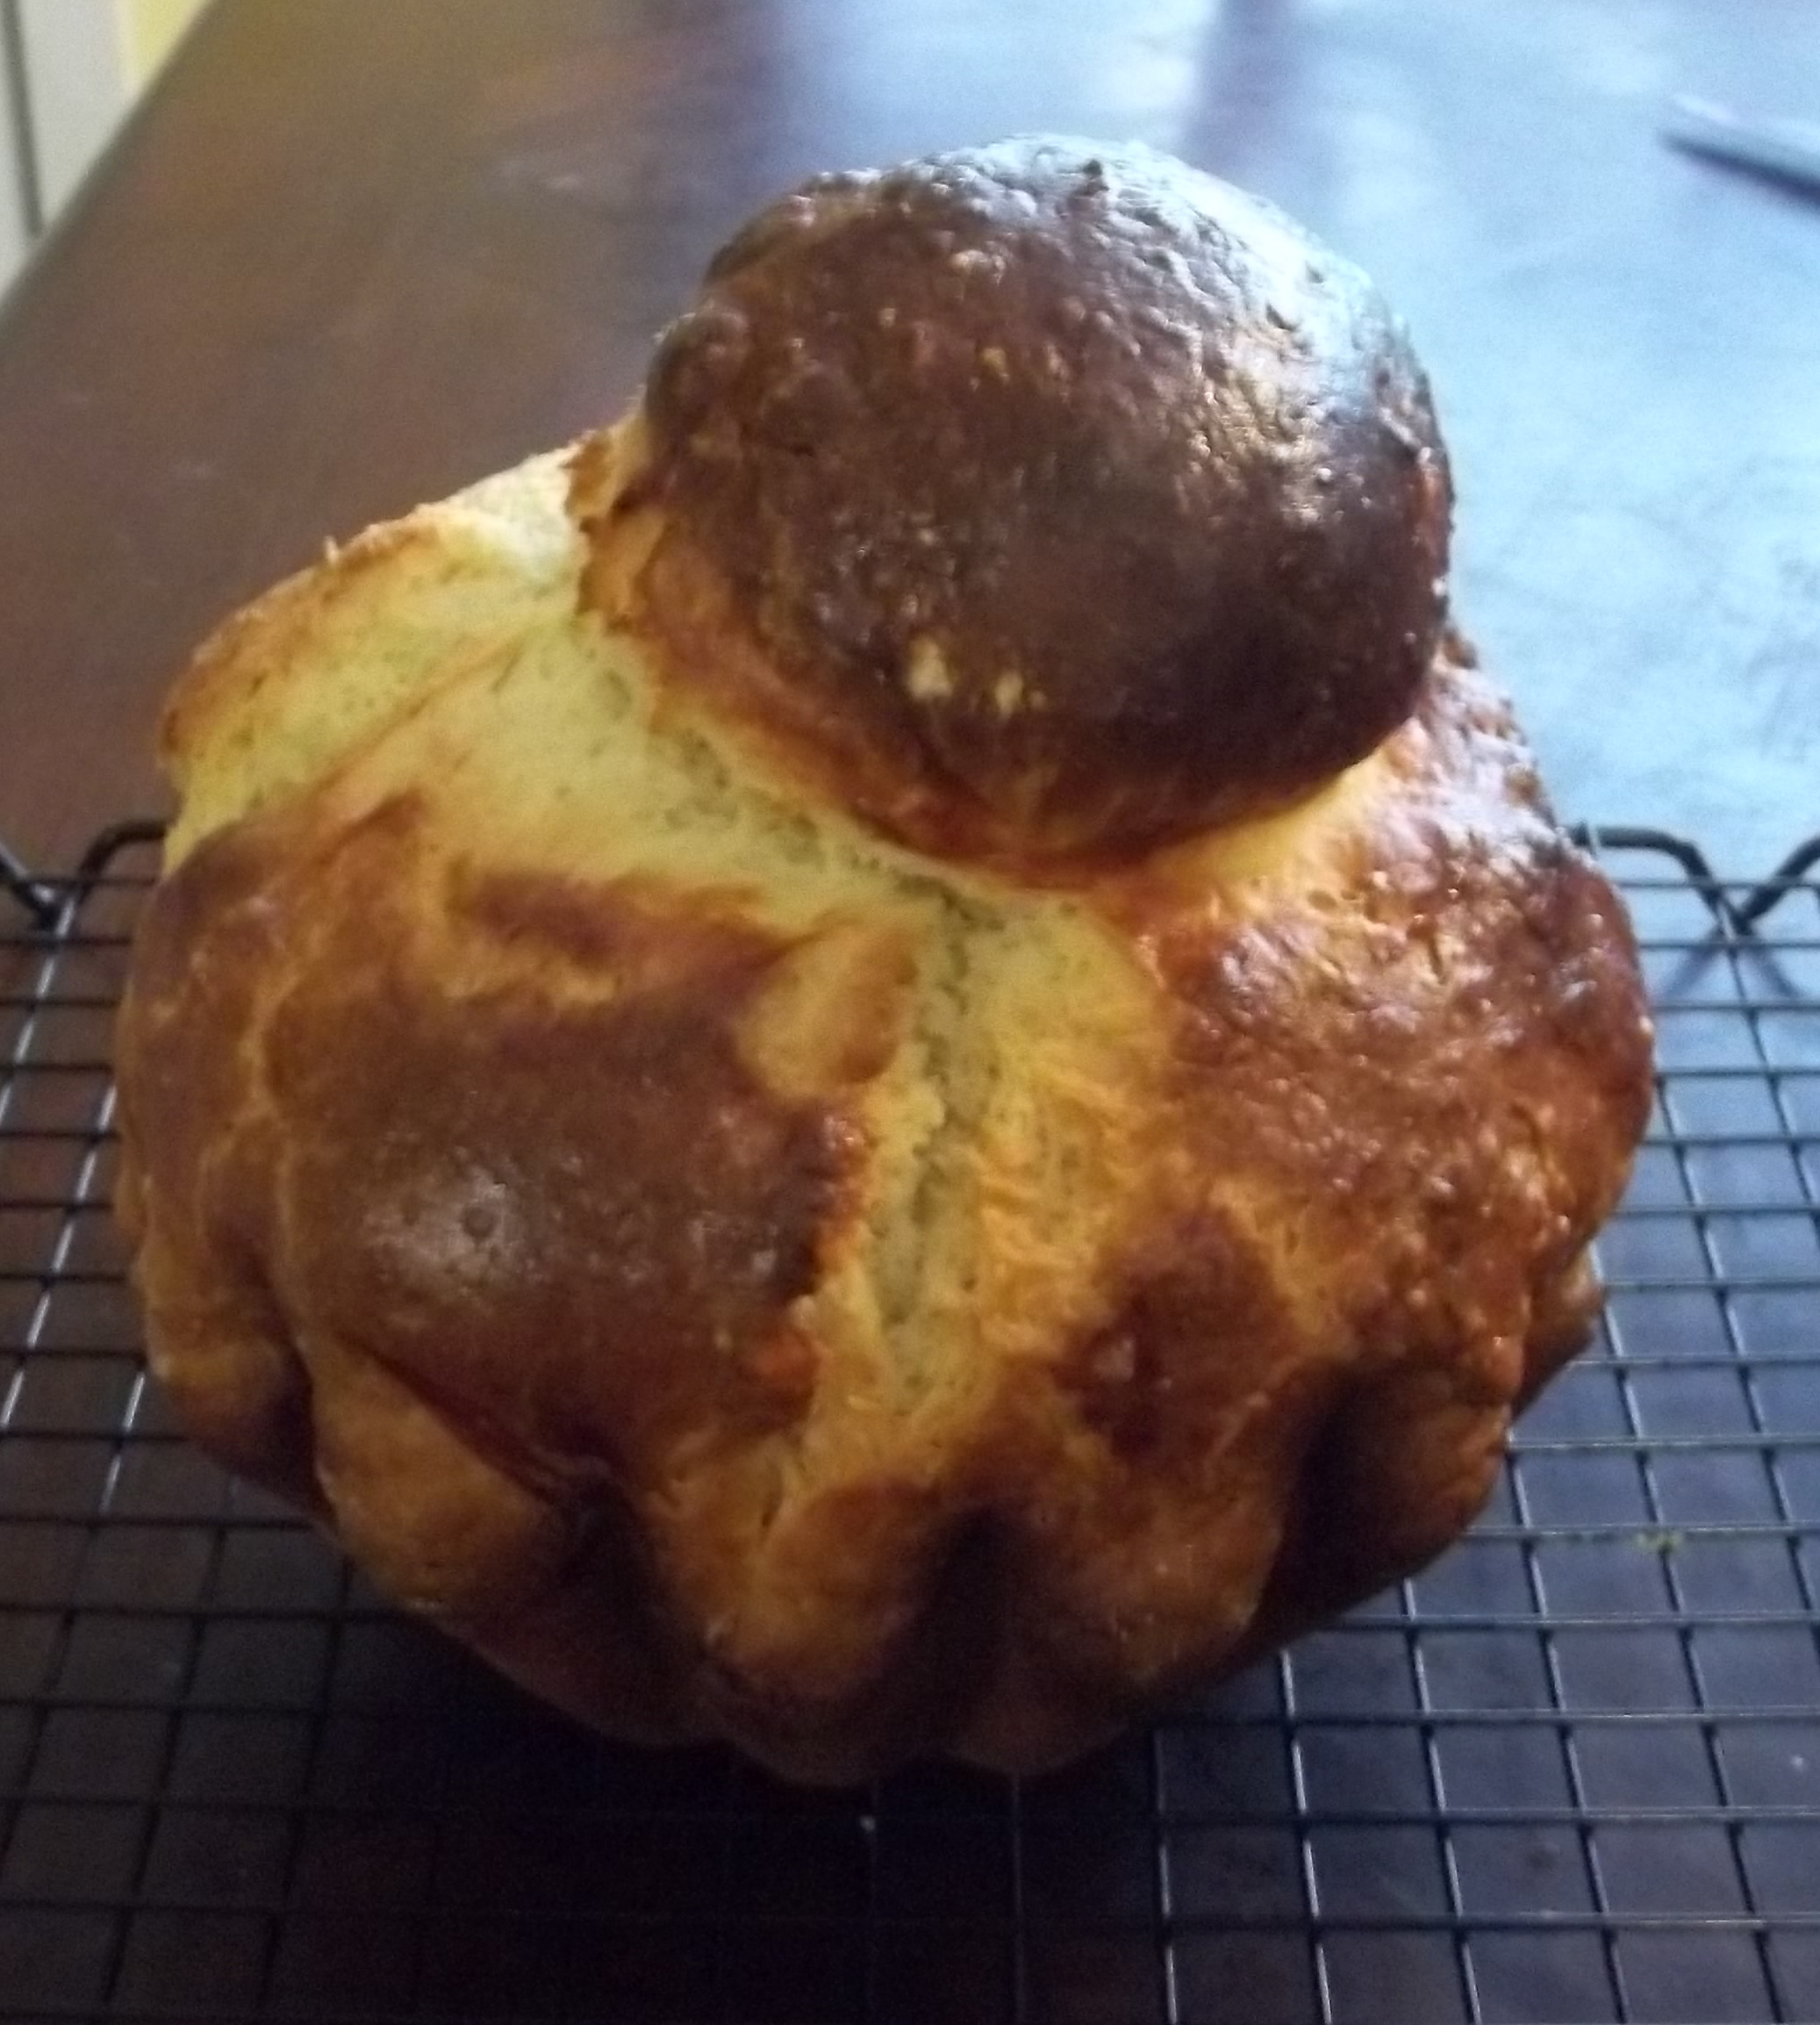
When it’s made with a little ball of extra dough on top, this is called brioche a tête. It gets a nice little egg wash and after a long slow bake, it comes out all dark brown and gorgeous.
But that’s a side-trip. The making of brioche-in-a-bucket starts out with all the liquids together. They tend to separate out a bit, even after they’ve been mixed together. The honey is heavier than everything else and sinks immediately to the bottom the second it’s given a chance. It makes for a pretty layered effect, though.
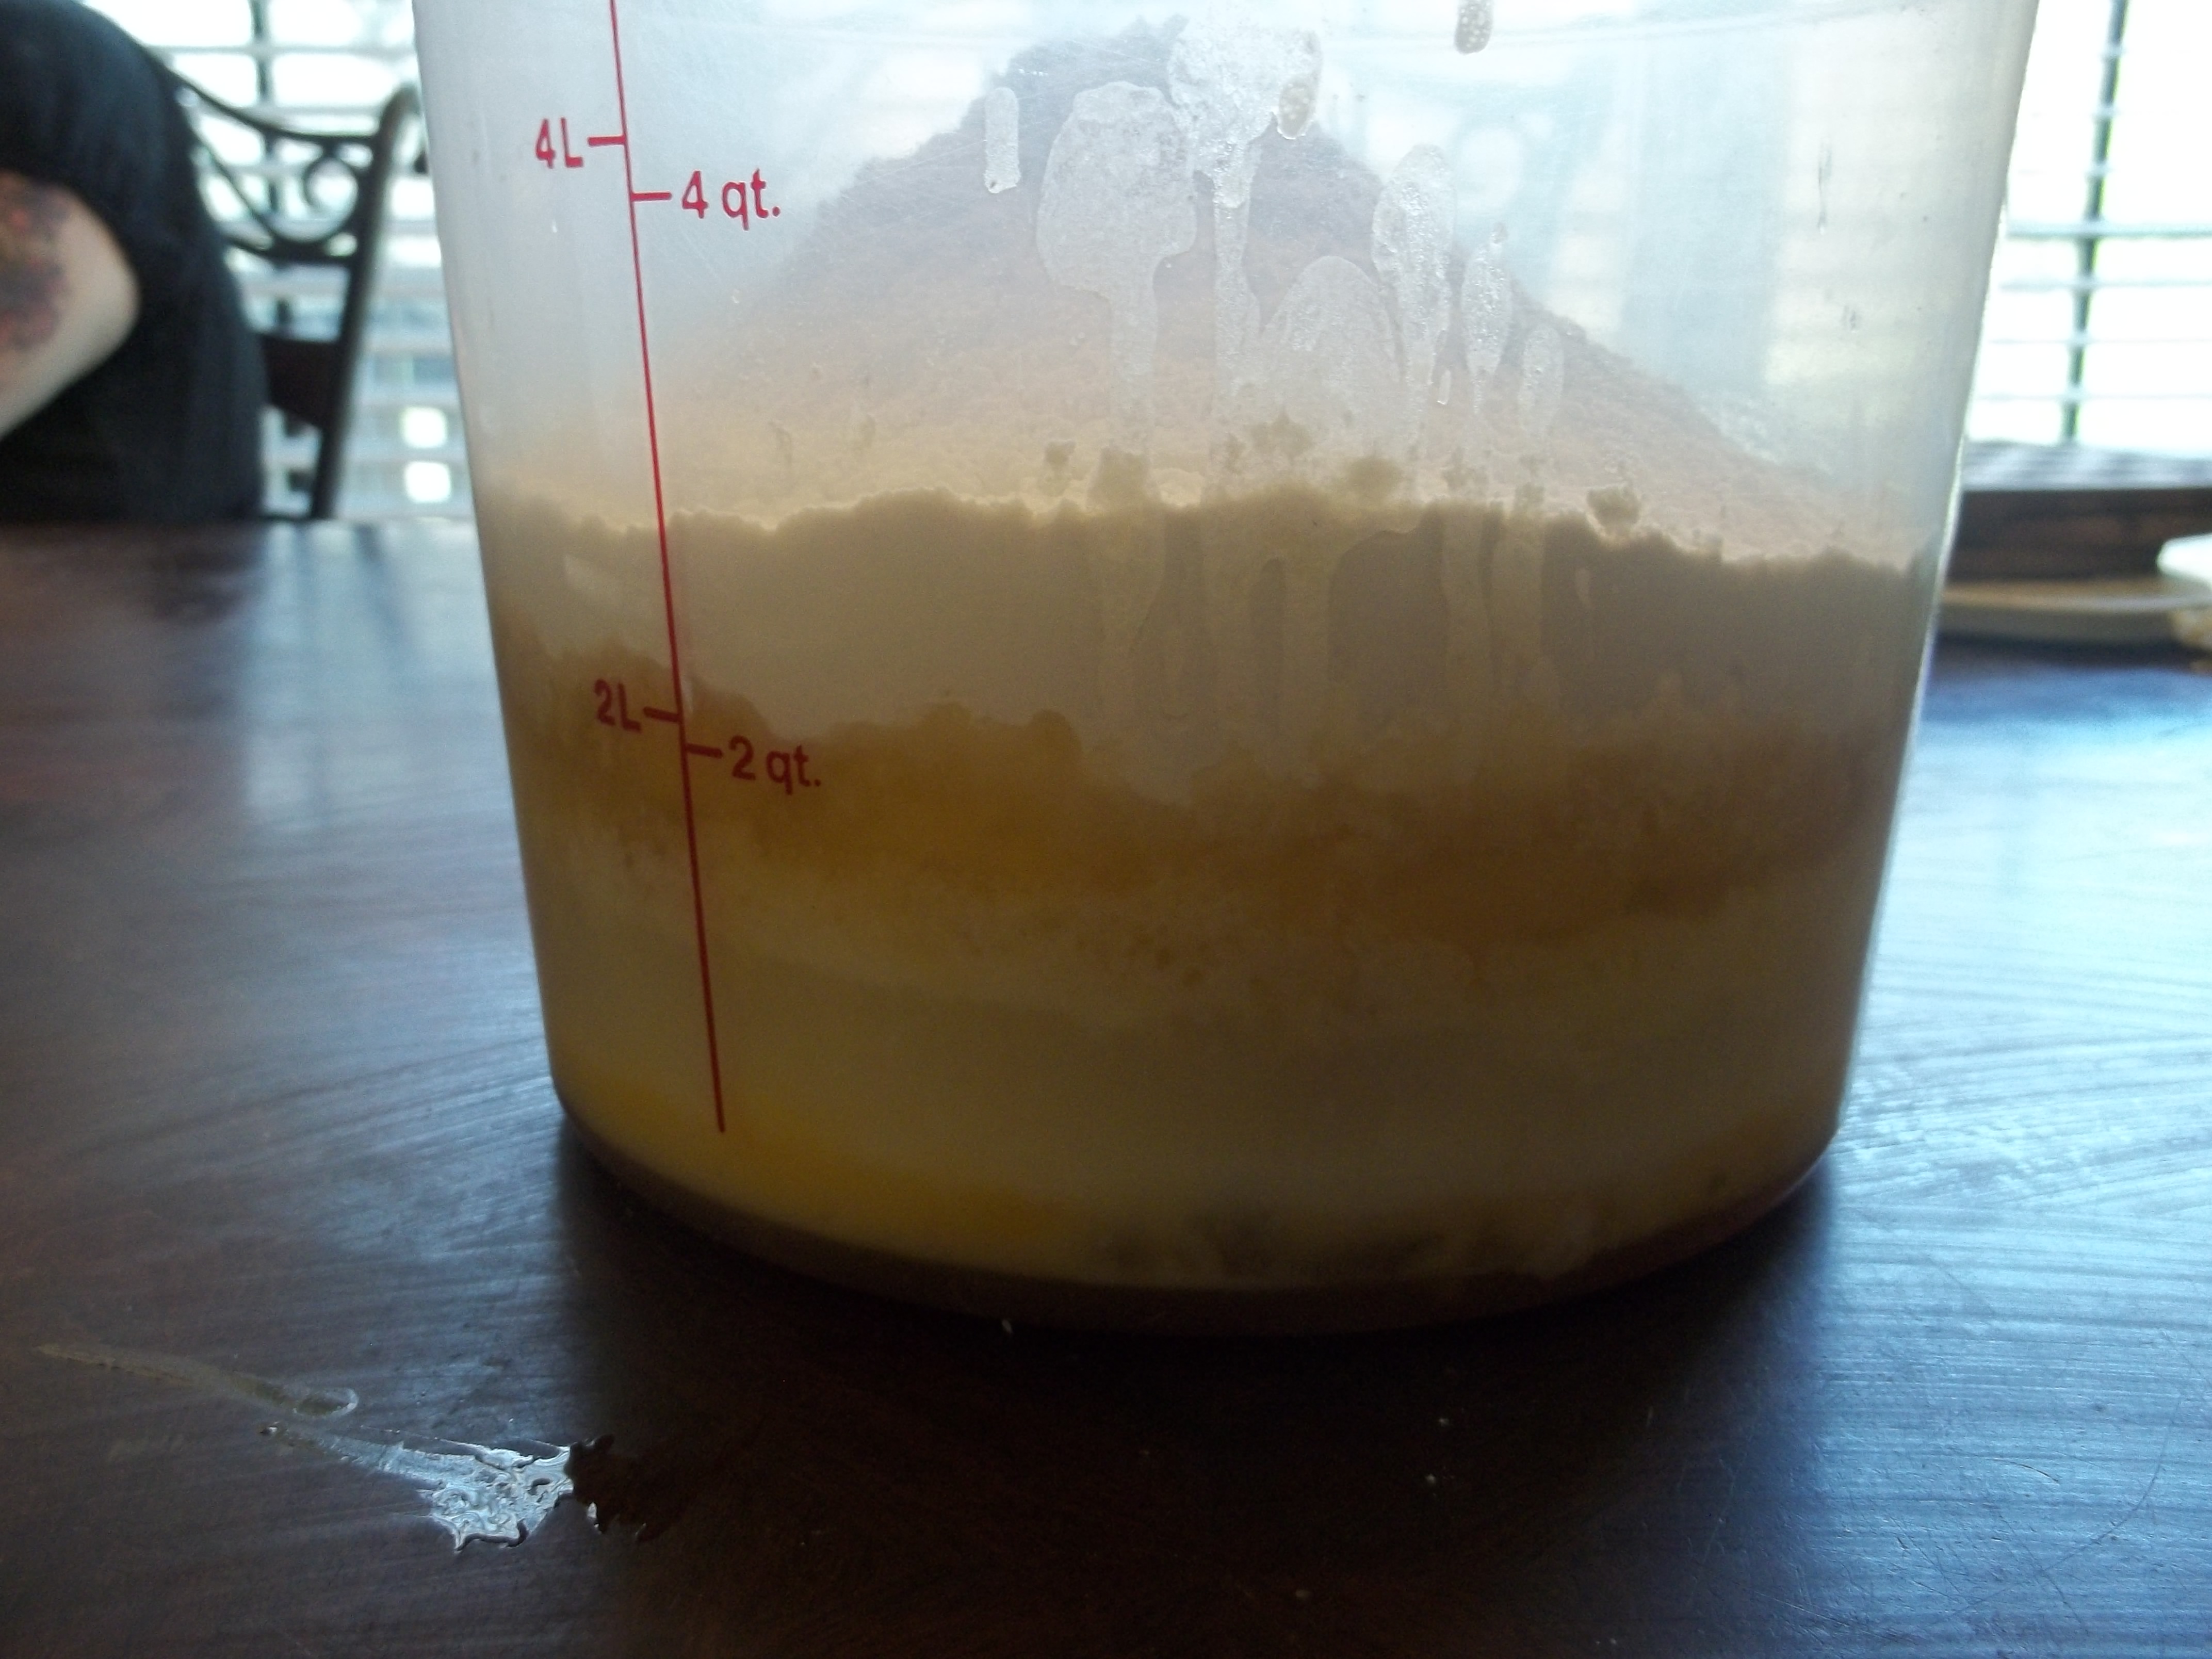
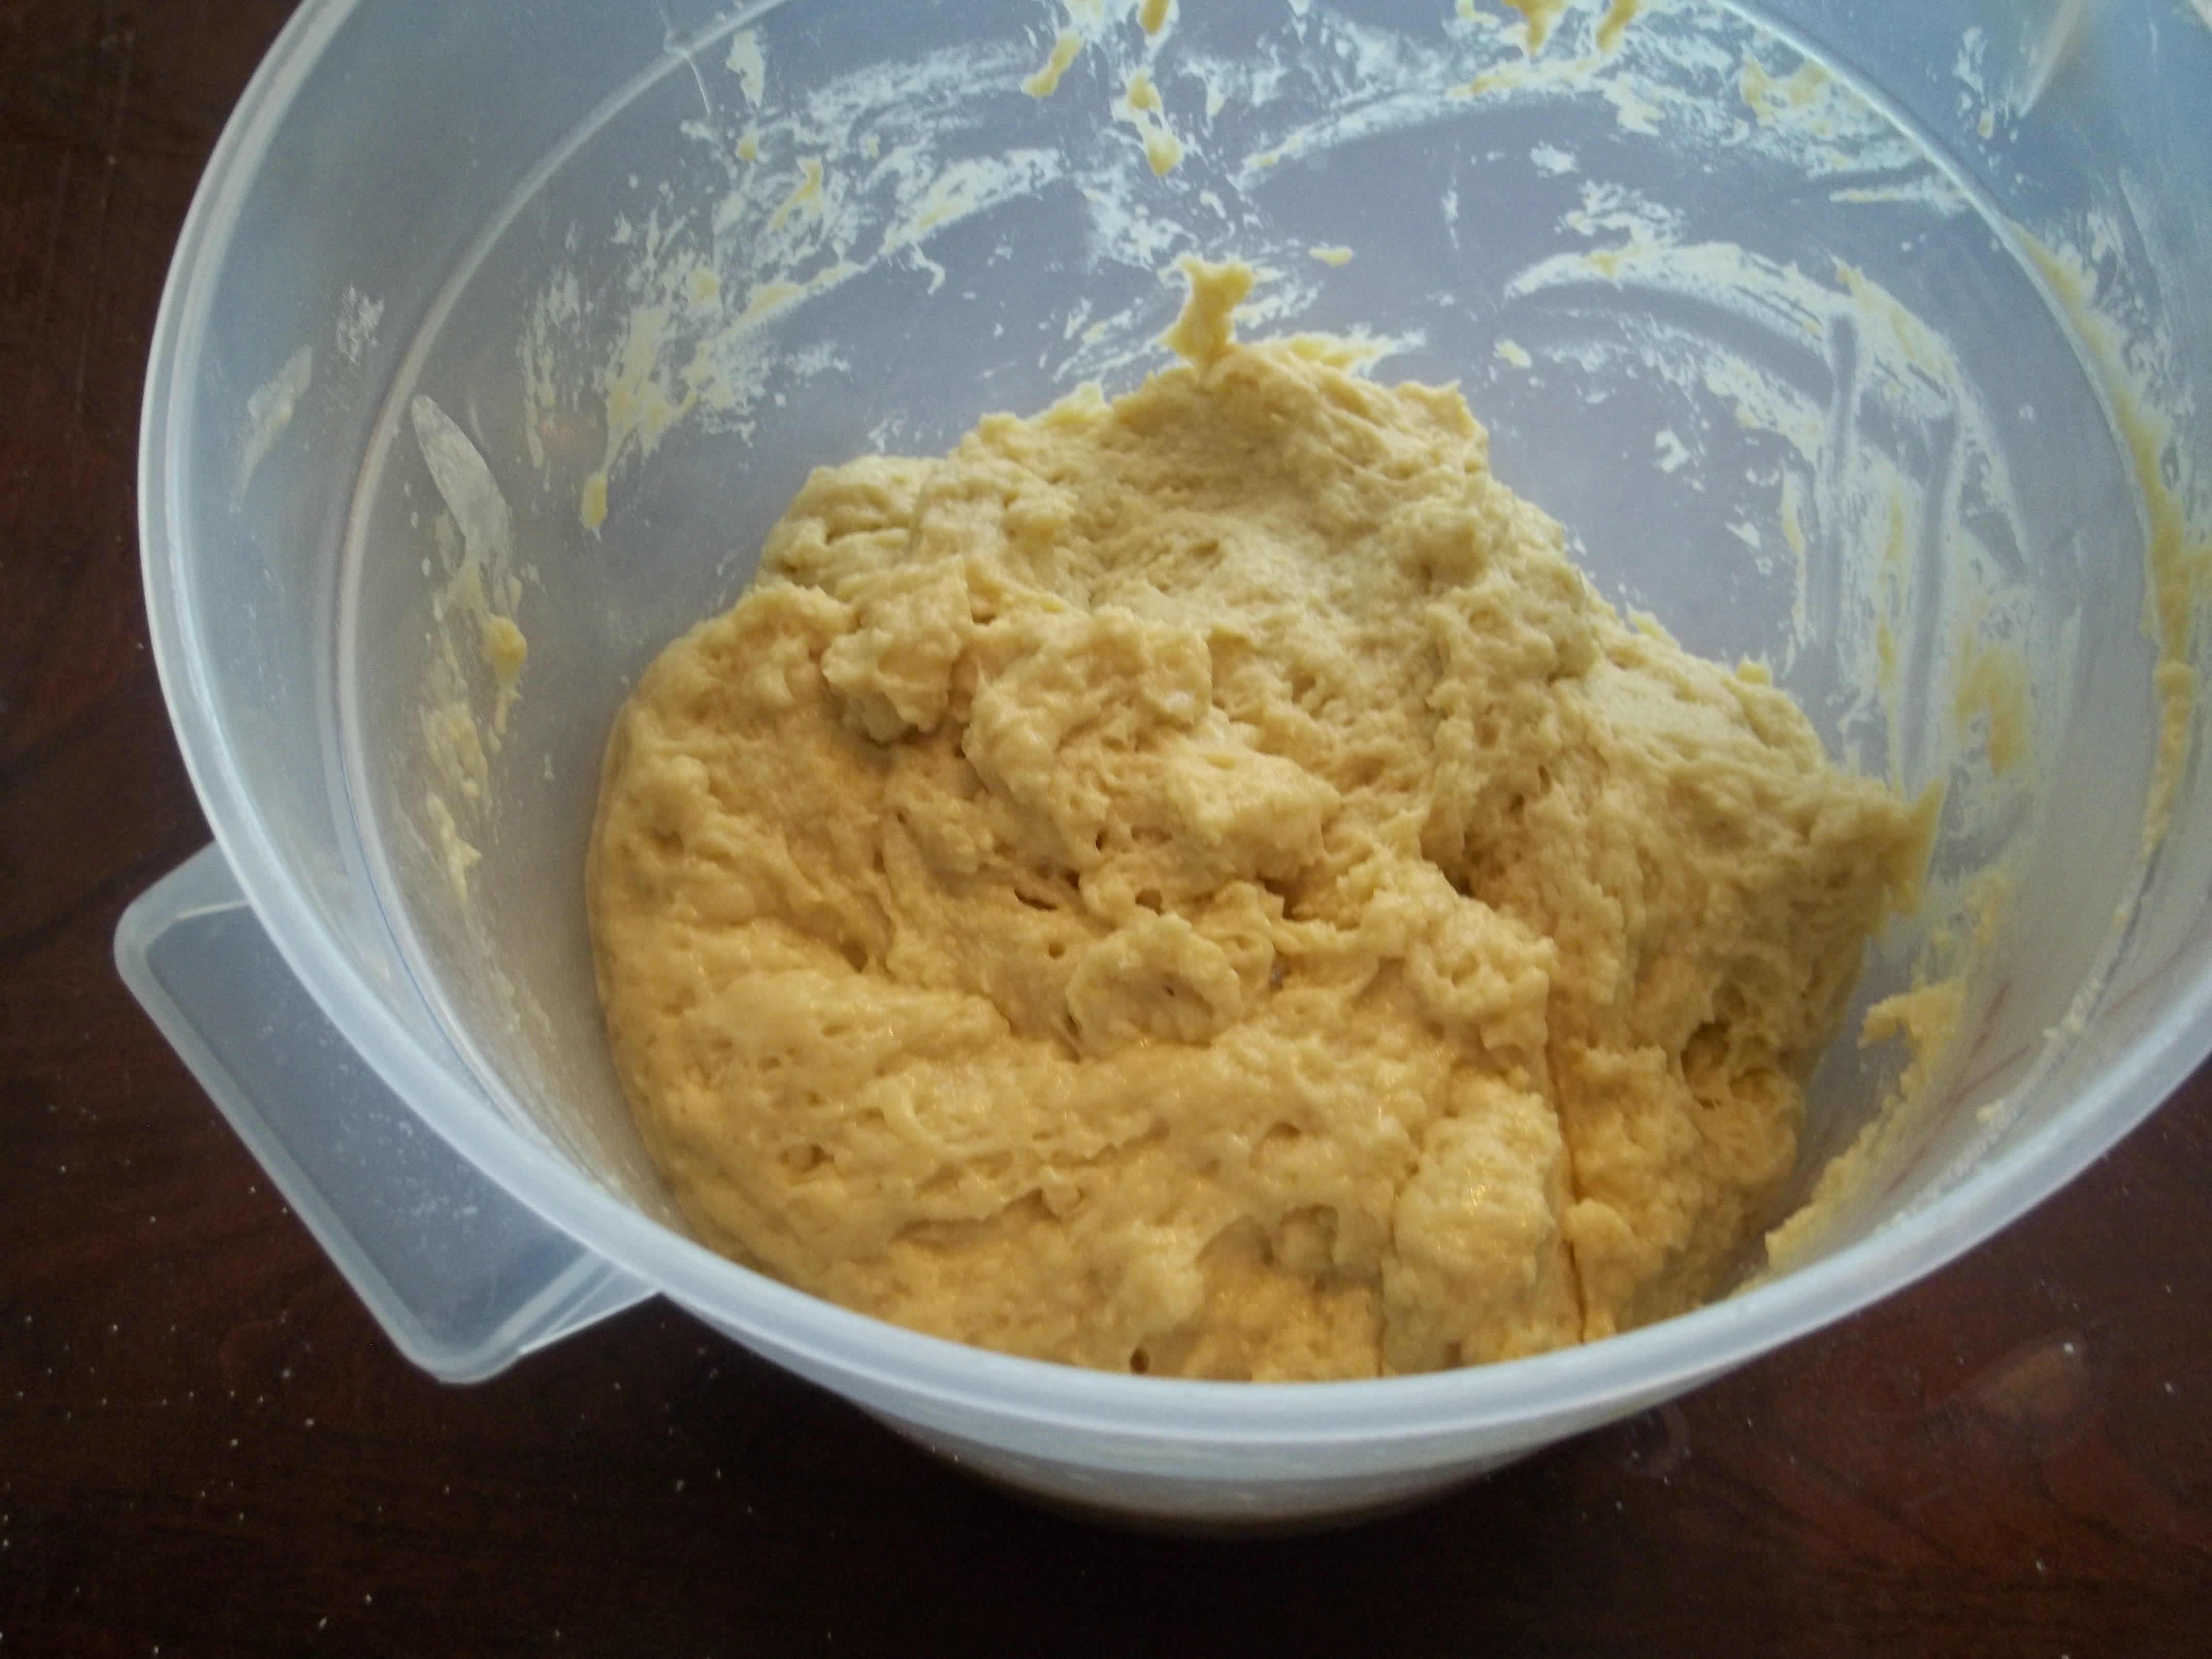
This is one I prefer doing directly in the bucket as opposed to using the mixer and then putting it in the bucket for two reasons. One, the consistency makes it hard for the mixer to get everything together without leaving extra wetness at the bottom. Two, there’s just so much stuff that the mixer tends to spew flour everywhere. Luckily, this one is pretty easy to mix with the spatula and doesn’t often need manual help. It comes out golden and rich, and it smells heavenly due to all the honey and eggs.
It can be used directly after it’s risen, but this is one of those doughs that is about eight kajillion times easier to handle after it’s been refrigerated. I try to make it the night before I’m going to use it. In this case, I made the dough on Sunday night, baked the brioche a tête on Monday and the cinnamon rolls on Tuesday. I wouldn’t try keeping a dough this rich more than about seven days in the fridge. The texture goes all wrong and you’ve got the possibility of things going bad with all those enrichments.
When you’re ready to make your rolls, the first thing to actually get ready is your filling. There are as many ways to make cinnamon roll filling as there are people that eat cinnamon rolls. What I use is about a cup and a half of brown sugar, two to two and a half tablespoons melted butter, a good pinch of salt, and two-ish tablespoons of cinnamon.
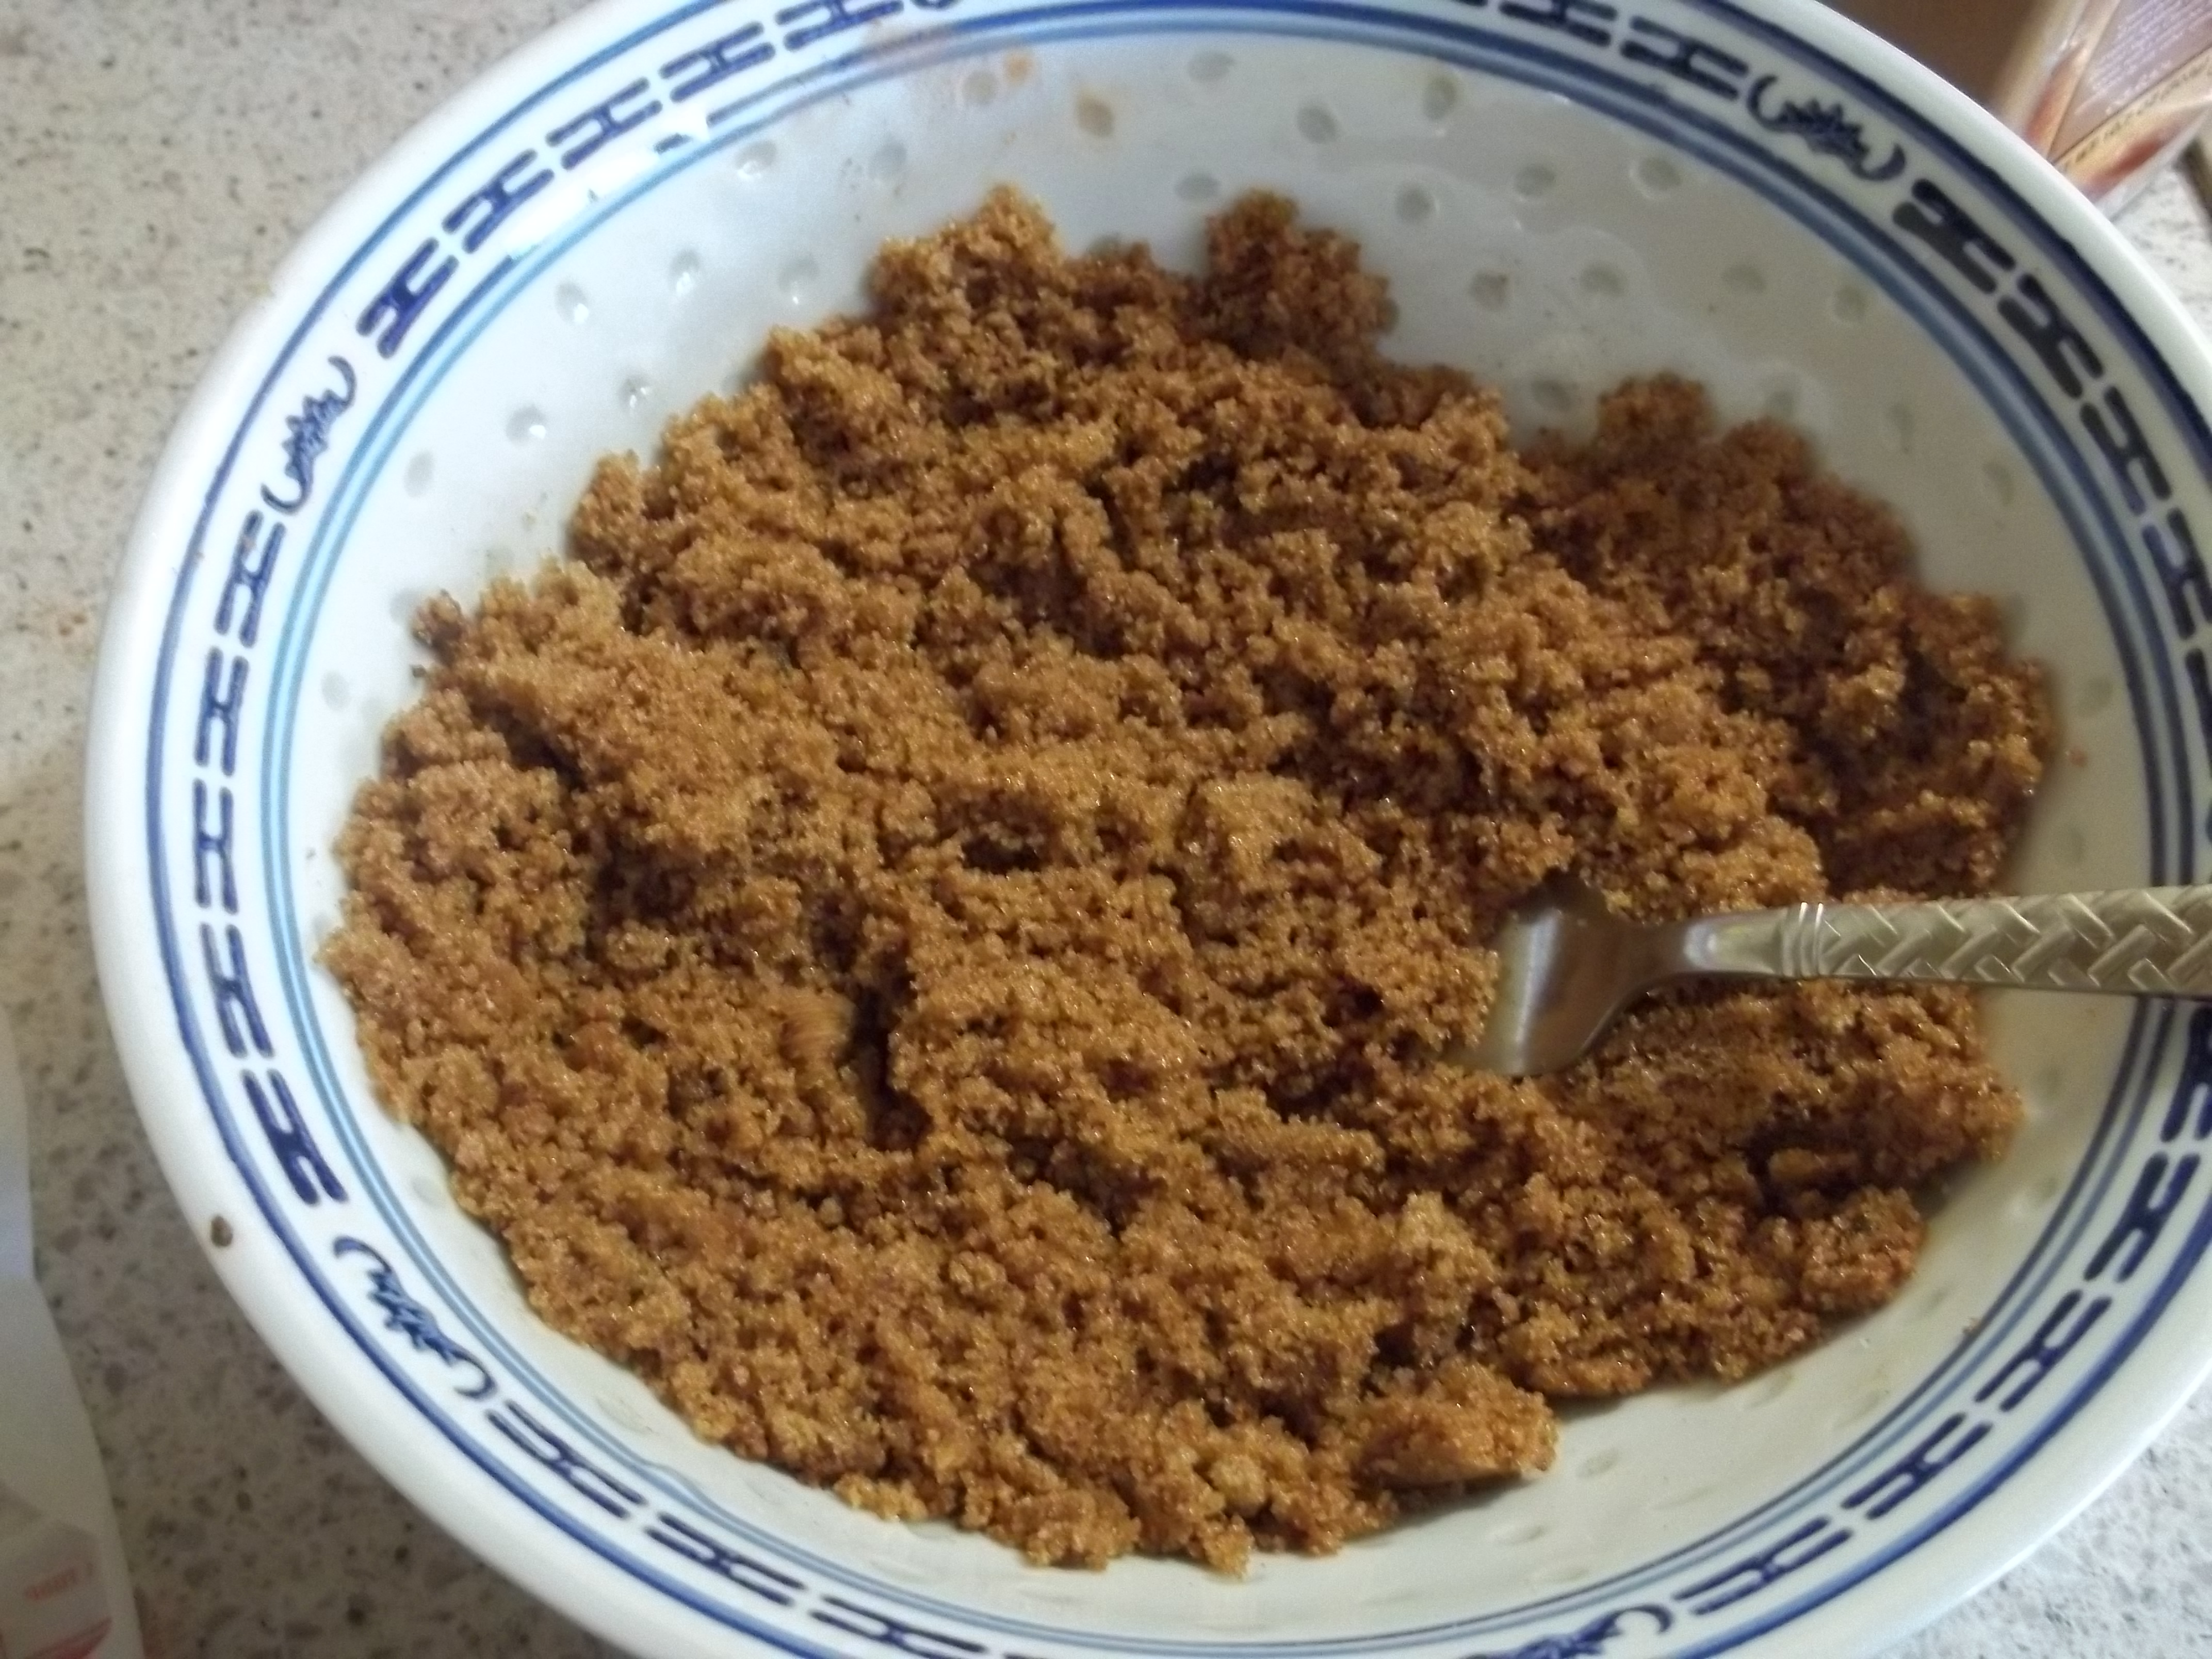
I mix everything together with a fork until it’s uniform in color and texture. The butter will help things stick together a bit and will give the filling a richer flavor after the rolls have been baked. This is a pretty basic filling, but it comes out gooey and perfect.
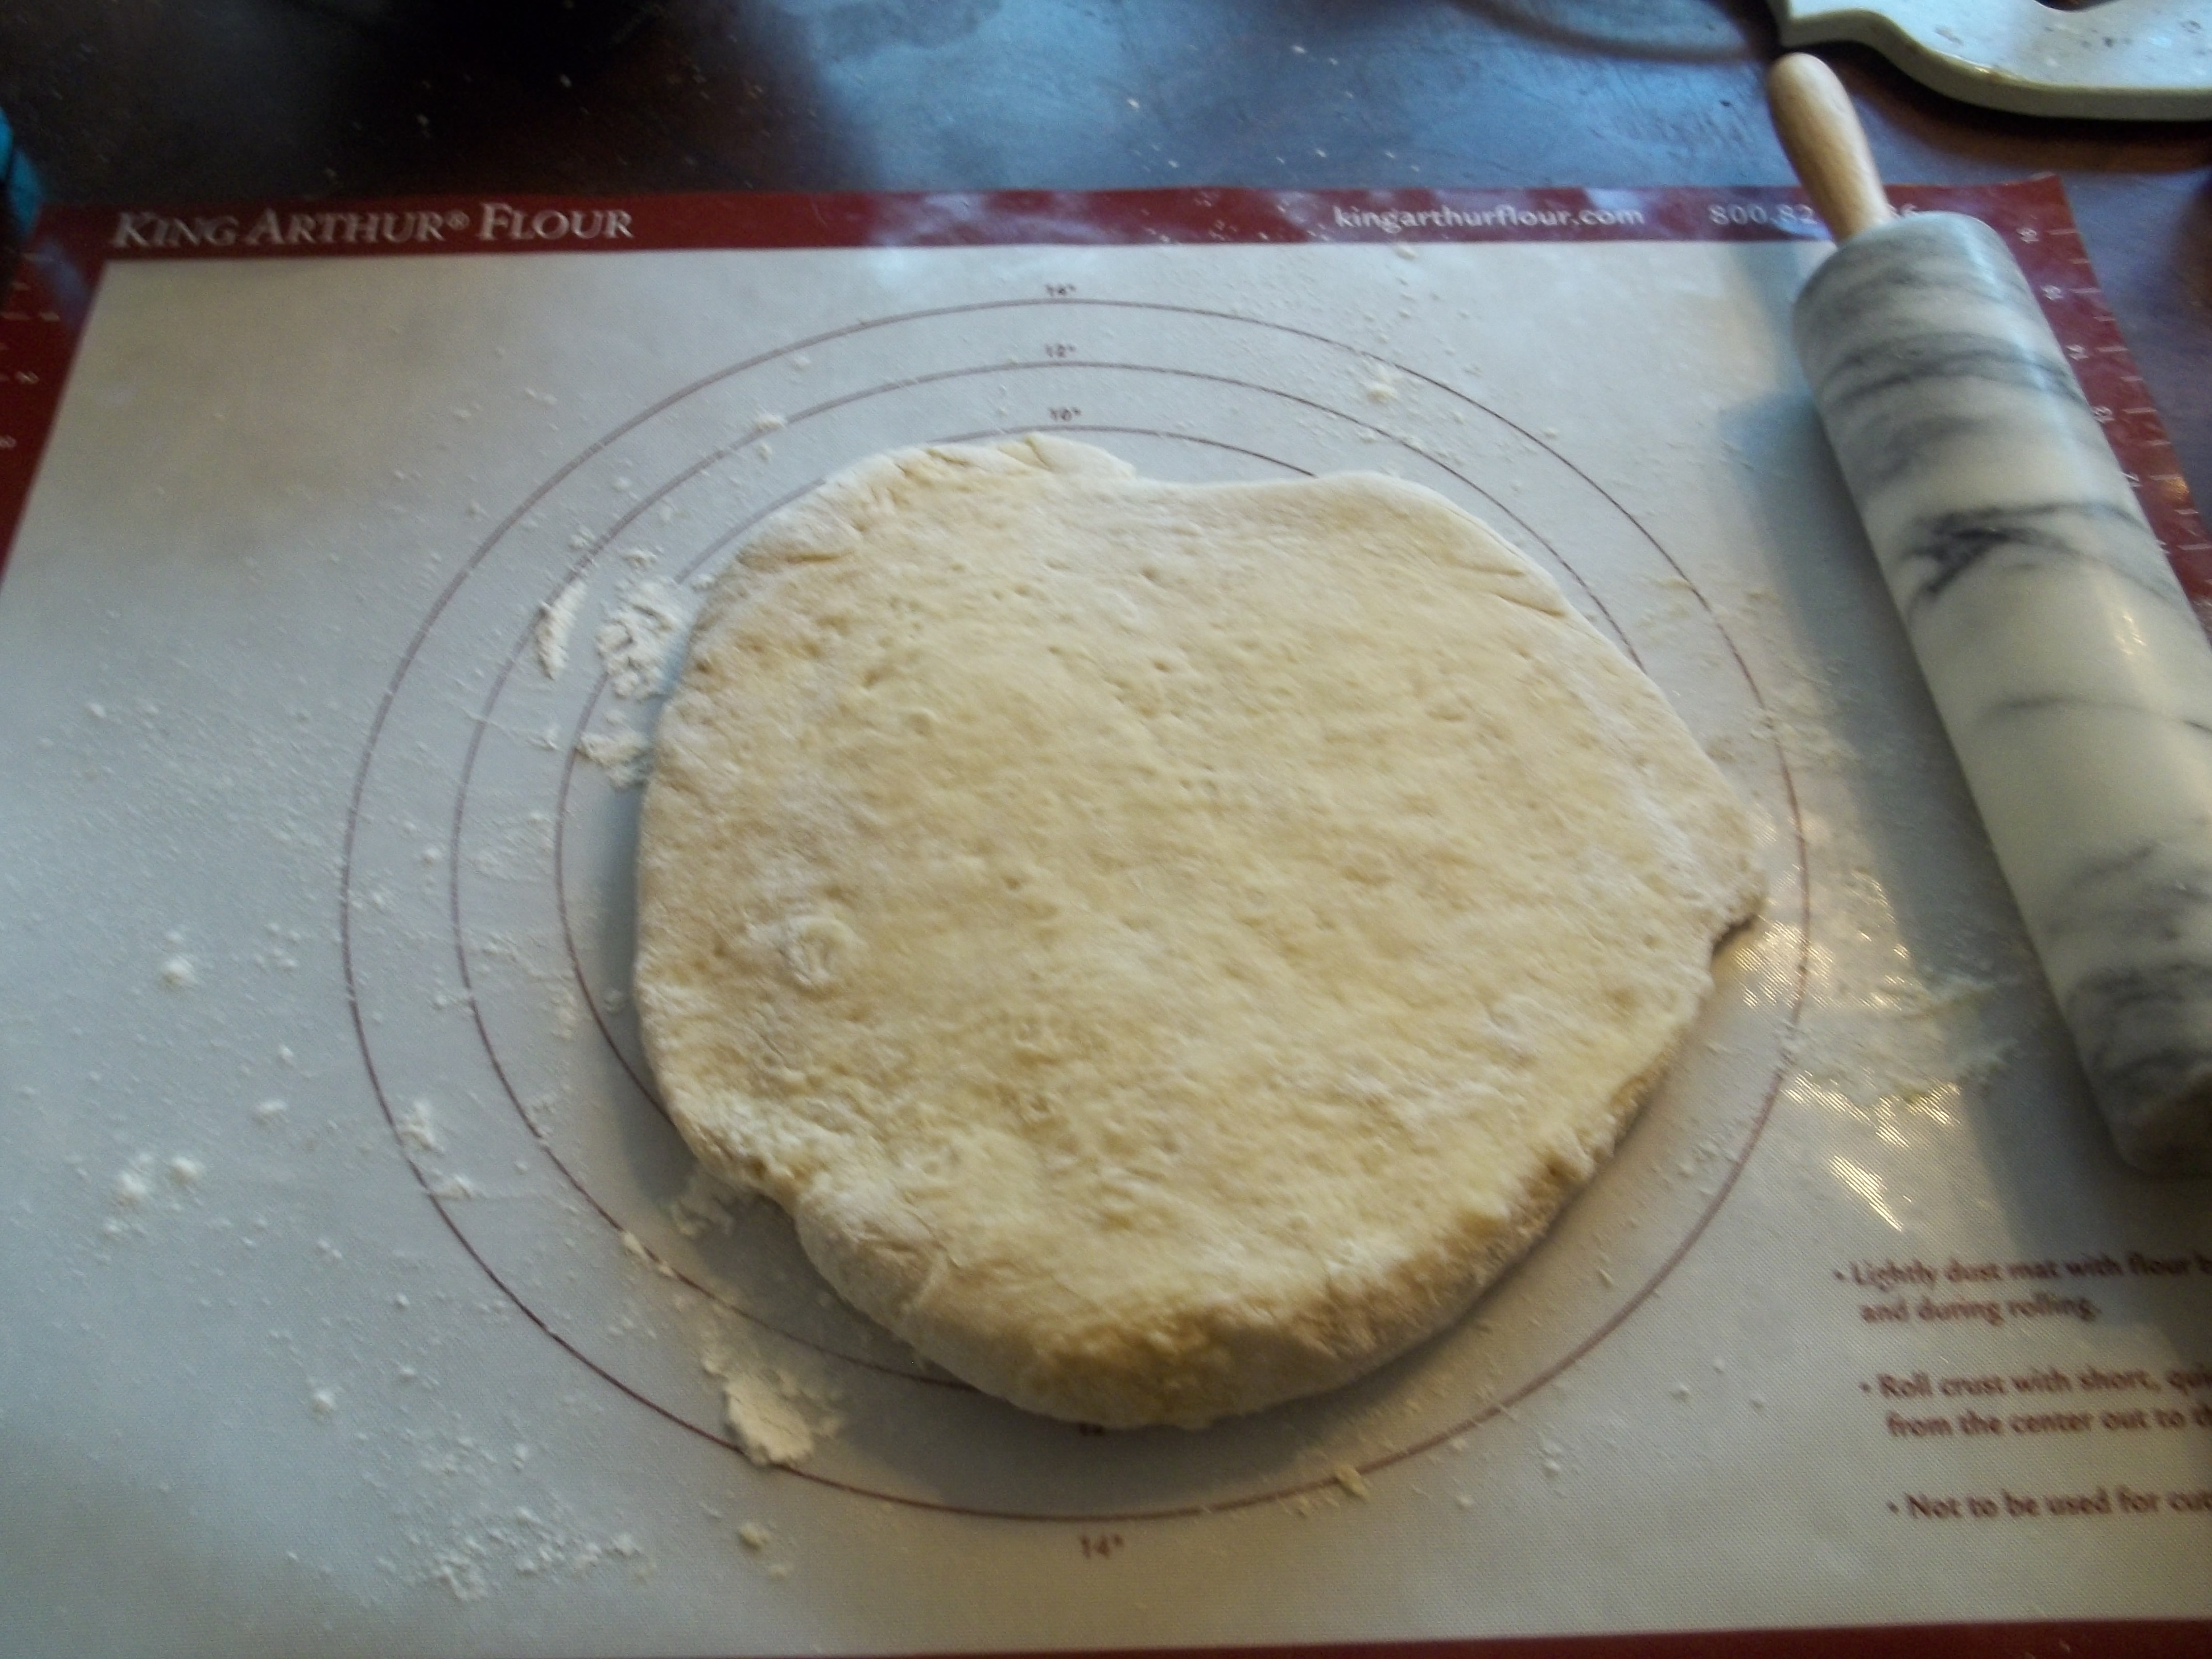
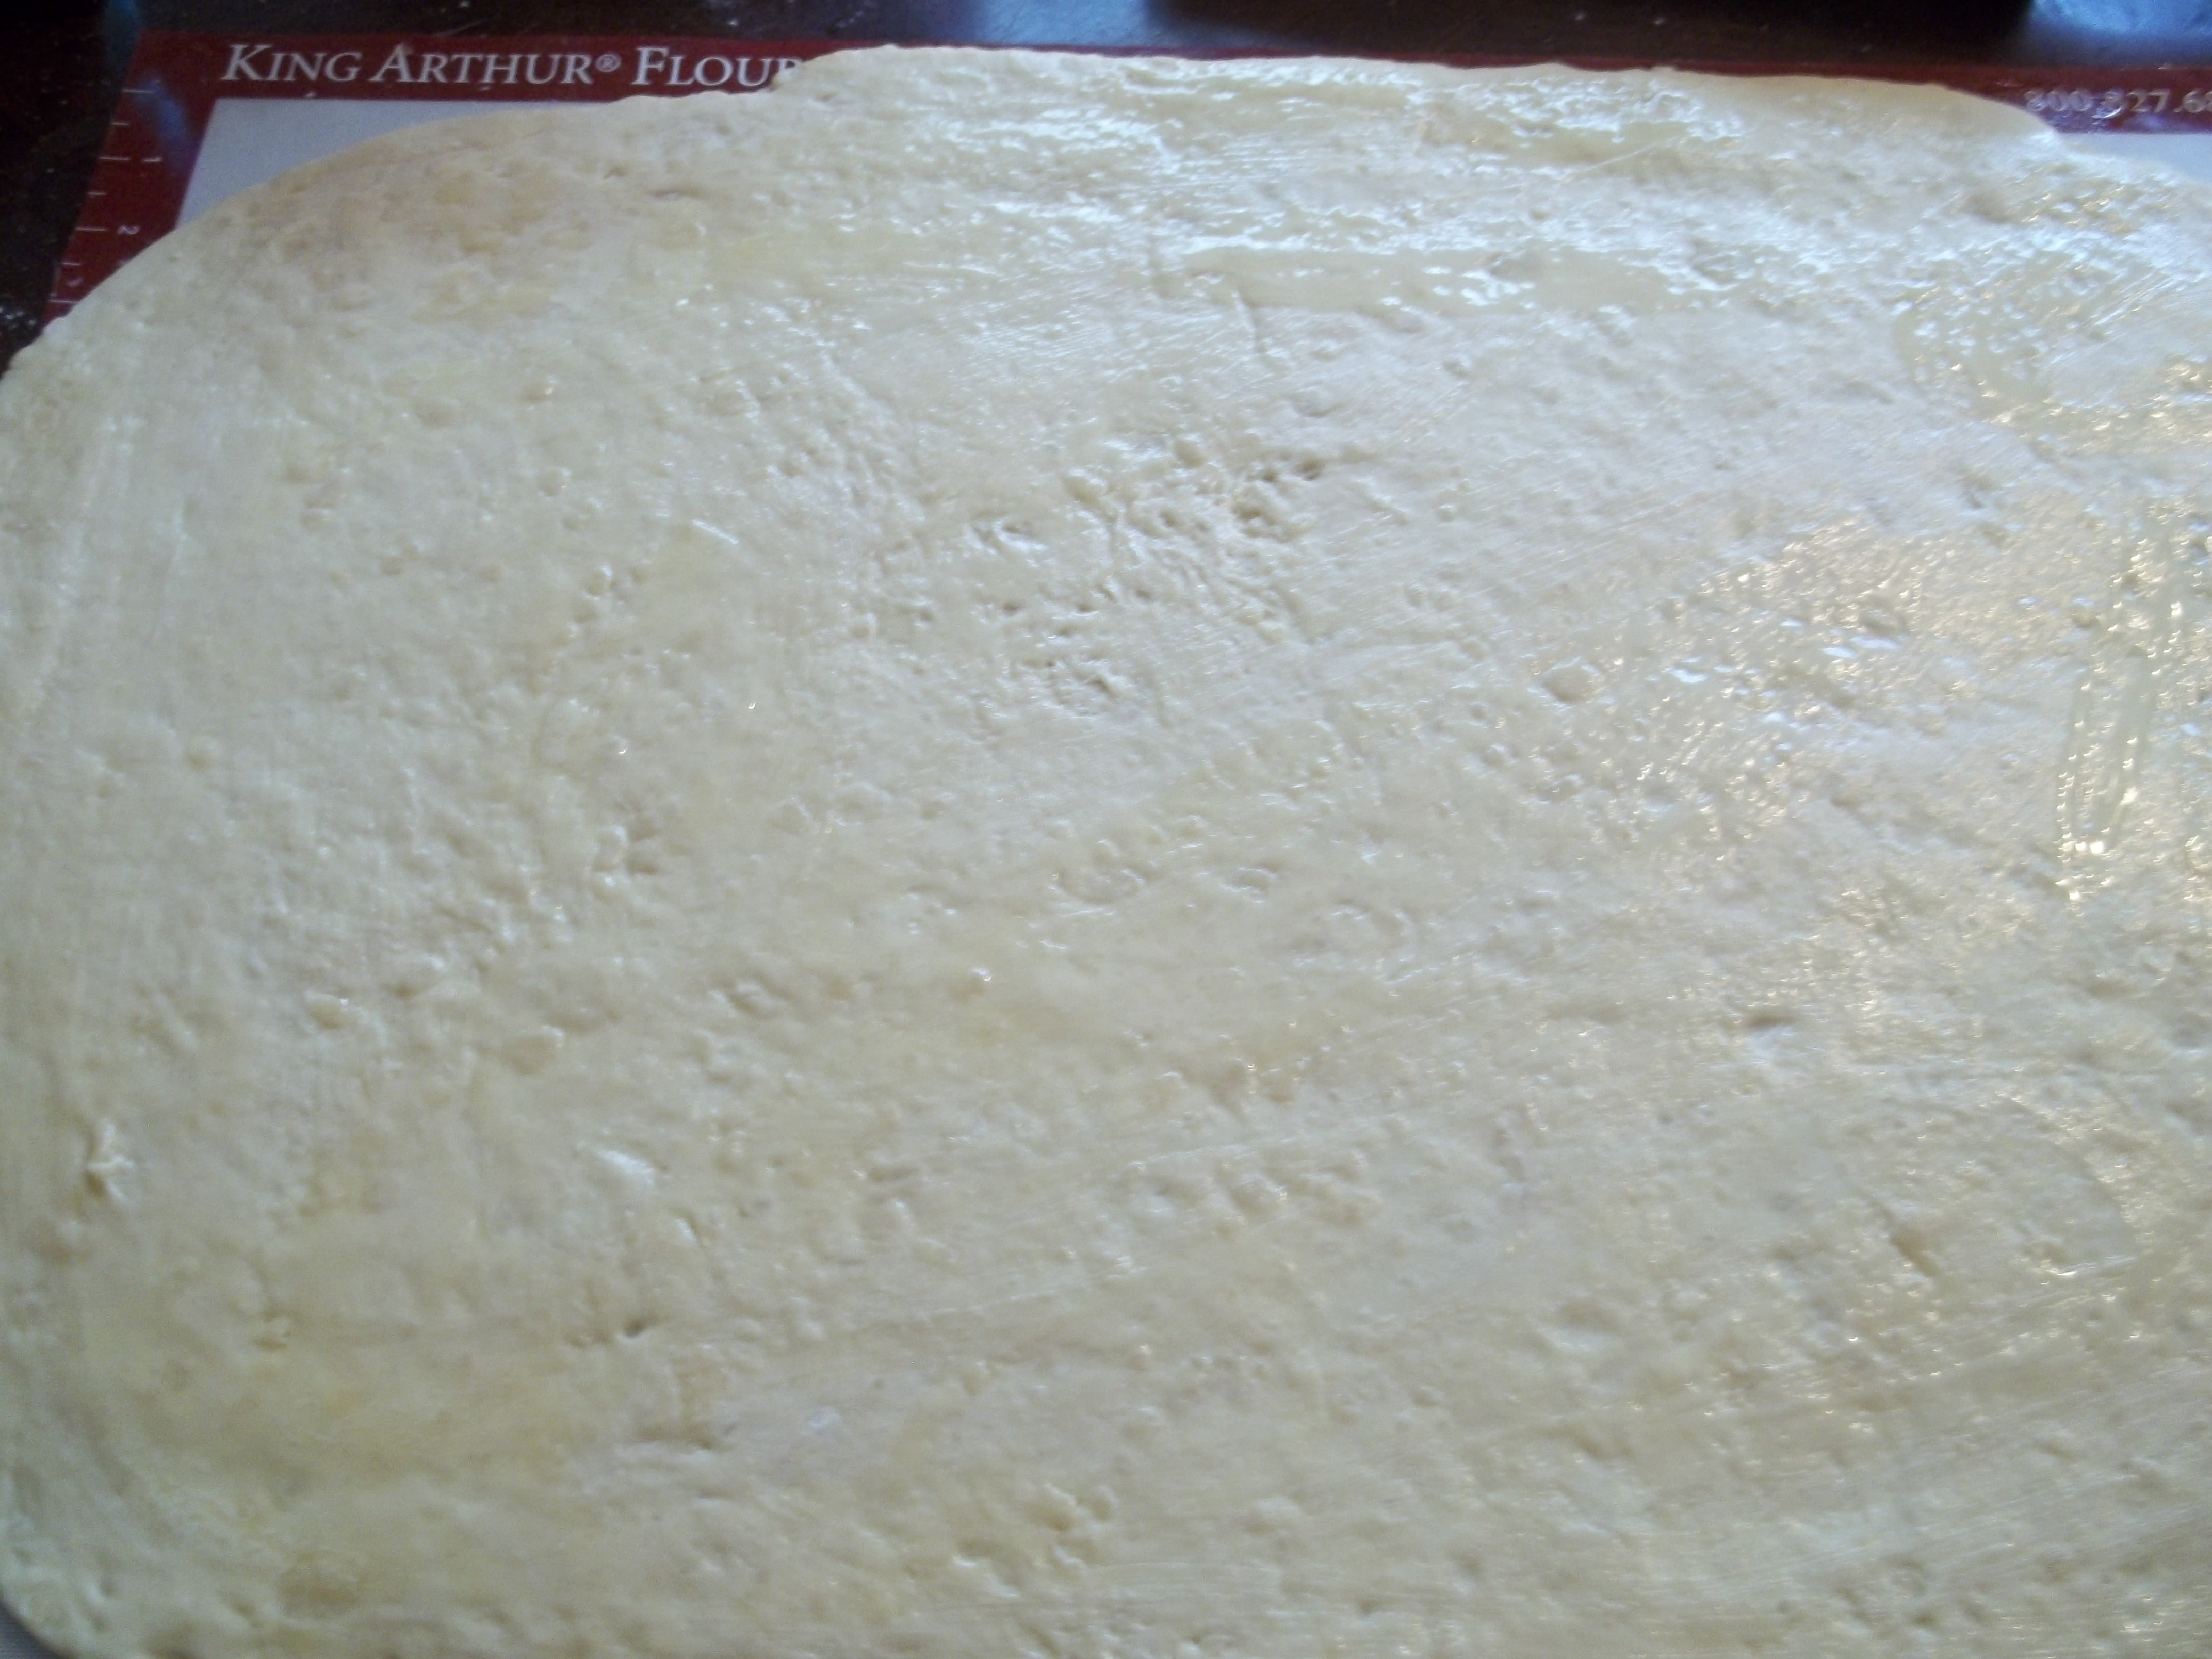
Once you’ve got the filling ready, it’s time to roll out the dough. I used my pastry mat, because I love that thing. And because the dough doesn’t stick to it like it sticks to just about anything else. I don’t really bother with getting it perfect, despite what my OCD little heart wants to do. Once it’s basically rectangular, I brush it with melted butter all the way around. That takes usually about three tablespoons.
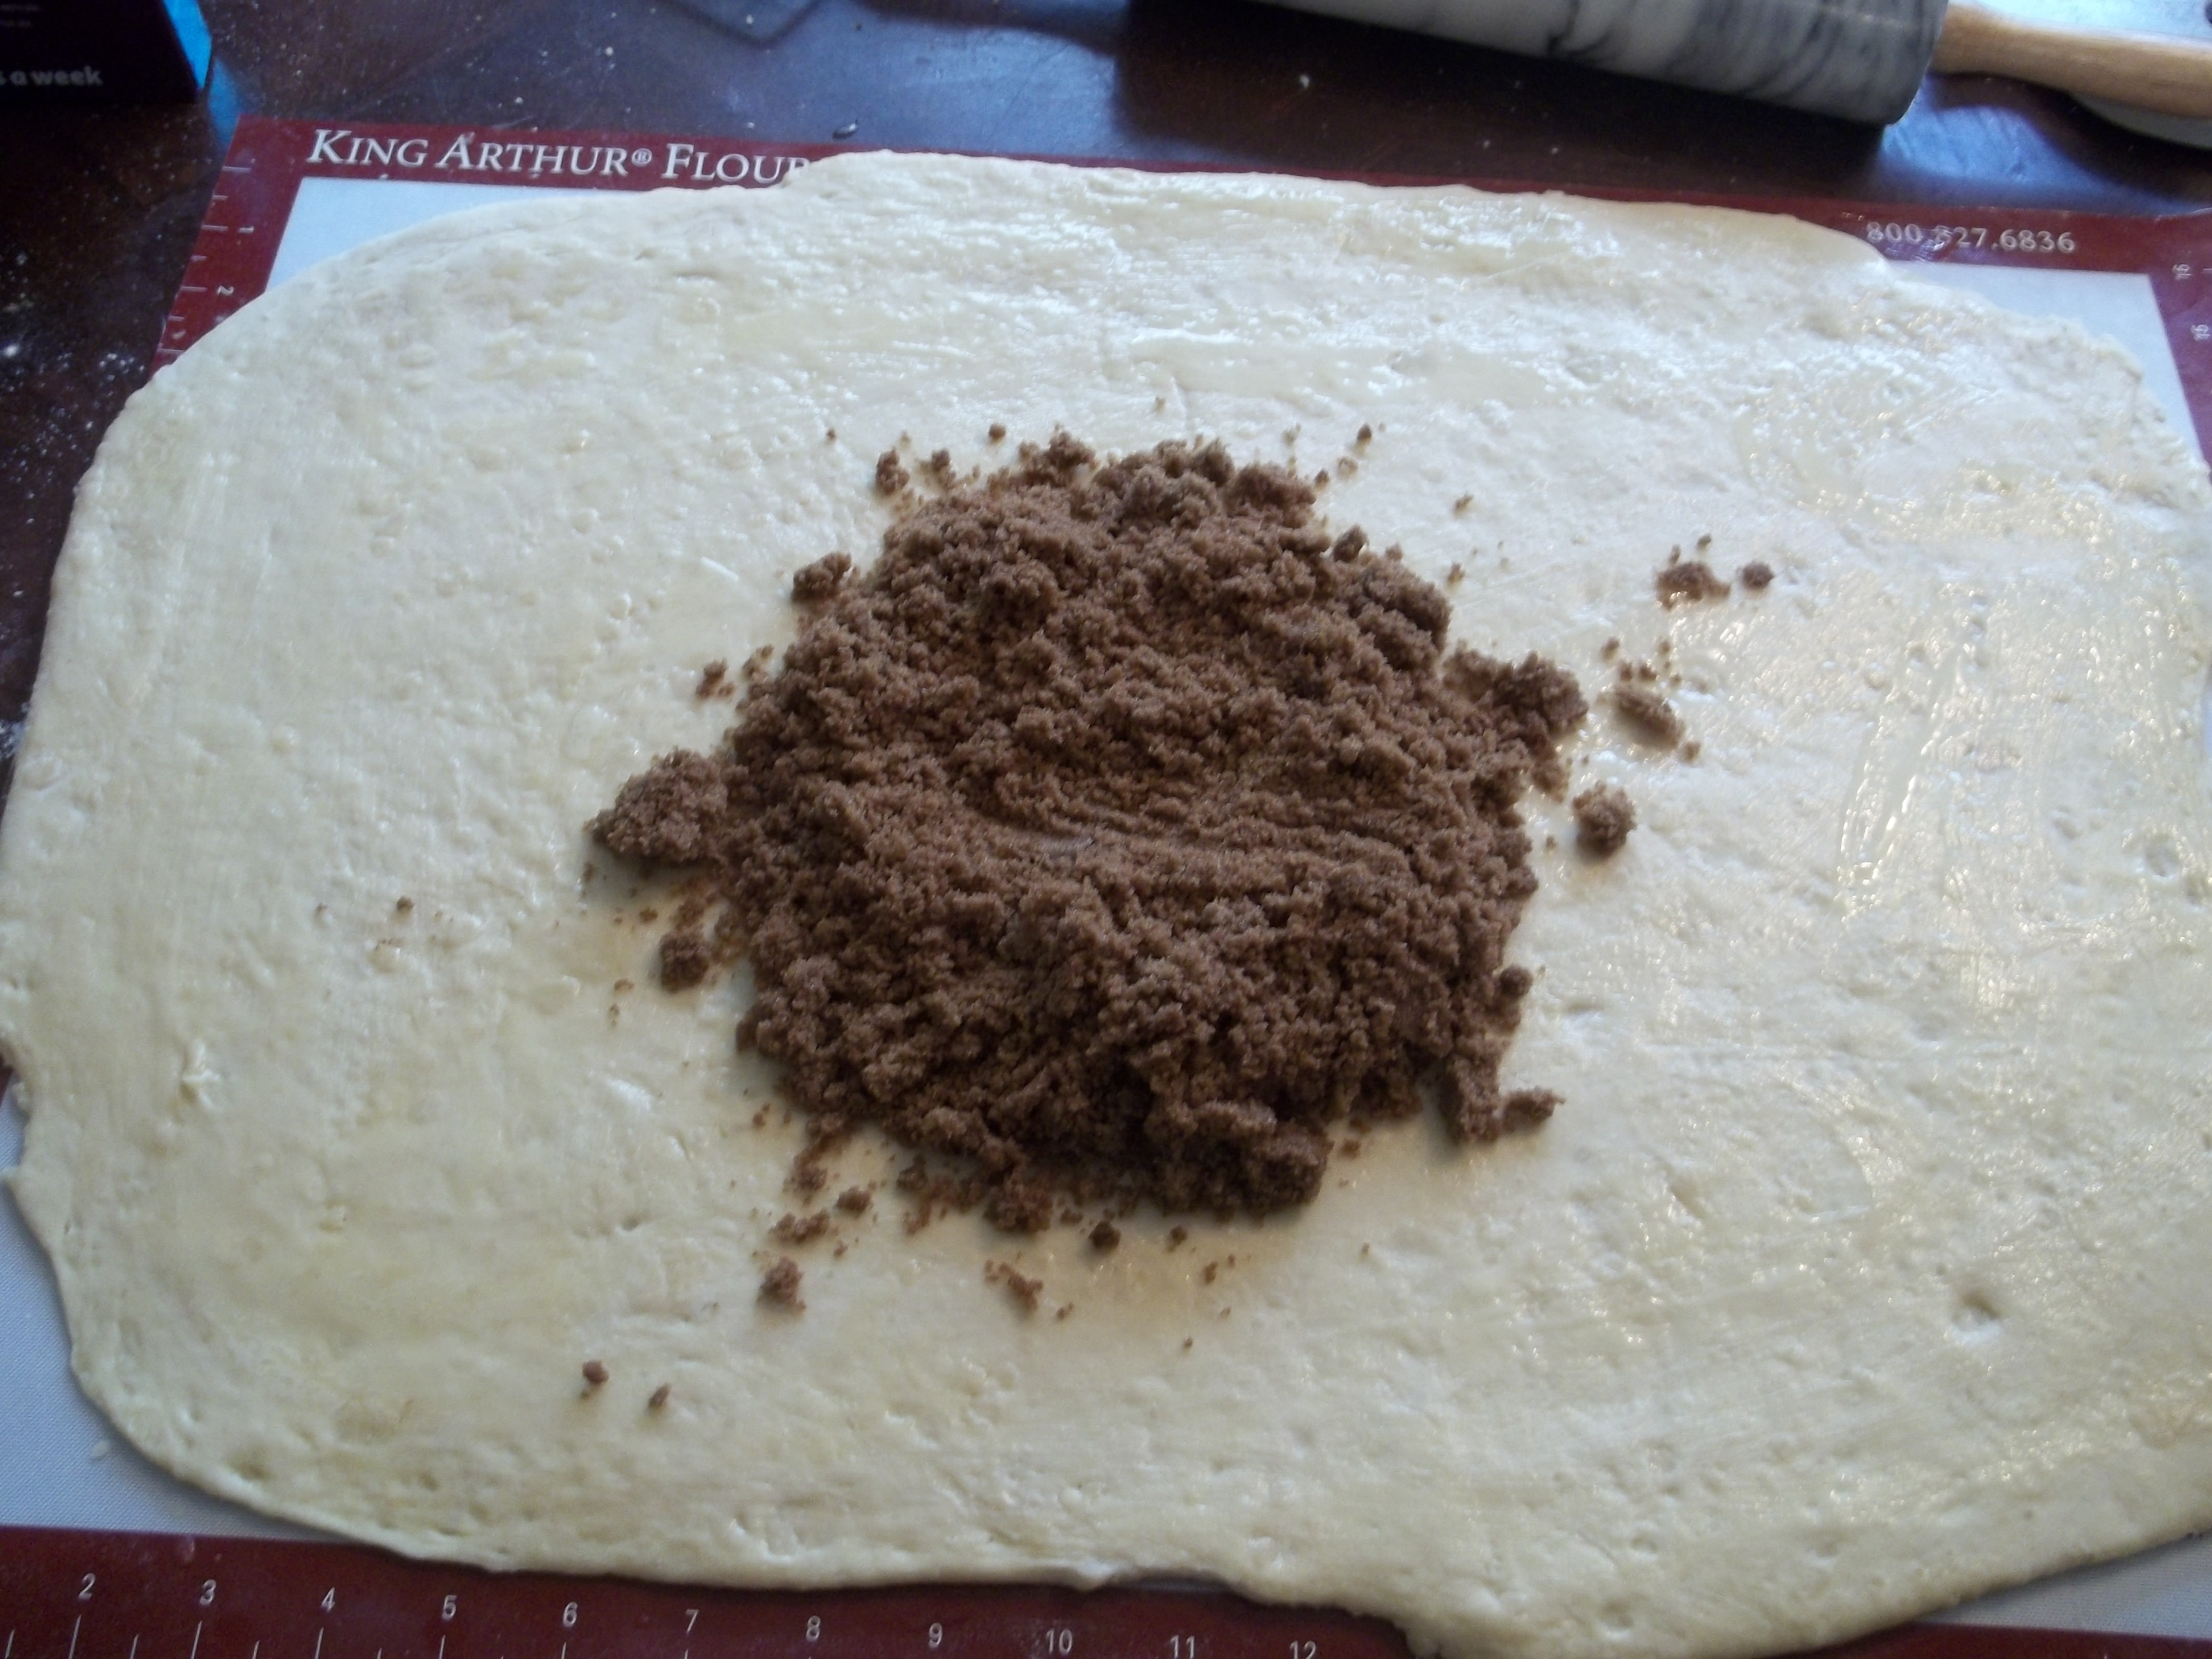
For me, the biggest surprise about these rolls is how not-perfect you can be and get them to come out fabulously. Putting the filling in is two steps: dump and spread.
First, dump the bowl of filling in the middle of the dough:
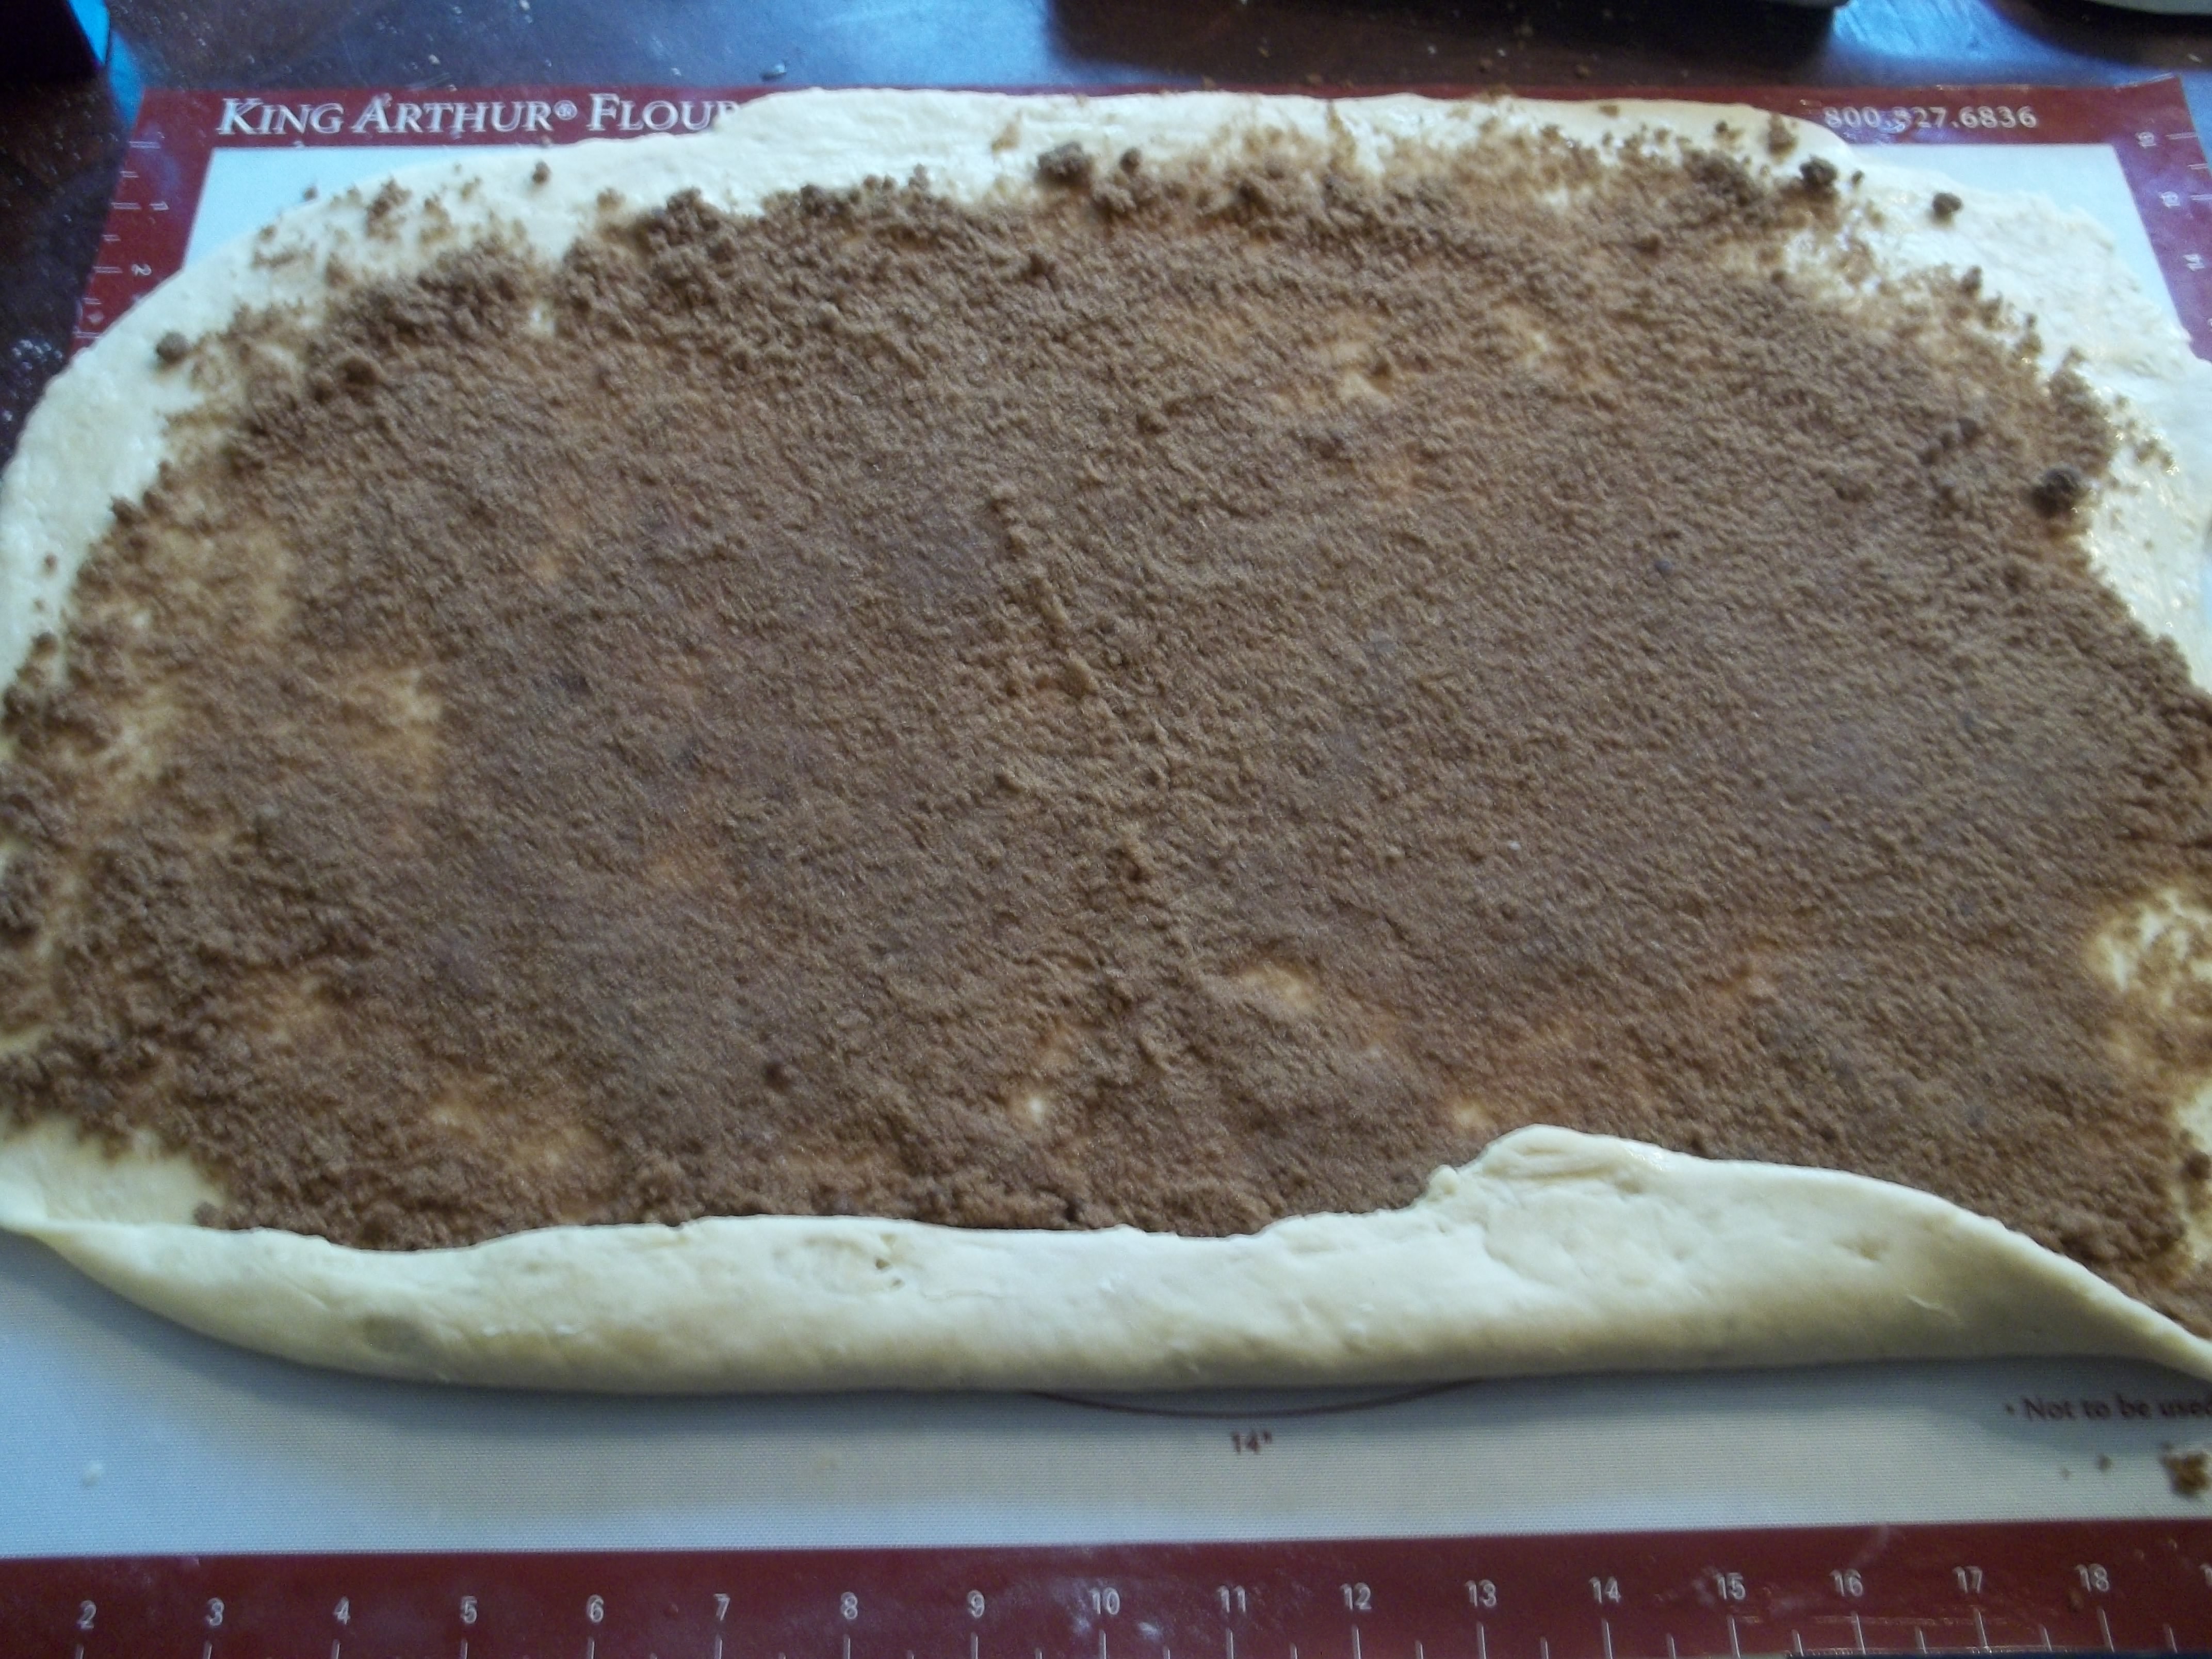
Then use the palms of your hand to spread it more-or-less evenly across the surface of the dough, leaving a one-inch margin, especially up at the top edge. You can see it’s not precisely even all the across. Just try to avoid enormous clumps and completely bald spots.

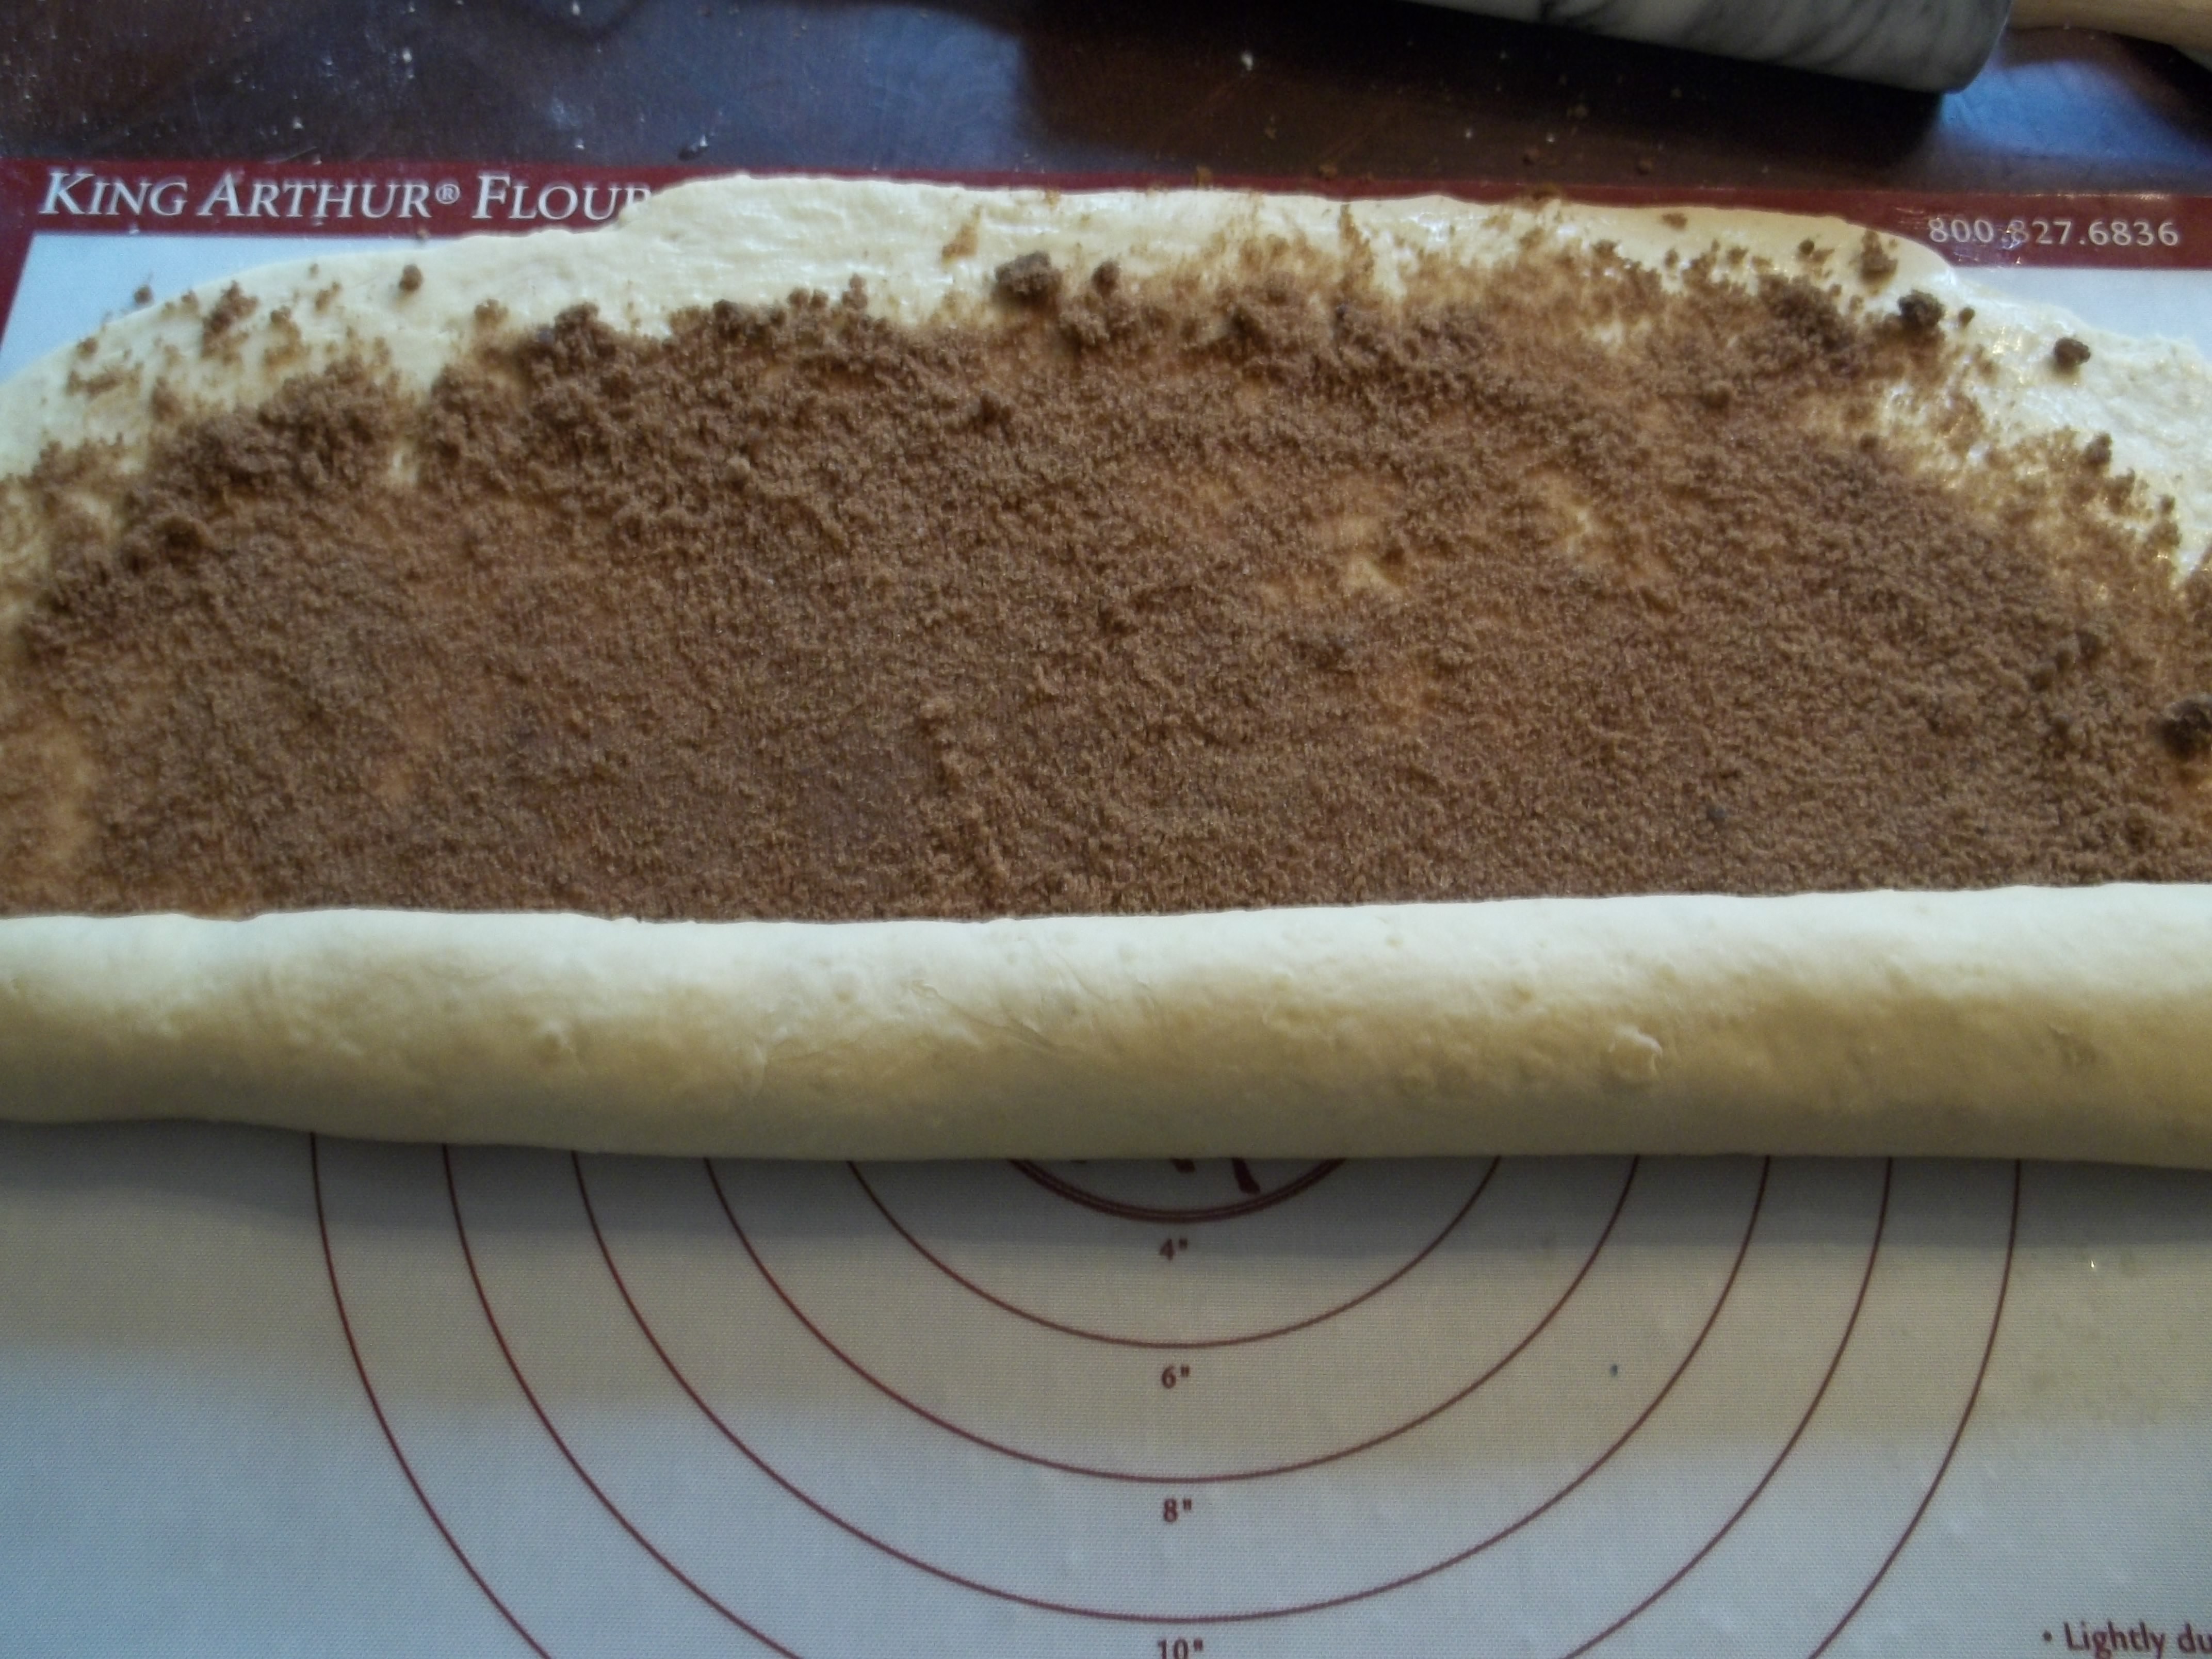
Then you roll it. This is the only part I find that you have to be really careful with. You need to roll it really tightly to keep the rolls from just completely unfurling during proofing and baking. Start with maybe an inch at the bottom, folding it up over the filling. Be careful that you’re actually keeping the filling inside the fold and not just pushing it ahead.
Carefully roll it up. It helps to sort of pull back toward yourself as you roll.
It will eventually become a surprisingly compact little package. Press along the seam to seal it. The butter really helps there. Use a little extra as glue if you need to.

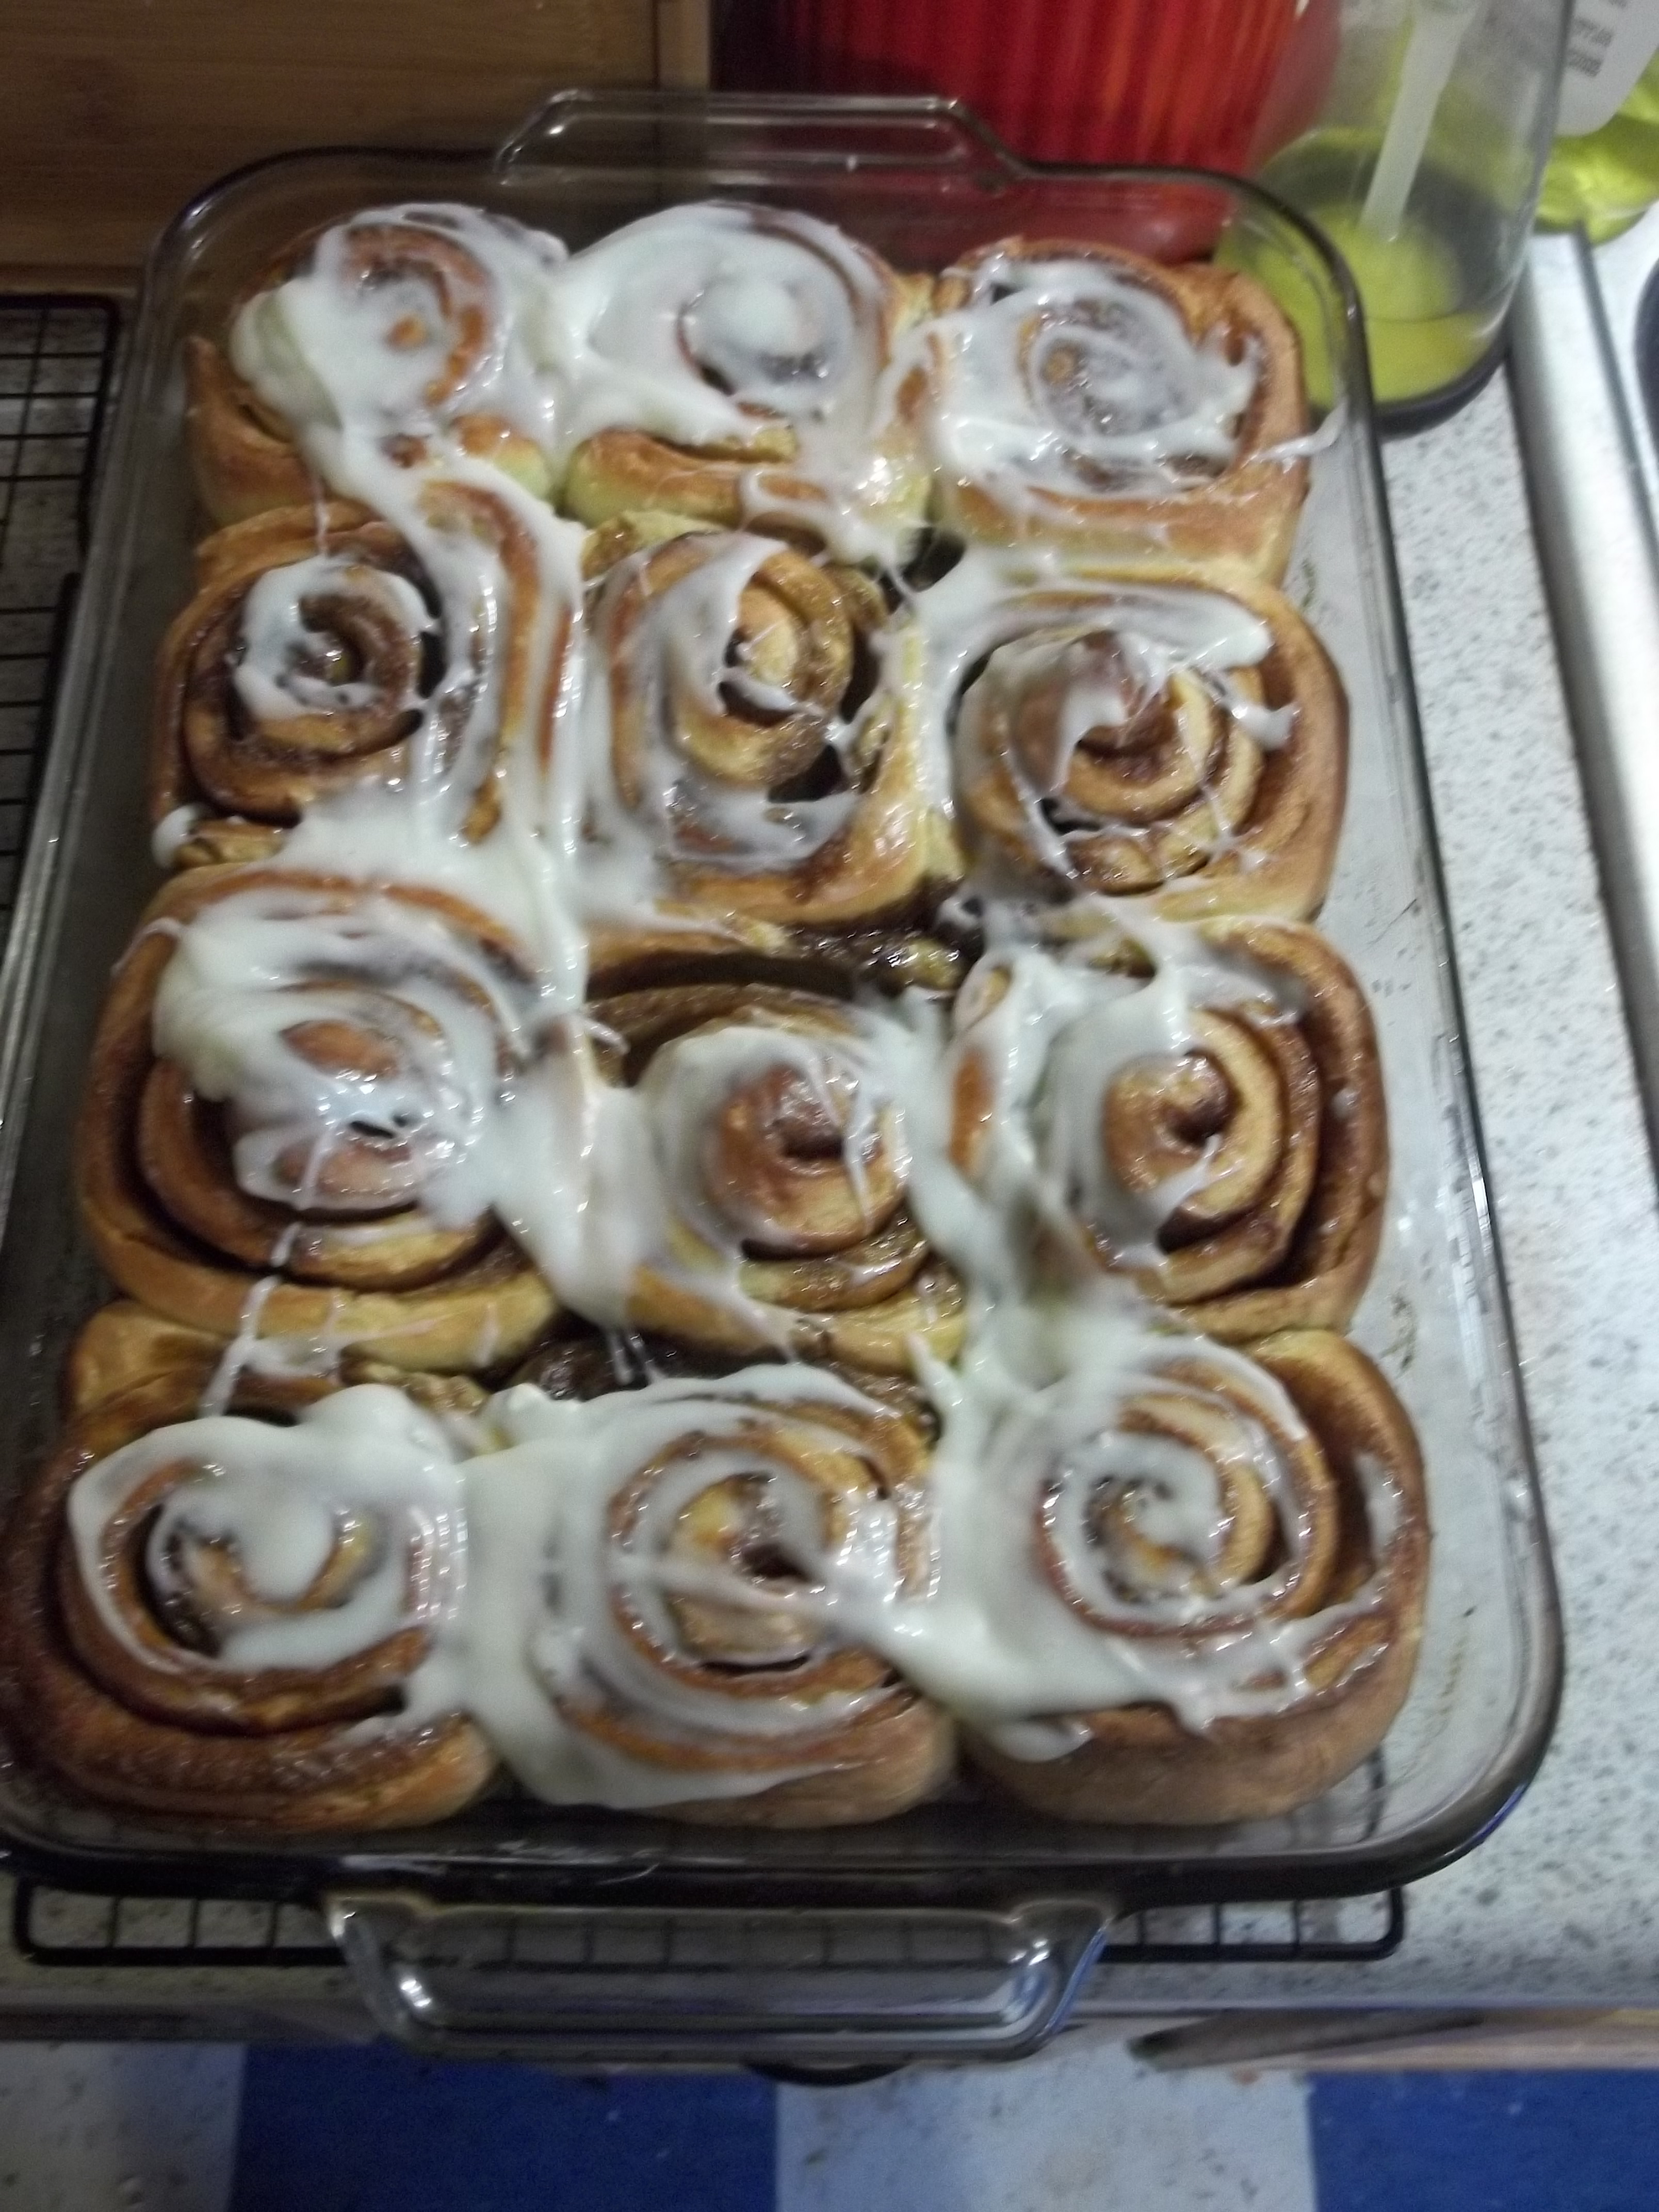
Now you form the rolls. For this batch, I used one of my big glass baking dishes extra-liberally smeared with butter. This gave me an unexpected benefit that I’ll talk about later. And, again, I used one of the plastic pastry cutters.

The first roll cut is the end piece, and it doesn’t have a lot of cinnamon filling in it, so I set it aside and continued cutting rolls. I tend to check and see which side shows more of the filling and make that the top side.

I cut them about one and a half to one and three-quarters inches thick and placed them in the dish with about half an inch room between them. These guys will rise pretty well, so leave yourself a little space.
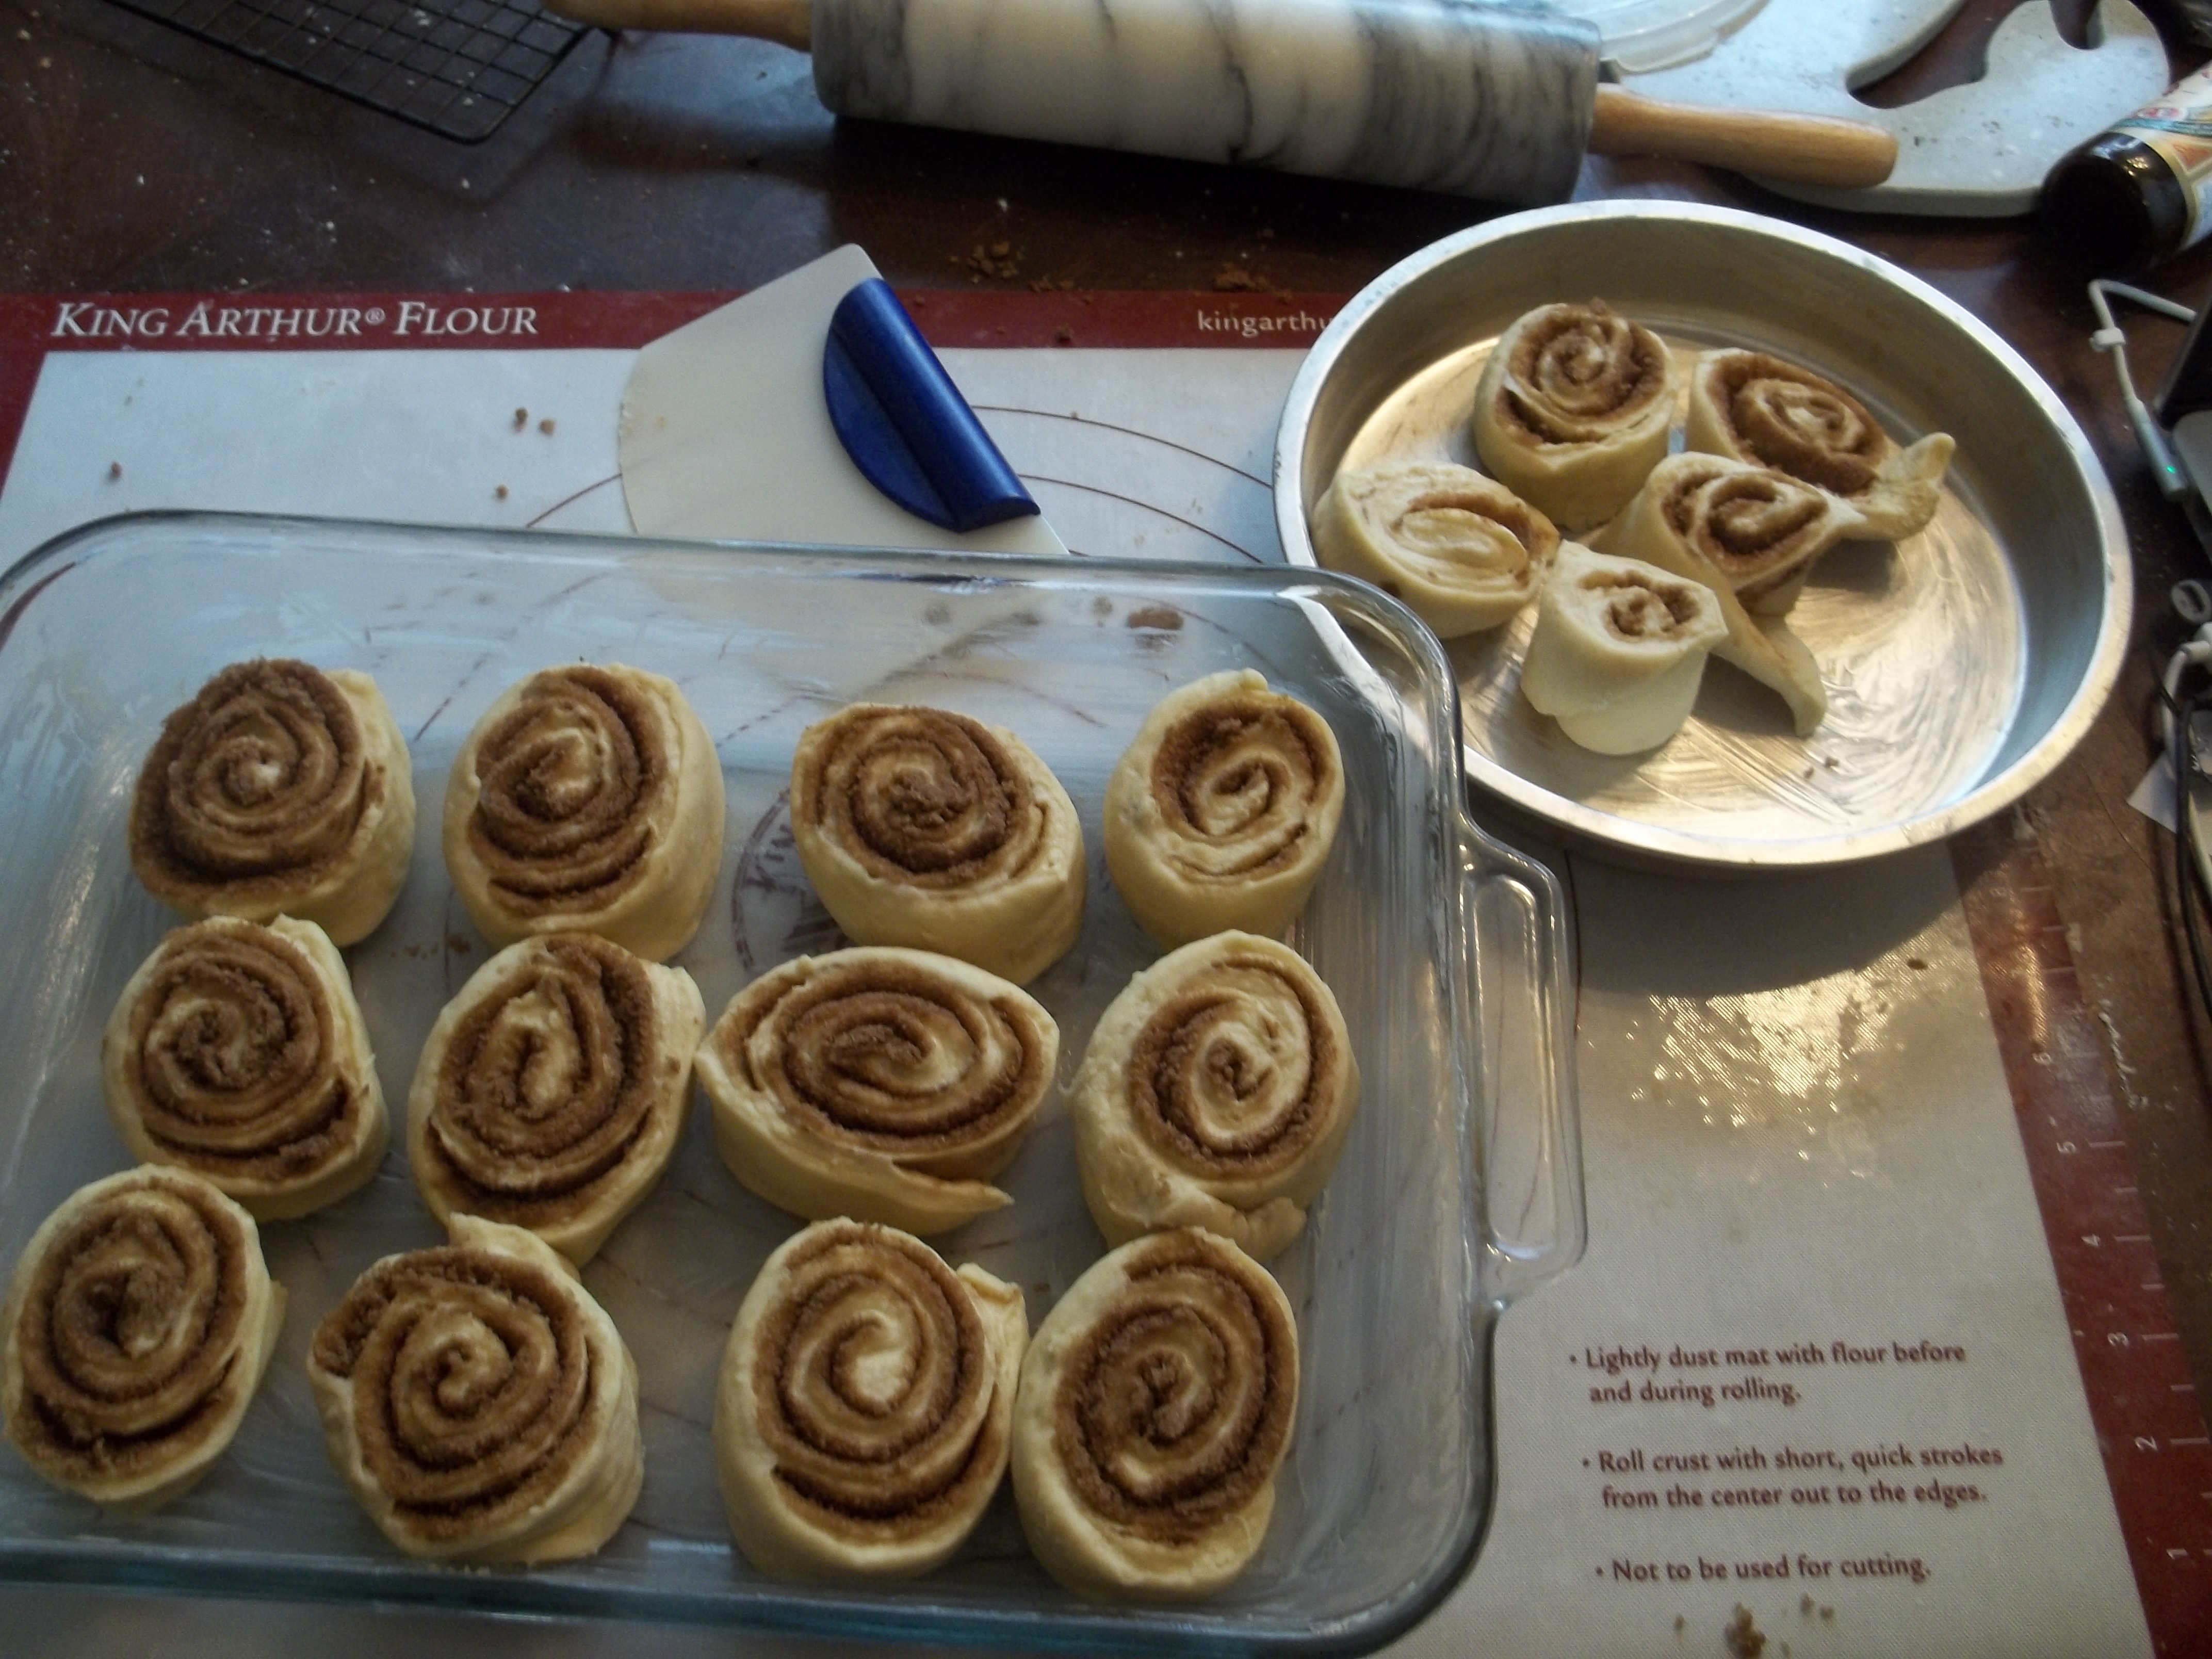
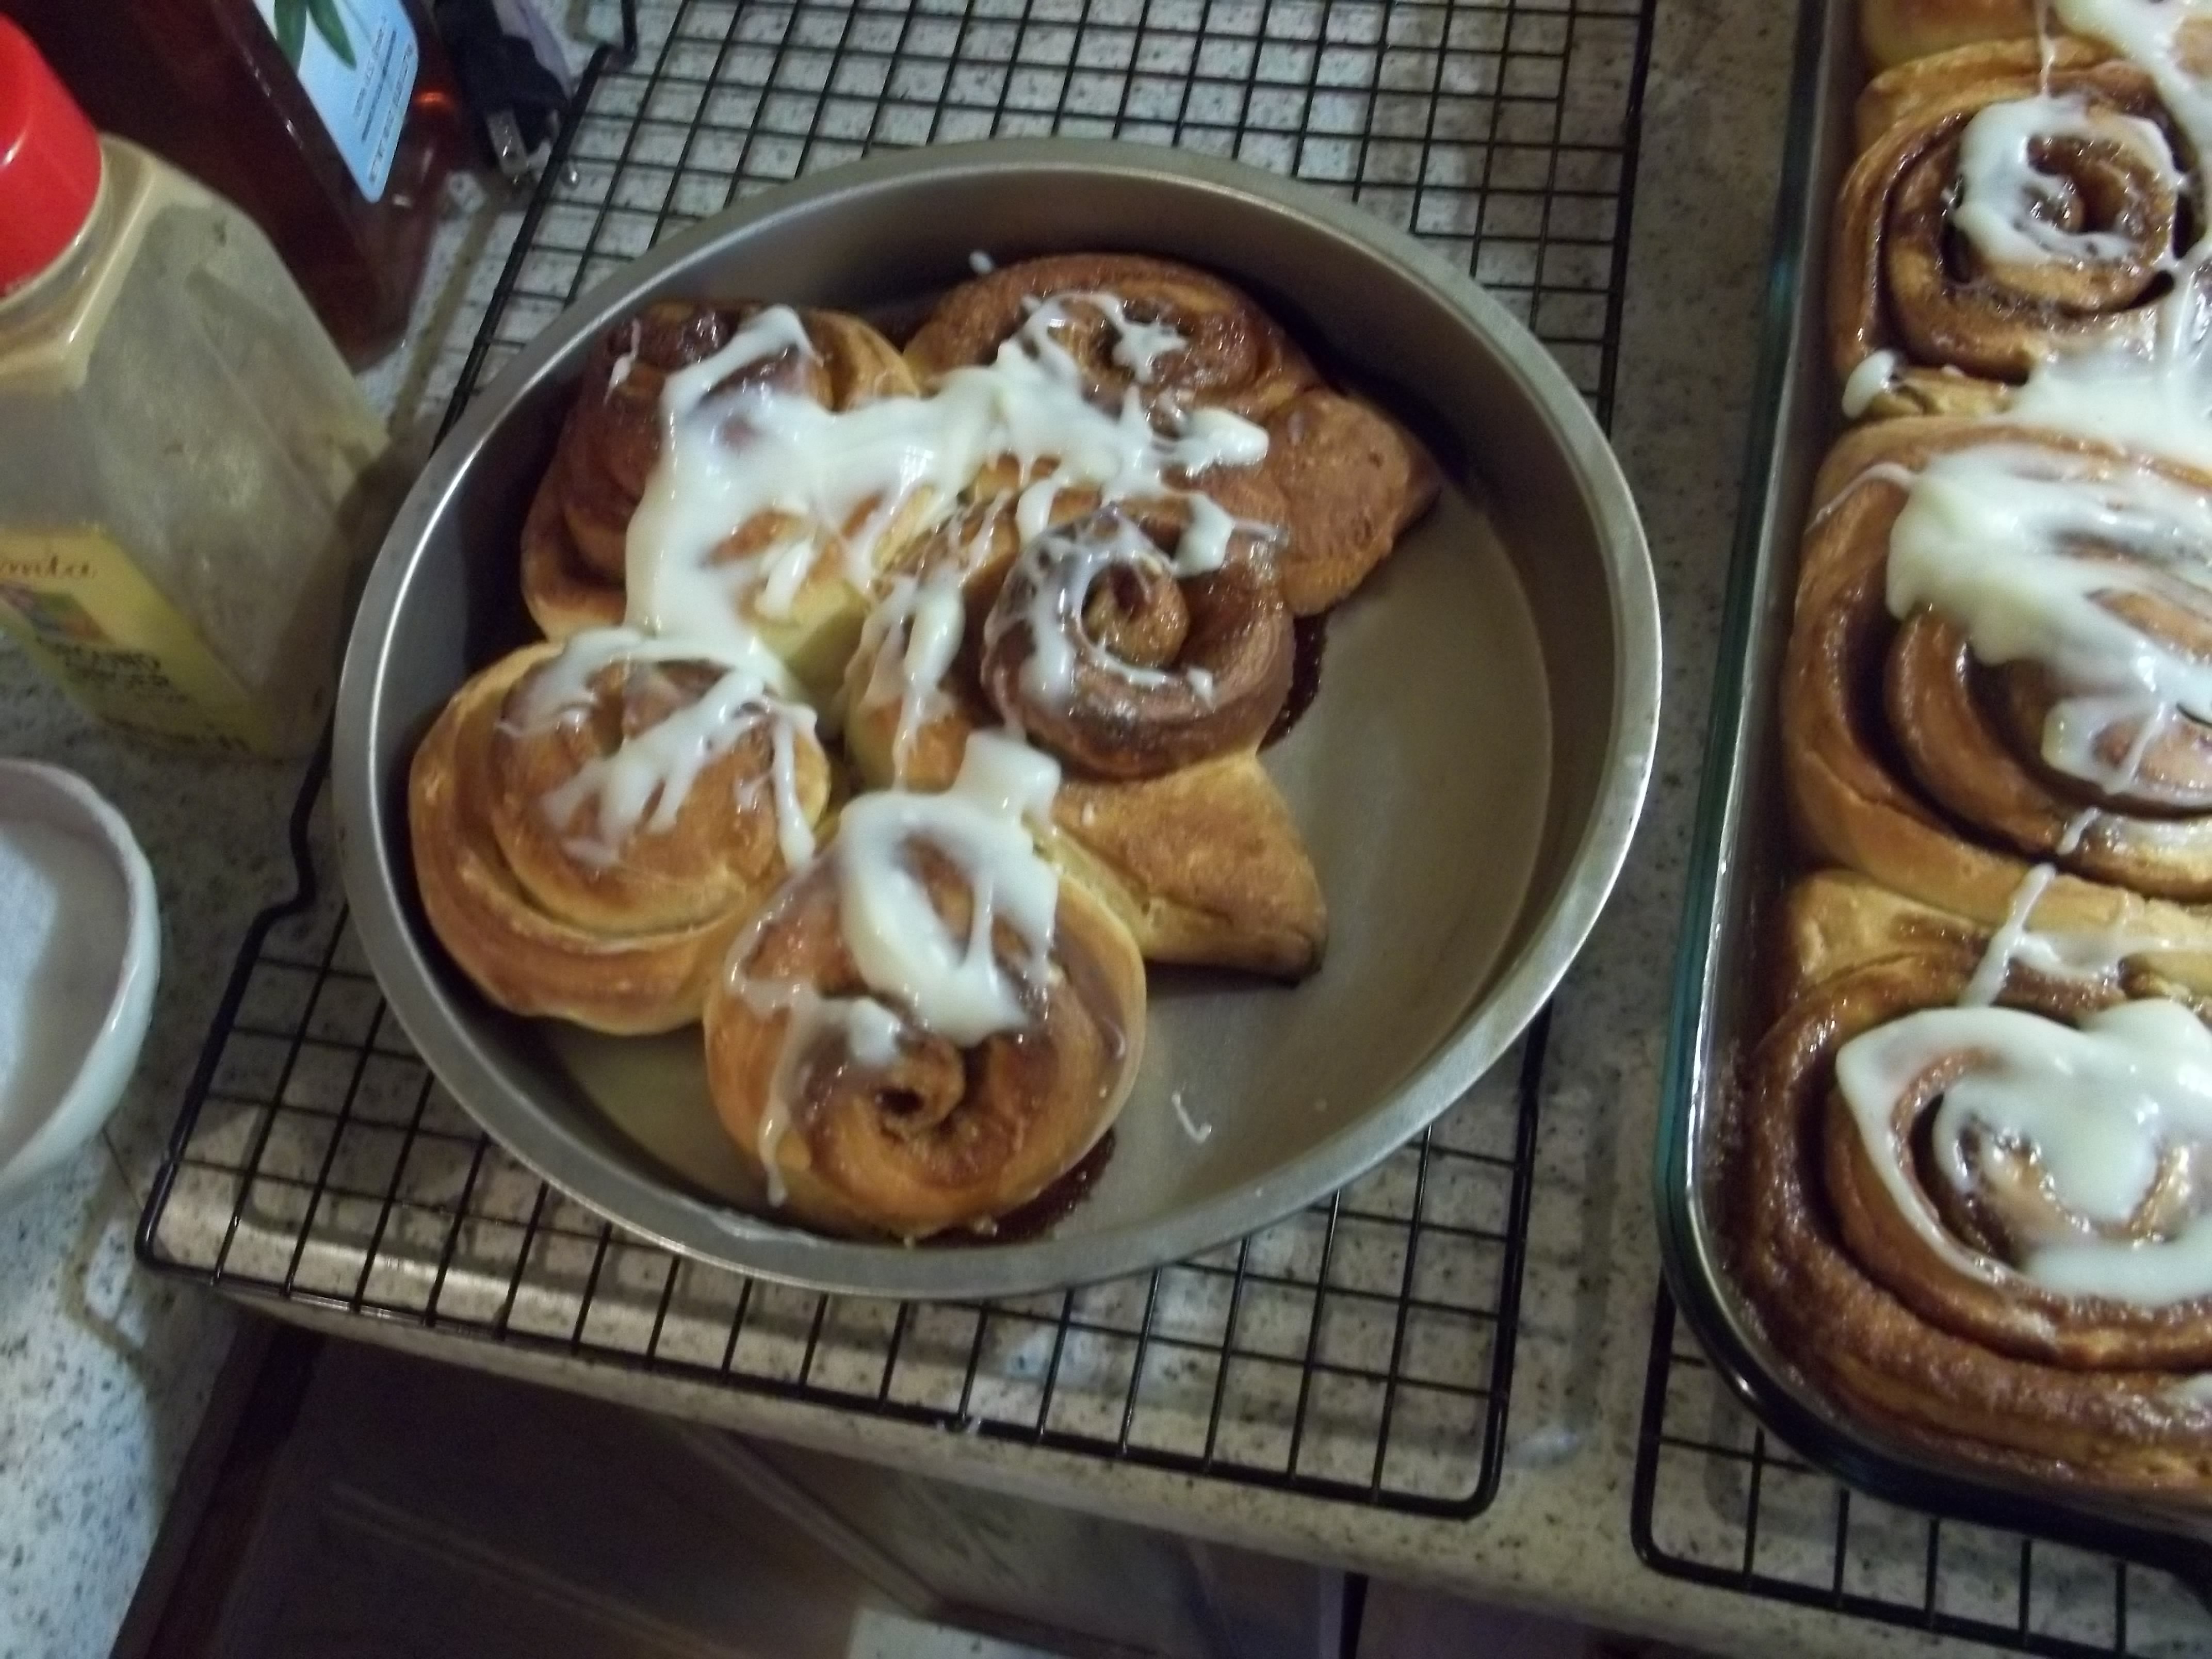
The last few rolls and the two end pieces got put into a smaller round dish because one does not simply waste cinnamon rolls.
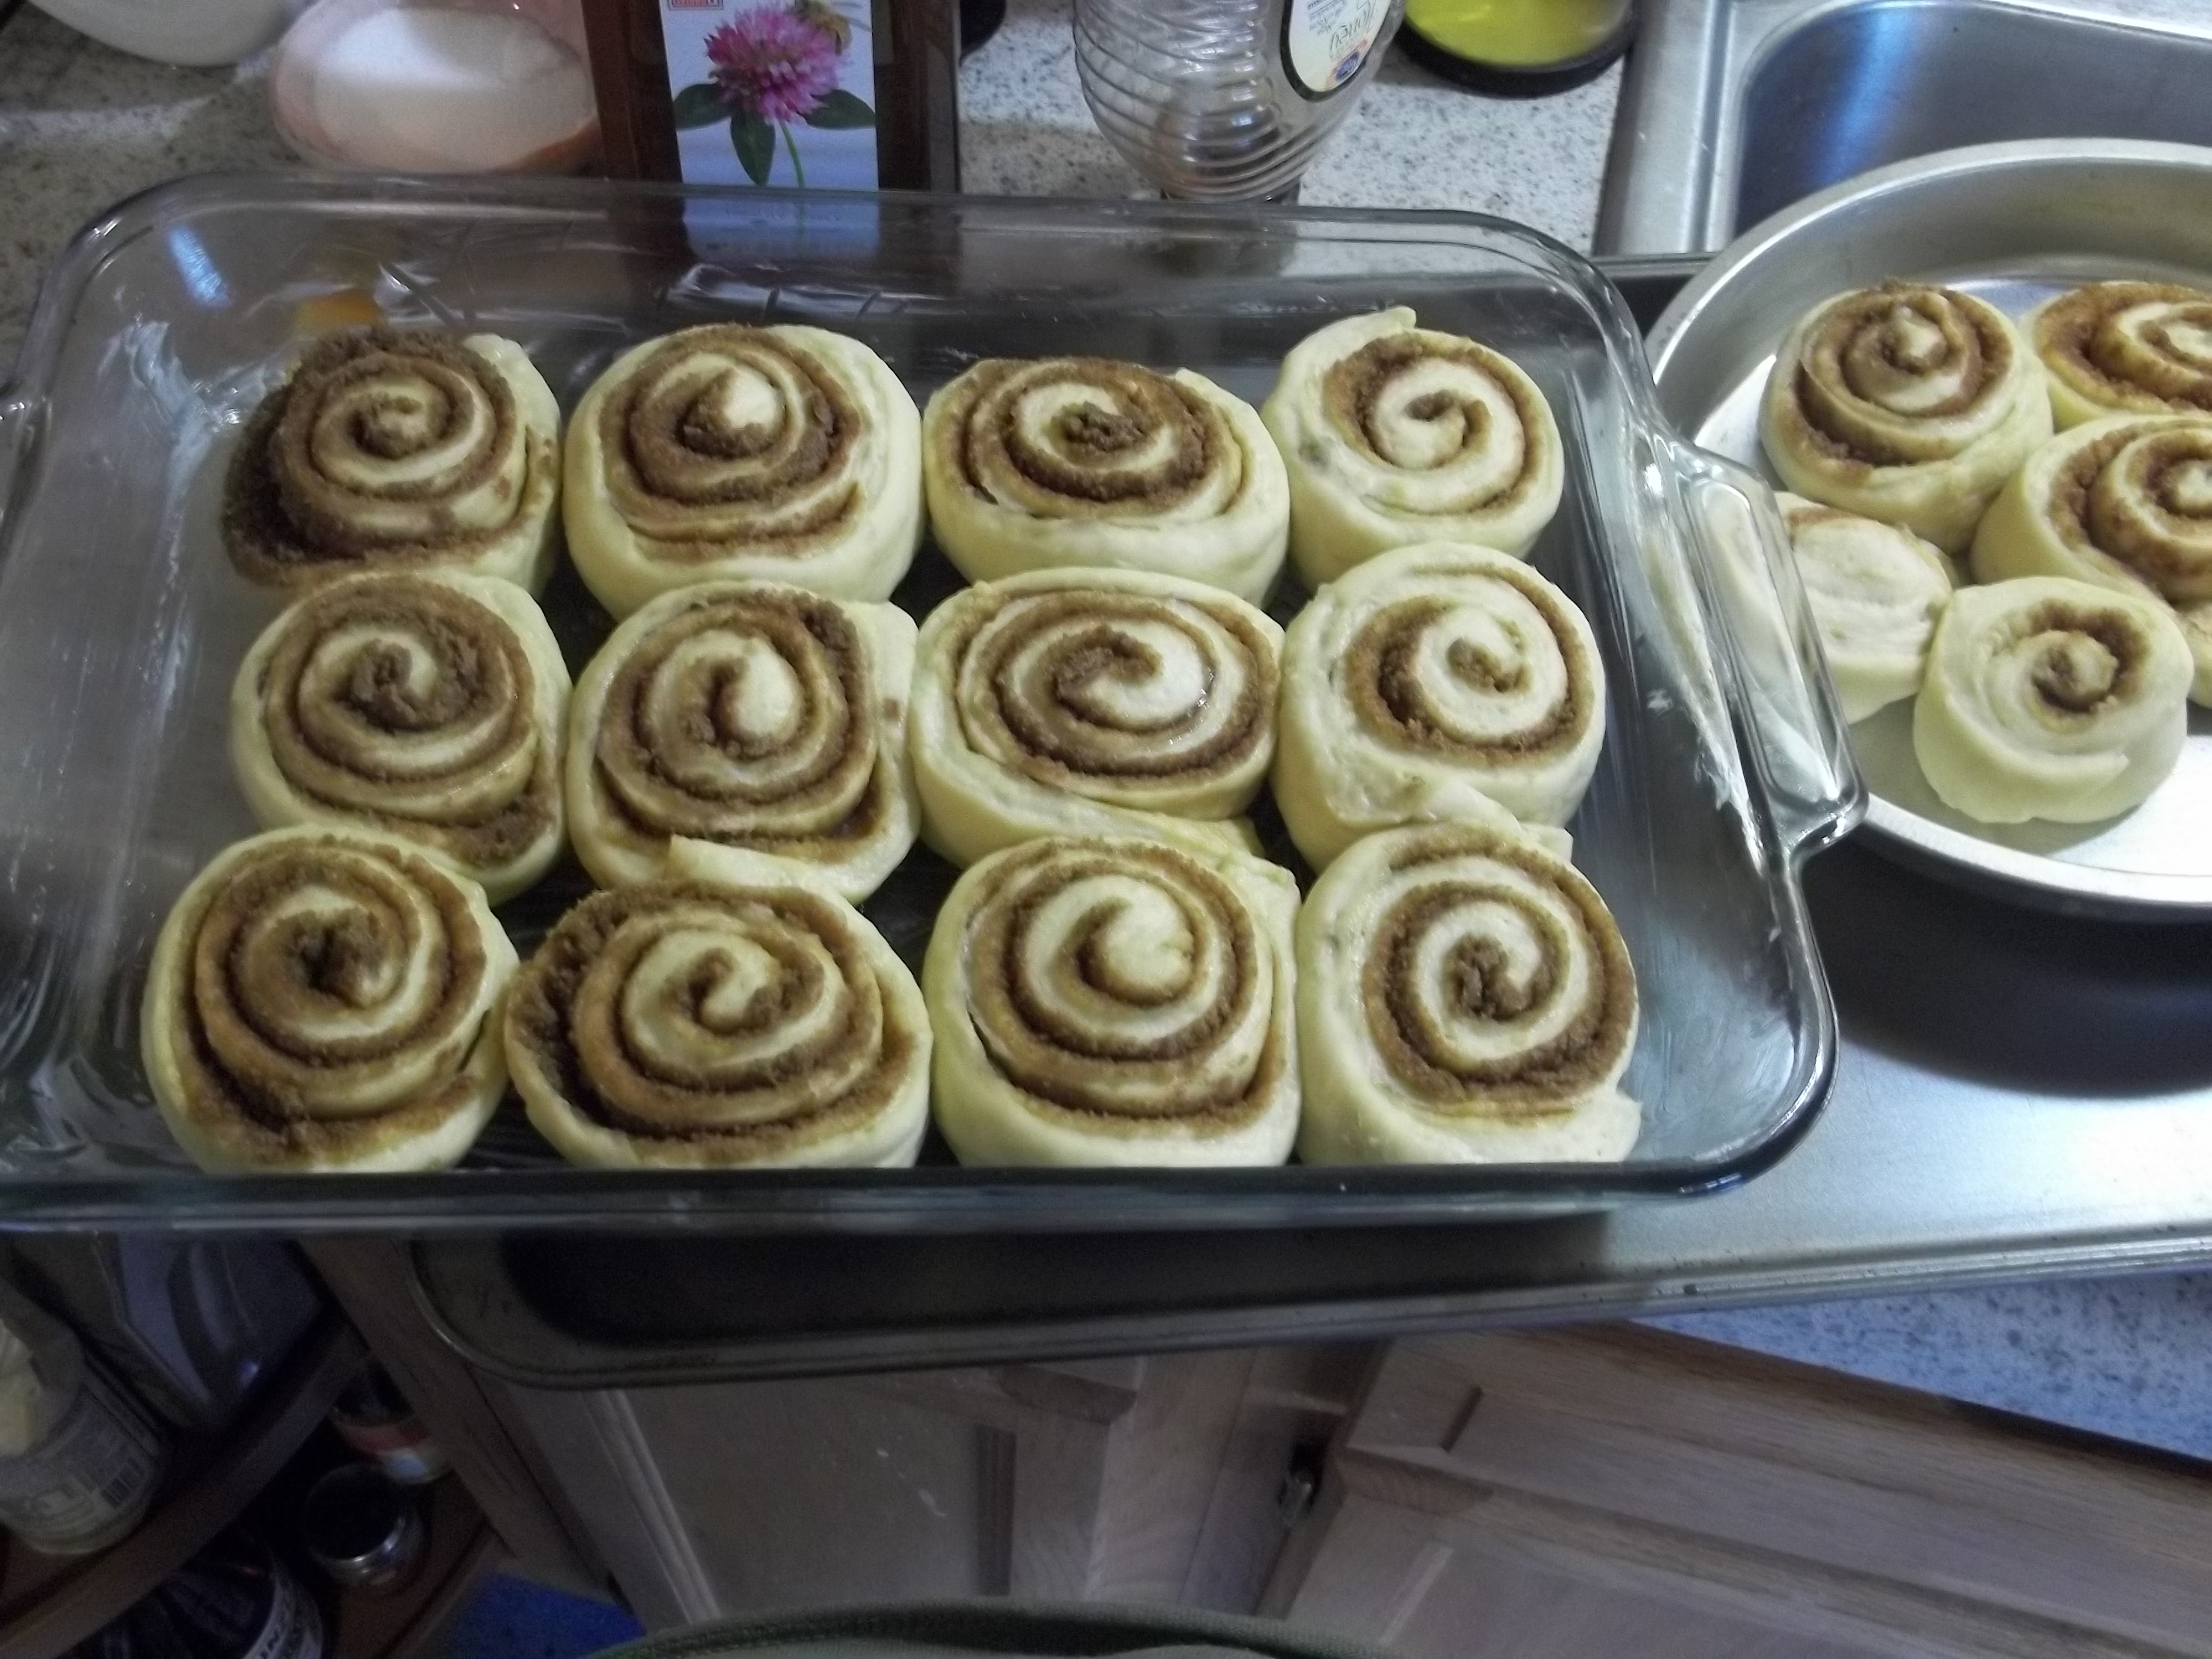
This is after about an hour’s rise. I let the oven pre-heat to 350 for about forty-five minutes of that. Proofing any kind of baked good is not an exact science. I basically waited until they looked about puffy enough and put them in the oven. While they were baking, I threw together a cream cheese glaze.
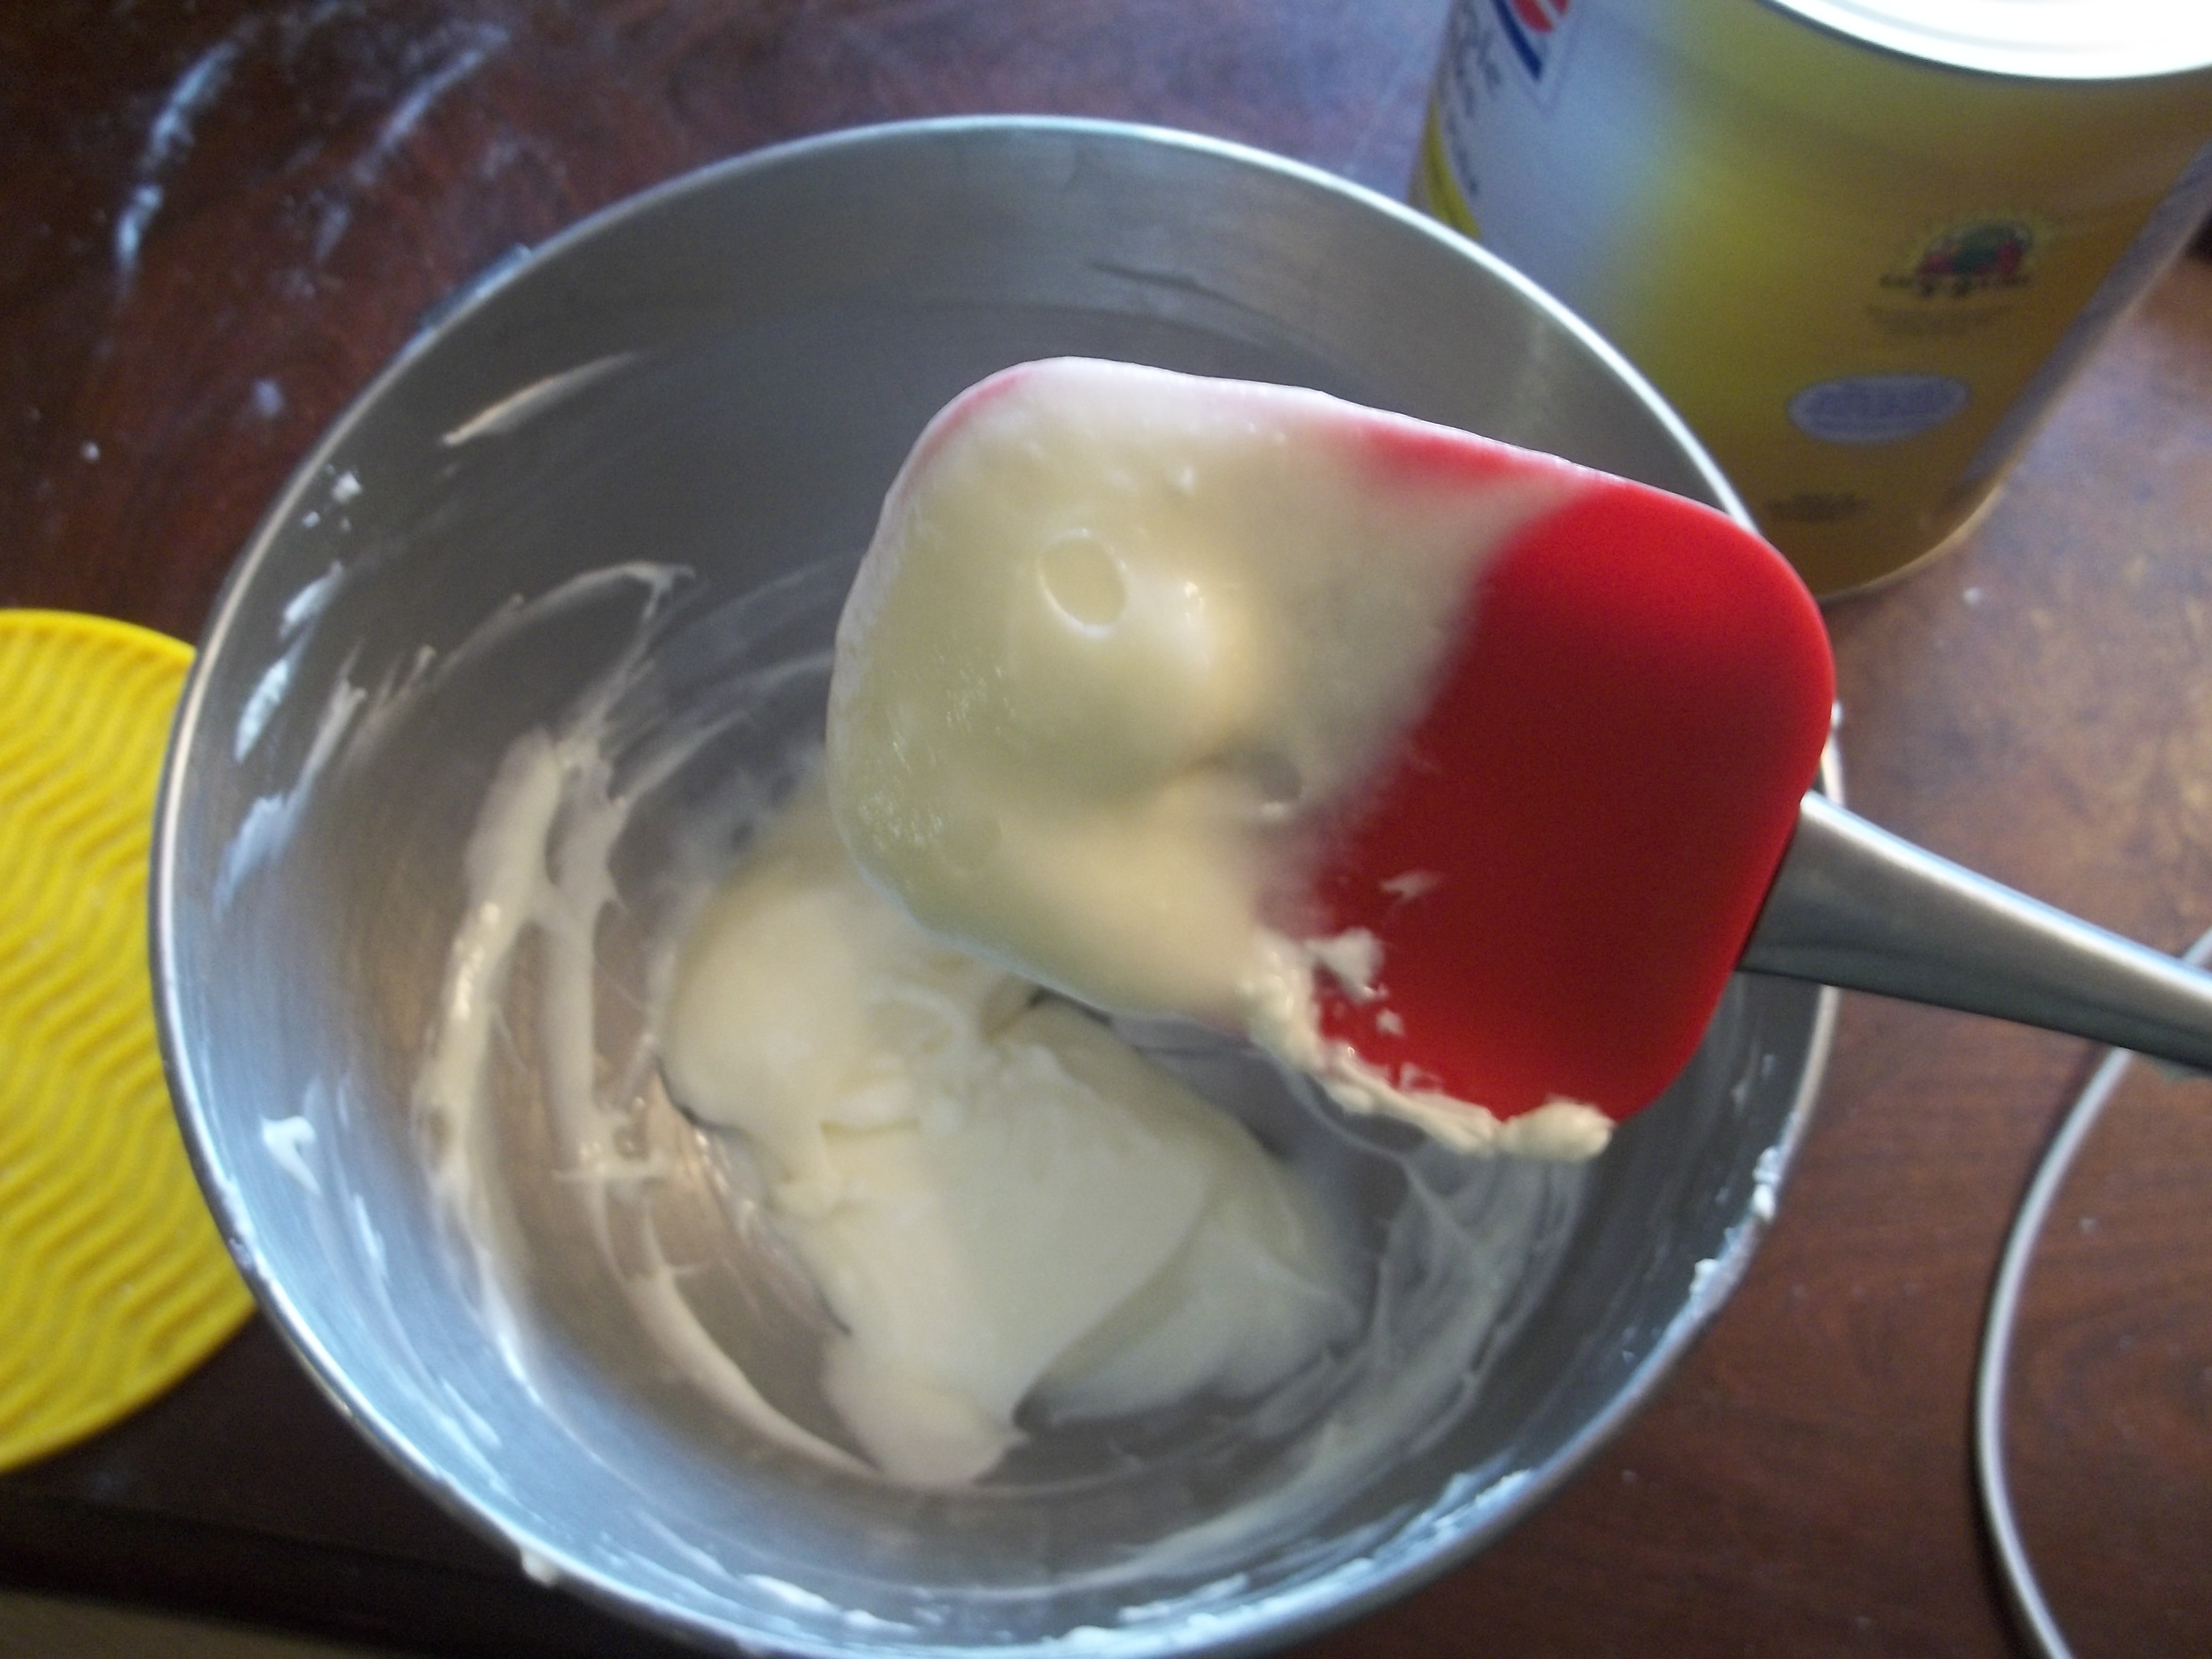
This is the simplest stuff in the world:
4 oz. cream cheese at room temperature.
Juice of 1/2 a lemon
1/2 cup of powdered sugar (plus more as needed)
In the bowl of a stand mixer (or with a regular old hand mixer if you don’t have a stand mixer), blend the cream cheese until it’s light and fluffy. Add the lemon juice and continue to mix until well-incorporated. Sift in the powdered sugar and blend until thick and creamy but not stiff. You may need to add more sugar to get the texture just right.
This is meant to be a glaze and not a frosting, so the proportions are approximate. If you want a thinner glaze, add a couple tablespoons of milk. If you want a thicker glaze, add a little more sugar.
I baked the rolls for about thirty minutes, rotating the pans 180 degrees halfway through because our oven has a hot spot in the back.
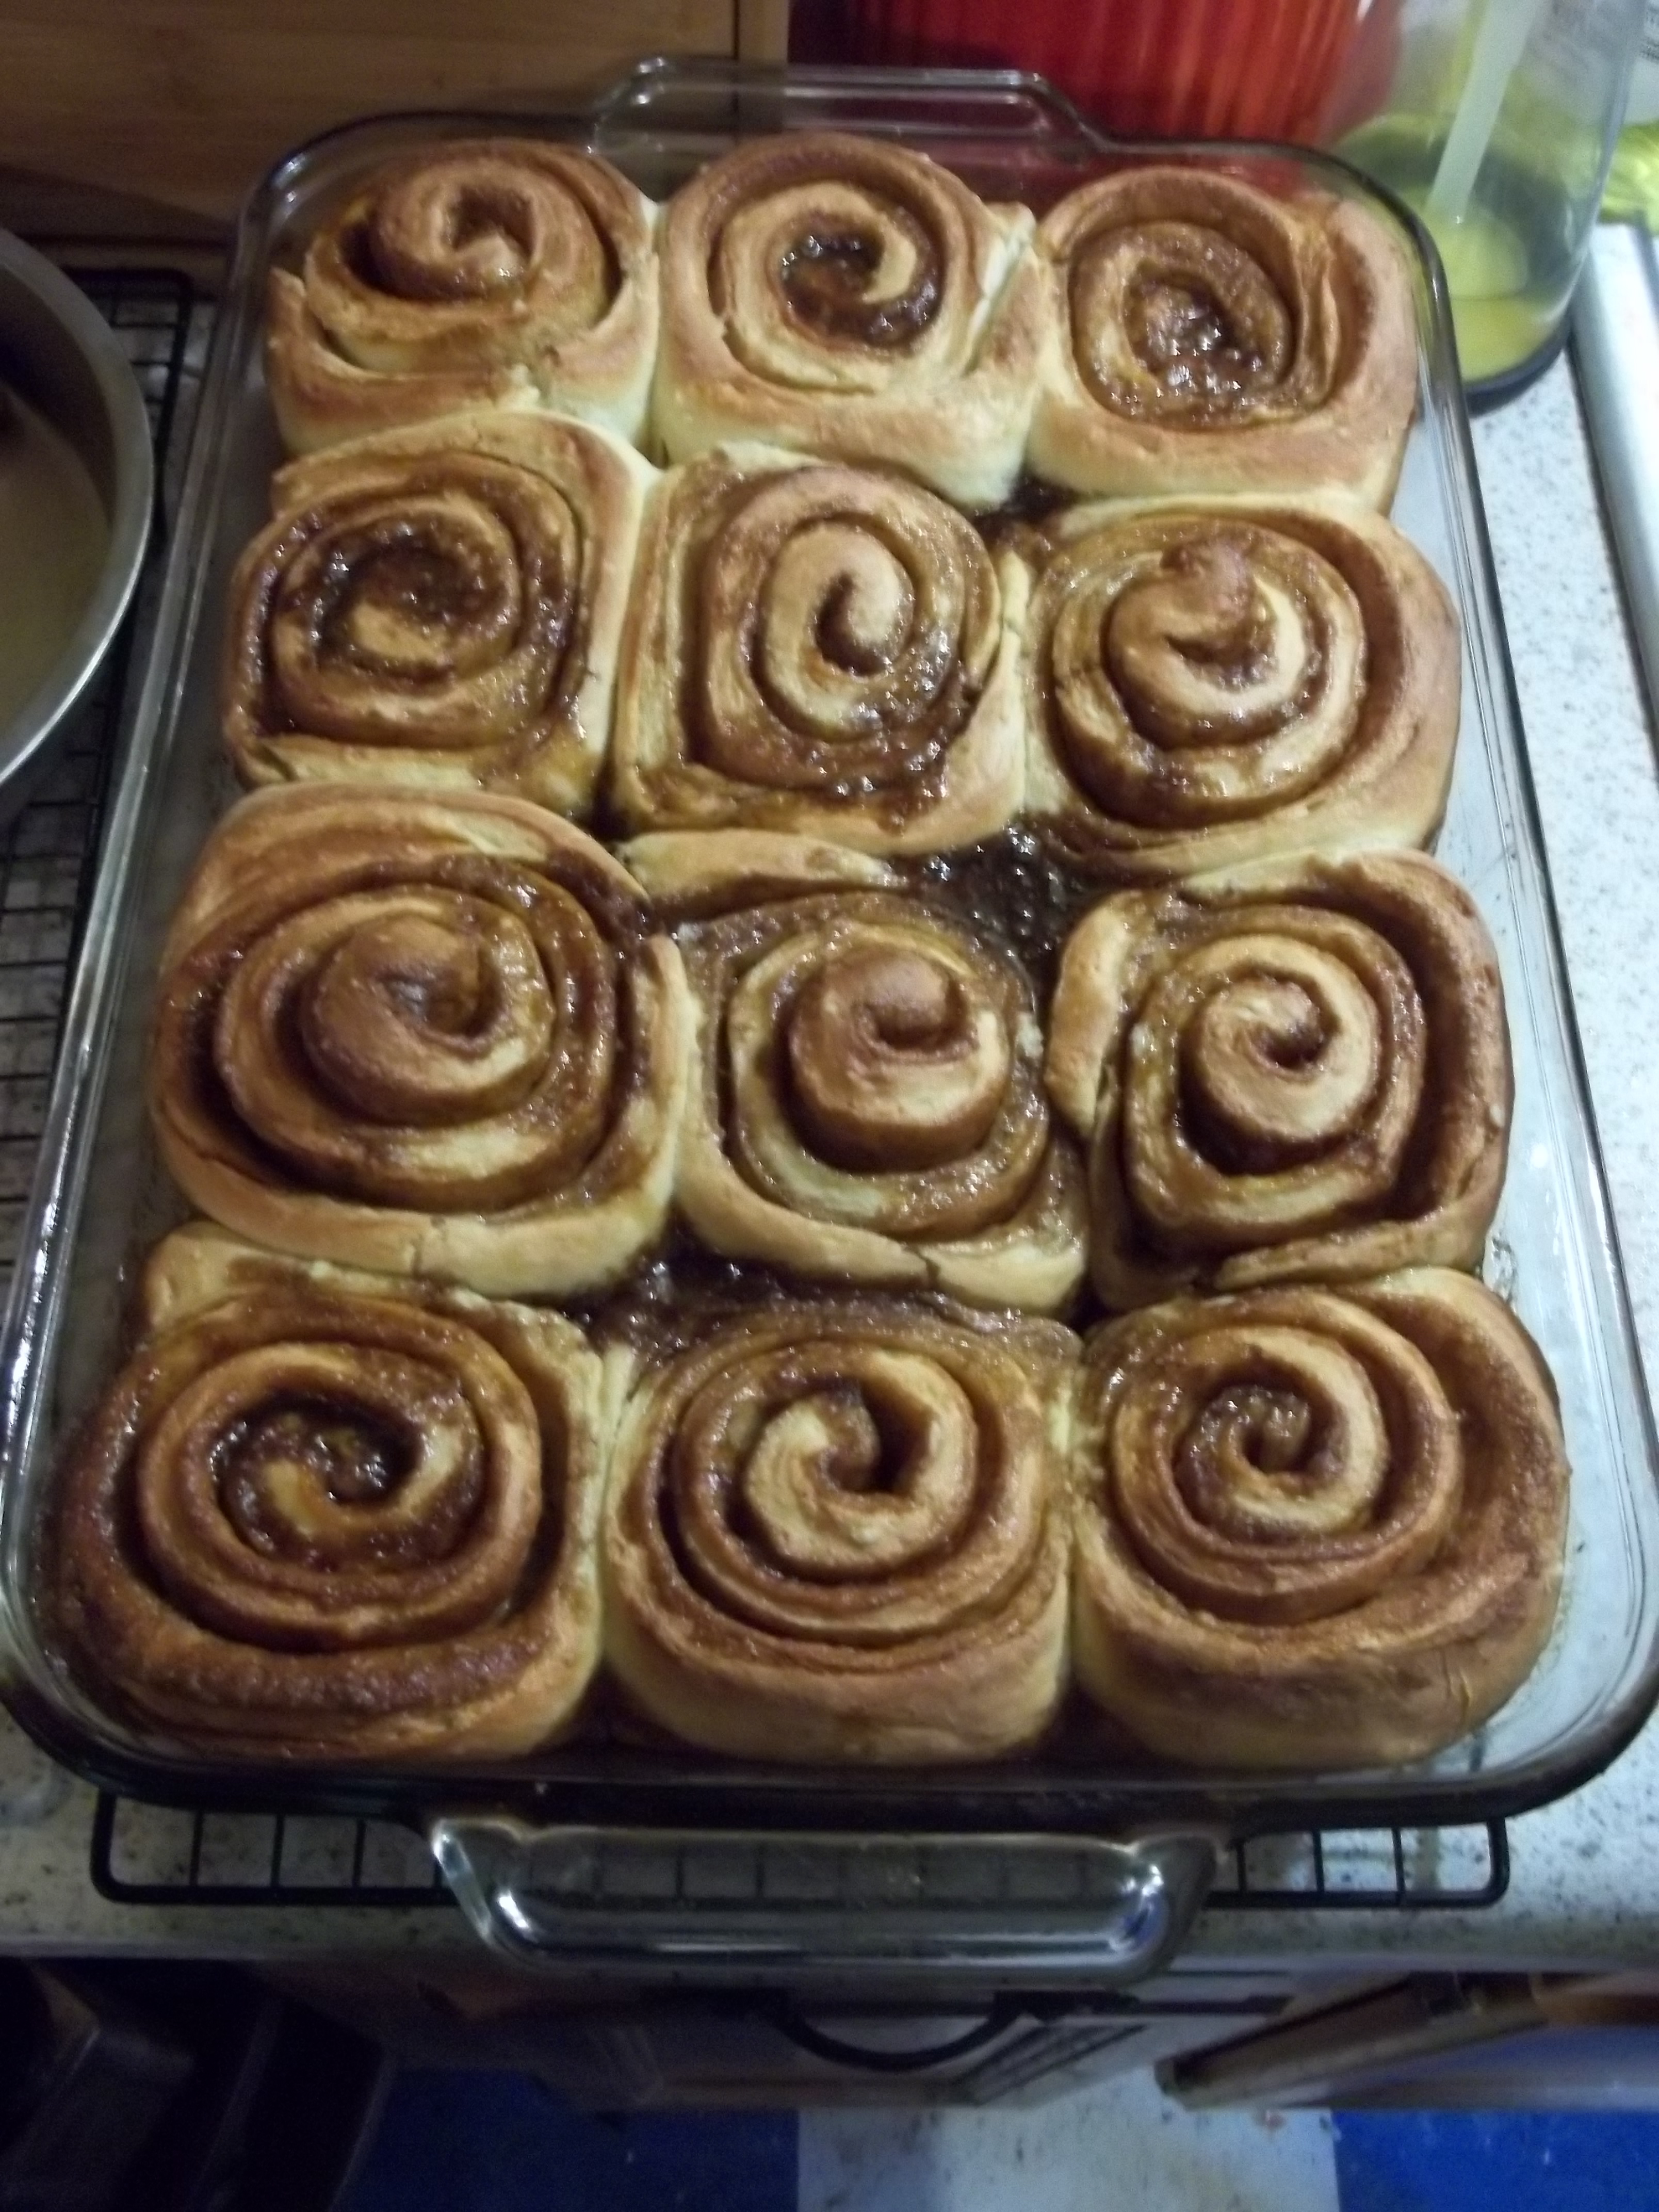
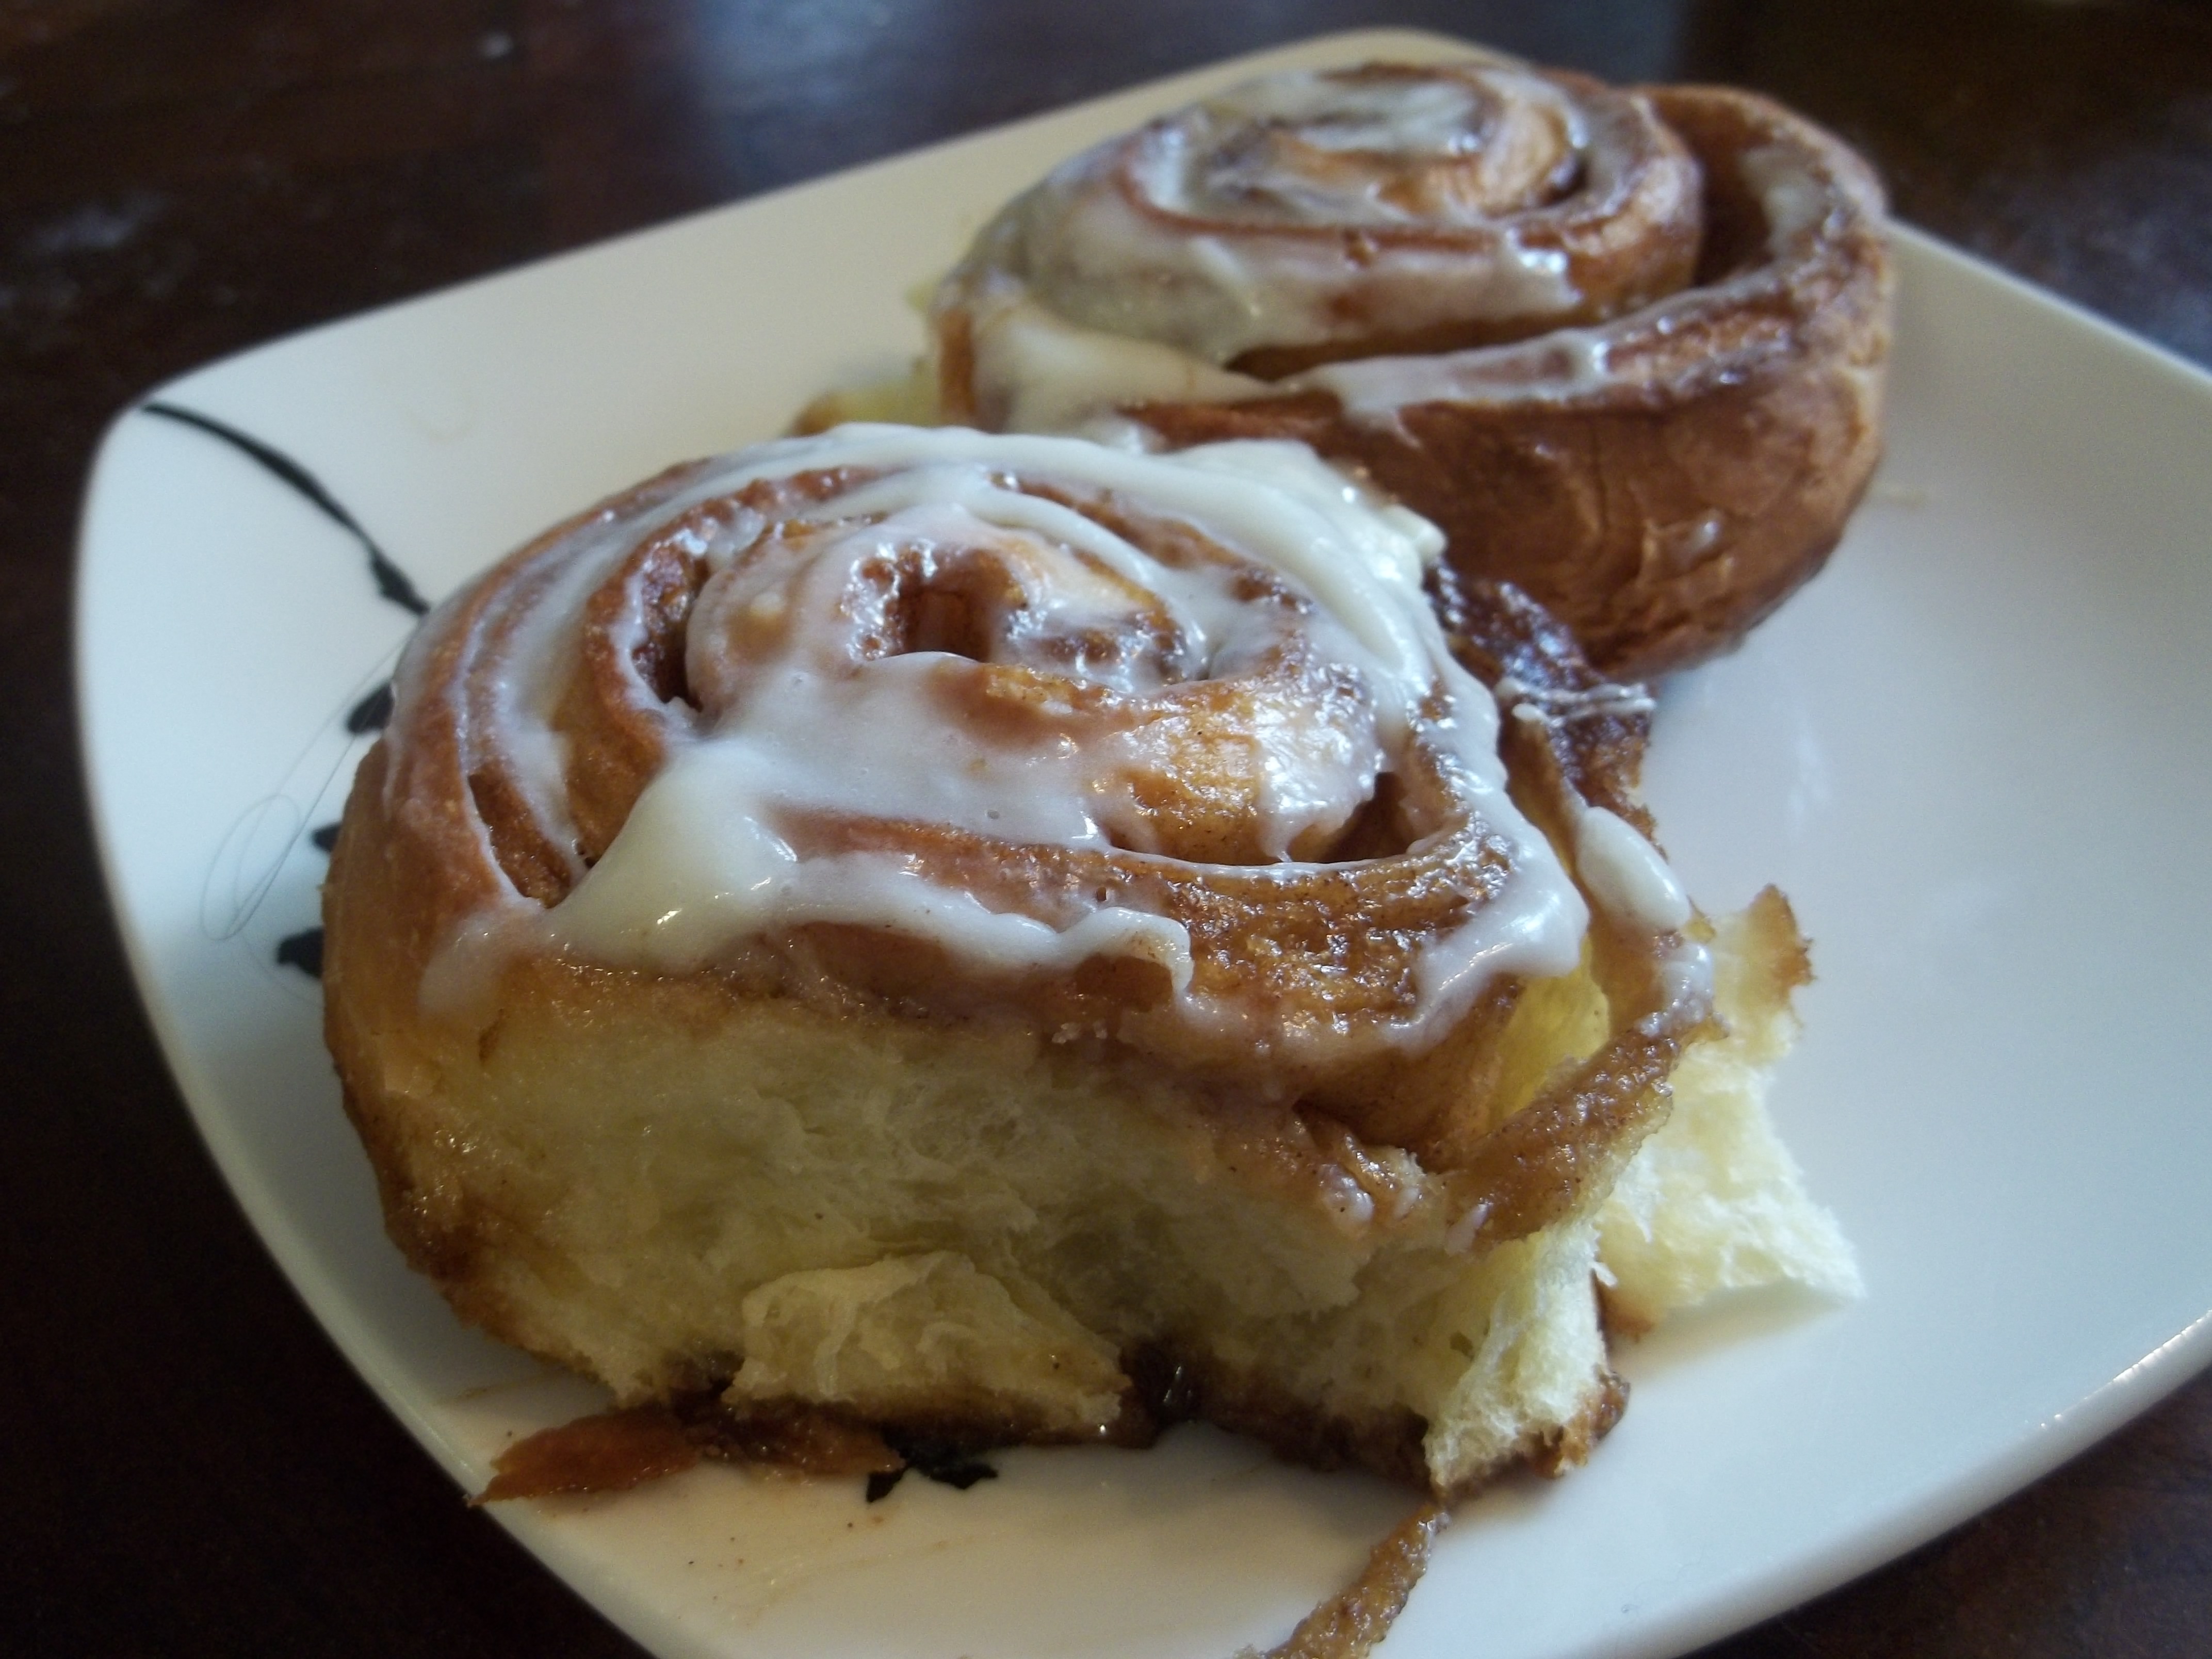
As you can see, despite all the space I started with when I was cutting the rolls, they filled up pretty much the whole dish once they were baked. While they’re still warm, add the glaze. Again, this isn’t a contest about being perfect. It’s about tasty, tasty wickednesss.
Be careful as you do this because the rolls won’t be fully set yet. It will take 15 minutes or so of cooling before you can get them out of the pan without them disintegrating.
The extras got a little browner than the main pan. They’re just as tasty, however. One thing I’m learning is that looks are good in baking, but taste is the thing people will remember.
The unexpected benefit of what I thought of at the time as over-buttering the dish was caramel. When we cut into the main dish of rolls, there was a gooey, thick caramel glaze on the bottom where the filling had melted and mixed in with the butter in the dish. You can see it in the foreground of the first picture up top. This is something I’m going to do on purpose next time.
Suggestions for the next time I make these:
- sprinkle rum-or-juice-soaked raisins across the filling before rolling
- play with the spice mixture a little, maybe some allspice with the cinnamon
- flavored glazes, maybe orange or even almond
- pecans or almonds in the filling
These are going to continue to be a once-in-a-while thing despite the surprising easiness of them. They’re too tempting for everyone involved, but they make a wonderfully rich and treatsome indulgence.